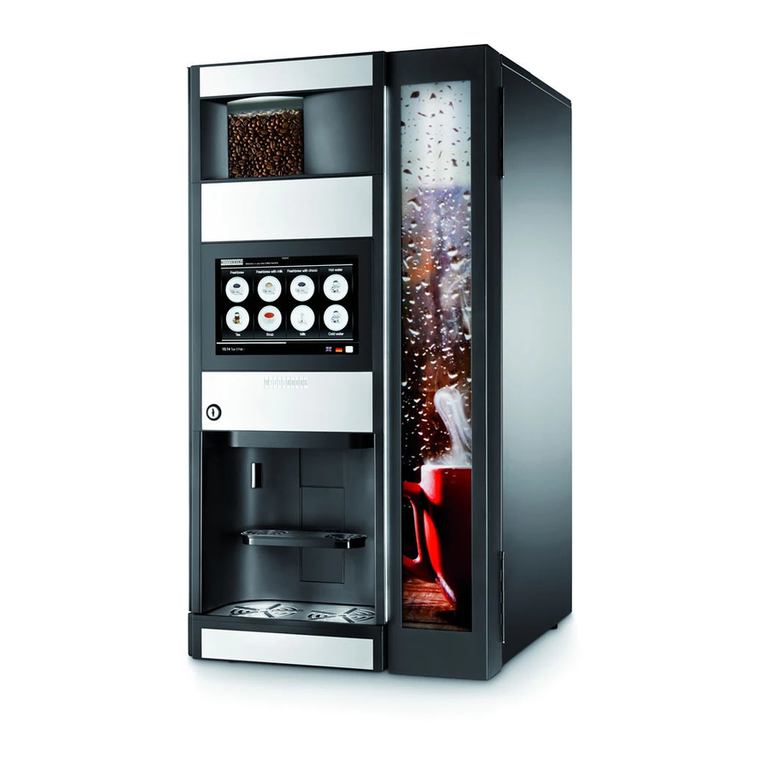
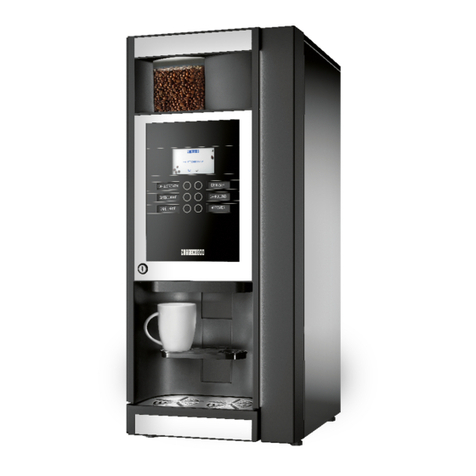
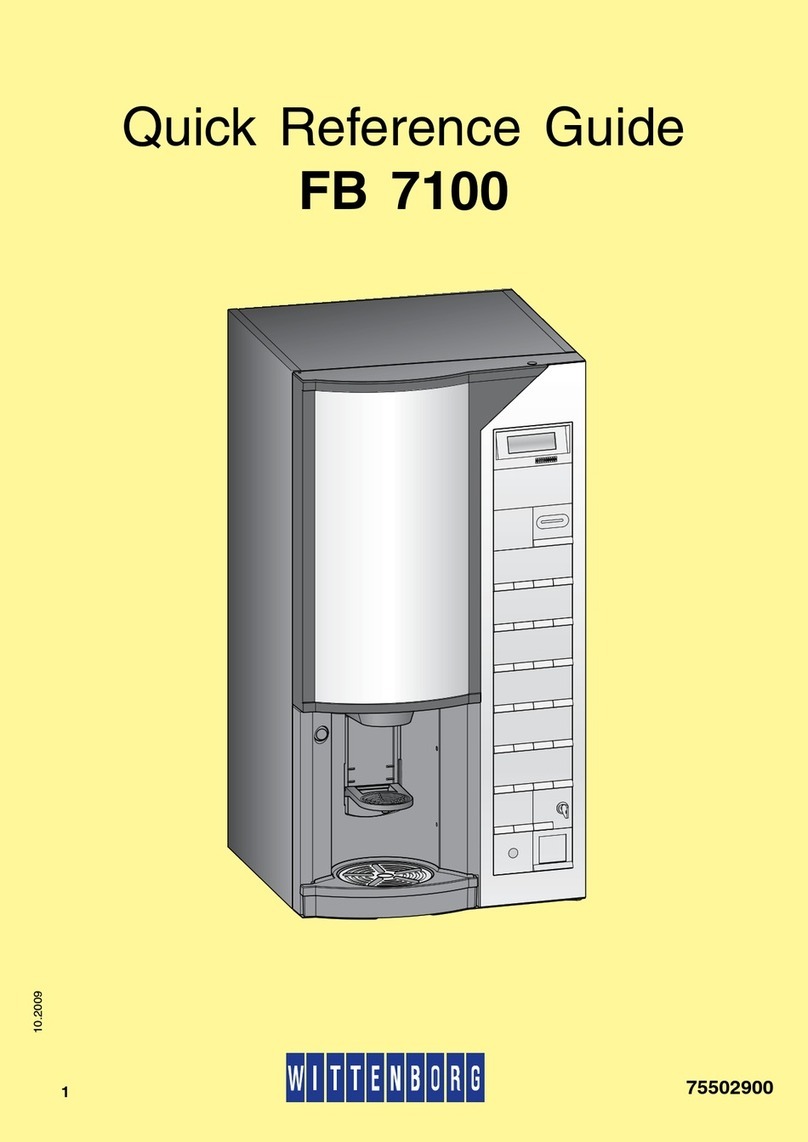
Wittenborg ES 7100 PLUS User manual

H0412EN00
10.2011
OPERATOR MANUAL
ES 7100 PLUS

Copyright © All rights reserved. This manual may not be translated or copied or reproduced in any form or by any means in whole or in part without the prior written consent
of N&W GLOBAL VENDING GROUP.
N&W GLOBAL VENDING GROUP issues no explanations or guarantees with regard to the contents of this publication and expressly disclaims all responsibility for any
implied guarantees. N&W GLOBAL VENDING GROUP reserves the right to revise and change the contents of this manual without notice.
Published by N&W GLOBAL VENDING GROUP
Via Roma 24 - 24030 Valbrembo (BG) Italy
Part No: H0412EN00
Published in 2011, week 42.
The symbol indicates that the machine may not be disposed of as ordinary waste; it must be disposed of in accordance with the provisions
of the European directive 2002/96/CE (Waste Electrical and Electronics Equipments - WEEE) and of any resulting national laws, for
preventing any possible adverse effects on the environment and on human health.
For correct disposal of the machine, contact the dealer from whom you have purchased the machine or our after sales service.
------------------------------------------------------------------------------------------------------------------------------------------------------------------------------------
All packing materials shall be disposed of in a manner which is safe for the environment.

Table of contents
10.2011 ES 7100 PLUS i
TABLE OF CONTENTS
Introduction................................................................................. 1
Safety........................................................................................... 2
Technical Data ............................................................................ 4
Product presentation
Vending machine components ..................................................... 6
- Machine front.............................................................................. 6
- Operating panel.......................................................................... 6
- Machine cabinet ......................................................................... 7
Operation
Pot panel (Multibrew).................................................................... 8
Discount lock ................................................................................ 9
Navigation buttons........................................................................ 10
- Settings buttons.......................................................................... 12
Overview of Operator and Technicians functions......................... 13
Short cuts ..................................................................................... 21
Additional Features....................................................................... 24
- Multi-vend................................................................................... 24
- Single-vend ................................................................................ 24
Cleaning and maintenance
General instructions...................................................................... 25
Maintenance routines ................................................................... 26
- Schedule for regular maintenance routines................................ 26
- Schedule for deep and occasional maintenance routines.......... 27
Regular cleaning
Opening and disconnecting machine ........................................... 29
Removing the coffee waste containers......................................... 29
Filling the instant ingredient canisters .......................................... 30
Filling the coffee bean canister..................................................... 31
Cleaning the cup carrier ............................................................... 32
Unlocking the drip tray.................................................................. 33
Cleaning the drip tray................................................................... 33
Cleaning inside and outside......................................................... 34
Mounting of cleaned parts ........................................................... 34
Rinsing machine .......................................................................... 35
Last check.................................................................................... 36
Deep cleaning
Hygiene kit ................................................................................... 37
Opening the machine................................................................... 37
Removing the coffee waste containers........................................ 37
Filling the instant ingredient canisters.......................................... 38
Removing the coffee bean canister ............................................. 39
Disconnecting machine................................................................ 39
Removing the dispense head ...................................................... 39
Cleaning the ingredient waste shelf below instant ingredient
mixers .......................................................................................... 40
Removing the bracket for dispense head .................................... 40
Removing the brewer................................................................... 41
Cleaning the brewer..................................................................... 41
Cleaning the ingredient waste tray .............................................. 41
Cleaning the instant ingredient dispensing system components . 42
Cleaning the powder trap............................................................. 42
Cleaning the cup carrier............................................................... 43
Cleaning the drip tray................................................................... 43
Cleaning inside and outside......................................................... 44
Mounting cleaned parts ............................................................... 45
Rinsing and last check................................................................. 46
Occasional routines
Cleaning the instant ingredient canisters..................................... 47
Cleaning the coffee bean canister ............................................... 49
Cleaning the brewer with cleaning tablet ..................................... 50
Preparing the brewer cleaning with cleaning tablet ..................... 50
Table of cleaning procedure for brewer with cleaning tablet ....... 52
Table of contents
ii ES 7100 PLUS 10.2011
Additional routines
Calling and resetting counters...................................................... 53
Emptying the cash box................................................................. 64
Adding change manually.............................................................. 65
Changing prices ........................................................................... 66
Setting of free vend and key discount .......................................... 67
Time Discount .............................................................................. 68
Setting time discount.................................................................... 70
Energy saving periods.................................................................. 71
Setting energy saving periods...................................................... 73
Maintenance
- General instructions ................................................................... 74
Espresso brewer unit maintenance.............................................. 75
Removing the upper filter ............................................................. 75
Removing the lower filter.............................................................. 76
Cleaning brewer parts .................................................................. 77
Display messages and trouble shooting
Display messages ........................................................................ 78
Trouble shooting .......................................................................... 80

Introduction
10.2011 ES 7100 PLUS 1
INTRODUCTION
According to the requirements of the
customer, the service technician can
program different functions into the vending
machine.
The machine dispenses
•hot espresso drinks
•hot instant drinks
•hot water.
or
•hot espresso drinks
•hot/cold instant drinks
•hot water.
Use only fresh coffee beans or instant
products made for vending machines.
The machine is delivered with direct selection
buttons. All communication with the machine,
such as drink selection, rinsing functions,
data retrieval and settings, is carried out by
using the direct selection buttons.
All parts to be cleaned are designed in a light
blue colour (for regular cleaning) and in a
dark blue colour (for deep cleaning). All parts
of action are supplied in a green colour.
If the vending machine is not used according
to its purpose, the manufacturer cannot take
on any liability.
This operator manual is valid for several vari-
ants of the vending machine. Therefore, it is
possible that in this operator manual you may
find instructions for operating elements that
are not installed in your vending machine.
This technical documentation is part and
parcel of the vending machine and must
always follow the machine in case it is moved
or by transfer of ownership.
This appliance is not intended for use by per-
sons (including children) with reduced physi-
cal, sensory or mental capabilities, or lack of
experience and knowledge, unless they have
been given supervision or instruction con-
cerning use of the appliance by a person re-
sponsible for their safety.
Children should be supervised to ensure that
they do not play with the appliance.

Safety
2ES 7100 PLUS 10.2011
SAFETY
•Before starting installation and using the
machine, it is first necessary to carefully
read and understand the instructions
contained in this manual, as they offer
important information on installation
safety, operating instructions and
maintenance.
•This manual describes the loading and
routine maintenance operations which are
carried out in areas of the machine
accessible with simple use of the door
key, without using any other tools.
•The vending machine may not be subject
to frost during operation, storage and
transport.
- If there is the risk of frost in the area of
the installation site of the machine,
voltage to the machine may not be
disconnected.
- If there is the danger of damage due to
frost, the service technician must check
and replace boiler, hoses and valves if
required prior to reconnecting the
vending machine and he should
additionally carry out a functional test.
•The vending machine may not be installed
outside.
•The vending machine should only be
installed and repaired by qualified
personnel, who are trained in the correct
use of the machine according to the
standards in force and who have the
specific knowledge of the machine
functioning from a point of view of
electrical safety and health regulations.
•Safety devices must not be bridged or put
out of function.
•The vending machine must be connected
to the drinking water line and to the
electric line in compliance with local
regulations.
•The vending machine has to be placed in
a horizontal position.
•The vending machine must be connected
to a secured electric circuit.
We recommend to install a fault current
safety switch. The connections must be
made using an earthed safety plug socket
complying with valid regulations.
•After the machine has been installed, the
power supply plug must be accessible.
Never touch the power supply plug
with wet hands or plug it in if the
plug itself is wet.
The liquids dispensed by the vend-
ing machine are very hot! To pre-
vent scalding, hands (and/or other
parts of the body) must be kept
away from the outlets while drinks
are being prepared and dispensed.
•If the power supply cable of the vending
machine is damaged it may only be
replaced by a service technician.

Safety
10.2011 ES 7100 PLUS 3
•Do not attempt to fill several cups by
pressing the pot button. There is danger
of injuries.
•Only authorised and qualified personnel
may clean, fill up and set the vending
machine.
•The vending machine may not be cleaned
under a water jet and is not suitable for
installation on surfaces next to which
water jets are being used (e.g. for
cleaning).
•Use only original spare parts.
•Observe the local regulations!
•Regular cleaning of the vending machine
is necessary for functional and hygienic
reasons.
When cleaning, take care of sharp
edges. There is danger of injuries!
•To clean the cabinet only use cleaning
agents approved by the food industry.
•Clean the inside and outside of the
vending machine by using a damp cloth
and do not splash it.
•After cleaning, make sure that all
components are correctly reinstalled.
•Every machine is identified by its own
serial number indicated on the rating plate
attached at the rear of the vending
machine. This plate is the only one
acknowledged by the manufacturer as
identification of the machine. The
technical data of the vending machine are
given on the rating plate.
When the yellow special key is in-
serted in the slot of the door switch,
the voltage is re-established to the
machine.
The door can be closed only after
removing the key from the door
switch.
If power is turned on, be careful not
to touch moving parts and electrical
components.
Door switch:
When the door is opened, a special
switch ensures that there is no ac-
cess to energized or moving parts.
Any operation requiring the ma-
chine to be energized with the door
opened must be carried out exclu-
sively by qualified personnel in-
formed about the specific risks of
such situation.
The machine may be energized by
qualified personnel by inserting a
special yellow key into the door
switch.
Before starting any maintenance
operation requiring parts of the es-
presso brewer unit to be removed,
the machine must always be
switched off.
By means of class 1 LEDs.
LEDSs are generally shielded by a
glass front or an aesthetic panel.
The light of LEDs may be noxious if
you directly look at it without these
panels.

Technical data
4ES 7100 PLUS 10.2011
TECHNICAL DATA
The technical data of the vending machine are given on the rating plate.
The vending machine is suitable for indoor use only.
Dimensions vending ma-
chine
Height: min. 850 mm (without levelling feet), max. 875 mm (with levelling feet)
Width: 450 mm
Depth: 378 mm (cabinet), 475 mm (cabinet+door)
Weight Approx. 68 kg (without ingredients)
Electric connection Power supply: 230V, HZ
Lines:Single line+neutral+earth (IEC-standard)
Brown = line
Blue = neutral
Yellow/green = earth
The vending machine must be earthed! In addition, it is
recommended to install a fault current safety switch.
Power consumption: 1800W
Heating element: 1450W
Connecting cable: Approx. 1.8-3.5 m (varies, depending on local requirements).
Fuse: Transformer, primary: 2A
Transformer, secondary (on VMC): 8A
Water connection Water system connection: The vending machine must be connected with the potable water system according
to the provisions in force in the place of installation of the equipment.
Min. back pressure without chiller: 0.8 bar (0.08 MPa)with chiller: 1.5 bar (0.15 MPa)
Max. pressure: without chiller: 10 bar (1.0 MPa)with chiller: 8 bar (0.8 MPa).
Hose connection: Connect the water network with the 3/4” gas union of the water inlet solenoid valve
by means of a tube that can support the network pressure and of a type suitable for
foodstuffs (min. inner diameter 6 mm.).

Technical data
10.2011 ES 7100 PLUS 5
It is recommended to apply a water tap on the water network outside the machine in
an accessible position.
Let water come out of the water network until it is clear and free of any trace of dirt.
Boiler capacity 0,6 l
Capacities Solid waste container: Approximately 7 l
Liquid waste container: Approximately 2.5 l
Drip tray: Approximately 0.4 l
Standard espresso
coffee bean canister: Approximately 6 l (2.2 kg)
Standard Instant
ingredient canister: Approximately 2.6 l
Further system require-
ments
Ambient temperature. Min. 4°C - max. 36°C (-2/+0) at 80% RH
Acoustic emission: The A-weighted sound pressure level is below 70 dB.
Subject to changes.

Product presentation
6ES 7100 PLUS 10.2011
1
2
3
4
5
6
7
8
1
2
3
4
5
Vending machine components
Machine front (fig. 1):
1 Door
2 Cabinet
3 Advertising poster
4 Coffee bean canister
5 Operating panel
6 Door lock
7 Cup carrier
8 Pot platform
Operating panel (fig. 2):
1Display
2 Payment panel
3 Selection panel
4 Pot panel/Discount key
5 Optical interface
6 Coin return cup
12

Product presentation
10.2011 ES 7100 PLUS 7
1
2
3
4
5
6
7
8
10
11
21
20
19
18
27 26 25 24 23 22
12 13 14 15 16 17
9
Machine cabinet (fig. 3):
1 Brewer inlet hose / brewer
piston hose
2 Adjusting knob for grinder
3 Coffee grinder
4 Door switch
5 Securing bolt for brewer
6Brewer
7 Securing bolt for bracket
for dispense head
8 Brewer outlet hose
9 Dispense head
10 Coffee waste containers
11 Base tray
12 Outlet hoses
13 Main switch
14 Ingredient waste shelf
15 Cash box (option)
16 Drip tray
17 Lock for drip tray
18 Retaining pin for cup
carrier
19 Mixing funnel with whipper
housing / powder trap
(behind)
20 Mixing funnel hood
21 Ingredient waste tray
22 RS232 connector
23 Up-key connector plug
connection (on CPU board
behind cover plate)
24 Outlet spout
25 Instant ingredient canister
26 Coffee bean canister
27 Cabinet
3

Operation
8 ES 7100 PLUS 10.2011
Multibrew
Multibrew
456
Pot panel (Multibrew)
How to brew a pot: (fig. 4)
•Enter password
•Press multibrew button as many times as
the number of cups you want in the jug.
A predefined number, eg. ‘4’ is shown in
the display.
•Place a pot on the pot platform.
•Press the pot button once or more times
for the desired number of portions.
Pressing again will increase the displayed
counter by one, up to the maximum value
(15 or lower, set by the technician).
When the counter reaches the maximum
value and the pot button is pressed once
more, the counter restarts at the
predefined number.
•If the machine is not set to free vend,
insert a card with sufficient credit, or
insert an amount of coins corresponding
to the value of the number of drinks
selected or a value above.
•Press the selection button for the wanted
drink.
The display steps back one number each
time a portion is dispensed, or if
‘optimised multibrew’ is active a
progressive bar is shown.
•Remove the pot when the drinks have
been dispensed.

Operation
10.2011 ES 7100 PLUS 9
A pot brew in progress can be
stopped immediately, simply by
pressing the cancel button ©.
The pot sensor may not register a
pot of transparent material, eg.
glass.
Discount lock
How to use discount lock: (fig. 5)
When using the discount lock, drinks can be
dispensed at a preset discount. The discount
lock can be used for single drinks and for
pots.
If you want one or more drinks at a dis-
count:
•Press the multibrew button and insert the
password needed to avoid free drink
dispensing.
Drink to be dispensed in cup: (fig. 6)
•place a cup on the cup platform
•Press the selection button of the desired
drink.
•After dispensing, remove the cup.
•
7

Operation
10 ES 7100 PLUS 10.2011
Overview of Operator and
Technicians functions
This diagram shows a total view of the
functions of the Operator and
technicians menu (version 7.4).
All functions are reached using the
four pre-selection buttons to navigate
through the menus.
The operator and/or the technicians
menus are password protected to
prevent unintentional and
unauthorized use.
As requested by the customer,
access through password is
requested either
- when entering the operator menus,
or
- when entering the technicians
menus.
(See explanation on previous pages).
Test
Complete selections
Operator
Filling/Clean
Rinse
Rinse Total Machine
Rinse Water
Rinse ES Tablet
Counters
Sales Audit
Total number, nres
Total turnover,nres
Total number, res
Total turnover,res
No. per drink, nres
No. per drink, res
Turn. p. drink,nres
Turn. p. drink,res
MB per drink, nres
MB per drink, res
No. per group, nres
No. per group, res
Turn. p. group,nres
Turn. p. group,res
Card audit
No. per drink, nres
No. per drink, res
Turn. p. drink,nres
Turn. p. drink,res
Operator menu - version 7.4
Continued on next page

Operation
10.2011 ES 7100 PLUS 11
Cash Audi
t
Money to tube
s
Money to cash bo
x
Number of tokens
Collected mone
y
Manually filled
Manually delivere
d
Value overpa
y
Dispensed change
Cashless Audit
Revalued amount
Free vend audi
t
Total no. ,nres
Total no. ,res
No. per drink, nres
No. per drink, res
No. per group, nres
No. per group, res
MB. discount audi
t
MB. number, nres
MB. turnover, nres
MB. number, res
MB. turnover, res
Discount key audi
t
D.Key number ,nres
D.Key turnov. ,nre
s
D.Key number ,res
D.Key turnov. ,re
s
Time Discount audit
T.Disc number ,nres
T.Disc turnov.,nres
T.Disc number ,res
T.Disc turnov.,res
Continued on next page
Diagram continued

Operation
12 ES 7100 PLUS 10.2011
Step prices audi
t
SP. turnover,nres
SP. turnover,res
Test Audit
Test no. ,nres
Test no. ,res
No. per group, nres
No. per group, res
Reset Counters
Reset sales audi
t
Reset cash audit
Reset Test audit
Printing
Not Resetable
Resetable
Cash action
Cash collected
Dispense coins
Manual filling
Reset tube contents
Basic operations
Change prices
Global price
Price per drink
Step prices
Change quantities
Drink On/Off
Change group
Service information
Event log boo
k
Reset log book
Program versions
Show menufile ver.
Continued on next page
Diagram continued

Operation
10.2011 ES 7100 PLUS 13
Machine settings
Set Freevend,global
Set Beep mode
Clock on displa
y
Temp. on displa
y
Set date and time
Key discoun
t
Time discount
Set Time discount
Set Day(s)
Set Time
Machine Info
Machine Code
Operator Code
Show Install. Date
Set Install. Date
Energy saving
Save Energy On/Of
f
Set Day(s)
Set Time
Set Temperature
Set Doorligh
t
Set counters on/off
Selfcheck setting
Gr. counters on/off
100% discount mode
Use EVA-DTS events
ES System Test
Complete ES cycle
Continued on next page
Diagram continued

Operation
14 ES 7100 PLUS 10.2011
Technician
Adjust system
Calibration
Ingredient
Espresso
Instant
Cold water
Temperatures
Lower cup sensor
Cup sensor status
Pot Sensor On/Off
Cold water valve
Undosed water
Empty grinder check
ES Restore Pressure
Softener counter
Multiple ES cycles
ES preinfusion time
ES preinfus. pulses
ES Precomp. Managm.
ES Valve Type
ES Pellet Squeezing
Set Rinse Timeout
Global dr. scaling
Reset relationship
Change Comm. route
Closed door
Serial XModem
Serial EDDCMP
IR XModem
IR EDDCMP
Back to terminal
Technician menu - version 7.4
Continued on next page
Diagram continued

Operation
10.2011 ES 7100 PLUS 15
Opened doo
r
Terminal Mode
Configurator Mode
Set baud rate
Payment settings
Single/Multi vend
Set payment typ
e
Set max credit
Set max change
Obligation to bu
y
Coin inhibi
t
Low change inhibi
t
A
udit unit Ext/In
t
Exact change eq.
Exact change offset
Keyboard inhibi
t
Price mode
Price to inde
x
Zero vend mode
Zero vend inde
x
Revalue
Immediate change
Currency code(auto)
Currency code(man)
Coin validato
r
Decimal point pos.
Freevend count.mode
Delayed Paymentmod
e
Set Cash Sale
Sess. Complete Mode
A
utom Cashaudit Res
Pricelist Start Nr.
Continued on next page
Diagram continued

Operation
16 ES 7100 PLUS 10.2011
Multibrew settings
Preset value
Min value
Max value
Means of action
MB Discount
Change config files
Set language file
Set recipe file
Set menu file
ES Test Functions
Complete ES cycle
Grind and Dose
ES brewer cycl
e
ES airbreak empty
ES boiler empt
y
Manual boiler fill
Diagnostics/Test
Overall functions
Wittlink test
Full dispense tes
t
Test vend
Cup handling
Sensor test
User interface
Button/Key tes
t
Display tes
t
Pre. sel. led tes
t
Door light toggle
Test Init.text
Coin return motor
Continued on next page
Diagram continued
Table of contents
Other Wittenborg Coffee Maker manuals

Wittenborg
Wittenborg IN 7600 User manual

Wittenborg
Wittenborg 95 B2C User manual

Wittenborg
Wittenborg 95 R&G User manual

Wittenborg
Wittenborg ES 7100 User manual

Wittenborg
Wittenborg IN 5100 User manual

Wittenborg
Wittenborg FB 7100 User manual

Wittenborg
Wittenborg ES FB 9100 User manual

Wittenborg
Wittenborg 9100 Operating manual