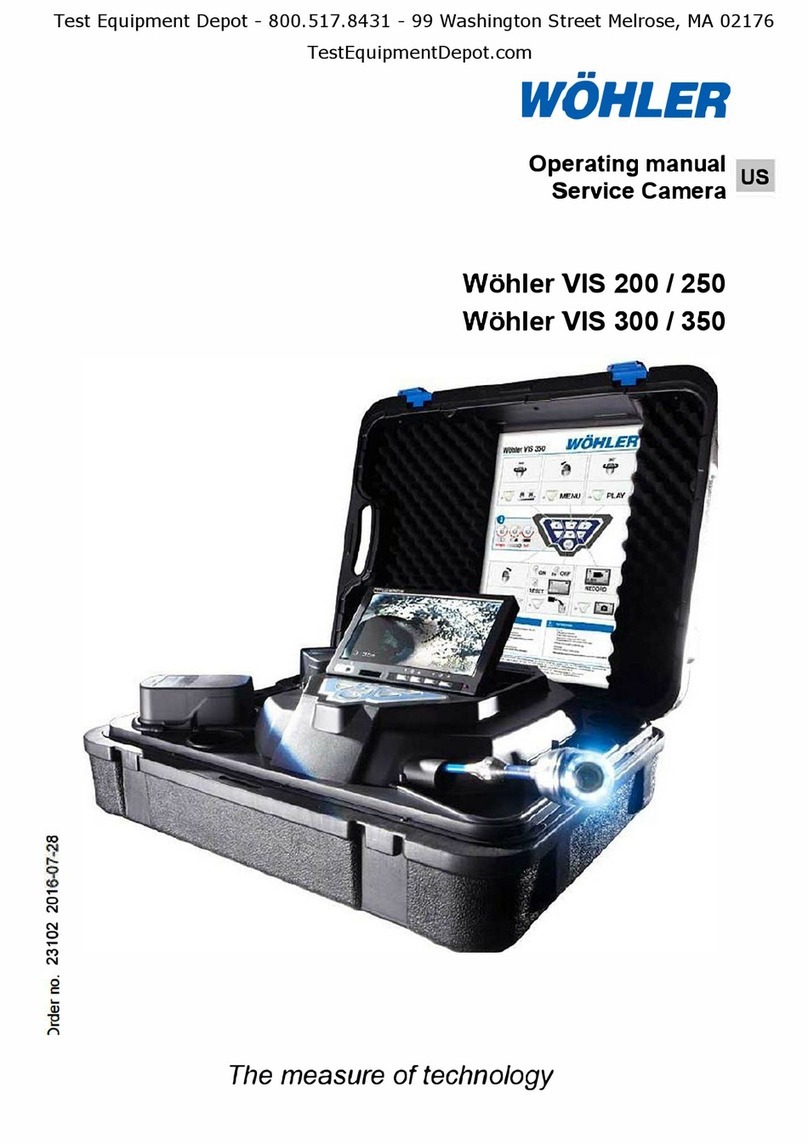
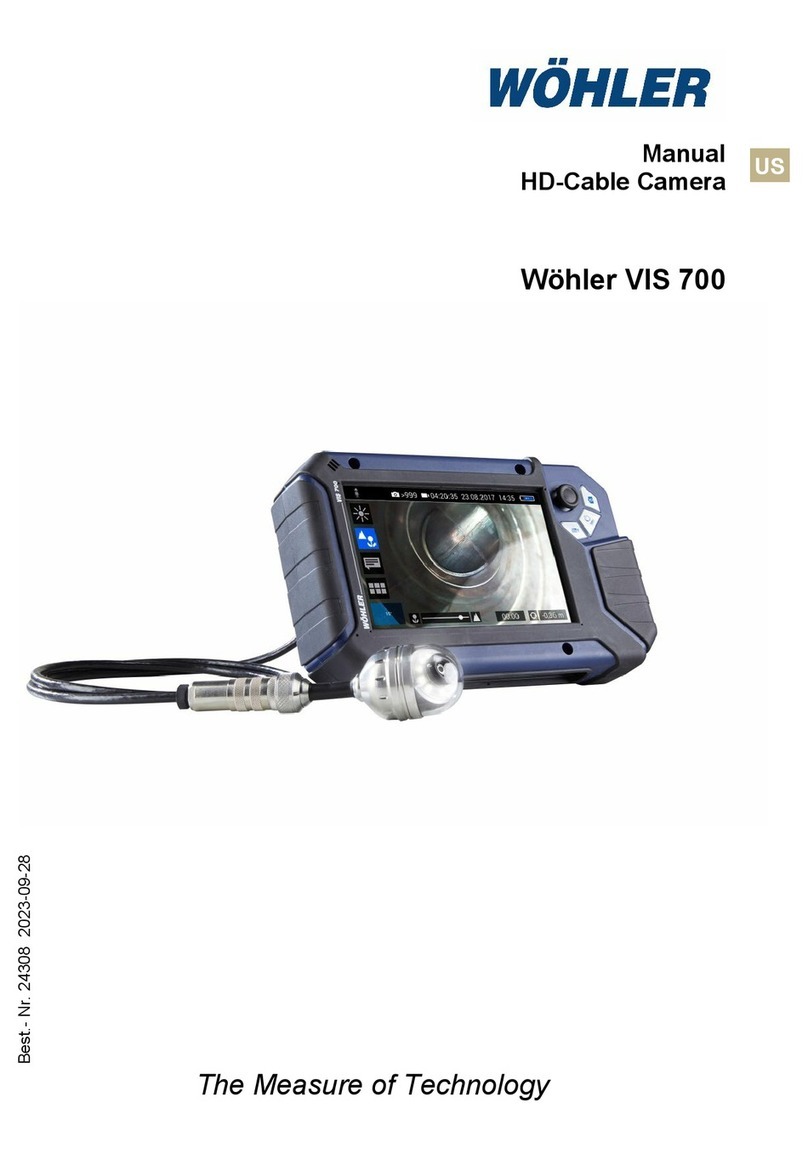
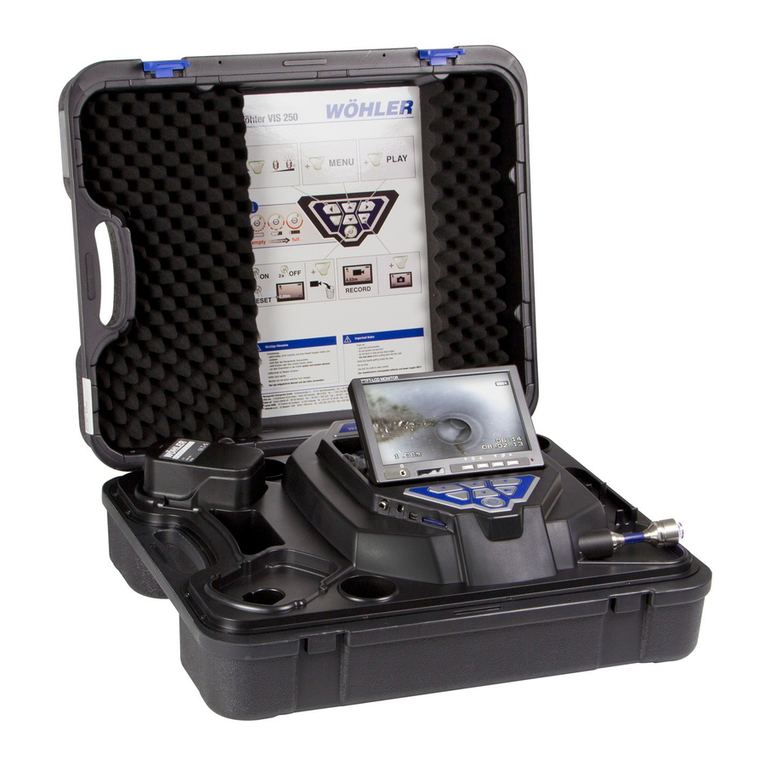
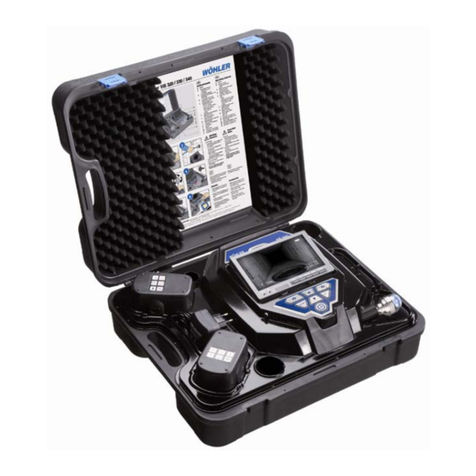
Wohler VIS 500 User manual

The measure of Technology
US
A
Manual
Inspectioncamera
Wöhler VIS 500
Order no. 249942022-01-03

Contents
2
Contents 1General information..............................5
1.1 Operation Manual Information....................... 5
1.2 Copyright....................................................... 5
1.3 Notes............................................................. 5
1.4 Proper use..................................................... 5
1.5 Scope of supply............................................. 6
1.6 Storage and transport.................................... 6
1.7 Information on disposal................................. 7
1.8 Manufacturer................................................. 7
2Important information ..........................8
3Technical data.....................................10
3.1 Monitor........................................................ 10
3.2 Wöhler pan & tilt camera head (optional)... 11
3.3 Mini camera head (optional)....................... 12
3.4 Camera Rod................................................ 12
3.5 Electronic meter counter ............................ 13
3.6 Storage........................................................ 13
3.7 Twinwall hard case...................................... 13
4Design and function ...........................14
4.1 Video Inspection System............................. 14
4.2 Monitor........................................................ 16
5Starting to use your camera system.18
5.1 Activating the battery.................................. 18
5.2 Attaching the camera head ......................... 18
5.3 Using the monitor........................................ 18
5.4 Charging the rechargeable battery.............. 20
6Keys and their functions....................22
6.1 On/Off key................................................... 22
6.2 Video key .................................................... 23
6.3 Image key.................................................... 24
6.4 Control pad.................................................. 24
7Display elements when menu is
displayed..............................................25

Contents
3
8Displayed position of the camera head
..............................................................26
9Home function.....................................26
10 Digital meter counter..........................26
11 Live menu............................................27
11.1 Brightness menu..........................................27
11.2 Reset digital meter counter..........................27
11.3 Image and video gallery...............................28
11.4 System menu...............................................31
11.4.1 Activate WLAN.............................................31
11.4.2 Locator.........................................................32
11.4.3 Activate the locator detection.......................32
11.4.4 Settings........................................................33
12 Transmission of images via WLAN ..36
12.1 Hotspot: VIS 500 WLAN network.................37
12.1.1 Change password and networkname ..........38
12.1.2 Select WLAN channel if necessary.............40
12.1.3 Establishing a connection to a mobile device ..
....................................................................41
12.2 WLAN: Using an existing WLAN network....42
13 Faults ...................................................44
13.1 Reset...........................................................44
13.2 Possible malfunctions..................................44
14 Maintenance........................................45
14.1 Information on maintenance ........................45
14.2 Replacing the dome of the camera head.....45
14.3 Camera head...............................................45
14.4 Monitor.........................................................45
14.5 Cleaning the viper and the rod.....................46
15 Guide accessories..............................51
16 Warranty and Service.........................52
16.1 Warranty......................................................52
16.2 Service.........................................................52

Contents
4
17 Declaration of Conformity..................53
18 Short Manual .......................................55
18.1 On/Off - Key Menu-Key.............................. 55
18.2 Hidden menu............................................... 55
18.3 Menu on screen .......................................... 55
Points of sale and service ............................57

General information
5
1General information
1.1 Operation Manual Infor-
mation
This operation manual allows you to work safely
with the Wohler VIS 500. Please keep this manual
for your information.
The Wohler VIS 500 should be employed by pro-
fessionals for its intended use only.
Liability is void for any damages caused by not
following this manual.
1.2 Copyright
Without previous authorization of Wohler it is not
allowed to reproduce, copy or translate this man-
ual or part of this manual.
1.3 Notes
WARNING!
Not following this warning can cause injury or
death.
CAUTION!
Highlights risks that can lead to damage occurring
to the device.
NOTE!
Highlights tips and other useful information.
1.4 Proper use
The Camera is designed to visually inspect and
document the condition of pipes and shafts, for
example in flue gas systems, ventilation systems
as well as for inspecting underground pipes etc.
The Camera is designed to be used by trained
specialists only.
Any other use is considered improper use.

General information
6
1.5 Scope of supply
Device
Scope of supply
Wohler VIS 500
Service Camera
Monitor
Ø 1 ½ " pan and tilt
color camera head,
pluggable (option)
Ø 1" miniature cam-
era head, pluggable
(option)
Viper with
100 ft camera rod (65
ft. camera rod op-
tional) and monitor
cable 7 ft.
1 USB power supply
with USB-C-cable
Twinwall hard case
1.6 Storage and transport
To avoid damage occurring during transport it is
imperative that the complete system is trans-
ported in the original case.

General information
7
1.7 Information on disposal
Electronic equipment does not belong into domes-
tic waste, but must be disposed in accordance
with the applicable statutory provisions.
You may hand in any defective batteries taken out
of the unit to our company as well as to recycling
places of public disposal systems or to selling
points of new batteries or storage batteries.
1.8 Manufacturer
Wöhler Technik GmbH
Wöhler-Platz 1
33181 Bad Wünnenberg
Tel.: +49 2953 73-100
Fax: +49 2953 73-96100 ·
www.woehler.com

Important information
8
2Important information
Body Protection
WARNING!
Never point a connected camera head at your own
or somebody else's eyes when the monitor is
switched on. The LEDs are extremely bright and
can dazzle.
WARNING!
Guide the rod with due care and attention. As the
rod is made of flexible material, it can make whip-
ping movements if it slips. Protect your eyes in
particular.
WARNING!
In order to limit the exposure of persons to electro-
magnetic fields, a safety distance of 5 cm must be
maintained when the locating transmitter is
switched on and when the user is temporarily or
permanently near the camera head.
Working environment
WARNING!
Only place the camera on firm level ground and
ensure a secure position of camera and user, es-
pecially when working in high altitude, e.g. when
working on the roof.
WARNING!
Make sure that the parts that you are going to in-
spect are no live parts.
CAUTION!
Protect the camera head against oil and acid.
Never use the camera head and rod to push ob-
structions.

Important information
9
Operating Temperature
CAUTION!
Do not use the camera in temperatures above
40°C. High temperatures can damage the camera.
Resistance to water
CAUTION!
Only the camera head and the rod are waterproof
Keep the camera system dry and protect it from
water!
Resistance to impacts
CAUTION!
The camera system is not impact resistant. Do not
throw or allow the case to fall!
Accessories
CAUTION!
Use only original Wöhler accessories and spare
parts!
Strong magnetic or electric
fields
NOTE!
Do not use the camera near television towers, mo-
bile radio equipment or other sources of magnetic
or electric fields, as these may impair the quality of
the displayed image.
Extraneous influences
NOTE!
Extraneous influences such as static discharges
can cause the device to malfunction. If a malfunc-
tion occurs, switch the monitor off and on again.

Technical data
10
3Technical data
3.1 Monitor
Fig. 1: Monitor
Description
Data
Dimensions
0.8 x 0.5 x 0.2 ft
Screen diagonal
7 inch
Weight
710 g
TFT display
7“ / 16:9 format
1024 x 600 pixel
Charging cable
USB-C 5 V/3 A
Power supply
3,7 V,
11400 mAh Li-Ion Akku
Operating time
6 h
Operating
Temperature
32 - 104 °F
Storage
Temperature
- 4° - 122°F
WLAN function
Wireless LAN IEEE
802.11 b/g/n network
standard
2412-2462 MHz,
< 10dBm
Other manuals for VIS 500
1
This manual suits for next models
1
Table of contents
Other Wohler Digital Camera manuals


