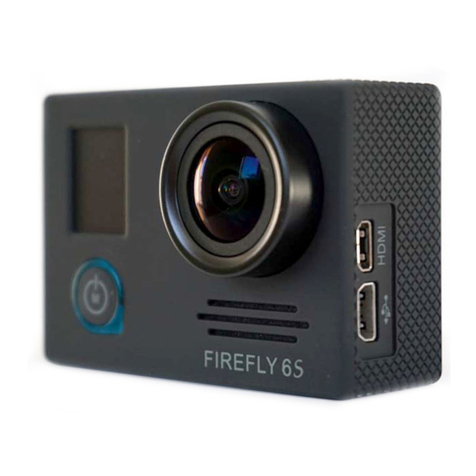
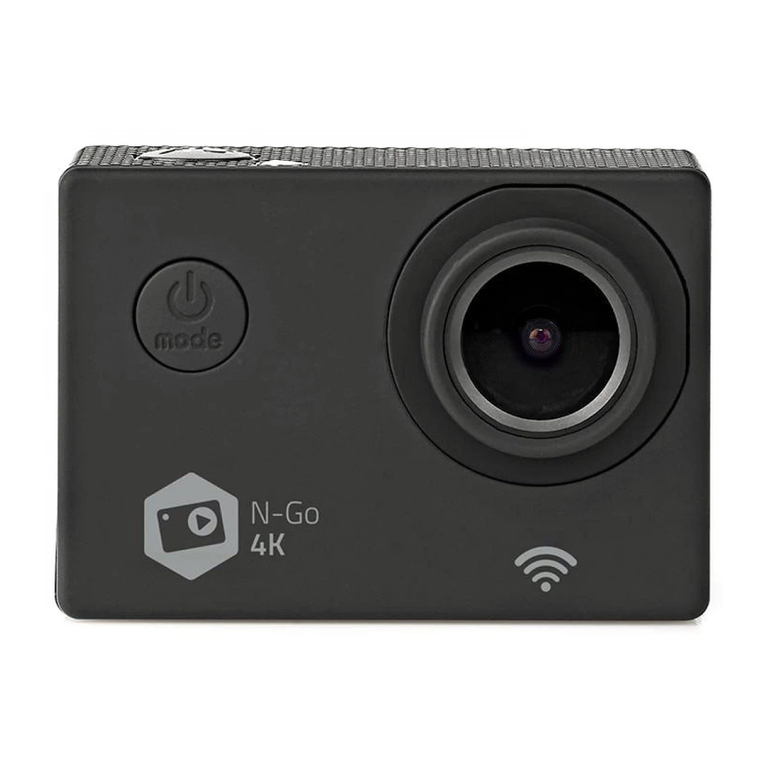
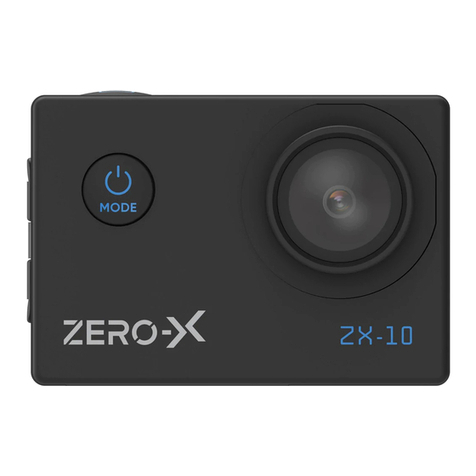
Wolfang GA300 User manual

EN DE FR
IT ES JP
GA300
User Manual
Action Camera

Charging the Battery
The battery charging steps are as below:
Note: The outlet battery charger is not included.
Using the Dust-Proof Cover
Installation Guide

TF Card Installation & Format
TF Card Installation
1. The camera ONLY supports a U3 TF Card with a capacity of 32-128GB,
otherwise, the camera may become unusable.
2. After installing the TF card correctly, format it from the setting menu
before first use.
TF Card Formatting
USB
Language
Format Card
00:00:00 02:00:30
Normal
720P60
Yes
No

①OK Button/Shoot Button
② Wi-Fi Indicator
③Touch Screen
④Working Indicator (Red)
⑤Charging Indicator (Blue)
⑥Power Button/Mode Button
⑦ Lens
⑧Up Button
⑨Down Button
⑩ Speaker
⑪USB Port
⑫HDMI Port
⑬TF Card Slot
⑭Battery Cover
⑮Tripod Screw Hole
Product Introduction
Product Diagrams
①②
③
⑧
⑨⑩
⑪⑬
⑫
④
⑤
⑥⑦
⑮
⑭

Note: Product design specifications are based on the latest information at
the time of writing, subject to change without notice, please refer to the
actual camera while in use.
Model
Lens
LCD
APP
Picture Format
Video Format
Video Compression Format
Data Connection
Extended Memory
Power
Microspeaker
Speaker
Battery
Video Time
Charge Time
Operating System
Working Temperature
Storage Temperature
GA300
170 HD wide-angle lens
2.0" LCD
iSmart DV2
JPEG
MOV
H.264
Micro USB2.0, HDMI
MAX to 128G, Micro SDHC
5V/1A
Support
Built-In
1350mAH
4K/About 60min
About 3-4 hours
Windows XP/7/8 SP3/Vista and Mac 10.5
or above
-10℃~+55℃
-20℃~+70℃
Specifications

Menu
English
-------------------------------------------------
----
----------------------------
1-9
Deutsch
------------------------------------------------
----
----------------------------
37-45
Italiano
---------------------------------------------------
-----
--------------------------
Français
--------------------------------------------------
-----
--------------------------
Español
--------------------------------------------------
-----
--------------------------
--------------------------------------------------
-----
--------------------------
10-18
19-27
28-36
日本語 45-54

Attention
• Avoid dropping the camera.
• Keep the camera at a distance from any objects with strong magnetic
interference, such as electric appliances and/or objects that send out
strong radio waves.
• Keep the camera away from water and liquids (unless equipped with
waterproof case). They may cause the camera to malfunction.
• Keep the camera away from children while charging. It takes 3 hours to
fully charge the battery. You are advised to remove the battery after you
finish using the camera to extend battery life.
• We recommend you use a high quality U3 TF Card (32-128 GB) for the best
results. Please format the TF card on the camera before using and restart
the camera after formatting.
• Do not expose the camera directly to high temperatures over 55°C.
• Do not place heavy objects on the camera.
• Do not place your TF card near strong magnetic objects to avoid data
error or loss.
• Do not use the camera when the battery is low.
• Do not use the camera while charging.
• Do not attempt to open the case of the camera or dissemble it in any way.
• Please remove the battery if you intend to use the camera as a dash
camera.
• When the camera is overheating or is emitting smoke or an unpleasant
smell, unplug it immediately from the power outlet to prevent fire.
• Please store the device in a cool, dry and dust free location.
1

Working
Indicator
Charging
Indicator
Wi-Fi
Indicator
1. While recording a video, the LED continuously flashes.
2. When taking a photo, the LED quickly flashes 3 times.
3. When powered, the LED is off.
1. When camera is on, the LED is a solid red light.
2. When recording a video, the LED continuously flashes.
3. When the Wi-Fi is turned on, the LED continuously flashes.
1. While charging, the LED is bright (blue).
2. When fully charged, the LED is off.
Indicator light
2

Down Button
Up Button
OK Button
1. Single press to turn on/off voice recording when
shooting a video.
2. Single press to switch to the next photo in photo
playback.
1. Single press up button turns on the Wi-Fi.
2. Return to the former interface.
1. Shutter function while in Video/Photo mode.
2. Long press to bring up the video menu, touch screen
to select, or short press to confirm the current option.
Long press when in photo mode to bring up photo
menu use the up/down key to select, short press to
confirm.
3. Long press in File playback to access the preview list
while in the playback interface, and use the up/down
key to select, short press to confirm.
4. While in Video playback, press to Pause/Play.
1. Long press the Power key to the camera, short press
to turn on/off the Wi-Fi.
2. Short press to switch setting option when in settings.
Button instruction
Power/
Mode Button
3

①Video Mode
②Recorded Video Time
③Available Record Time
④ Microphone
⑤Battery Life
⑥Video Playback
⑦Resolution/fps
⑧Menu Setting
Video Mode
The camera will automatically display video mode when powered on.
Mode Operation Instructions
①
⑥ ⑦ ⑧
② ③ ④⑤
00:00:00/02:00:30
2160P30
Press the bottom middle of the screen or long press the OK button
to choose different modes for video.
00:00:00/02:00:30
Normal Seamless
Video
2160P30
4

Press to enter video setting mode
00:00:00/02:00:30
2160P30
Video Resolution
Voice Record
EV
Open the camera and it will automatically display video mode. Then right
or left swipe to change it to photo mode.
Photo Mode
① Photo Mode
②Photo Quantity/Available Photo Shoot
Quantity
③Battery Life
④Photo Playback/Photo Files
⑤Photo Resolution
⑥Photo Setting
① ②
④ ⑤ ⑥
③
003/1669
Single
20MP
5

Press the bottom middle of the screen or long press the OK button to
choose different modes for photo.
003/1669
Single
20MP
Single Burst
Photo
Press to enter photo setting mode
003/1669
Single
20MP
Photo Resolution
ISO
EV
System Setting
Power Frequency
Sounds
White Balance
6

• Power Frequency: 50Hz/60Hz
• Sounds: Shutter, Boot-Up, Beep, Volume
• White Light Balance: Auto, Daylight, Shade, Tungsten Light, White
Fluorescent, Underwater. (By adjusting this setting, the camera can
correct the color of photos taken under different lighting conditions.)
• Effect: Normal, BW, Natural, Negative, Warm, Brightness Contrast
• Distortion Calibration: On/Off. (To adjust for the fish eye effect)
• Date & Time: Set Date and Time for the camera
• Screen Saver: Off, 1min, 3min, 5min. (After a set period of time, if there
is no operation on the camera ,the screen will automatically turn off. At
this point the camera does not turn off, you can press any button to
light up the screen.)
• Auto Power Off: Off, 1Min, 3Min, 5Min. (After a set period of time, If there
is no operation on the camera, the camera will automatically shut down.)
• Power On Auto Record: On/Off (When you open the camera it will
automatically starts to record video.)
• USB: MSDC/PCCAM(UVCMJPG)
• Language: English/Français/Deutsch/Italiano/Espanol/日本語/简体中文
• Format Card: Format the memory card in the camera. Once this operation
is implemented, all data will be deleted
• Factory Reset: Reset all camera settings to default settings
• System Info: Firmware version
• Card Info: Card capacity and remaining memory
7

The Wi-Fi Application allows you to control your camera remotely on a
smart phone or a tablet. You can view the videos and pictures shot on your
phone, download them directly to your phone.
The connecting steps are as follows:
A: Download the iSmart DV2 App on your smart phone or tablet in Google
Play or Apple App Store.
B: Short press the up button to turn on Wi-Fi, short press again to Exit. The
status light (RED)on the top of the camera remains flashing while the
camera is waiting for Wi-Fi connection and the light stays on when the
Wi-Fi is connected.
C: Find and connect the Wi-Fi in the Wi-Fi list on your phone with the
Wi-Fi name and password displayed on the camera.
Wi-Fi Turn in an unconnected state
D: Open the iSmart DV2 App on your smart phone or tablet after the Wi-Fi
is connected, you’ll find the camera is controlled by your phone.
Wi-Fi is connected
Wi-Fi Connection
Wi-Fi/PC/TV Connection
SSID: ActionCam_81723C
PWD: 1234567890
Waiting for Wi-Fi Connection...
SSID: ActionCam_81723C
PWD: 1234567890
Wi-Fi Connection Ready!
8

Connecting to a Computer
When you use the included micro-USB cable to connect to a computer,
you can access to the files which are stored in camera’s micro SD card to
copy or view them on a computer. This function can also achieve by a
micro SD card reader.
Connecting to a TV
With an HDMI output, you can display the movies and images recorded
by this camera on a TV, projector, etc.
1. Turn off the camera.
2. Connect the camera and TV with a commercially available Micro HDMI
cable (Not Included).
3. Turn on the camera and turn on the HDMI setting on the device which
you intended to input.
Tips:
1. The HDMI input device should support 1080P.
2. When outputting HDMI ,the display of the camera turns back. The screen
is displayed on the HDMI input device, but you will use the camera for
basic operation (e.g. selecting the video/pictures to view)
9

Bitte beachten
• Vermeiden Sie Quetschen und Herunterfallen.
• Halten Sie die Kamera von starken magnetischen Objekten wie elektrischen
Maschinen fern, und vermeiden Sie starke Funkwellen, die das Produkt
beschädigen und die Ton-oder Bildqualität beeinträchtigen könnten.
• Halten Sie die Kamera von Wasser und Flüssigkeiten fern (sofern nicht mit
einem wasserdichten Gehäuse ausgestattet). Dies kann zu Fehlfunktionen
der Kamera führen.
• Halten Sie die Kamera während des Ladevorgangs von Kindern fern. Das
vollständige Aufladen des Akkus dauert 3 Stunden. Es wird empfohlen,
den Akku nach Beendigung der Verwendung der Kamera zu entfernen,
um die Akkulaufzeit zu verlängern.
• Wir empfehlen die Verwendung einer hochwertigen U3 TF-Karte (32-
128 GB), um die besten Ergebnisse zu erzielen. Bitte formatieren Sie die
TF-Karte auf der Kamera, bevor Sie sie verwenden, und starten Sie sie
nach dem Formatieren neu.
• Setzen Sie die Kamera nicht direkt hohen Temperaturen über 55°C aus.
• Stellen Sie keine schweren Gegenstände auf die Kamera.
• Platzieren Sie Ihre TF-Karte nicht in der Nähe starker magnetischer Objekte,
um Datenfehler oder Datenverlust zu vermeiden.
• Verwenden Sie die Kamera nicht, wenn der Akku fast leer ist.
• Verwenden Sie die Kamera nicht während des Ladevorgangs.
• Versuchen Sie nicht, das Gehäuse der Kamera zu öffnen oder in irgendeiner
Weise zu zerlegen.
• Bitte entfernen Sie den Akku, wenn Sie die Kamera als Dash-Kamera
verwenden möchten.
• Wenn die Kamera überhitzt, unerwünschter Rauch oder unangenehmer
Geruch auftritt, ziehen Sie sofort den Netzstecker aus der Steckdose, um
einen gefährlichen Brand zu vermeiden.
• Bitte lagern Sie das Gerät an einem kühlen, trockenen und staubfreien
Ort.
10

Status LED
Akku LED
Wi-Fi-LED
1. Während der Videoaufnahme blinkt die LED kontinuierlich.
2. Beim Aufnehmen eines Fotos blinkt die LED schnell dreimal.
3. ausgeschaltet, LED ist aus.
1. Wenn die Kamera eingeschaltet ist, leuchtet die LED rot.
2. Bei der Aufnahme eines Videos blinkt die LED
kontinuierlich.
3. Wenn das WLAN verbunden ist, blinkt die LED
kontinuierlich.
1. Während des Ladevorgangs leuchtet die LED hell (blau).
2. Voll aufladen, LED ist aus.
Kontrollleuchte
11

Power/
Modus-Taste
Ab-Taste
Auf-Taste
OK-Taste
1. Drücken Sie lange die Ein-/Aus-Taste, um die Kamera zu
starten, und kurz, um das Wi-Fi ein-/auszuschalten.
2. Drücken Sie kurz, um im Einstellungsmenü Einstellungen
zu ändern.
3. Drücken Sie lange um die Kamera auszuschalten.
1. Verschlussfunktion im Video-/Fotomodus.
2. Drücken Sie lange um in die Menüeinstellung, während
Sie den Video-/Fotomodus verwenden, den Touchscreen
auswählen oder kurz, um die aktuelle Option zu bestätigen.
Drücken Sie lange um in die Menüeinstellung, während
Sie die Foto-Oberfläche verwenden, und drücken Sie mit
derAuf-/Ab-Taste kurz auf bestätigen.
3. Drücken Sie im Wiedergabemodus lange in die
Vorschau-Liste der Datei-Wiedergabe und wählen Sie
mit der Auf-/Ab-Taste aus. Drücken Sie kurz, um dies
zu bestätigen.
4. Start/Stop im Video-Wiedergabemodus.
Tastenanweisung
1. Drücken Sie einmal, um die Sprachaufzeichnung beim
Aufnehmen eines Videos ein- oder auszuschalten.
2. Drücken Sie einmal, um zum nächsten Foto in der
Fotowiedergabe zu wechseln.
1. Drücken Sie einmal, um zwischen Foto-, Video-,
Wiedergabemodus und den Einstellungen zu wechseln.
2. Drücken Sie die Taste um einen Schritt zurück zu gehen
und zum Aufnahmemodus zurückzukehren.
12

①
⑥ ⑦ ⑧
②③④⑤
00:00:00/02:00:30
2160P30
00:00:00/02:00:30
Normal Seamless
Video
2160P30
① Videomodus
②Aufgezeichnete Videozeit
③Verfügbare Aufnahmezeit
④Mikrofon
⑤ Akkulaufzeit
⑥Videowiedergabe
⑦ Auflösung/fps
⑧Menüeinstellung
Video Modus
Die Kamera zeigt beim Einschalten automatisch den Videomodus an.
Bedienungsanleitung für den Modus
Drücken Sie oder drücken Sie lange die OK-Taste, um
verschiedene Einstellungen für das Video auszuwählen.
2160P30
13

① ②
④ ⑤ ⑥
③
003/1669
Single
20MP
00:00:00/02:00:30
2160P30
Video Resolution
Voice Record
EV
Starten Sie die Kamera und der Videomodus wird automatisch gestartet.
Dann nach rechts oder links wischen um in den Fotomodus zu wechseln.
Fotomodus
① Modusanzeige
② Anzahl gespeicherte Bilder/noch
verfügbare Anzahl
③ Akkulaufzeit
④ Fotowiedergabe/Fotodateien
⑤ Fotoauflösung
⑥ Fotoeinstellung
Drücken Sie , um den Videoeinstellungsmodus aufzurufen
14
Table of contents
Languages: