THE HOLLOWING PROCESS
W O O D C U T
-
T O O L S
.
C O M
| #
W O O D C U T T O O L S
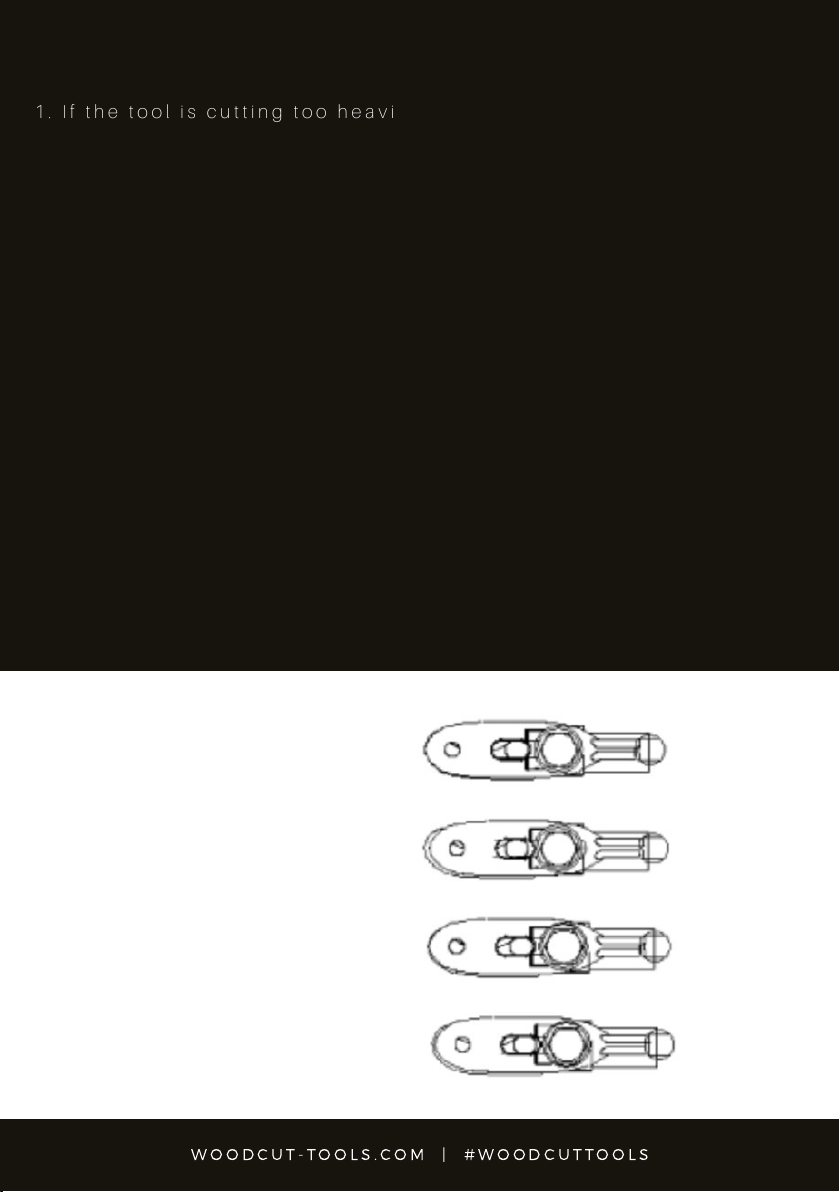
A d j u s t t h e g a u g e t o e n a b l e t h e c o r r e c t a m o u n t o f c u t t e r t o s h o w ,
t h i s w i l l v a r y f r o m a s o f t w o o d t o a h a r d w o o d i . e . s o f t o r g r e e n
w o o d s w i l l h a v e m o r e c u t t e r e x p o s e d ( s a y u p t o a 1 m m o r 3 / 6 4 ” ) a s
o p p o s e d t o h a r d d r y w o o d s ( s a y 0 . 5 m m 1 / 3 2 ” ) . O f c o u r s e w o o d w i l l
v a r y i n s o m a n y w a y s t h a t t h e r e i s n o s u b s t i t u t e f o r e x p e r i e n c e .
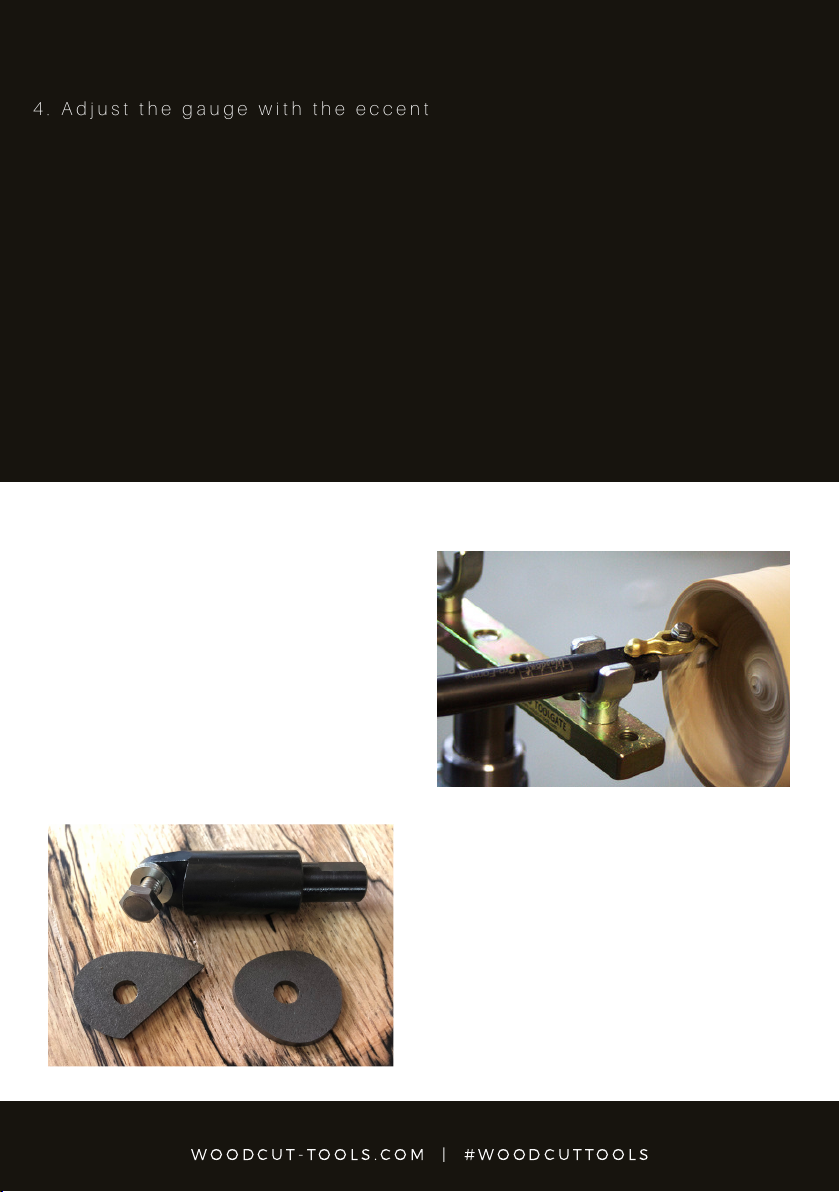
T h e s t a i n l e s s s t e e l s e t s c r e w h a s a 7 m m A / F h e a d a n d w i l l a c c e p t a
s o c k e t o r r i n g s p a n n e r o f t h a t s i z e . T o a d j u s t s i m p l y l o o s e n t h e s e t
s c r e w , t h e n h o l d t h e t o o l o v e r a w h i t e p i e c e o f p a p e r , l o o k d o w n
d i r e c t l y f r o m a b o v e a n d m o v e t h e g a u g e b a c k o r f o r w a r d s u n t i l t h e
r e q u i r e d c u t i s a c h i e v e d . T h e n t i g h t e n f i r m l y .
W o o d c u t T o o l s r e c o m m e n d s p r a c t i c e u s i n g g r e e n b r a n c h w o o d .
M a n y f a m o u s w o o d t u r n e r s t u r n a l l t h e i r a w a r d w i n n i n g h o l l o w f o r m s
f r o m g r e e n w o o d , s e a s o n i t c a r e f u l l y a n d t h e n r e t u r n w h e n d r y t o
f i n i s h . P r o v i d i n g i t i s e v e n l y t u r n e d , y o u w i l l b e s u r p r i s e d h o w i t
w i l l d r y c r a c k f r e e , a n d s o m e i n t e r e s t i n g a f f e c t s w i l l o c c u r .
T h e P r o - F o r m e w i l l a l s o h o l l o w f a c e g r a i n t i m b e r . G e n e r a l l y , i f i t s
u n s a f e t o r e a c h w i t h a c o n v e n t i o n a l g o u g e t h e n t h e W o o d c u t
h o l l o w i n g t o o l s w i l l a l m o s t a l w a y s c o m p l e t e t h e f o r m .
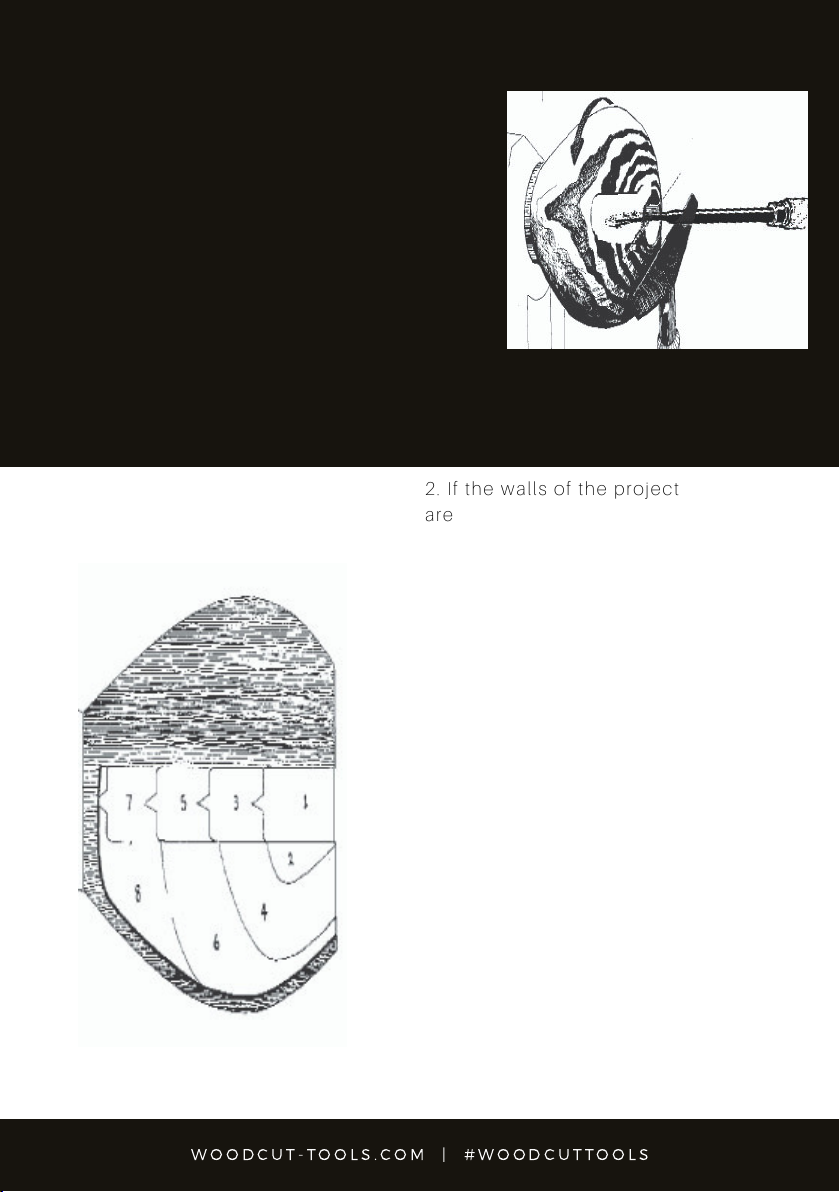
A drilling tool can be produced from a chisel
handle with a long series drill bit in the end where
the tool would be. Simply hold the tool in your
hands level and push into the end grain. Now you
can cut to the centre without experiencing a lump
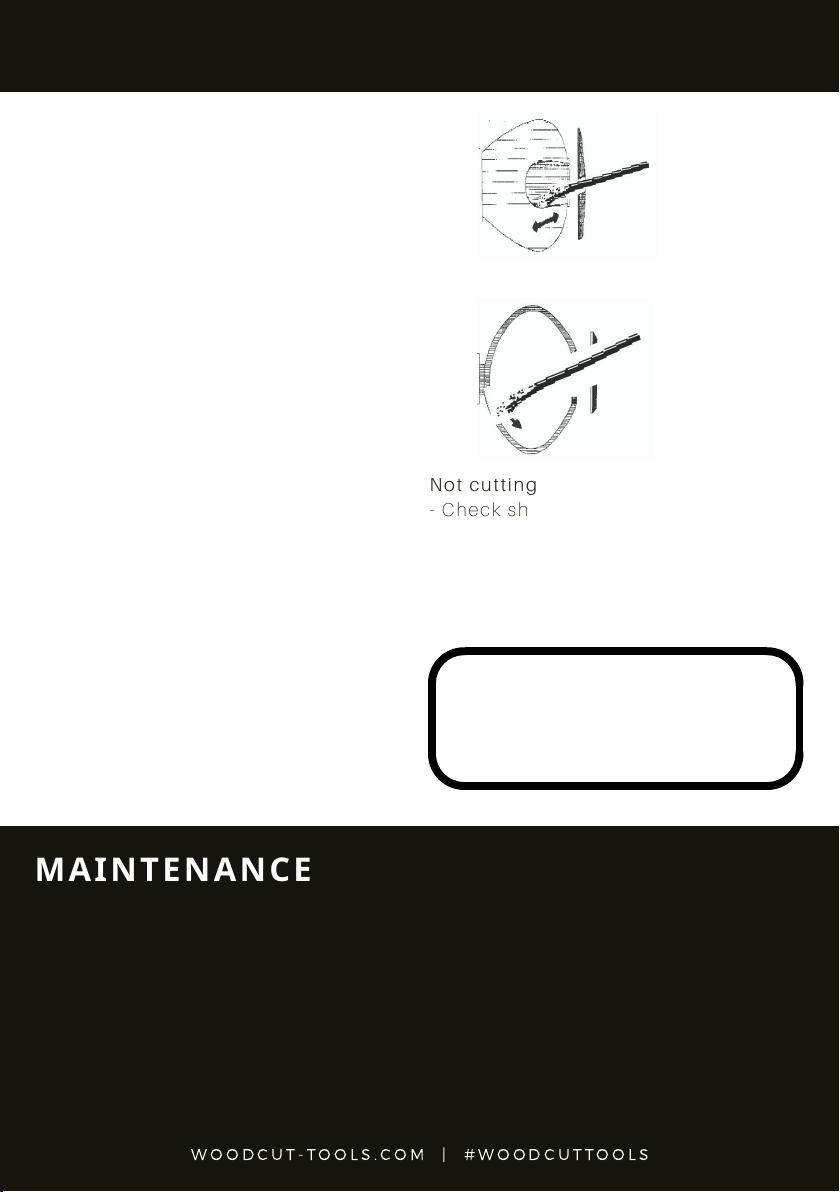
at the bottom of the hollow form. Roll the tool
anti-clockwise until the gauge is rubbing on the
wood, then with the gauge firmly against the
vessel wall roll the tool back until the required cut
is achieved. You will see the different thickness of
shavings appear as you experiment. Do not use
the tool tentatively. Keep a firm cut at all times.
Wo od cu t To ol s re co mm en ds t ha t yo u st ar t b y h o l l ow in g op en n ec k ve ss el s
un ti l yo u be co me c om fo rt ab le w it h th e fe e l o f t he P ro -F or me t oo l. An o pe n
ve ss el w il l en ab le y ou t o se e wh at t he t o o l i s do in g an d le ar n ho w to h ol d th e
to ol . If y ou a re a tt em pt in g a de ep er v e s s e l , dr il l a 12 mm ( 1/ 2” ) ho le d ow n
th ro ug h th e ce nt re f ir st .