woodmizer KORNIK ES-1 User manual

User Guide
Wood-Mizer®
Metal Detector
KORNIK ES-1
Part number: MD-ES1
Wood-Mizer ®

1
Contents
1. Introduction.....................................................................................................................2
2. Technical data.................................................................................................................3
3. Description of the control panel......................................................................................4
4. Preparing the detector for operation................................................................................5
4.1. Initial settings..................................................................................................5
5. Final remarks...................................................................................................................8
Wood-Mizer ®

2
1. Introduction
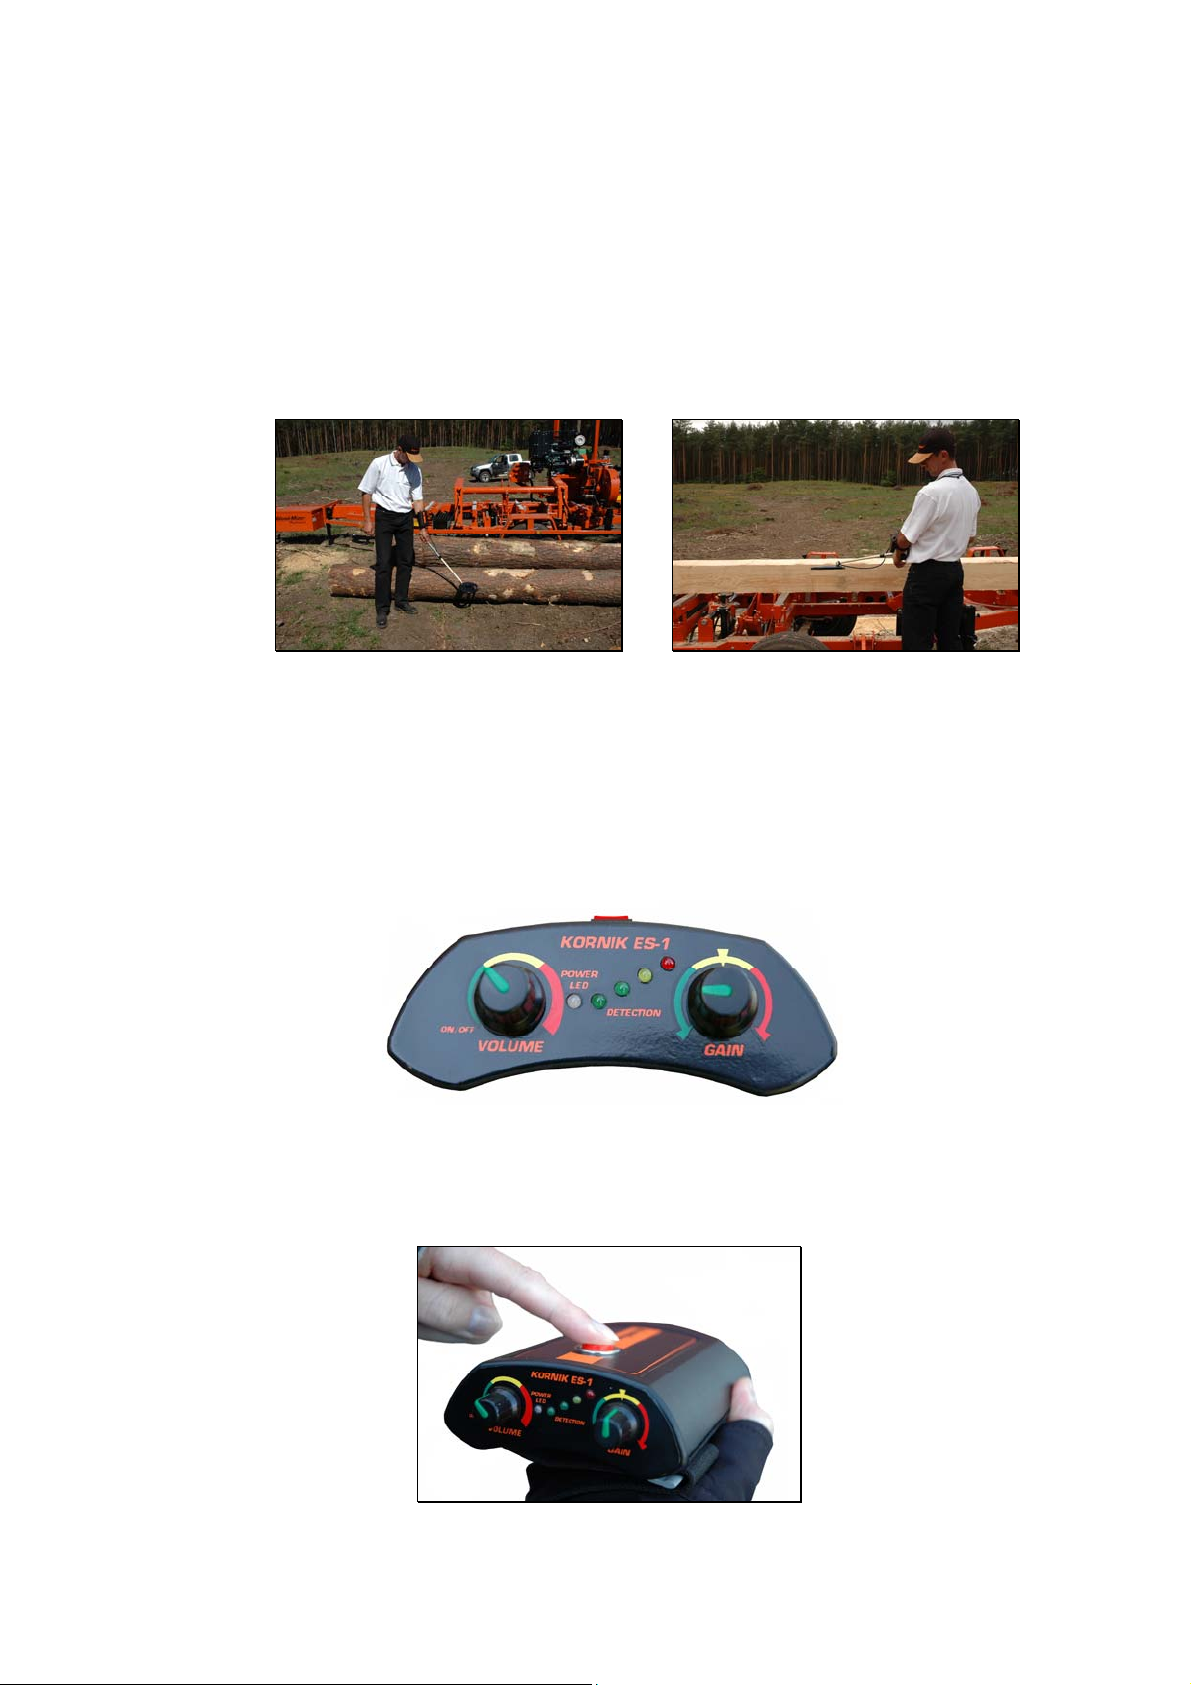
This detector operates on the principle of a balanced induction bridge. Under the
influence of metal, within the scanning field of the sensor, an amplitude–phase shift occurs
between two low frequency sinusoidal signals (VLF). The change in amplitude-phase shift,
after adequate processing, activates optic and acoustic alarms.
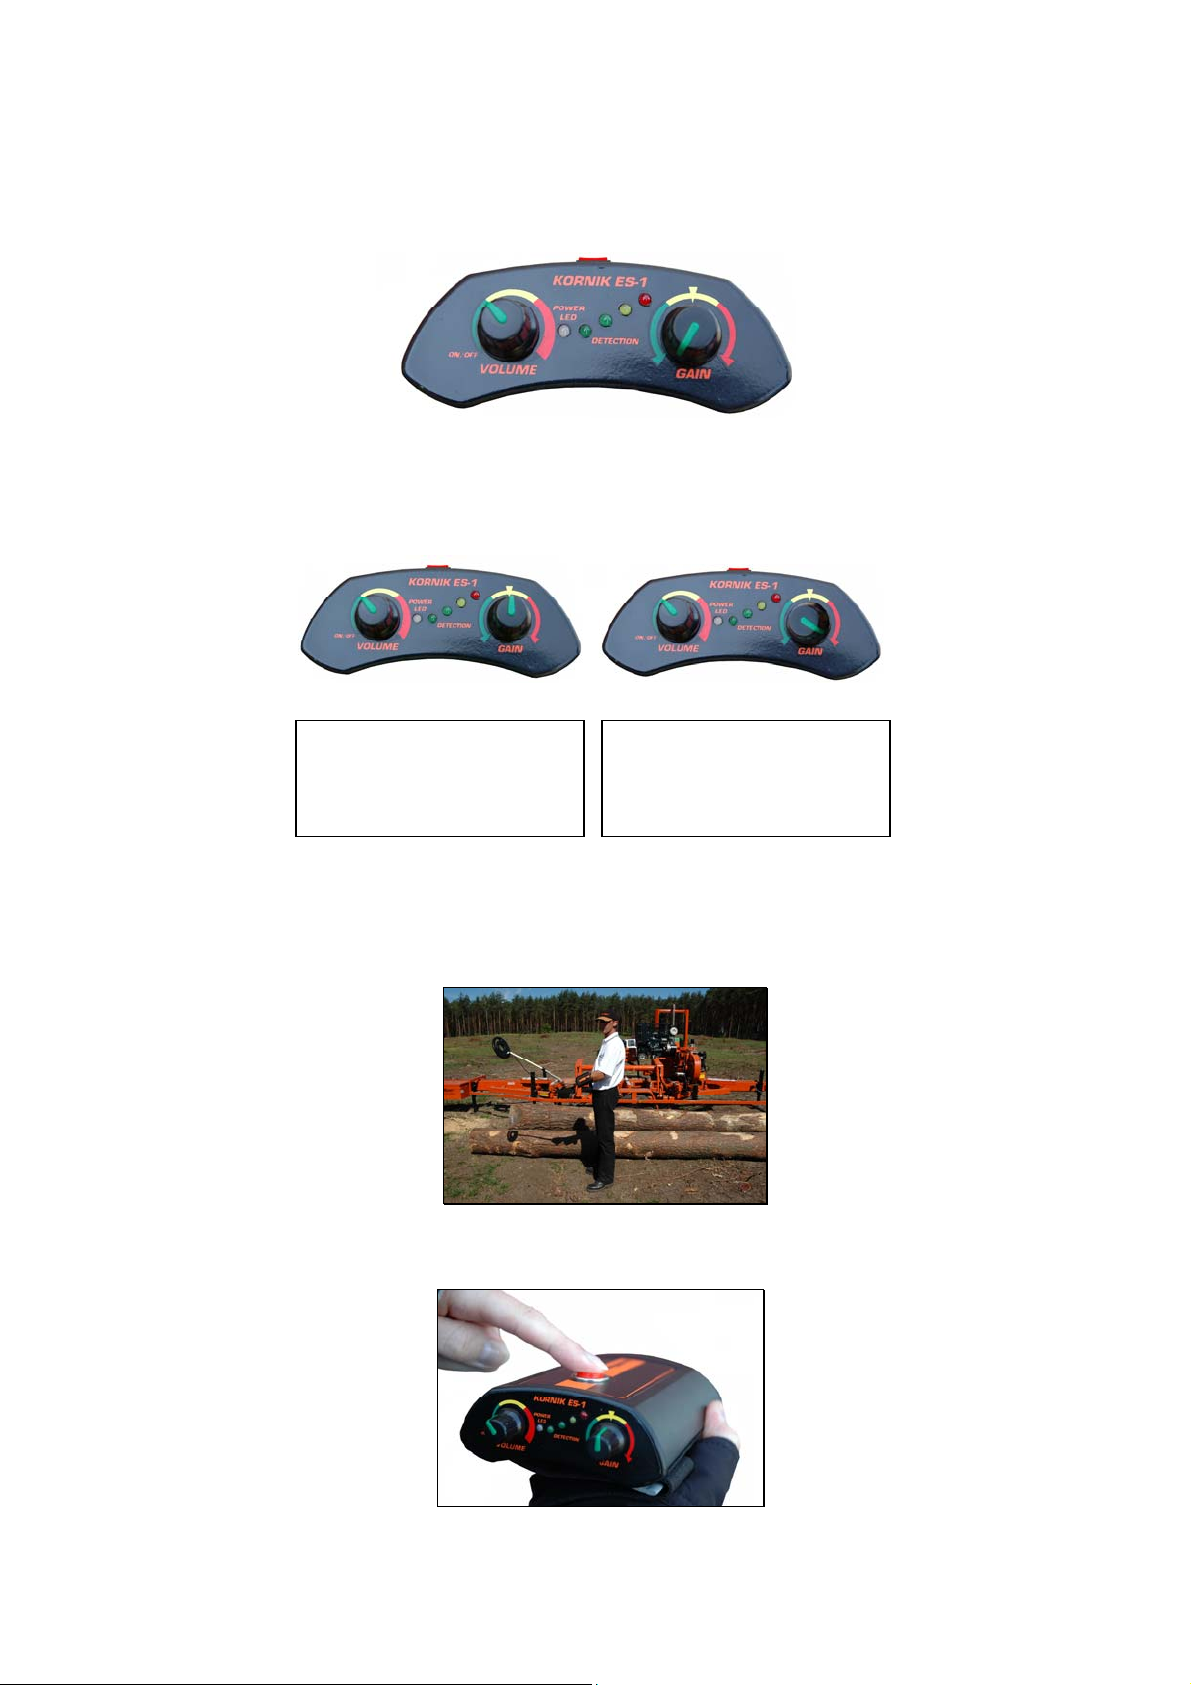
The Wood-Mizer Kornik ES-1 detector has:
-automatic elimination of background radiation,
-gain control,
-volume control,
-RESET button – to eliminate the influence of the soil and surroundings.
This detector is the best and the most cost-effective device with such excellent parameters
available on the market. The main advantages of this type of device in relation to other types
of detectors (e.g. Pulse induction, BFO, transmitter-receiver) include:
-power supply from batteries or rechargeable batteries,
-current consumption during operation - max. 150 mA,
-automatic elimination of the influence of background radiation on operation of the
device,
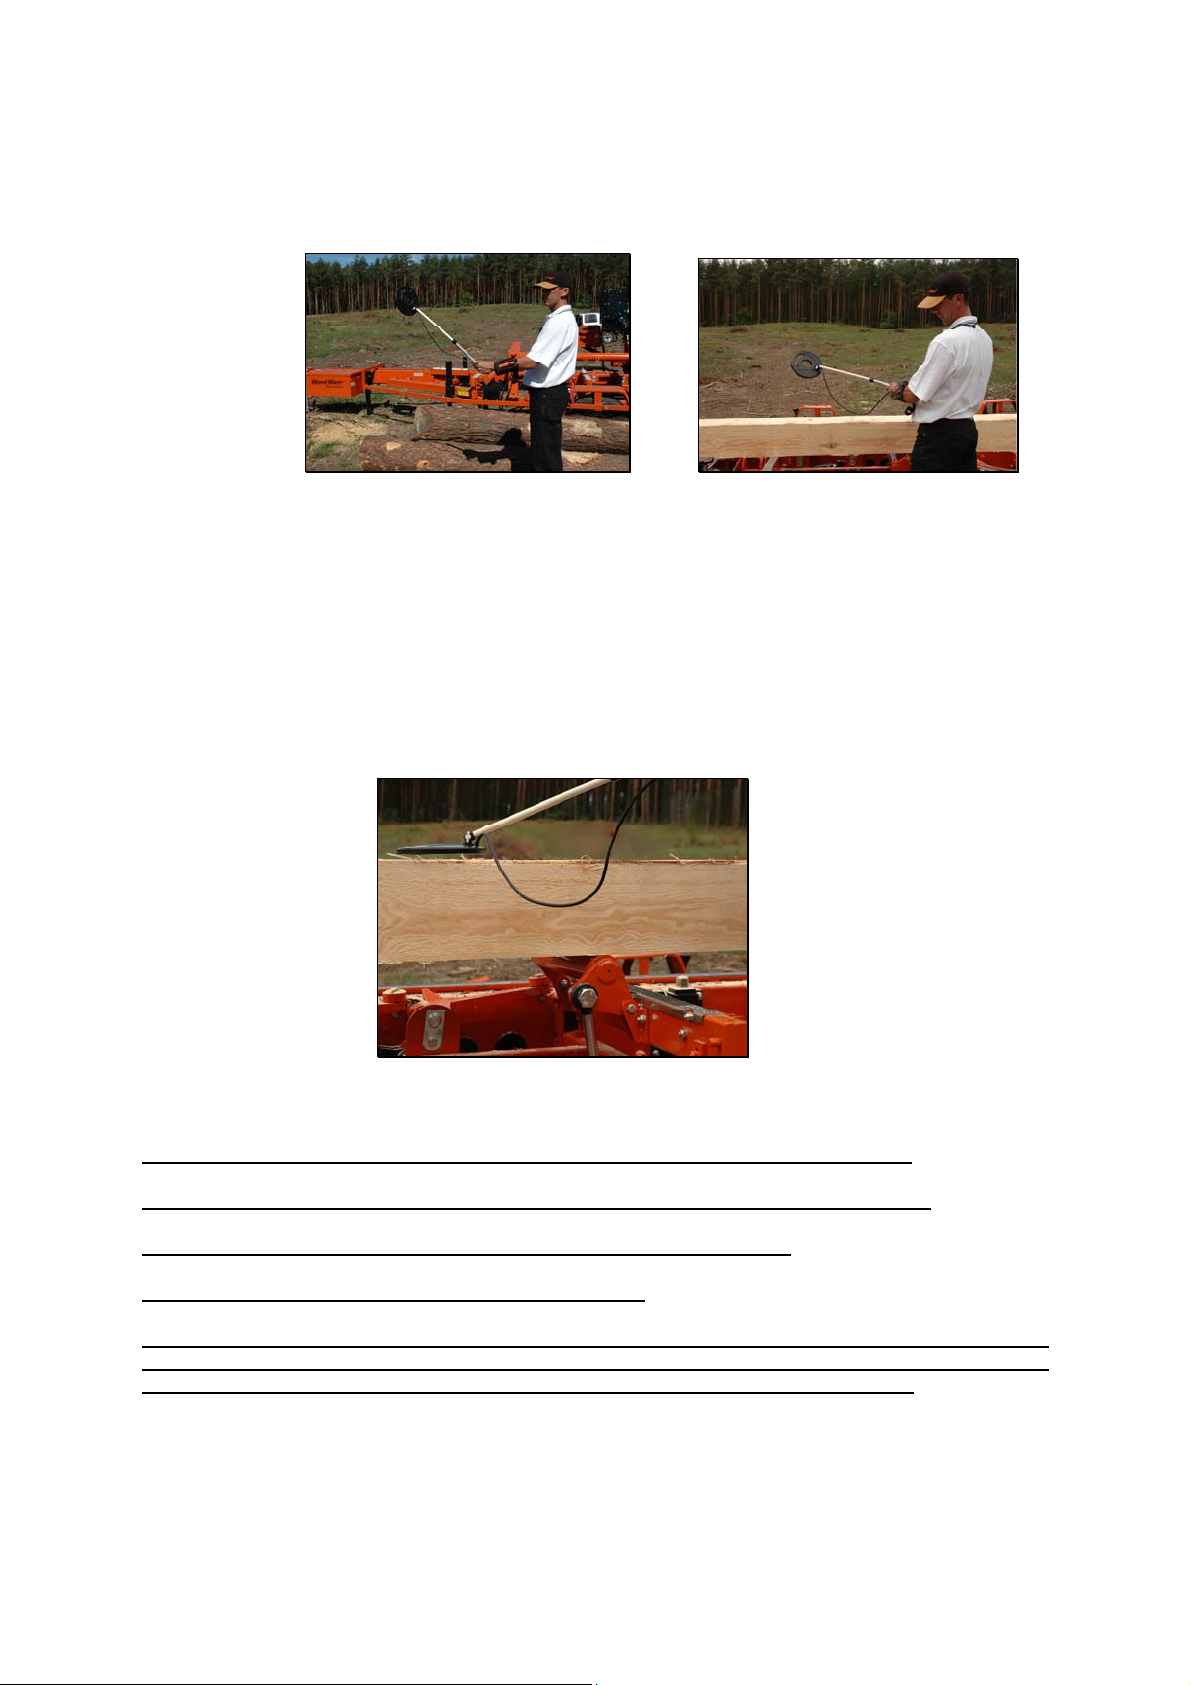
-concentric penetrating probe with ∅200 mm,
-the ability to automatically return to the balanced state of the detector (correction of
the drift).
Wood-Mizer ®

3
2. Technical data
TYPE: VLF
Operation frequency - 5kHz
Coil diameter Ø 200mm
Power supply - 2 x 12V – a Li-ion cell package + a charger
Current consumption - approx. 150 mA
Total mass of the detector – approx. 1.5 kg.
Adjustable extension arm
Made from ABS plastic
FUNCTIONALITY OF THE DETECTOR
-Gain control
-Background radiation control
-Induction threshold control
-Detection level signalling
-Supply status signalling
-Reset button
Dimensions:
Height: min. 450 mm, max. 600 mm
Diameter of the probe 200 mm
Accessories:
- Charger
- User Guide
Operation temperature: 5°C to +40°C
Storage temperature: –20°C to +55°C
Wood-Mizer ®

4
3. Description of the control panel:
1. ON/OFF switch and volume control.
2. Battery status indicator. (If the detector is ready for operation, the LED glows green,
and if the batteries must be charged, the LED glows red).
3. Detection level indicator.
4. Gain control potentiometer.
5. RESET button.
Wood-Mizer ®

5
4. Preparing the detector for operation
4.1. Initial settings
1. Batteries should be charged (correct time of charging – up to 5 hours).
2. Secure the control panel on the forearm using the elasticised strap.
3. Extend the arm of the detector probe.
Extending the probe support:
First step - the metal part of the arm with the handle should be turned counterclockwise, which will result in the
release of the torsion clamp.
Second step – the handle should be gently extended.
Third step – in order to lock the arm at the required position, the metal part of the arm with the handle should be
turned clockwise, which will clamp the handle.
Wood-Mizer ®

6
Switching on and Calibrating for use
4. Switch on power supply by turning the left knob clockwise.
5. Set Gain Control as required.
6. Position sensor in the air (far from any metal source).
7. Press the Reset button.
Wood-Mizer ®
Measuring smaller logs or cants
turn the Gain Control to the
middle position as shown
above.
Measuring larger logs or cants
turn the Gain Control close to
the maximum position as
shown above.

7
8.Position the sensor at, or just below the surface of the log or cant to be measured
(remember that the minimum distance from large metal objects- such as bed rails- is circa
250mm).
9. Turn the Gain Control down until the alarm stops.
10. Press the Reset button.
Wood-Mizer ®

8
11. Move the sensor up and return to initial position to check that the detector is
calibrated.
12. Detect a metal object by moving the detector over the log or cant – if necessary lift the
cant/log up with the roller toe-boards and reposition the suspect area away from bedrails
(simply lifting the log or cant may be enough to remove the effect of the bad-rail).
5. Final remarks
You should always remember that when the gain is adjusted, you must press Reset button.
Attention ! The electronic parts are not waterproof-avoid for long exposure to rain or water!
The detector probe is not waterproof, and it must not be immersed in water.
The detector should not be exposed to continuous UV light.
In winter, when there is a difference of temperatures and when you take the device from a warm room
into cold conditions, wait 15 minutes before switching the detector on. When bringing the detector in from
a cold environment into warm conditions – wait one hour before switching on the detector.
Wood-Mizer ®
This manual suits for next models
1
Table of contents
Popular Metal Detector manuals by other brands

White’s Electronics
White’s Electronics GOLDMASTER 24k Advanced guide

Fisher Research Labs
Fisher Research Labs 1280-X Aquanaut operating manual

ANEKEN
ANEKEN GC-1020 Care & use manual

Garrett
Garrett ACE 350 owner's manual

Black & Decker
Black & Decker BDS300 instruction manual

Treasure Cove
Treasure Cove E-Z Swing manual