21
Precautions
1
AC outlet
Power cord
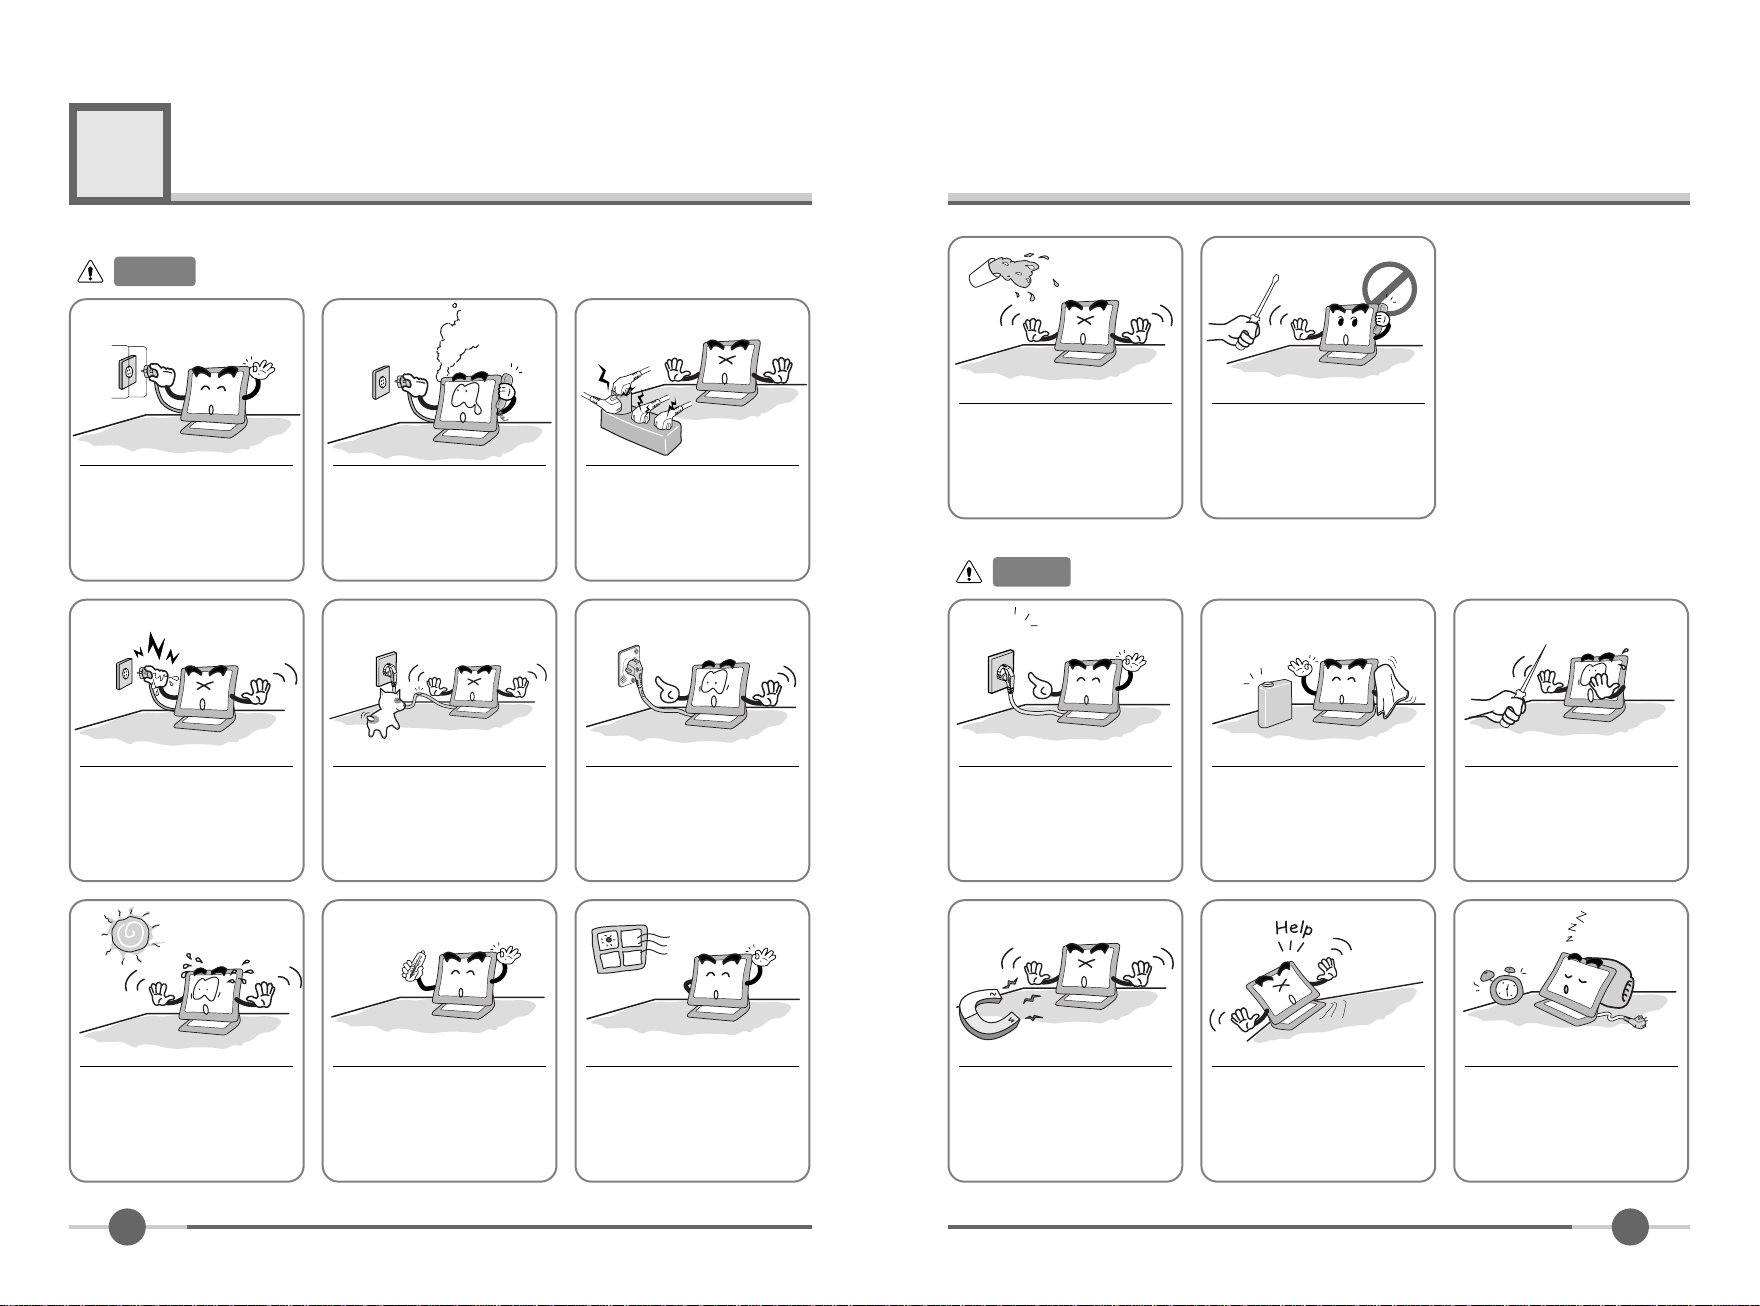
Warning :
The following information will help you avoid the risk of electric shock, serious injury, and death.
Plug the power cord into a
properly grounded outlet.
There is the risk of electric
shock.
Do not unplug from the outlet
y pulling the power cord or
when your hands are wet.
There is the risk of electric
shock and fire.
Do not allow any o ject or liq-
uid to enter inside the monitor.
There is the risk of electric
shock, fire, or damage to the
monitor.
Do not end the power cord
excessively or place heavy o jects
on it. Keep children and pets away
from the power cord as they may
damage the power cord. There is
the risk of electric shock and fire.
Do not use a damaged power
cord or plug. Make sure the
plug fits snugly into the outlet.
There is the risk of electric
shock or fire.
Do not expose the monitor to
the direct sun light.
Keep the monitor away from high
temperature, humidity, and dust.
■Operating environment
=0~35degrees Celsius
■Operating environment
=30~80relative humidity.
Do not lock the fan louvers.
There is the risk of fire or dam-
age to the monitor.
Use a proper voltage/current
level indicated
Do not clean the LCD with
a rasive chemicals.
There is the risk of damage to
the LCD.
Do not scratch and damage
the LCD with sharp o jects.
Keep the monitor away from
o jects and electrical appli-
ances that may generate elec-
tromagnetic fields.
Place the monitor on a flat, sta-
le surface. The monitor may
fall and there is the risk of
damage or injury
Unplug the power cord when
the monitor is not in use for a
prolonged period of time.
If you hear a noise or smell
smoke from the computer or
adaptor, unplug the power cord
immediately, and call the service
center. There is the risk of elec-
tric shock or fire.
Do not overload an electrical
outlet with too many devices.
There is the risk of fire.
Do not attempt to disassem le,
fix, or modify the monitor.
There is the risk of electric
shock or fire.
Caution :
The following information will help you avoid the risk of minor or moderate injury, or damage to the monitor.


