-2-
Introduction
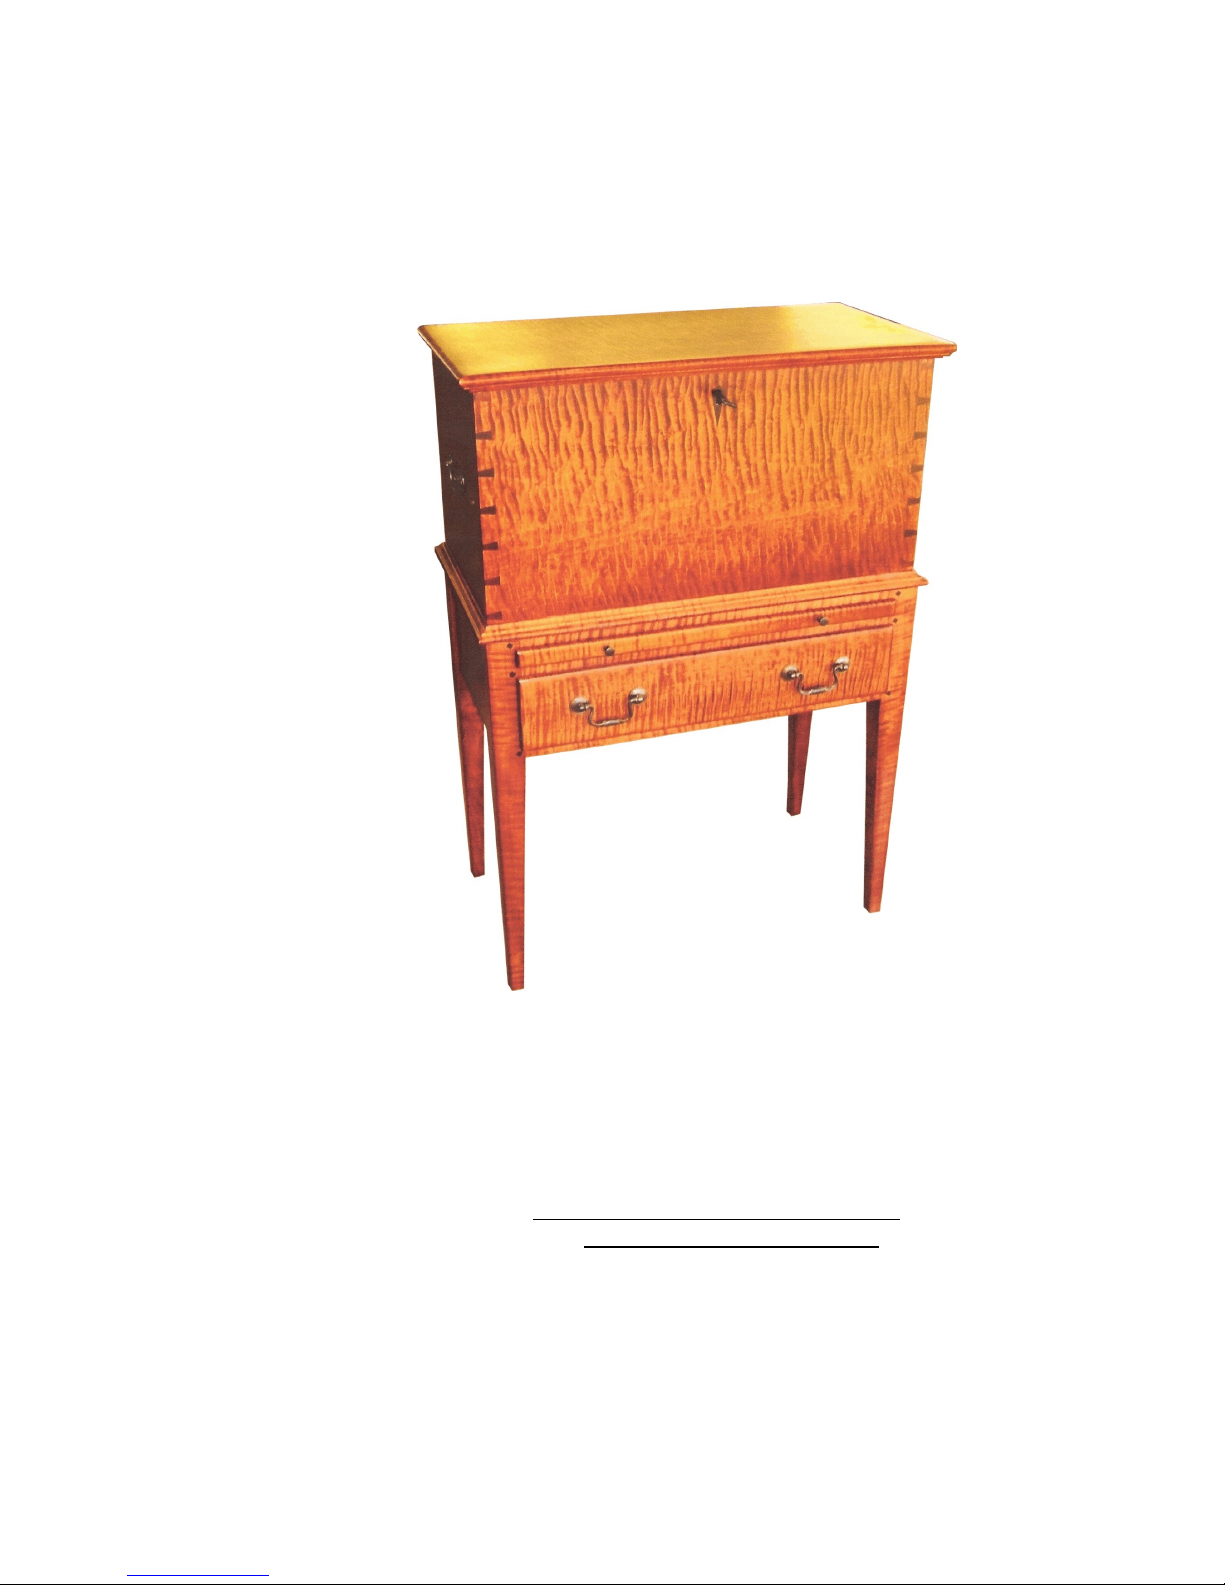
The sugar chest is a fun project that will provide you with an heirloom piece when
completed. This project book is a companion to our DVD, “In the Workshop with
Charles Neil - Crafting a Sugar Chest/Cellaret” and is not meant as a stand-alone book.
Having said that, after watching the DVD you will be able to use this manual to help you
retain what you saw in the DVD. It also gives you more in-depth reference material
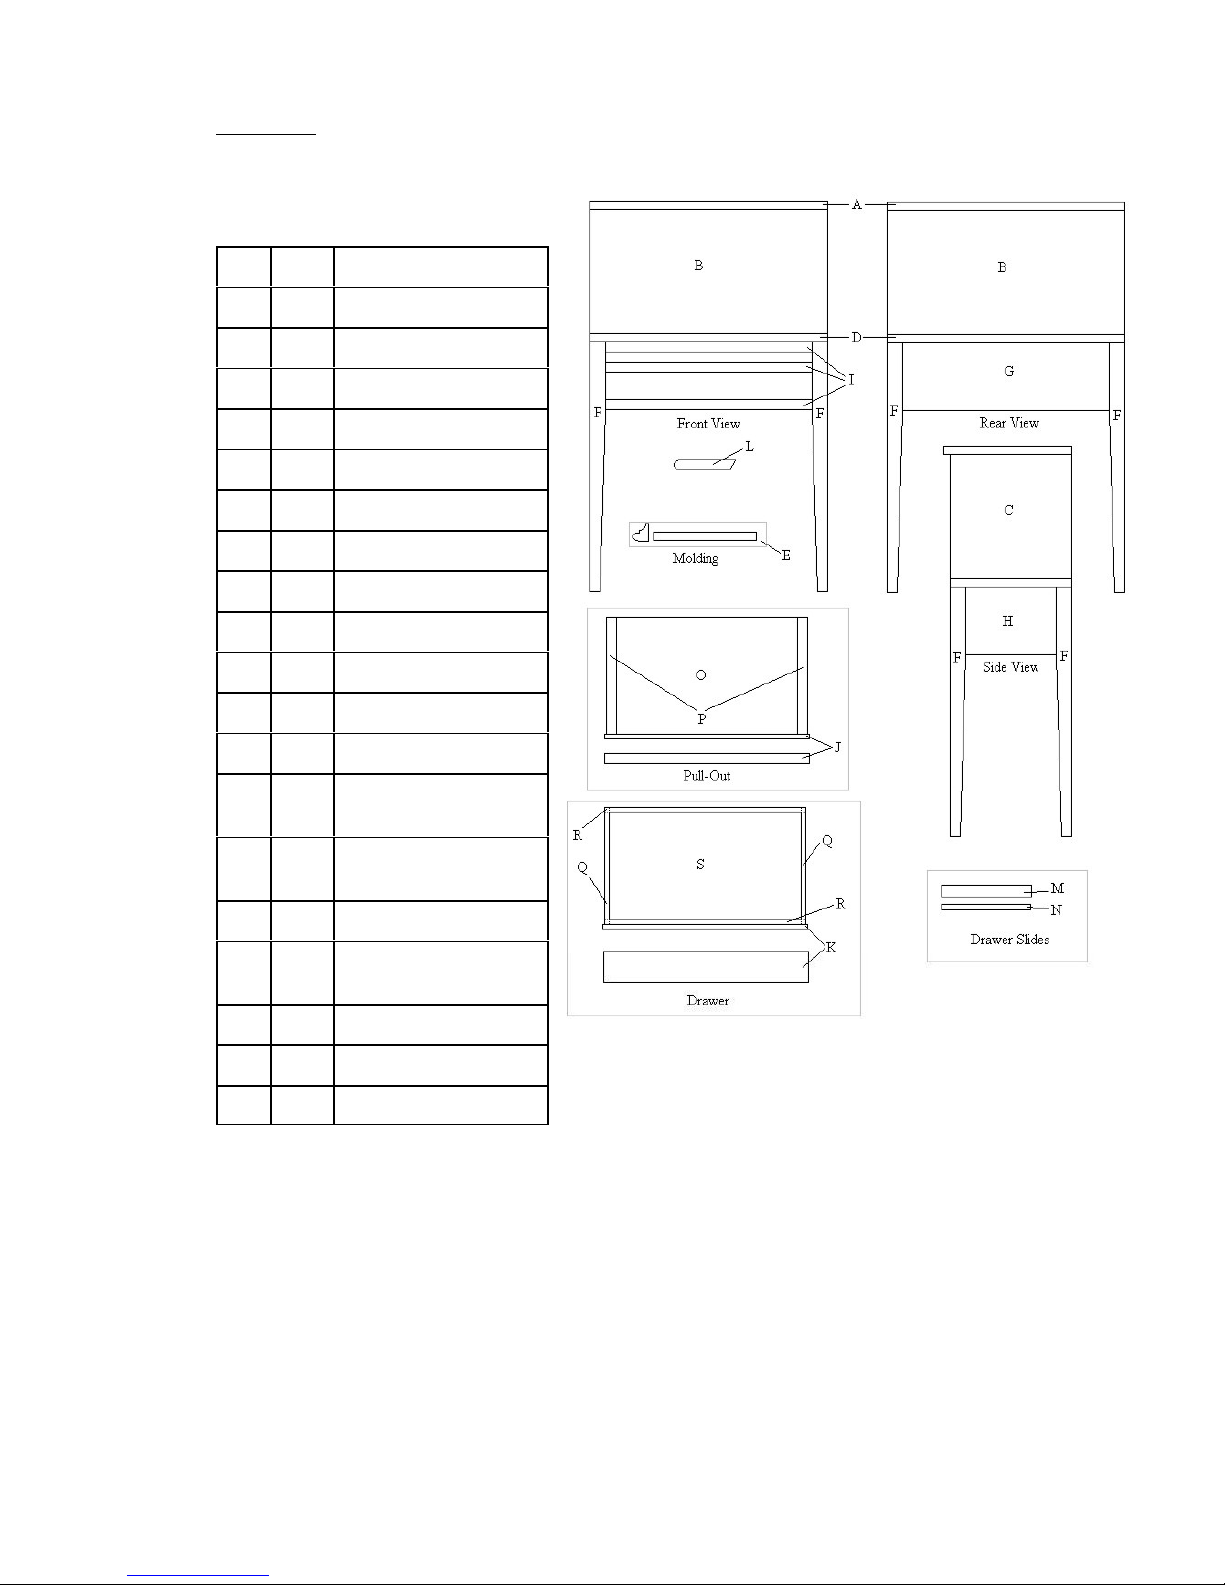
such as basic dimensions, line drawings, etc.
Sometimes in the course of building every day, there are little details that are very
important but sometimes come so naturally that we overlook including them in the
directions, that is why this manual and the DVD together make for great instruction.
Your furniture begins taking form from the moment you select your lumber at the mill.
There are several stages the piece goes through before becoming furniture.
1. The rough lumber stage.
2. The “parts and pieces” stage.
3. The construction stage.
4. The sanding stage, and lastly
5. The finishing stage.
The rough lumber stage is a stack of boards that have no real purpose except to the
woodworker. As you select your lumber at the mill, look for character and grain that
“speaks” to you, the maker. Look for things that make your piece one-of-a-kind. The
value of the piece is increased if you use as few glued-up panels as possible. You will
find that 10" and wider boards cost more than random width, but increases the value of
the finished piece tremendously. Using matched boards also will enhance the finished
piece.
The parts and pieces stage is exactly what it says, parts and pieces. During this stage
of your woodworking, you need to take time to grain and color match pieces that
integrate with each other, paying close attention at this stage will be evident in the end
result.
The construction stage is where you shine as a woodworker. It is very important that
you use traditional joinery, (it does matter whether you use a pegged mortise and tenon
joint or screws and plug the holes). Pay close attention to all details, such as flush (not
almost flush), square, so everything works together properly. If I’ve said it once I’ve
said it a thousand times, details count!
The sanding stage can ruin the piece that has been constructed beautifully if attention
is not paid to the details. Wood can only be sanded so smooth so you must take care
in sanding (not over-sanding) to insure that flat stays flat and details of construction are
not changed. You must sand out all scratches, planer snipes, etc. All sharp edges
must be toned down for finishing, not eliminated. Our DVD does not go into detail