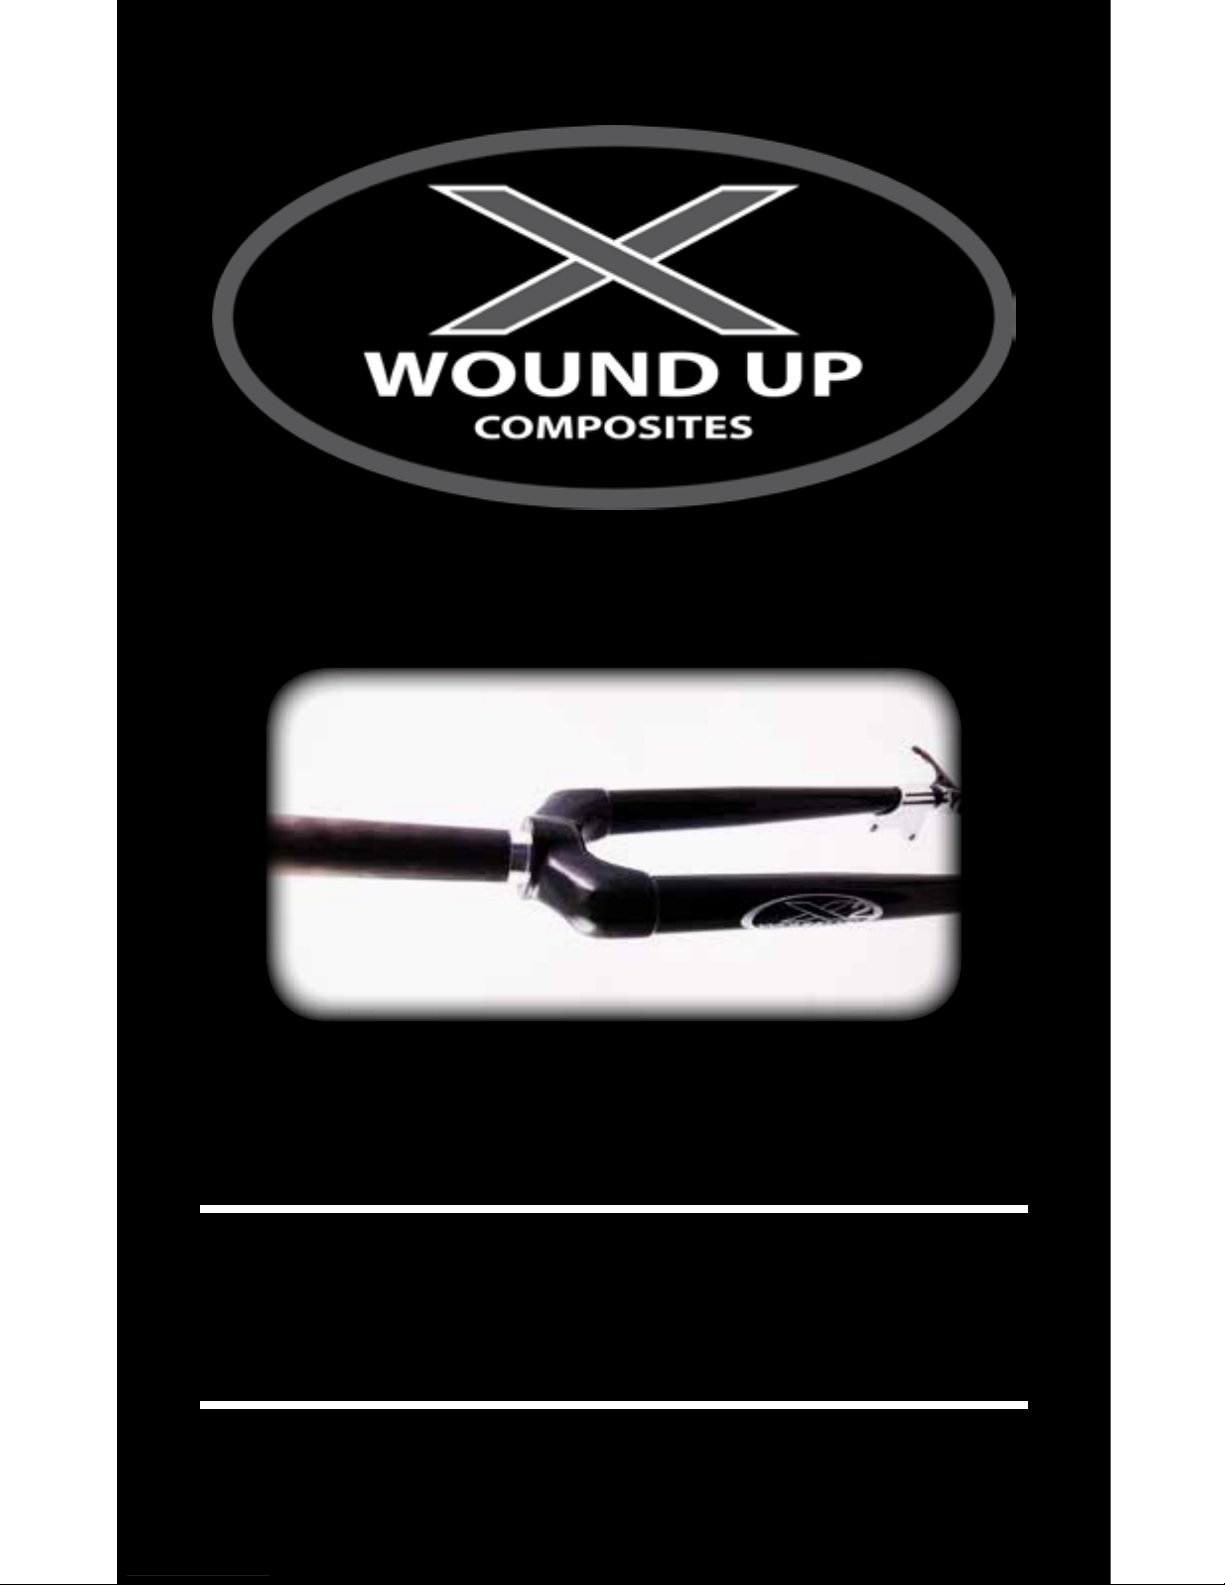
Wound-Up Composites Tandem Duo 2 Instruction manual

Owners Guide
with Installation Manual
www.woundupcomposites.com

Wound Up™
Composites
Contents
Welcome to Wound Up™!............................4
Rider Weight Limits..................................5
Intended Use of Fork .................................6
Necessary Tools .....................................7
Wound Up™Steerer Tube Diameters Are As Follows ......8
Tips for Installation ..................................9
Schematic 1: Overview - Upper .......................10
Schematic 2: Overview - Lower .......................11
Step 1: Install Crown Race ...........................12
Step 2: Measure/Mark Steerer Tube ....................14
Step 3: Prepare the Steerer Tube.......................16
Step 4: Cut the Steerer Tube ..........................18
Step 5a: Install the Star-Nut ..........................20
Step 5b: Install a Compression Plug....................22
Step 6: Installing the Fork ............................24
Step 7: Installing the Front Wheel .....................26
Step 8: Installing the Front Brake......................28
Final Inspection ....................................28
Care and Maintenance...............................30
Ongoing Inspections ................................32
Wound Up Composites Warranty .....................34
Professional Installation Rebate Oer ..................36


Wound Up™
Composites
4
Welcome to Wound Up™!
Thank you for purchasing a Wound Up™ carbon fork. You
have in your possession what we believe to be the best
fork you can put on your bicycle. In order to make sure
you get the most out of our fork it is imperative for your
fork to be installed correctly. Wound Up™ recommends
professional installation of your new fork by a trained
bike mechanic at your favorite local bike shop. They
will have likely installed countless forks for customers
and will quickly size up these requirements, have all
the proper equipment, and will also provide a thorough
inspection of the components as well as the installation.
Wound Up™ strongly supports local bike shops and their
certied mechanics. We will reimburse the original owner
of any new Wound Up™ fork purchase that is professionally
installed with a $50 (US) rebate to help cover the cost. See
the Professional Installation Rebate program details on pg.
36.
If you have any questions along the way feel free to
contact Wound Up™ at:
Phone: 801-467-1204
E-Mail: [email protected]

5
Rider Weight Limits
All Wound Up™ forks have a specic rider weight limit.
This weight includes the rider with all gear including,
backpacks, hydration systems, etc.
See below for each forks specic weight limit:
Road, Cyclocross, and light touring forks with 1” Steel
or 1-1/8” Carbon steerer tubes - 230lb Single Rider
Weight.
Duo and Duo 2 Tandem specic forks with Aluminum or
Carbon Crown and 1-1/8” Carbon steerer tube - 450lb
Combined Rider Weight.
NOTE: If you are a heavier rider, you may consider a Wound Up™ tandem
fork for your single rider bike. Please contact Wound Up™ Composites
prior to purchase.

Wound Up™
Composites
6
Intended Use of Fork
Each Wound Up™ fork model is intended to be used for a
specic condition. Road forks are for road bike use only,
tandem forks are for tandem bike use only, cyclocross
forks are for cyclocross bike use only, track forks are for
track bike use only and touring forks are for touring bike
use only. NOTE: Wound Up™ may, upon consultation
with customers, help make specic recommendations
for some forks’ use on another bike type based upon
receiving specic information from the rider and/or bike
shop concerning their needs. Please contact Wound Up™
Composites prior to purchase. Attentive riding is a must
to avoid pot holes, sewer grating, railroad tracks, road or
sidewalk construction and other obstructions that could
catch your front wheel and cause a severe impact to
the fork. Wound Up™ forks are not designed for stunts,
jumping or other overly aggressive riding especially if it
results in a crash. Riding a Wound Up™ fork in a manner
other than its intended use, constitutes misuse, which may
result in property damage, serious injury or death, and will
void all Wound Up™ warranties. If you are unsure which
fork to use, contact your local bike shop or Wound Up™
Composites.

7
Necessary Tools
To start installation you will need to make sure you have
the following tools. Additional tools may be necessary
depending on other components being installed (i.e. stem,
brakes, etc.):
• Crown race tool
• Hacksaw with ne-tooth blade (32 TPI)
• Steerer tube cutting guide (aka saw guide)
• Star nut setting tool
• Assembly grease (ex. Park Tools Polylube)
• Masking tape
• Standard pencil
• Isopropyl alcohol
• Clean rag
• Fine grit sandpaper
• Compression plug assembly (supplied by
Wound Up™for applicable forks)
• Star-Nut (supplied by Wound Up™for applicable forks)
• Metal hammer
• 5mm and 6mm Allen wrench (others may be
necessary depending on components used)
• Bicycle work stand
• Calibrated torque wrench
• Metric measuring tape

Wound Up™
Composites
8
Before Installation
Every good relationship starts with compatibility, and your
bike is no dierent. In order for your Wound Up™ fork to
work with your bicycle it is critical that your frame, fork,
headset, and stem are all compatible with each other.
Wound Up™ steerer tube diameters are as follows:
• 1 inch steel
- 22.2 upper 26.4mm race
• 1-1/8 inch carbon
- 28.6 upper 30.0mm race
• 1-1/2 inch tapered
- 28.6 upper 40.0mm race

9
Tips for Installation
Installation of components is one of the most important
jobs to pay attention to when working on a bicycle. To
make sure components are installed correctly please follow
the following tips.
• Check component specications to make
sure all components are compatible with
each other prior to installation.
• Set up a clean work space free of clutter.
• Prepare all necessary tools and
supplies prior to installation.
• Carefully read all instructions before
and during installation.
• Apply assembly grease to headset bearings
and any mating parts to prevent creaking.
• Do not rush or hurry installation.
• Double check work after completing installation.
• Do not perform any installation, inspection,
or repairs while distracted or impaired.

Wound Up™
Composites
10
Schematic 1: Overview - Upper
TOP CAP BOLT
TOP CAP
STEM BOLT
STEM
HEADSET SPACER
(MAY BE DIFFERENT THAN SHOWN)
HEADSET SPACER
(MAY BE DIFFERENT THAN SHOWN)
HEADSET COVER
HEADSET WEDGE
UPPER HEADSET BEARING
HEAD TUBE
LOWER HEADSET BEARING
CROWN RACE
STEERER TUBE
CROWN
FORK LEG
DROPOUT
STEM BOLT

11
TOP CAP BOLT
TOP CAP
STEM BOLT
STEM
HEADSET SPACER
(MAY BE DIFFERENT THAN SHOWN)
HEADSET SPACER
(MAY BE DIFFERENT THAN SHOWN)
HEADSET COVER
HEADSET WEDGE
UPPER HEADSET BEARING
HEAD TUBE
LOWER HEADSET BEARING
CROWN RACE
STEERER TUBE
CROWN
FORK LEG
DROPOUT
STEM BOLT
Schematic 2: Overview - Lower

Wound Up™
Composites
12
Step 1: Install Crown Race
First, you will need to install the Crown Race onto the
steerer tube. Clean both the steerer tube and race with a
clean rag and isopropyl alcohol to remove any oils left over
from the manufacturing process.
Next, place the Crown Race onto the steerer tube per the
manufacturer’s recommendations.
Finally, hold one leg of the fork with one hand, and grasp
the Crown Race Tool with the other hand, and drive the
race onto the steerer tube until it seats against the crown.
See Figure 1.
IMPORTANT: You will need to use a Crown Race Tool to install this
part. If you do not have one, call your local bike shop for more details/
information. If you need extra help, please consider professional
installation of your fork.

13
CROWN RACE TOOL
CROWN RACE
FORK CROWN
DRIVE CROWN RACE
ONTO FORK CROWN
Figure 1: Crown Race Tool

Wound Up™
Composites
14
Step 2: Measure/Mark Steerer Tube
Install the lower headset bearing onto the steerer tube.
Refer to Schematic 1 or the installation manual for the
headset if unsure.
Slide the fork into the head tube of the bicycle, and install
the upper headset bearing, wedge, cover, any necessary
headset spacers (44mm/1.73in Max), and the stem. Refer
to Schematic 1 or the installation manual for the headset
if unsure.
Lightly tighten the steerer tube clamp bolts on the stem to
hold the assembly in place.
Using a pencil, mark around the steerer tube where it
extends through the stem. See Figure 2.

15
Figure 2: Mark Steerer Tube

Wound Up™
Composites
16
Step 3: Prepare the Steerer Tube
Remove the stem, fork, and headset assembly created in
Step 2.
Find the pencil mark created in Step 2.
Wrap a strip of masking tape around the steerer tube 3mm
(maximum) below the pencil mark. The edge of this tape,
marks the cut location for the steerer tube and will also
prevent bers from peeling while cutting the steerer tube.
See Figure 3.

17
Figure 3: Prepare Steerer Tube

Wound Up™
Composites
18
Step 4: Cut the Steerer Tube
Using a steerer tube cutting guide (saw guide), cut the
excess steerer tube material o at the top edge of the
masking tape applied in Step 3. See Figure 4.
Once the steerer tube is cut, remove the fork from the saw
guide and lightly sand the edges of the cut to remove any
loose bers or sharp edges.
Clean any carbon dust from the steerer tube using a clean
rag and isopropyl alcohol.
Warning: Do not clamp any portion of the fork in a
vice. This can cause damage to the fork leading to
premature failure, and subsequent injury or death.

19
HACKSAW WITH
FINE TOOTH BLADE
STEERER TUBE
CUTTING GUIDE
STEERER TUBE
Figure 4: General Overview

Wound Up™
Composites
20
Step 5a: Install the Star-Nut
If you are installing a fork that is a 1” steel steerer tube
or a 1-1/8” carbon steerer tube with an aluminum sleeve
in the steerer tube, install the provided star-nut. For full
carbon steerer tube (Duo or Tapered Steerer Tube), refer
to Step 5b.
Warning: Do not use a compression plug in place of a
star-nut.
Lightly clamp the steerer tube of the fork in a bicycle work
stand. Using an appropriate Star-Nut Setting tool, thread
the star-nut onto the Setting tool. Hold the setting tool and
star-nut assembly tight against the top of the steerer tube
with one hand. With the other hand, use a hammer to seat
the star-nut into the steerer tube. See Figure 5.
Make sure the star-nut is seated at least 15mm below the
top of the steerer tube. Remove the Star-Nut Setting tool.
WARNING FOR DUO 2 AND TAPERED STEERER TUBES: Do not use a
star-nut with these carbon steerer tubes. This will damage the bers, and
can cause failure of the steerer tube.
This manual suits for next models
1
Table of contents