manuals.online logo
Brands
  1. Home
  2. •
  3. Brands
  4. •
  5. Xantech
  6. •
  7. Extender
  8. •
  9. Xantech D5SH User manual

Xantech D5SH User manual

Start Here
3
4
5
6
7
Connect Audio Sources To D5SH – Options
Connect D5KP Keypad to D5SH Digital Distribution Hub.
Connect D5IP Input Plate to D5SH Digital Distribution Hub.
Turn On and Start All Connected Audio Sources
Turn On All Zone Keypads (Front of D5KP – "PWR" button)
Verify Audio for Each Source
Ramp volume up to the halfway point.
Starting with Source 1, select each source and verify that audio is present through the
room speakers.
If Necessary,Adjust Source Input Gain for Analog Source Inputs
Connect Power to the Digital Distribution System
A– Digital Coax Setup
B– Digital Optical Setup
C– Analog Setup
There are two reasons that the Source Input Gain DIP switches may need to be adjusted:
The volume levels of analog source inputs are high adjust the
DIP switches up or down to boost or cut input level
A- Connect AC power cord to the D5PS
Power Supply.
B- Connect the 24 VDC power cord from
the D5PS Power Supply to the D5SH
Digital Distribution Hub.
If there is noticeable distortion (clipping) coming from analog
source, even at low volume levels - check the clip indicators on
the front of the D5IP to verify clipping and ip the DIP switch to
the down (default) position
1
For audio sources with
a digital coax output,
connect the digital coax
output to the D5IP
Digital Coax Input with
a coaxial cable.
D5IP
Front
D5IP
Front
D5IP
Front
Digital
Coax
Cable
D– Connect & Mount IR Emitters
Connect the 3.5 mm plug of
each IR emitter into the
“IR OUT” on the D5IP.
Place the IR Emitter head
onto the source equipment
connected to the respective
D5IP.
D5IP
Front
IR Emitter
CD
Audio Source
Coax Output
Set switch
to the "COAX"
position.
For audio sources with
a digital optical output,
connect the digital optical
output to the D5IP
Digital Optical Input
with a optical cable.
Digital
Optical
Cable
Audio Source
Digital Optical
Output
Set switch
to the "OPT"
position.
For audio sources with
an analog audio output,
connect the analog
output to the D5IP
RCA Input with a stereo
RCA cable.
Stereo RCA
Patch Cable
Audio Source
Analog Output
Set switch
to the "RCA"
position.
D5PS
D5SH
Determine the best location for the D5SH and all audio source equipment
(CD player, radio tuner, iPod®, etc.)
Run a Cat5 wire from each room (Zone) Keypad location to the D5SH
Run speaker wiring (16 gauge is recommended) from each Keypad location to
the corresponding speakers located in each room
Be sure to label all wires for easy identication
Connect D5KP Keypads
NOTE:
For maximum audio performance over
long wiring distances (over 150ft) an
additional 16 gauge, 2 conductor wire
is recommend for extra power.
For all zones requiring extra power,
connect the "24 VDC POWER OUT” of
the D5SH to the “POWER IN” of the D5KP.
For more information, consult the D5SH
manual.
D5KP Rear D5SH
Connect Speakers To D5KP Keypads
Strip approximately 1/4" of insulation
from both ends of all speaker wiring.
Twist the exposed end of the wire to
ensure no loose strands remain.
Connect the positive speaker wire to
the positive input of the speaker and
negative speaker wire to each negative
input of each speaker.
1/4"
Speaker Connector
16AWG
Speaker Wire
To Speakers
D5KP Rear
Digital Distribution System
Quick Start Guide
Digital Distribution System
Quick Start Guide
A– Terminate RJ-45 Plugs and Connect to “SYSTEM PORT” (D5KP side)
Using a Cat-5
cable stripper,
remove about
1 - 1/2" of the
jacket as shown
above.
1 1/2"
1/2"
1 2 3 4 5 6 7 8 1 2 3 4 5 6 7 8
Green/White
Orange/White
Blue/White
Brown/White
Green
Blue
Orange
Brown
Untwist the twist-
ed pair wires and
arrange them in
the order shown
above.
Press all wires
at between your
thumb and index
ngers and cut
the wires so they
are 1/2" long as
shown above.
Insert the ar-
ranged wires into
the RJ-45 plug
as shown above.
The locking tab
is facing down in
this view.
Finally, crimp the
connector using
a standard RJ-45
crimping tool.
If a local audio source is desired,
such as an iPod® a D5IP Source
Input Wall Plate is required.
Terminate RJ-45 plugs on each end
of the C at5 as shown in step 1A
.
Connect the "local port" of the D5KP
to the RJ-45 input of the D5IP.
Connect the audio source to the
D5IP.
For more information consult your
D5IP manual.
LOCAL PO RT
D5KP Rear
D5IP
Sideview
Cat5
13100 Telfair Ave. Sylmar CA 91342 I 818.362.0353 I xantech.com
iPod is a registered trademark of Apple Computer, Inc. All other marks are registered trademarks and trademarks of
Xantech Corporation. All rights reserved.
This document is copyright protected. No part of this manual may be copied or reproduced in any form without prior
written consent from Xantech Corporation. Xantech Corporation shall not be liable for operational, technical, or editorial
errors/omissions made in this document. Instructions, Quick Start, D5SH, D5SH4 © 2008 Xantech Corporation Document # 08905182 REV. A
24VDC
B - Terminate 110 Punch-down from D5KP.
Using a Cat-5
cable stripper,
remove about
2-3” of the jacket.
Align the wires
to the color coded
110-Punch-down.
Blue/ White is the rst
wire to be installed.
Terminate the wires
by using a Punch-
down tool.
Cat5
Cable
Stipper
2"
This setup guide is intended for the D5SH and D5SH4 wall-mount Digital Distribution
System. The D5SH is a single source distribution hub, the D5SH4 is a four source
distribution hub. Each D5SH or D5SH4 requires one D5PS power supply. For ease of
reading, the distribution hub will be referred to as the model D5SH.
2
Terminate RJ-45 Plugs and Connect to D5IP
Terminate 110 Punch-down from D5IP.
Continue Here
HD44CC5 4x4 HD SWITCHER: 4 Sources to 4 Displays with CAT5
4x4 HD SWITCHER: 4 Sources to 4 Displays with CAT5
The HD44CC5 High Denation Component Video Matrix Switcher allows
high denition 1080i video and digital audio to be sent up to 1000 feet over
CAT5 cable with virtually no loss in signal quality.
Features
Features
Features
Features
Four-Source, Four-Zone High Denition matrix video switcher with SD video capability.
COMPONENTS AND
ACCESSORIES
SHEET
COMPONENTS AND
ACCESSORIES
SHEET
13100 Telfair Ave. Sylmar CA 91342 I 818.362.0353 I xantech.com
iPod is a registered trademark of Apple Computer, Inc. All other marks are registered trademarks and trademarks of
Xantech Corporation. All rights reserved.
This document is copyright protected. No part of this manual may be copied or reproduced in any form without prior
written consent from Xantech Corporation. Xantech Corporation shall not be liable for operational, technical, or editorial
errors/omissions made in this document.
D5LR
XTC XTC Series
XTC Series
XOD Speaker Series
XOD Speaker Series
XOD
Order: HD44CC5
Order: HD44CC5
Order: D5LR
Order: D5LR
Order: XIS100
Order: XIS100
Advanced Learning Remote
iPod Solution
iPod Solution
Intergrate your iPod into any Multi-room or home entertainment system.
XIS100
Bueted component video loop-through and serial port expansion capability allow expansion
up to 16 zones of total distribution.
Component video inputs and S/PDIF digital audio inputs for each source component
4 Coaxial Component video + S/PDIF digital audio outputs for each source component.
Four RJ45 outputs for HD video and digital audio distribution up to 1000 feet over CAT5
Coaxial component video output and RJ45 output active simultaneously.
Controllable through IR (RC68X) and RS232 commands.
Hand-held remote control
Programmable four source
Pre-programmed with DIGI-5 controls
Compatible with all major components
Dedicated DIGI-5 volume and source controls
3 IR macro function buttons
Bandwidth supports resolutions of 1080i, 720p, 480p, 480i.
On-TV Menu display for easy music and video menu navigation.
High-resolution Component Video output 480P
Displays full artist/song tittle and albulm art information during song playback
Compatible with iPod Nano (1-3G), iPod (5G/5.5 G), iPod Classic and iPod Touch
Choose from six dierent on-screen color themes
Support for Touch Panel Control
Multi-language compatible: English, Japanese, French, Spanish, Italian, Dutch,
German and Russian
Enjoy you iPod collection while simultaneously docked and charging
Floating screen saver that provides “now playing” and album art information
DB9 RS232 /422 Connector
Power supply included\Includes 15 Button remote
XTC series loudspeakers are the result of
Xantech’s commitment to build the best
speakers possible. Xantech engineers
coupled high performance design with high
performance structural materials and
electronic components.
The XOD series features a weather resistant
construction. The acoustic suspension speaker
housing is further enhanced with UV resistant
stabilizers to prevent yellowing. A rust-proof
aluminum grill is securely attached with
commercial-grade adhesives to protech the
audio drivers during the harshest elements.
Features
Features
soundPATH™
MDF baes and FIM binding posts
XTC Speakers deliver clear, uncompromised sound
Features
Features

Other manuals for D5SH

1

This manual suits for next models

1

Other Xantech Extender manuals

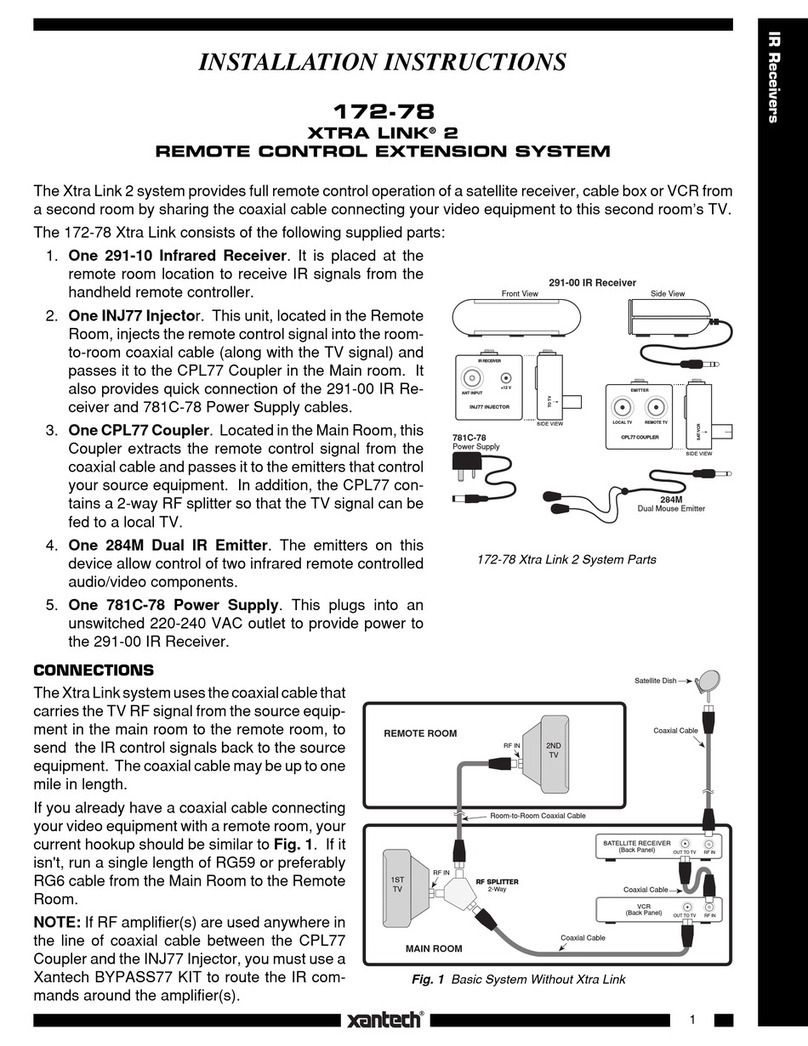
Xantech 796-20 User manual

Xantech

Xantech 796-20 User manual

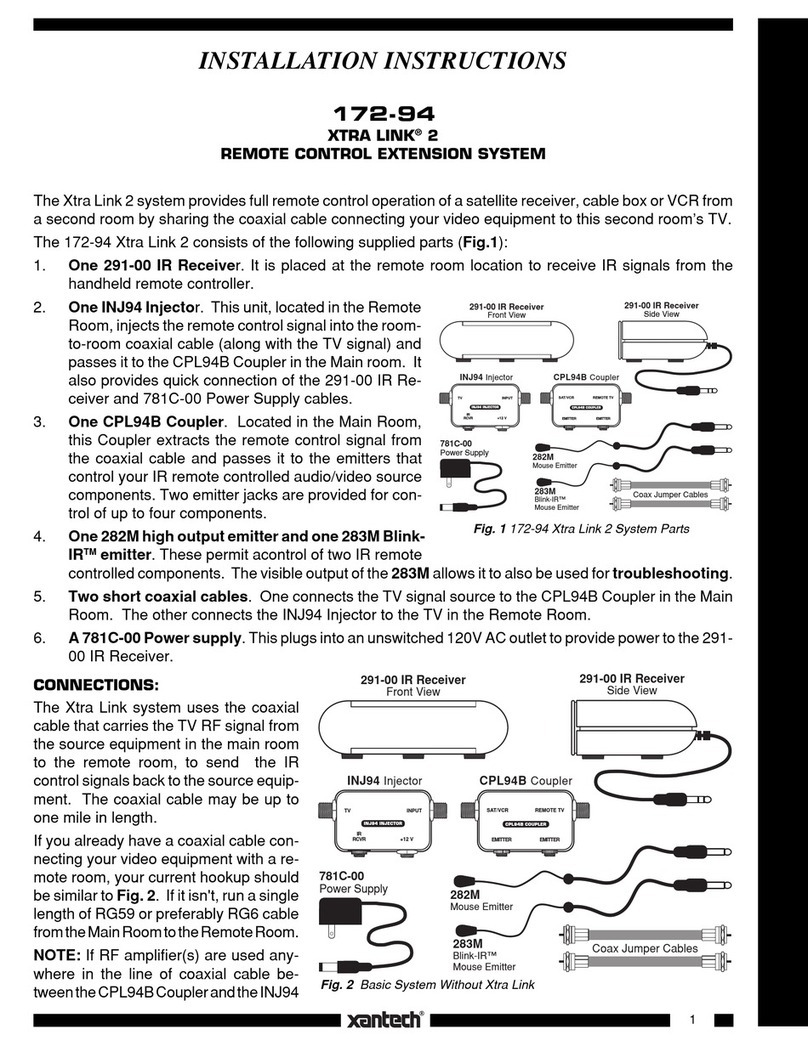
Xantech 172-94 User manual

Xantech

Xantech 172-94 User manual

Xantech COMPAUDEXT User manual

Xantech

Xantech COMPAUDEXT User manual

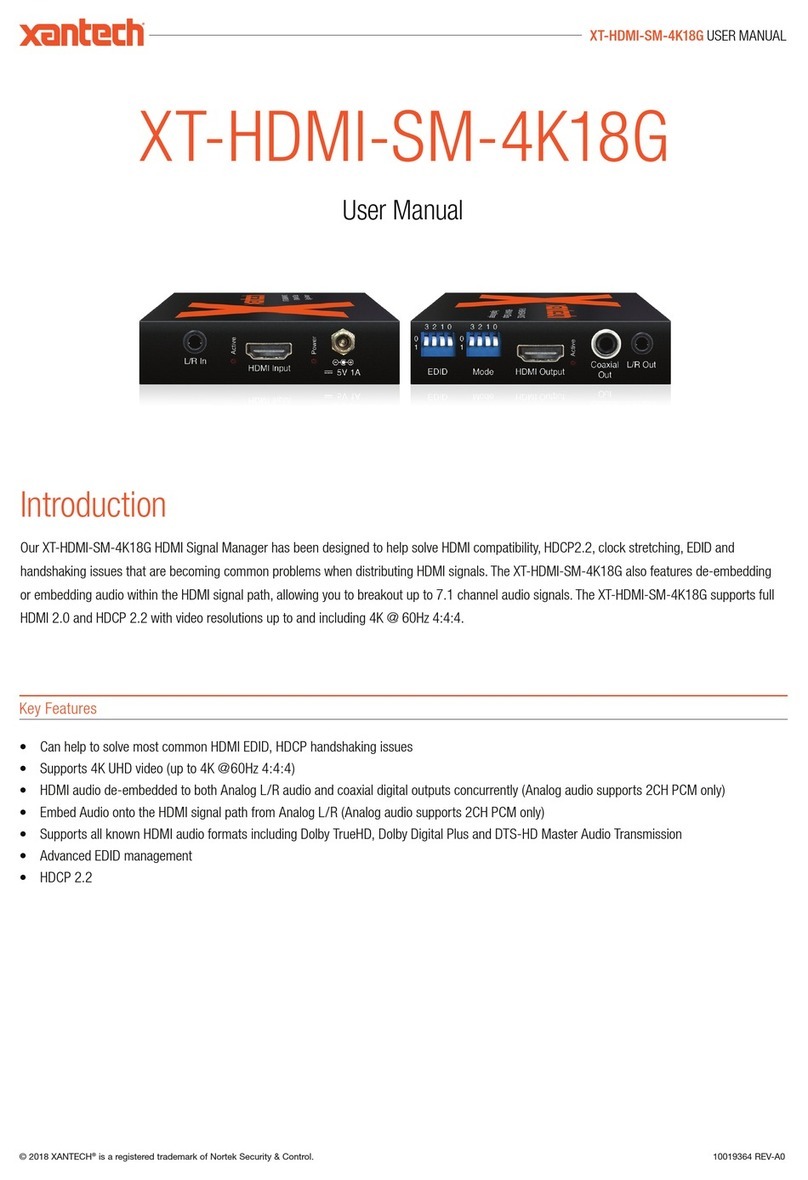
Xantech XT-HDMI-SM-4K18G User manual

Xantech

Xantech XT-HDMI-SM-4K18G User manual

Xantech 172-78 User manual

Xantech

Xantech 172-78 User manual

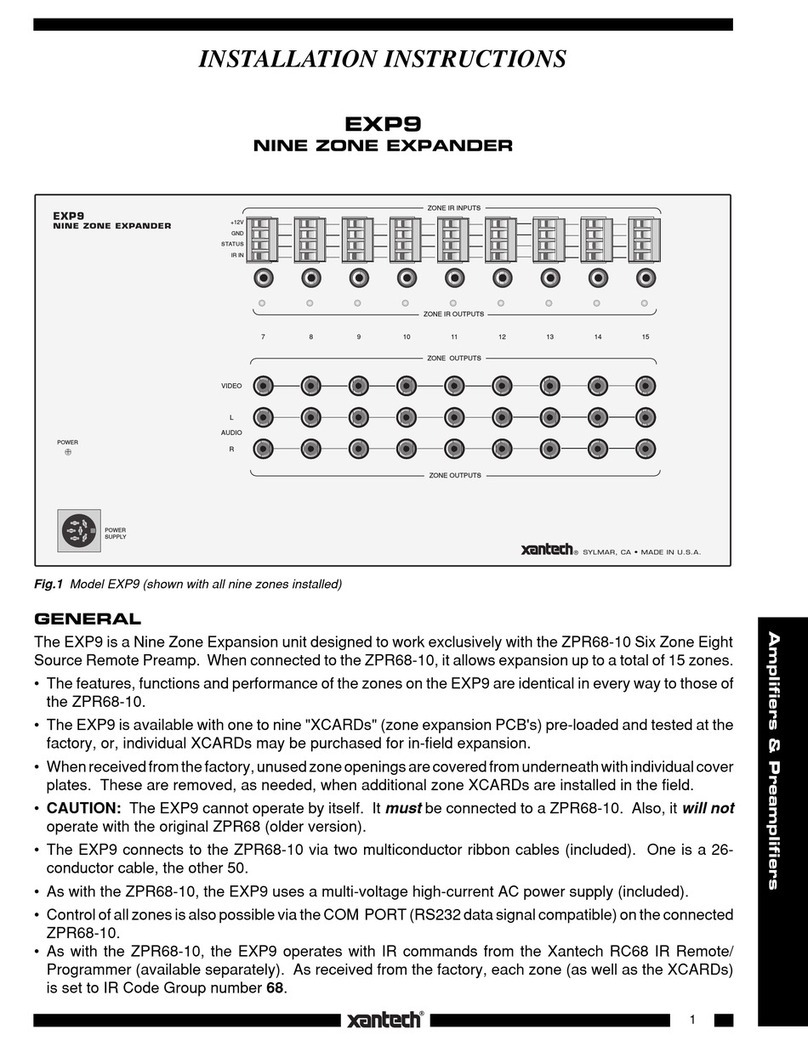
Xantech EXP9 User manual

Xantech

Xantech EXP9 User manual

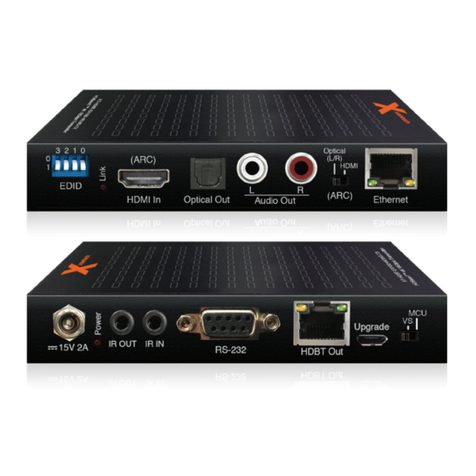
Xantech XT-HDBT-EX100-4K18G-KIT User manual

Xantech

Xantech XT-HDBT-EX100-4K18G-KIT User manual

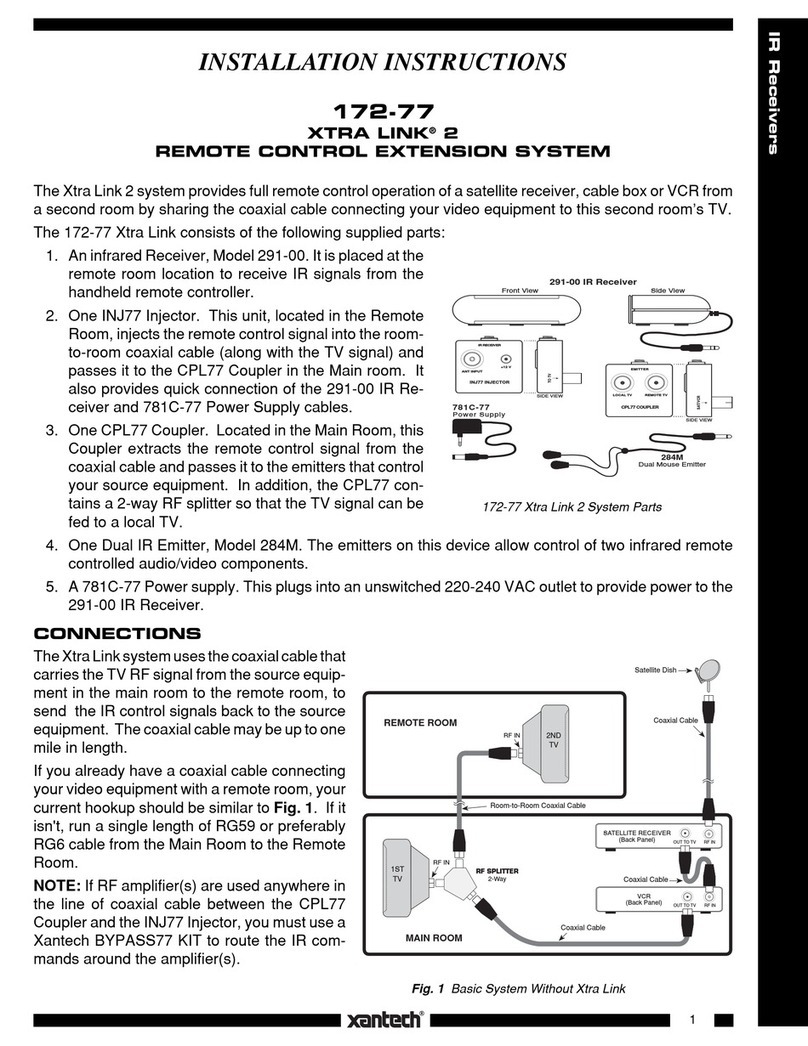
Xantech 172-77 User manual

Xantech

Xantech 172-77 User manual

Xantech HDMIEXTEND User manual

Xantech

Xantech HDMIEXTEND User manual

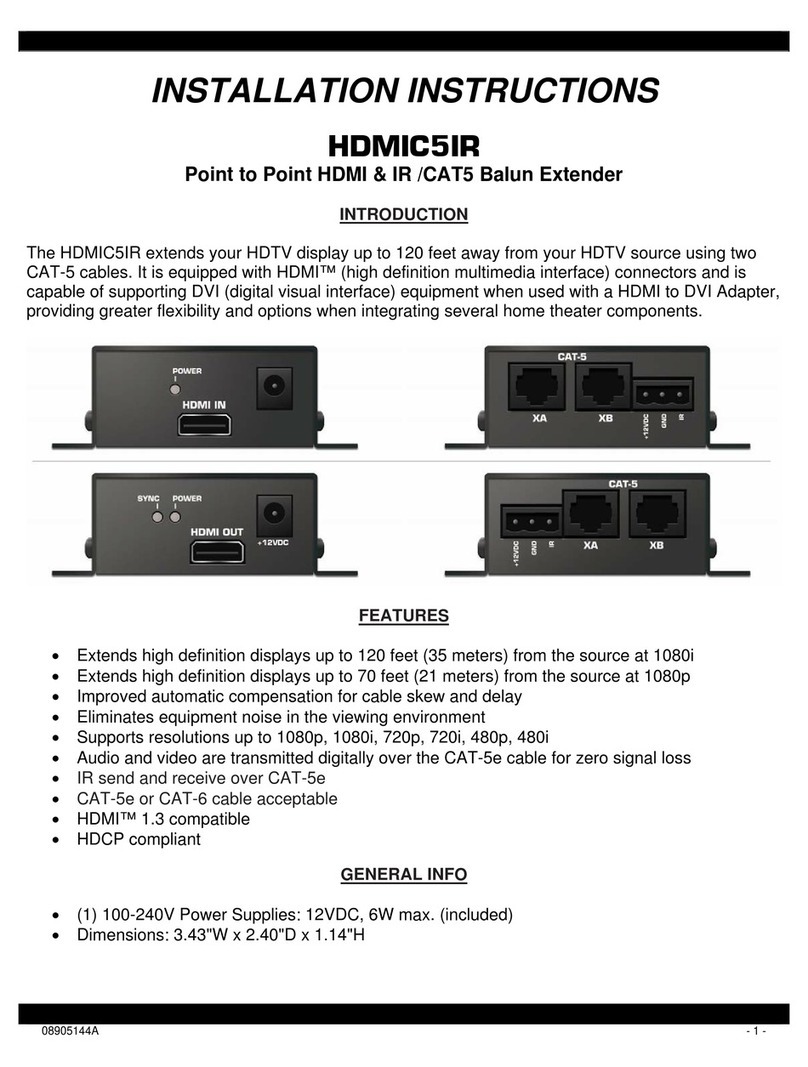
Xantech HDMIC5IR User manual

Xantech

Xantech HDMIC5IR User manual

Popular Extender manuals by other brands

Rebelcell DC-charger 12.6V13A user manual

Rebelcell

Rebelcell DC-charger 12.6V13A user manual

Grundfos Hydro Multi-E Series Installation and operating instructions

Grundfos

Grundfos Hydro Multi-E Series Installation and operating instructions

Extron electronics FOXBOX Tx HDMI user guide

Extron electronics

Extron electronics FOXBOX Tx HDMI user guide

HiBoost 4K Smart Link user manual

HiBoost

HiBoost 4K Smart Link user manual

Simplified MFG EXUSB2.0 user manual

Simplified MFG

Simplified MFG EXUSB2.0 user manual

DirekTronik M5-2000 user manual

DirekTronik

DirekTronik M5-2000 user manual

Steren BOS-950 instruction manual

Steren

Steren BOS-950 instruction manual

Alcorn Mcbride Input Expander user guide

Alcorn Mcbride

Alcorn Mcbride Input Expander user guide

TP-Link TL-WA854RE Quick installation guide

TP-Link

TP-Link TL-WA854RE Quick installation guide

Gefen ex-tend-it CAT5-1000 user manual

Gefen

Gefen ex-tend-it CAT5-1000 user manual

StarTech.com 110VDSLEXT user manual

StarTech.com

StarTech.com 110VDSLEXT user manual

Gefen EXT-HDMI1.3-141SBP user manual

Gefen

Gefen EXT-HDMI1.3-141SBP user manual

Gefen EXT-USB-MINI2 user manual

Gefen

Gefen EXT-USB-MINI2 user manual

Boxfish 360 quick start guide

Boxfish

Boxfish 360 quick start guide

Hall Research Technologies EXHD-RG6 user manual

Hall Research Technologies

Hall Research Technologies EXHD-RG6 user manual

National Instruments FieldPoint installation guide

National Instruments

National Instruments FieldPoint installation guide

Kramer PT-2H installation instructions

Kramer

Kramer PT-2H installation instructions

Amit IDG700-0TP23 user manual

Amit

Amit IDG700-0TP23 user manual

manuals.online logo
manuals.online logoBrands
  • About & Mission
  • Contact us
  • Privacy Policy
  • Terms and Conditions

Copyright 2025 Manuals.Online. All Rights Reserved.