XONTEL XT-30G User manual

Smart Video Phone XonTel XT-30G
User Guide

Please read the following safety notices before installing or using this phone. They are
crucial for the safe and reliable operation of the device.
Please use the external power supply that is included in the package. Otherpower
supplies may cause damage to the phone, affect the behavior or induce noise.
Before using the external power supply in the package, please check with home power
voltage. Inaccurate power voltage may cause fire and damage.
Please do not damage the power cord. If power cord or plug is impaired, do not use it,it
may cause fire or electric shock.
The plug-socket combination must be accessible at all times because it serves as the
main disconnecting device.
Do not drop, knock or shake it. Rough handling can break internal circuit boards.
Do not install the device in places where there is direct sunlight. Also do not putthe
device on carpets or cushions. It may cause fire or break down.
Avoid exposure the phone to high temperature, below 0℃ or high humidity.Avoid wetting
the unit with any liquid.
Do not attempt to open it. Non-expert handling of the device could damage it. Consult
your authorized dealer for help, or else it may cause fire, electric shock and breakdown.
Do not use harsh chemicals, cleaning solvents, or strong detergents to clean it. Wipe it
with a soft cloth that has been slightly dampened in a mild soap and water solution.
When lightning, do not touch power plug or phone line, it may cause an electric shock.
Do not install this phone in an ill-ventilated place.
You are in a situation that could cause bodily injury. Before you work on any equipment,
be aware of the hazards involved with electrical circuitry and be familiar with standard
practices for preventing accidents.

Introduction ................................................................................................................................................................5
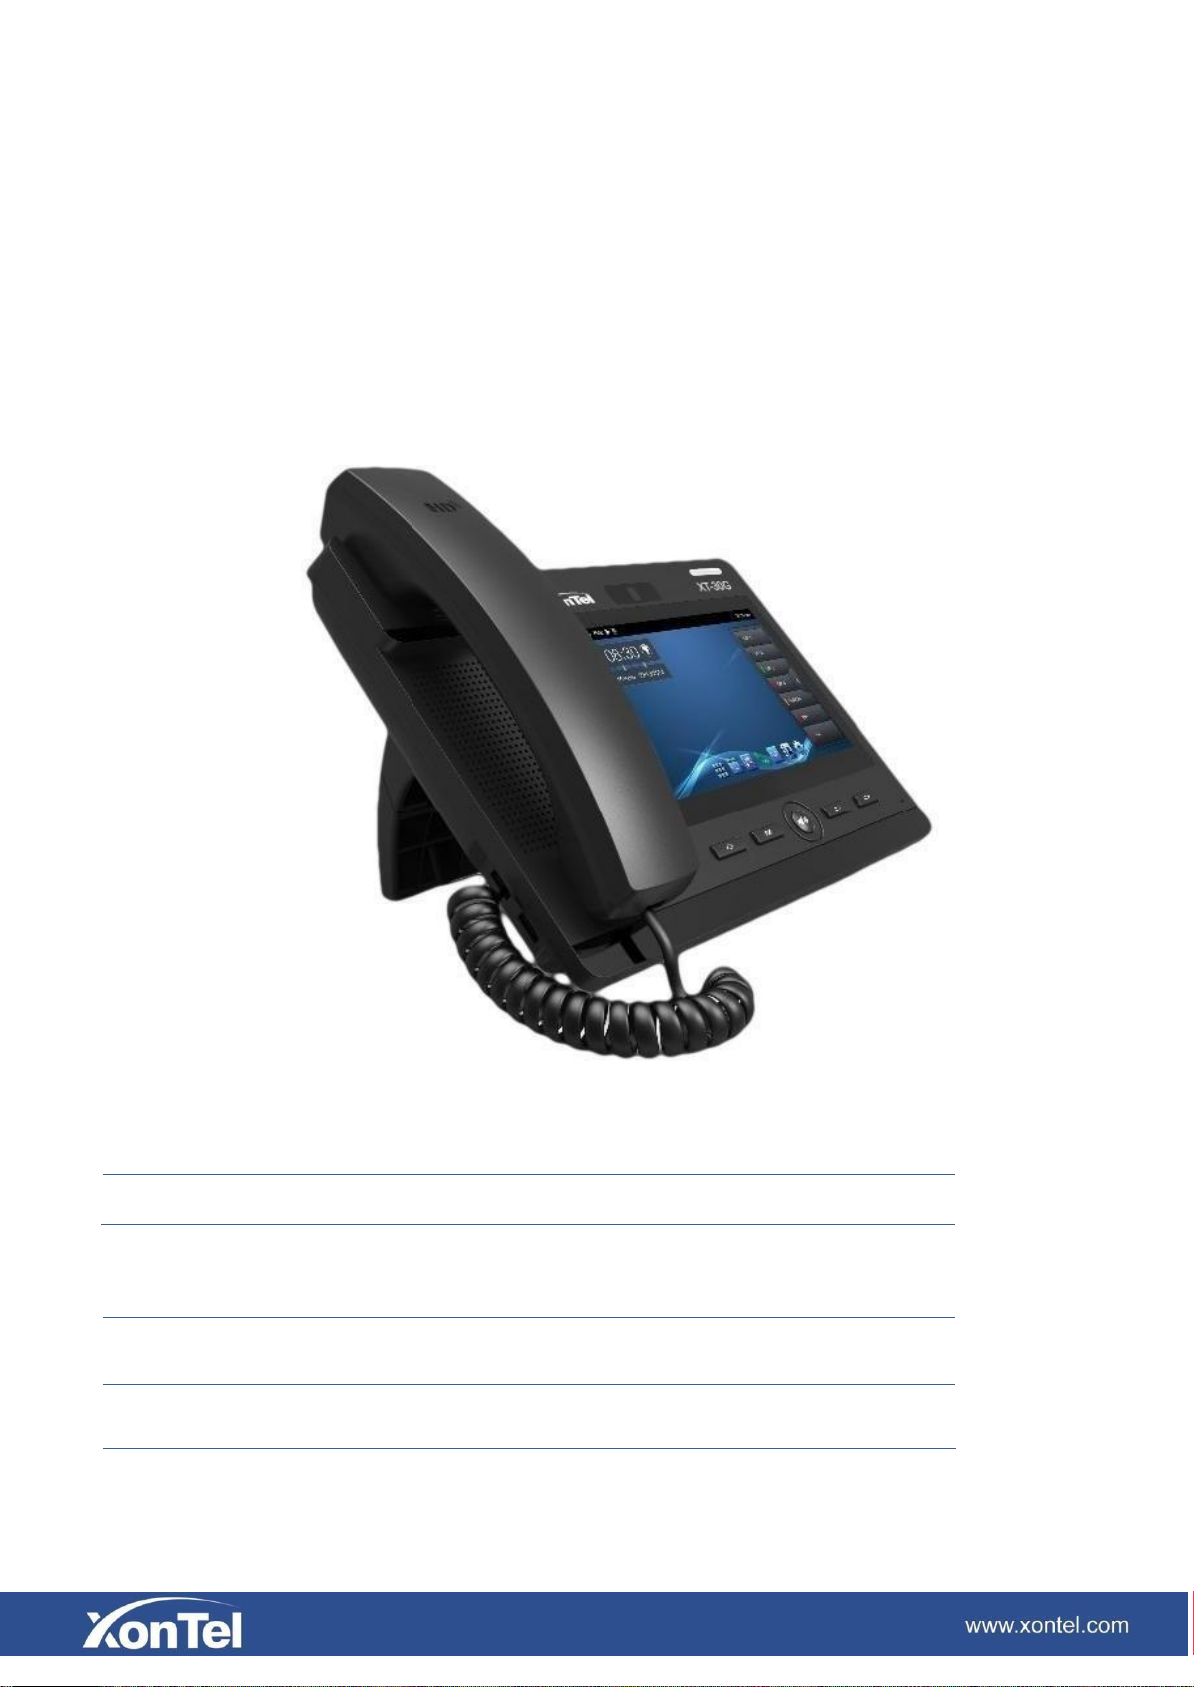
Smart Video Phone XonTel XT-30G Overview.........................................................................................................5
Phone components description ...................................................................................................................................6
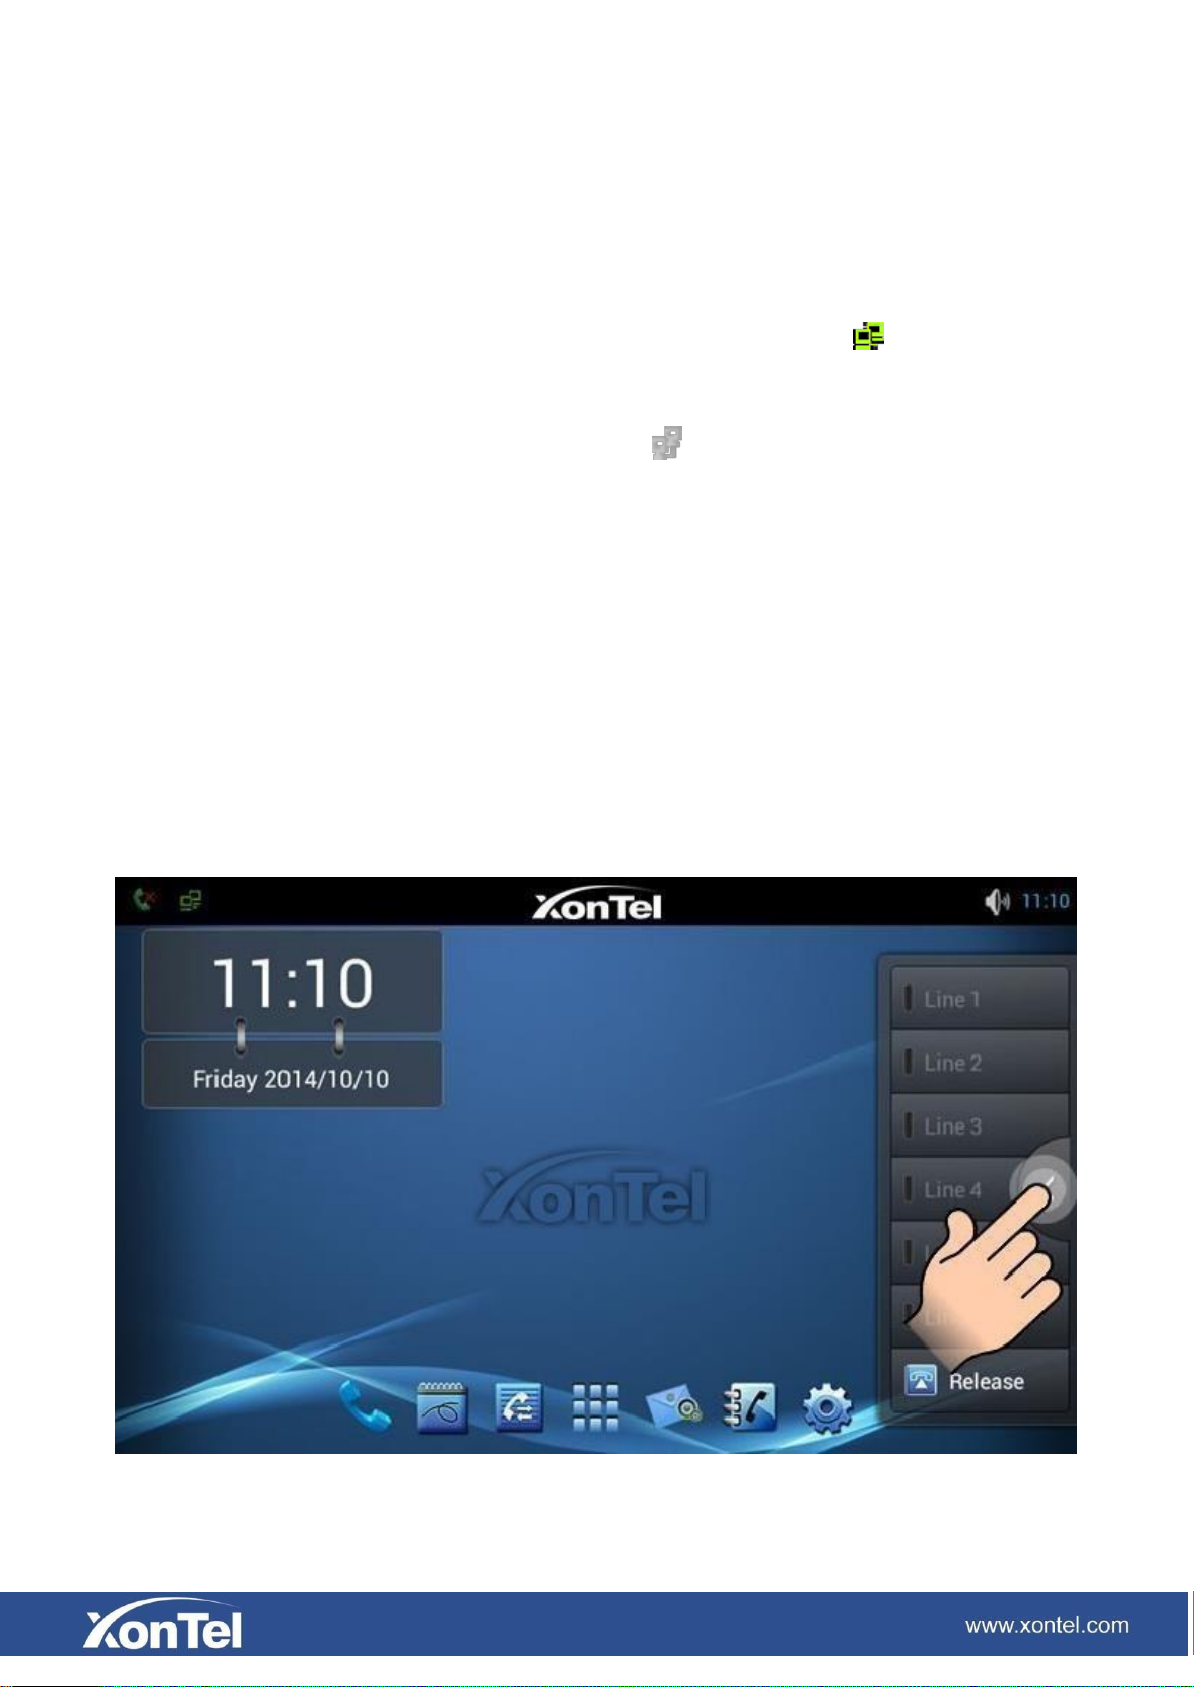
Touch ScreenDescription...........................................................................................................................................9
Functional applications.............................................................................................................................................12
Update of the phone..................................................................................................................................................13
Dsskey ......................................................................................................................................................................15
Contact......................................................................................................................................................................18
Add new local contact ......................................................................................................................................18
Add account..............................................................................................................................................................19
Create group .............................................................................................................................................................20
Favorite.....................................................................................................................................................................20
Network Phonebook .................................................................................................................................................21
Blacklist & Call Barring...........................................................................................................................................22
Phone Settings ..........................................................................................................................................................23
Systeminfo...............................................................................................................................................................23
Network....................................................................................................................................................................24
PPPoE.......................................................................................................................................................................26
QoS...........................................................................................................................................................................27
Port ...........................................................................................................................................................................29
STUN........................................................................................................................................................................30
Account.....................................................................................................................................................................31
Call ...........................................................................................................................................................................35
General .....................................................................................................................................................................35
Dial plan ...................................................................................................................................................................40
Account call settings.................................................................................................................................................42
Display......................................................................................................................................................................44
Tone..........................................................................................................................................................................44
Time & date..............................................................................................................................................................45
Maintain....................................................................................................................................................................46
Service port...............................................................................................................................................................46
CWMP set................................................................................................................................................................47
Backup.....................................................................................................................................................................49
Update......................................................................................................................................................................50
Audio .......................................................................................................................................................................50
Audio param.............................................................................................................................................................51
Video........................................................................................................................................................................52
Video param.............................................................................................................................................................52
Bandwidth................................................................................................................................................................53
Softkey.....................................................................................................................................................................54
MCAST....................................................................................................................................................................55
Reboot......................................................................................................................................................................55

Call Service..............................................................................................................................................................56
Register....................................................................................................................................................................56
Outgoing & Incoming call........................................................................................................................................57
VideoCall................................................................................................................................................................58
Blind Transfer..........................................................................................................................................................59
Semi-attended Transfer............................................................................................................................................60
Attended Transfer ....................................................................................................................................................61
Conference Call........................................................................................................................................................62
Call Hold..................................................................................................................................................................63
Android Settings ......................................................................................................................................................64
Ethernet configuration..............................................................................................................................................64
Security....................................................................................................................................................................64
Language & Input....................................................................................................................................................65
Web Settings ............................................................................................................................................................................66
Logon.......................................................................................................................................................................66
Network ...................................................................................................................................................................67
QoS & VLAN ..........................................................................................................................................................67
Service Port..............................................................................................................................................................68
Registration..............................................................................................................................................................70
Dial Plan...................................................................................................................................................................71
Dial Plan Basic Settings...........................................................................................................................................71
Dial Plan Add...........................................................................................................................................................72
Security....................................................................................................................................................................74

Introduction
Thank you for purchasing the XT-30G Android smart video phone. The XT-30G is a fully
featured video phone that provides voice and video communication over the data network.
This phone has all the features of a traditional telephone and all gives access to many data
service features. This guide will help you easily use the various features and services
available on your phone.
Smart Video Phone XonTel XT-30G Overview
With Attachment
Item Function
Network Cable Used to access network for the phone.
Handset Make phone calls with phone’s basic functions.
Handset Cable Connected with the Handset and thephone.

Headset key. Click it enter the dial interface when the phone
The hands-free key.
Phone components description
Key Function
is in desktop, receive the call using headset mode or switch
the call to headset mode during a call.
Option key. You can browse and accomplishall functions
of the phone through pressing this key. Also, you can
press and hold this key to complete screen-shot.
Return key. Press this button in the detailed interface, it will
return to the previous interface; If it is pressed in the application
program interface, the current program will be closed.
Home key. Press this key, the phone will return to theidle
screen.
The camera.

Interface illustration picture 1
Name Meaning
DC Power Interface Input: 220V
AC Output: 12V DC
PC (LAN) Interface Specification RJ45, connect it
to computer
Internet (WAN) Interface Specification RJ45, connect it
to computer
Handset interface Specification RJ9, used to
connect the handset to the phone
Interface for high-definition
HDMI interface.
audio and video. A-A interface,
A to A interface.

Interface illustration picture 2
Interface illustration picture 3
Name Meaning
USB interface. Connect it to USB disk.
SD Card. Connect SD Card for saving data.

1.
Put the handset line into the handset interface according to the interface illustration.
2.
Plug the power adapter into the DC port; poke the other side of the power adapter into
an electric socket.
3.
Insert one end of RJ45 network cable into the phone WAN port (Please refer to the
interface illustration picture 1) and put the other end into the network equipment. After
that, if the network connection status on the status bar is displayed as , actions such as
making some telephone calls and surfing the internet could be done. If thenetwork
connection status on the status bar is displayed as , please verify whether the network
was configured correctly and the network cable was plugged incorrectly.
Touch Screen Description
You can touch the screen manually to complete the corresponding operation. Here are three
ways to use:
Click: Any icon or button can be clicked to realize its function.

Alarm clock
If you set an alarm clock, the alarm
clock icon will display on the status bar.
Touch screen:
Press and hold the standby interface will pop-up choice wallpaper desktop optionbox.
you can according to the prompt to change the wallpaper.
Support full multi-touch.
Slide:
Slide your finger on the screen upward or downward slowly to move the interface on the screen.
On some kinds of screen such as idle desktop, you can switch the desktop just by moving your
fingers on the screen to left or right. Dragging your finger to slide will not select or activate
anything on the screen.
You can just wait or gently press any place of the screen to stop the sliding after your finger
rapidly sliding on the screen. Gently pressing or touching to stop the scrolling will not select or
activate anything on the screen.
All of the status information about XT-30G is displayed on the top of the screen. You can click
on the notification icon in the left of the status bar or drag down the drop- down list with your
fingers to enter the notification panel to further review and deal with all of the information.
Note: The right icon of the status bar can’t be drag, just the left can.
Status bar Meaning
Indicates that the phone is in the handset
Handset mode mode.
Headset mode Indicates that the phone is in the headset
mode.
Shows that the phone is in silent mode.
Silent mode
Hands-freemode
This mode can be canceled by directly
clicking the mute button when the
screen is in the idle interface.
Indicates that the call is in hands-free status.

Auto answer
Shows that the auto answer function is
Network
Status
(successful)
Displays that the network connection is
successful. Tap the icon directly into
the network settings.
Network status (failed) Shows that the network connected failed.
You need to check the network are configured
correctly
SD card
Missed calls
Open theDND
Call forward
Displays that the phone successfully
identifies the USB device. Tap the icon
directly to switch into the USB
application wizard.
Shows that there are several missed
calls. You can click on the icon directly
to switch into the call log. shows that
the phone is on “Do Not Disturb”
mode. Any of the call could be directly
rejected before it’s ring interface
appears. There is only a missed call
icon leaving in the status bar.
Shows that the call forward function is
opened.
Black list
opened.
If a phone number is added to the firewall,
then open the firewall function, all calls
about this phone number could be
rejected directly.
New record Indicates that there are several new unread
phone recordings.

Functional applications:
Phone
Email
Settings
Contacts
Android
settings
Message
MWI
Click this icon, and it will switch to pre-dial interface. You can
make some phone calls through the screen or keyboard.
Has the function of sending and receiving e-mail. When an
account has been configured successfully, you can send and
receive your e-mail on the phone and this account will
automatically sync the contacts to the mailbox account.
It contains System, Network, Account, Call, Display and so on.
You can configure some settings.
Support functions such as search, add, remove and edit.
It contains the Call settings, Basic settings, advanced settings,
VOIP and so on, you can configure some settings in the
corresponding menu. (Android system settings)
Like the phone, with messages to write, read and send function.
All calls will be transferred into voice mail when the MWI is
enabled.

Enter the call log and you can view all call records. You can
also view the "Incoming Calls", "Outgoing Calls" and "Missed
Call log Calls" records by pressingthe Option key.
Import and
Export
Management
Have export contacts, add blacklists and outgoing call barring
functions.
Connect PPPOE.
PPPOE
Update of the phone
Please contact with service provider to get the new version to upgrade.
Strongly recommended:
1)
Before the upgrade the new version, please send personal data backup to mobile devices,
to prevent accidental loss.
2)
Once the upgrade process, please do not power blackout, equipment may not be ableto
start.
Auto provision: Keep phone registered successfully and configure parameters about
automatic updates such as server address, upgrade file name, time interval and so on. And
then the phone will check for updates from the server at a fixed time intervals and upgrade.
Manual upgrade----USB: Will upgrade package in U disk and inserted the U disk into the
USB interface (the content of the need to be updated). Before the phone restart, at the same
time hold down the " and ", then insert the power supply and will
enter the unit at this time to Recovery mode, you can see under the Recoveryoperation menu.

Check the figure shown below.
Through the hardkey “
down
”,
“
up
”,
“OK”, to
operate on the recovery menu.
Select “update from USB equipment” or “update from external storage device” (SD
card), enter the sub-directory and select the upgrade packages, click on “OK” key to start
upgrade. After the success of the upgrade, there will be prompt on interface, the user can
immediately return to the main menu select “reboot system now” to restart the system to
start using the new version. Incompatible problems, needs to remove user data and
system cache (the so-called double wiper) whether you need specific clear.

Web Update:
Input the phone’s IP on the web;
Input the user name and password to phone’s web;
Enter “MAINTENANCE”—“UPDATE”;
Click the button “Browser” to select the image on your PC and click the button “Update”;
Waiting, the system will be update success.
Dsskey
Introduction: This module contains five expansion module, 140 editable key. You can click
“edit” or press and hold the key to edit it. Line1~6 and release are the default keys, but you
can also edit them as shown in the figure below.

Memory Key By clicking on the button you can dial the mapped number
directly.
Subscribe: BLF, Presence, Speed Dial and Intercom.
Pickup number: the number which server set.
Pickup: That is, when A calls B, B ringing but no one
answered the call, C could dial a number which is
comprised of specified prefix and B’s number, and then
C can talk with A.
BLF: It used to prompt you the state of the subscribe
user, and that could pick up the subscribed number by
the state. BLF help you monitor the state of subscribe
user (idle, ringing, a call).
Presence: Compared to BLF, the Presence is also able to
view whether the user is online.
Note: You cannot subscribe the same number for BLF
and Presence at the same time
Speed dial: You can call the number directly which you
set. This feature is convenient for you to dial the number
which you frequently dialed.
Intercom: This feature allows the operator or the
secretary to connect the phone quickly; it is widely used
in office environments.
Line The button map the sip line, it enters the dial pad and light
the default sip line when you click thebutton.
The button map some Key Event.
Key Event Title consistent with the subscription name
Subtype: Some basic keys
DTMF It maps the keypad of the phone, allowing you to edit
The dialed number or input numbers during a call.
URL It maps the website; click it to open the URL directly.
Multicast It maps the Multicast; you can click it to make a multicast.

The LED status of BLF
LED Status Description
Steady green The object is idle.
Slow blinking red The object is ringing.
Steady red The object isactive.
Fast blinking red The object has failed.
Steady orange Subscribed number is in a call with current line.
Off Not subscribed.

The LED status of Presence
LED Status Description
Steady green The object is online.
Slow blinking red The object is ringing.
Steady red The object isactive.
Fast blinking red The object has failed.
Off Not subscribed.
Note: Please set Type first, then set subtype and value base on theintroduction.
You can select value from contacts by clicking the contact icon. Save the configuration and
click complete in right side.
You can delete the Dsskey by the same method, edit->clear->save->complete.
Contact
Add new local contact
1.
Tap the contactsbutton.
2.
Tap “+” in the upper-right corner.
3.
Select “Keep Locally”.
4.
Add a picture for a contact. in to the picture selection interface to select photos in
your list of photos when editing contacts. It will automatically return to the editing
interface after you save it. If you want to change the picture, tap the contacts icon to select
"use this photo", "delete the icon" or "change the icon".
5.
You can click the little arrow to expand the name what you want to edit.
6.
Follow the prompts to complete the edit contacts, you can also select save to Dsskey.
Click “Done” to save it.

Add account
1.
Tap the contact button;
2.
Tap “+” in the upper-right corner.
3.
Select “Add account”.
4.
Edit exchange account and follow the prompts to complete the editing.

Create group
1.
Tap the “Group”button;
2.
Click “+” in the upper-rightcorner;
3.
You can select “Create local group” or “Create account group”;
4.
Edit group name, then pick members from contact list;
5.
Click “Done” to save the group.
Favorite
1.
Tap the “☆Favorite”button;
2.
Select the contacts what you want to set, or click
to select all the contacts.
3.
Click confirm to save them.
Table of contents