manuals.online logo
Brands
  1. Home
  2. •
  3. Brands
  4. •
  5. XpressFill
  6. •
  7. Commercial Food Equipment
  8. •
  9. XpressFill XF4100 User manual

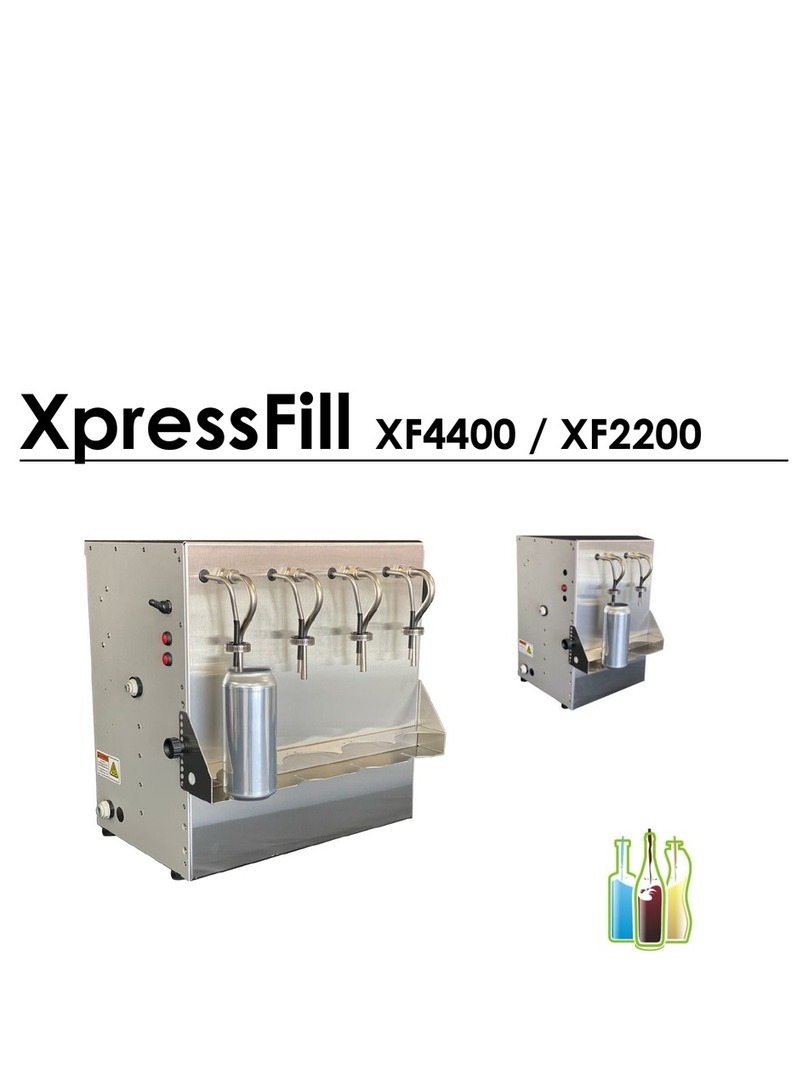
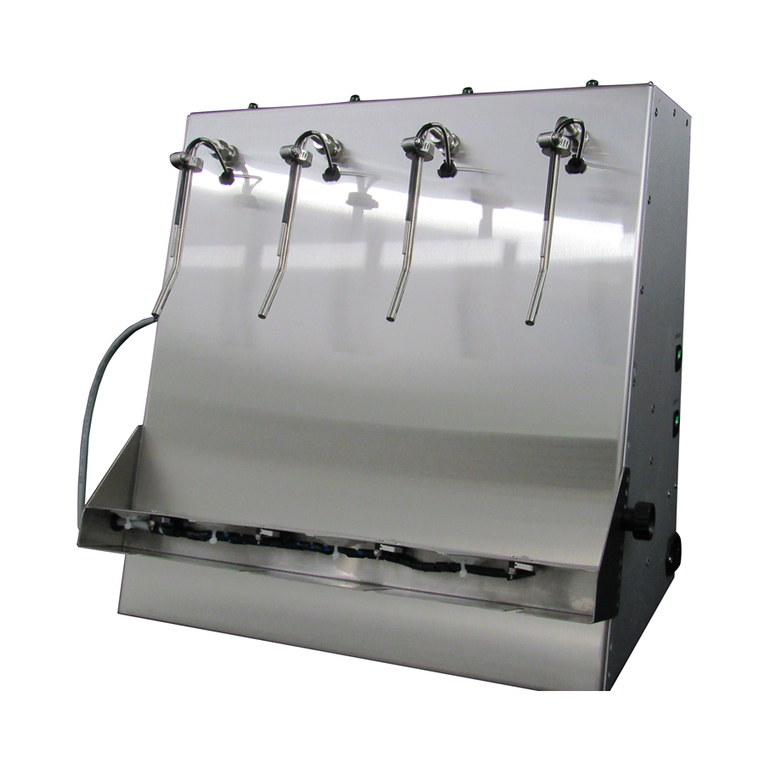
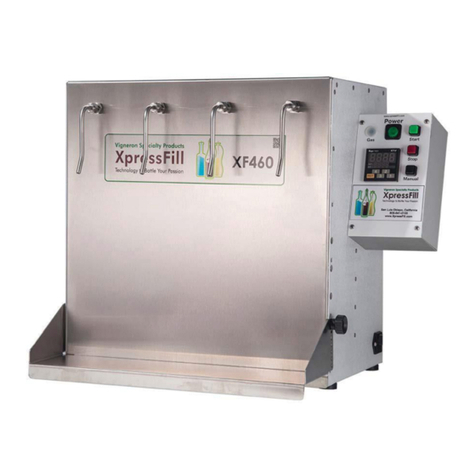
XpressFill XF4100 User manual

XpressFill XF4100/XF2100
ii | XPRESSFILL Systems LLC
265 Prado Road, Suite 1 • San Luis Obispo, CA 93401 • Tel: (805) 541-0100 • [email protected]
Congratulations on the purchase of your XpressFill bottle lling machine.
ank you for choosing our handcrafted bottle filler as the technology to bottle your passion. We
look forward to assisting you in experiencing the best performance from your filler.
is manual is written with your safety and convenience in mind. We highly recommend reading
the manual before using your filler for the first time.
If you have any questions or comments, please do not hesitate to contact us.
XpressFill Systems LLC
265 Prado Road, Suite #1
San Luis Obispo, CA 93401
USA
(805) 541-0100
sales@xpressll.com
www.xpressll.com
Important Safety Instructions
Misuse of the bottle-filling machine can result in serious injury or death. Do not use the machine
in any way not covered in this manual or for any purpose other than those explained in the
following pages.
Severe product damage and/or injury could result form the use of unqualified Service
Technicians or non-original replacement parts. All repairs must be performed by a qualified
Service Technician or with the approval from an XpressFill Technician. Only original factory
replacement parts should be used.
Electrical shock or fire could result if the electrical supply for the bottle filler covered in this
manual is not correctly installed or if the bottle filler has been improperly grounded. Do not
use the bottle filler covered in this manual unless you are certain the electrical supply has been
correctly installed or the bottle filler has been properly grounded.
XPRESSFILL Systems LLC | III
265 Prado Road, Suite 1 • San Luis Obispo, CA 93401 • Tel: (805) 541-0100 • [email protected]
Table of Contents
1 Introduction iii
2 Set Up You Filler 1
3 Optional Gas Sparge Option 2
4 Troubleshooting 4
5 Cleaning Your Filler 6
1| XPRESSFILL Systems LLC
265 Prado Road, Suite 1 • San Luis Obispo, CA 93401 • Tel: (805) 541-0100 • [email protected]
1 Introduction
XpressFill Product Guarantee
We guarantee our products to be free of defects in materials and workmanship. e filler will
be repaired or replaced if, upon inspection at the factory, the filler is found to be defective in
materials or workmanship.
is guarantee does not apply to damage resulting from normal wear and tear, accident, abuse,
negligence or shipping. e guarantee will be rendered invalid if the customer has made repairs or
alteration to the machine without first consulting XpressFill Systems LLC.
XPRESSFILL Systems LLC | 2
265 Prado Road, Suite 1 • San Luis Obispo, CA 93401 • Tel: (805) 541-0100 • [email protected]
XPRESSFILL Systems LLC | 2
Please Keep In Mind
e level filler uses a self-priming pump. Due to small flow passages and precision components
in the filler, it is important to filter your product so you do not introduce particulates into the
machine. Failure to filter your product can result in damage to your bottle filling machine. In
most cases, the filler can be cleaned in the factory, however this is not a warranty repair.
265 Prado Road, Suite 1 • San Luis Obispo, CA 93401 • Tel: (805) 541-0100 • [email protected]
2 Set Up Your Filler
1. Unpack the filler from the box. Place is on a
flat surface where you plan to bottle.
Tip: To get familiar with your filler, you may
want to initially test it with water.
2. Unscrew the fixation screws holding the
shelf to the bottom of the machine. Plug the
electrical connector into the side of the filler
(shown with optional gas sparge).
3| XPRESSFILL Systems LLC
265 Prado Road, Suite 1 • San Luis Obispo, CA 93401 • Tel: (805) 541-0100 • [email protected]
3. Plug the filler into a wall outlet. Turn on
the Power Switch. DO NOT turn on the
Pump Switch at this time.
4. To set the fill height of your machine,
you will need to fill one bottle by hand to
your desired level. You can use water or your
product.
Slide the filled bottle onto any one of thea.
four spouts and place the bottle on the
shelf. e green light will be illuminated.
NOTE: If you machine has the gas
sparge option, make sure the gas is turned
off as you adjust the shelf. Also, the green
light may take a few seconds to illuminate.
While holding the shelf, undo the fixationb.
screws on either side so the shelf moves
freely.
Slowly raise the shelf until the green lightc.
goes off. Once the green light goes off,
you know you have found the height to
set the shelf for bottling.
Note which holes on the side of thed.
machne are aligned between the filler
body and the adjustable shelf. Install the
fixation screws to hold the shelf at this
height.
5. Securely attach the 1/2 inch hose to the free
end of the inline strainer using the hose clamps
(included preassembled with the Transfer Kit).
Snap the hose onto the machine with the quick
XPRESSFILL Systems LLC | 4
265 Prado Road, Suite 1 • San Luis Obispo, CA 93401 • Tel: (805) 541-0100 • [email protected]
3 Optional Gas Sparge
If your filler has the gas sparge option, first make sure you have the hose going into the filler safely
connected to your gas tank and pressure regulator. e recommended pressure is 20 - 30 psi. To
flush your bottle, simply push the “Gas” button before you start the filling cycle.
NOTE: To make sure there is no air in the flow path, turn the inline sratiner upside down while
the pump is running. is ensures that the air bubble in the strainer housing mostly dissolves,
although a little air bubble in the strainer is normal.
You are now ready to begin filling. Place an empty bottle(s) under the spouts. Turn on the Pump
Swith. e filling process will start and stop automatically.
connector. Place the free end of the hose/rod
into your product. e pump is self-priming
so it will begin drawing your product into the
fililer when both the Power Switch and Pump
Swith are turned on.
Note: To make sure there is no air in the flow
path, turn the inline strainer upside down
while the pump is running. is ensures that
the air bubbles in the strainer housing mostly
dissolves, although a little air bubble in the
strainer is normal.
6. Empty the bottles and place them back
under the spouts, then press the start button.
e digital timer will count down the fill time.
During the first cycle, be ready to hit the stop
button in case you set the time too long. You
then can refine your level by changing the time.
5| XPRESSFILL Systems LLC
265 Prado Road, Suite 1 • San Luis Obispo, CA 93401 • Tel: (805) 541-0100 • [email protected]
4 Troubleshooting
Before calling the factory, please read through the Troubleshooting Guide.
e Bottle Filler Is Not Priming
Your XF260 XpressFill Bottle Filler is equipped with a diaphragm pump. Over time, the valve
kit for the pump, depending on age and use, might lose some of its effectiveness. is is an easily
exchangeable part (around $20 US). e indication that a valve kit has failed is that the pump
does not prime, but you hear the pump running.
If you are desperate to bottle, try to fill the Transfer Kit with your product to get some workload
off the pump and order a new valve kit as soon as possible.
I Have Uneven Fill Levels
Please note that the XF260 is a volumetric filler, not a level filler. You might encounter different
fill lines in your bottles due to differences in your bottles. Your bottle might have the same
weight, but have slight variance in wall thickness, next size, punt, etc. is often translates to a
different fill height.
If you encounter a sudden difference in your fill levels, an orifice in the machine might be partly
clogged. Run warm water with your cleaning solution several times through the machine. If that
does not solve the problem, please contact us to evaluate further actions.
One Of More Spouts Are Dripping
After not using the machine for a while, you might have a spout that keeps dripping after the
fill cycle. e rubber parts in the check valve may be dry but will usually seal again after starting
and stopping the flow. Simply run your fill cycle a couple of times, preferably with water or your
cleaning solution. Please contact us to order new check valves if the problem persists.
XPRESSFILL Systems LLC | 6
265 Prado Road, Suite 1 • San Luis Obispo, CA 93401 • Tel: (805) 541-0100 • [email protected]
5 Cleaning
Please note: You are responsible to ensure that your XpressFill filler is clean and does not
contaminate your product. We recommend a through cleaning before and after your bottling
run.
Simply use a K-Meta, Na-Meta cleaning solution (easily obtainable at supply stores), or simple
baking soda as your cleaning solution. Add citric acid if you wish to increase the cleaning effect.
You may want to ask others in your industry what products they recommend as opinions and
preferences vary widely.
Sanitize with Isopropyl Alcohol or a minimum 80 proof Vodka.
Flush warm water through the filler for one or two runs, followed by whatever solution you
choose for one or two runs, and then follow with a clear water rinse. After that, unhook your
Transfer Kit from the machine and empty all fluid left in the machine by letting the pump suck in
air.
is will be sufficient until you are ready to start bottling again, or if you are ready to place the
machine n storage until the next bottling.
Cleaning is far and above the best way to keep your XpressFill happy and performing to its
optimum potential. If does not hurt the machine to do several cleaning runs.

Other manuals for XF4100

2

This manual suits for next models

1

Other XpressFill Commercial Food Equipment manuals

XpressFill XF4100 User manual

XpressFill

XpressFill XF4100 User manual

XpressFill XF460 User manual

XpressFill

XpressFill XF460 User manual

XpressFill XF4400 User manual

XpressFill

XpressFill XF4400 User manual

XpressFill XF4400 User manual

XpressFill

XpressFill XF4400 User manual

Popular Commercial Food Equipment manuals by other brands

Server PPO-5 quick start guide

Server

Server PPO-5 quick start guide

Tower Hobbies Presto PT16021GRY Safety and instruction manual

Tower Hobbies

Tower Hobbies Presto PT16021GRY Safety and instruction manual

Delfield Taco Bueno Installation, operation and maintenance manual

Delfield

Delfield Taco Bueno Installation, operation and maintenance manual

Nemco 6152-24 Operating and maintenance instructions

Nemco

Nemco 6152-24 Operating and maintenance instructions

Vivo CANDY-V002 instruction manual

Vivo

Vivo CANDY-V002 instruction manual

Bonnet Neve OFFLIP 3 ECO User instructions

Bonnet Neve

Bonnet Neve OFFLIP 3 ECO User instructions

Fri-Jado MCC HOT Service manual

Fri-Jado

Fri-Jado MCC HOT Service manual

Modular Simpli-Flex SFP2000 Instructions for use

Modular

Modular Simpli-Flex SFP2000 Instructions for use

Taylor QS Series Service manual

Taylor

Taylor QS Series Service manual

Stalgast ST243051 instruction manual

Stalgast

Stalgast ST243051 instruction manual

Bartscher D3000 KTP-KL manual

Bartscher

Bartscher D3000 KTP-KL manual

BEER Uno Top Cold Operation manual

BEER

BEER Uno Top Cold Operation manual

Rühle MPR 150 Translation of the original instructions

Rühle

Rühle MPR 150 Translation of the original instructions

B+S DSK Series Installation, operating and servicing instruction manual

B+S

B+S DSK Series Installation, operating and servicing instruction manual

WMF Cup&Cool user manual

WMF

WMF Cup&Cool user manual

Mobile Sink Company Odyssey Troubleshooting and caring

Mobile Sink Company

Mobile Sink Company Odyssey Troubleshooting and caring

TOPINOX Ultravent VarioCooking Center 311 manual

TOPINOX

TOPINOX Ultravent VarioCooking Center 311 manual

CombiSteel 7450.0745 user manual

CombiSteel

CombiSteel 7450.0745 user manual

manuals.online logo
manuals.online logoBrands
  • About & Mission
  • Contact us
  • Privacy Policy
  • Terms and Conditions

Copyright 2025 Manuals.Online. All Rights Reserved.