16 1
Warranty Information
The manufacturer warrants their products to be free from defects in material or workmanship for a period
of one year from the date of the original purpose. The limited warranty stated above is subject to these
terms and conditions.
TERMS AND CONDITIONS
Limitation on Warranties: All merchandise carries a one (1) ear Manufacturer’s Limited Warranty
on parts and labor. SELLER MAKES NO WARRANT , EXPRESSED OR IMPLIED, INCLUDING AN
WARRANT OR FITNESS FOR AN PARTICULAR PURPOSE OR MERCHANTABILIT . No agent,
employee or representative of Seller’s are authorized to bind the Seller to any affirmation, repre-
sentation, or warranty, oral or written, unless by separate written instrument designed by Seller,
which by its terms state that it is included as part of this agreement.
Claims: Receipt of goods shall be deemed acceptance of the goods received. All claims for de-
fective goods or revocation of acceptances, for shortages, for delays, or failures in shipment or
delivery, or for any cause shall be deemed waived and released by the Buyer unless it is made in
writing within (7) days after receipt of goods. All claims must state specifically and in reasonable
detail the nature of all objections, and must be accompanied by delivery receipt or photocopy of
the sales order or packing slip. Any delivery not placed in dispute in a timely manner shall be
paid for by the Buyer and all uncontested amounts due shall be paid by the Buyer with terms
specified. As a condition to making a claim for missing or damaged goods sent, the Customer is
responsible for initiating and pursuing with the carrier.
Limitation on Seller’s Liability: Seller’s liability will be limited to replacement or repair of defective
goods upon receipt of goods in a timely manner per paragraph two herein. In no event will Seller
be liable for consequential or special damages or for transportation, installation, removal, adjust-
ment or other expenses or losses which may arise in connection with the use or installation of the
goods; late delivery, failure to deliver or from any other cause. Not withstanding the terms of this
Agreement, if there should arise any liability of Seller, such liability shall be limited to an amount
equal to one-half (1/2) the costs of the goods or $250.00, whichever is less.
Returned Material: In no case will the seller give a refund. Seller will accept most goods for ex-
change or credit, at the Seller’s discretion within 30 days of purchase date. In no case are goods
to be returned without first obtaining Seller’s permission. Only unused goods as currently manu-
factured, in original unopened packaging and which has been paid for by Buyer in accordance
with Seller’s payment terms will be considered for exchange or credit upon receipt of proof of
purchase. Special ordered items and obsolete items cannot be returned for credit. Material ac-
cepted for credit will be subject to a 15% restocking charge for service and handling. Seller will
not be obliged to replace any product that has been abused, improperly installed or otherwise
misused. Items must be returned in their original packaging, securely packed to reach the Seller
without damage.
Governing Law: This agreement shall be governed by the laws of the State of Tennessee.
IT IS THE USER’S RESPONSIBILITY TO ENSURE THAT THIS EQUIPMENT IS USED IN ACCORDANCE
WITH THE LAW(S) OF THE JURISDICTION IN WHICH THIS EQUIPMENT IS UTILIZED.
DO NOT ATTEMPT TO RETURN PRODUCT TO ORIGINAL MANUFACTURER, AS THIS PRODUCT HAS
BEEN MODIFIED AND IS NO LONGER SUBJECT TO ORIGINAL MANUFACTURER’S WARRANTY. IN
THE CASE OF A DEFECTIVE PRODUCT, CONTACT PLACE OF PURCHASE FOR RETURN PROCEDURE.
THIS EQUIPMENT HAS BEEN TESTED AND HAS BEEN FOUND TO BE IN COMPLIANCE WITH THE
LIMITS FOR A CLASS B DIGITAL DEVICE, PURSUANT TO PART 1 OF THE FCC RULES. THESE LIM-
ITS ARE DESIGNED TO PROVIDE REASONABLE PROTECTIONS AGAINST HARMFUL INTERFERENCE
IN A RESIDENTIAL INSTALLATION. THIS EQUIPMENT USES, GENERATES AND CAN RADIATE RA-
DIO FREQUENCY ENERGY AND IF NOT INSTALLED AND USED IN ACCORDANCE WITH INSTRUC-
TIONS, MAY CAUSE HARMFUL INTERFERENCE TO RADIO COMMUNICATIONS.
Part 1 Low Power:
ANY CHANGES OR MODIFICATIONS TO THIS EQUIPMENT WITHOUT THE EXPRESS AUTHORIZA-
TION OF THE MANUFACTURER COULD VOID THE USER’S AUTHORITY TO OPERATE THIS EQUIP-
MENT. (RULE 1 .21 OF THE FCC)
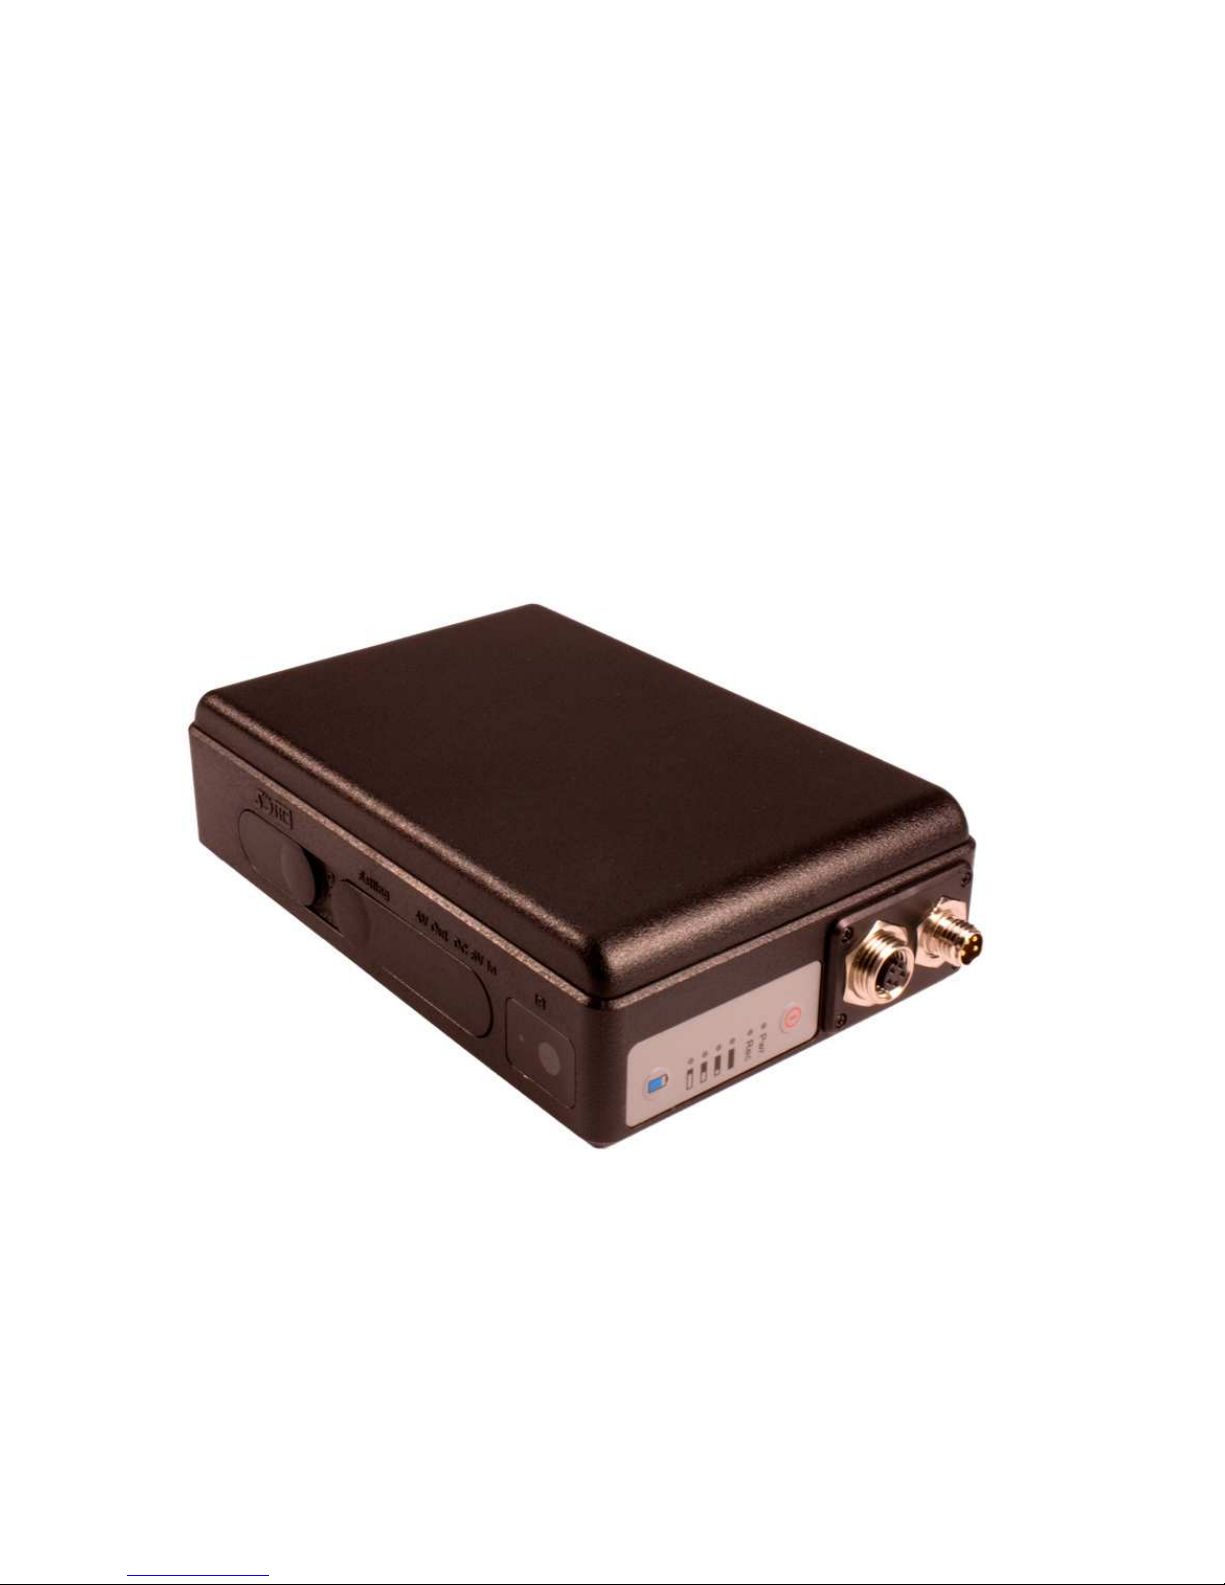
XTREMELIFE DVR
WITH PIR &
LONG LIFE BATTER