Content
Semi Commercial Wood Chipper......................................................................................................................... 1
User’s Manual ...................................................................................................................................................... 1
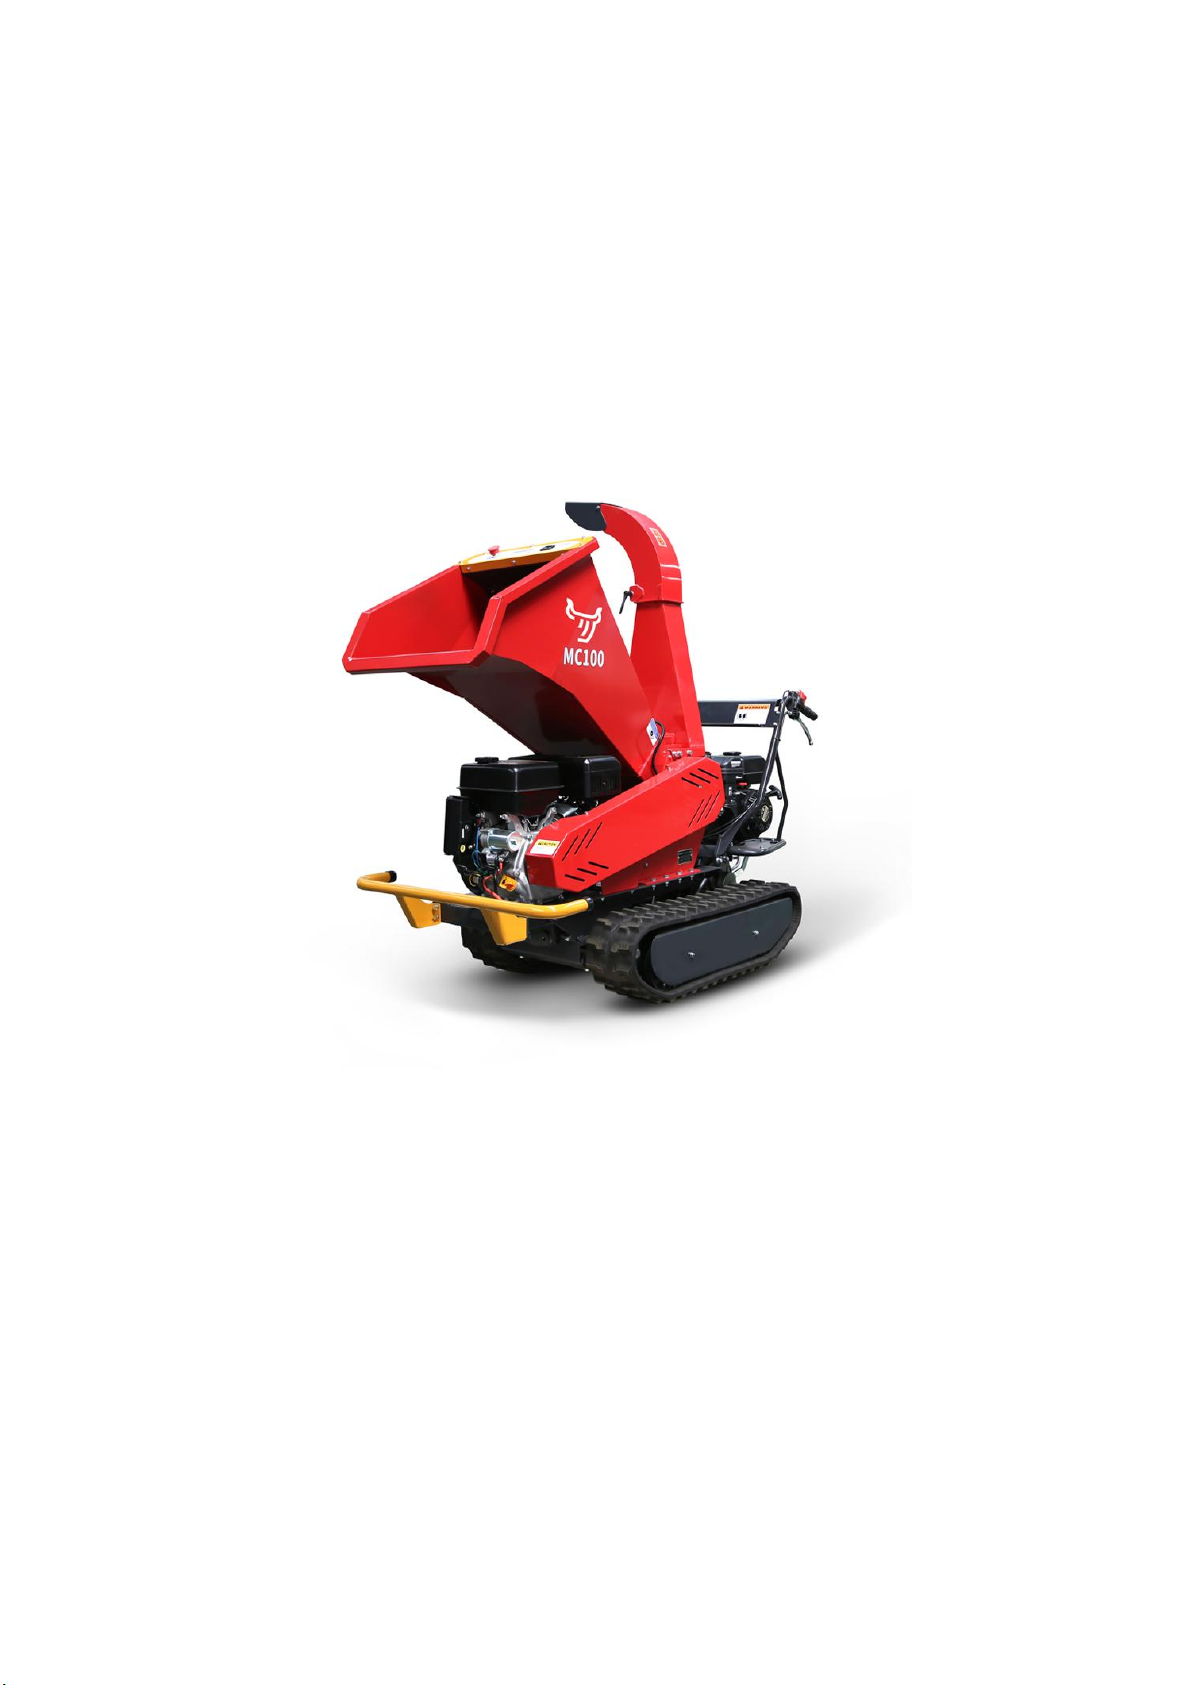
MC100 series
(
TRACK
)
................................................................................................................................... 1
1. INTRODUCTION ............................................................................................................................................ 1
2. SAFETY AND SECURITY MEASURES .......................................................................................................1
2.1. USERS .............................................................................................................................................................2
2.2. PERSONAL PROTECTION .......................................................................................................................... 3
2.3. ENVIRONMENT SECURITY .......................................................................................................................4
2.4. SAFETY IN THE WORK AREA ................................................................................................................... 4
2.5. SAFETY IN THE USE OF FUELS ................................................................................................................5
2.6. CARE AND USE OF THIS MACHINE ........................................................................................................ 6
2.7. SERVICE .........................................................................................................................................................8
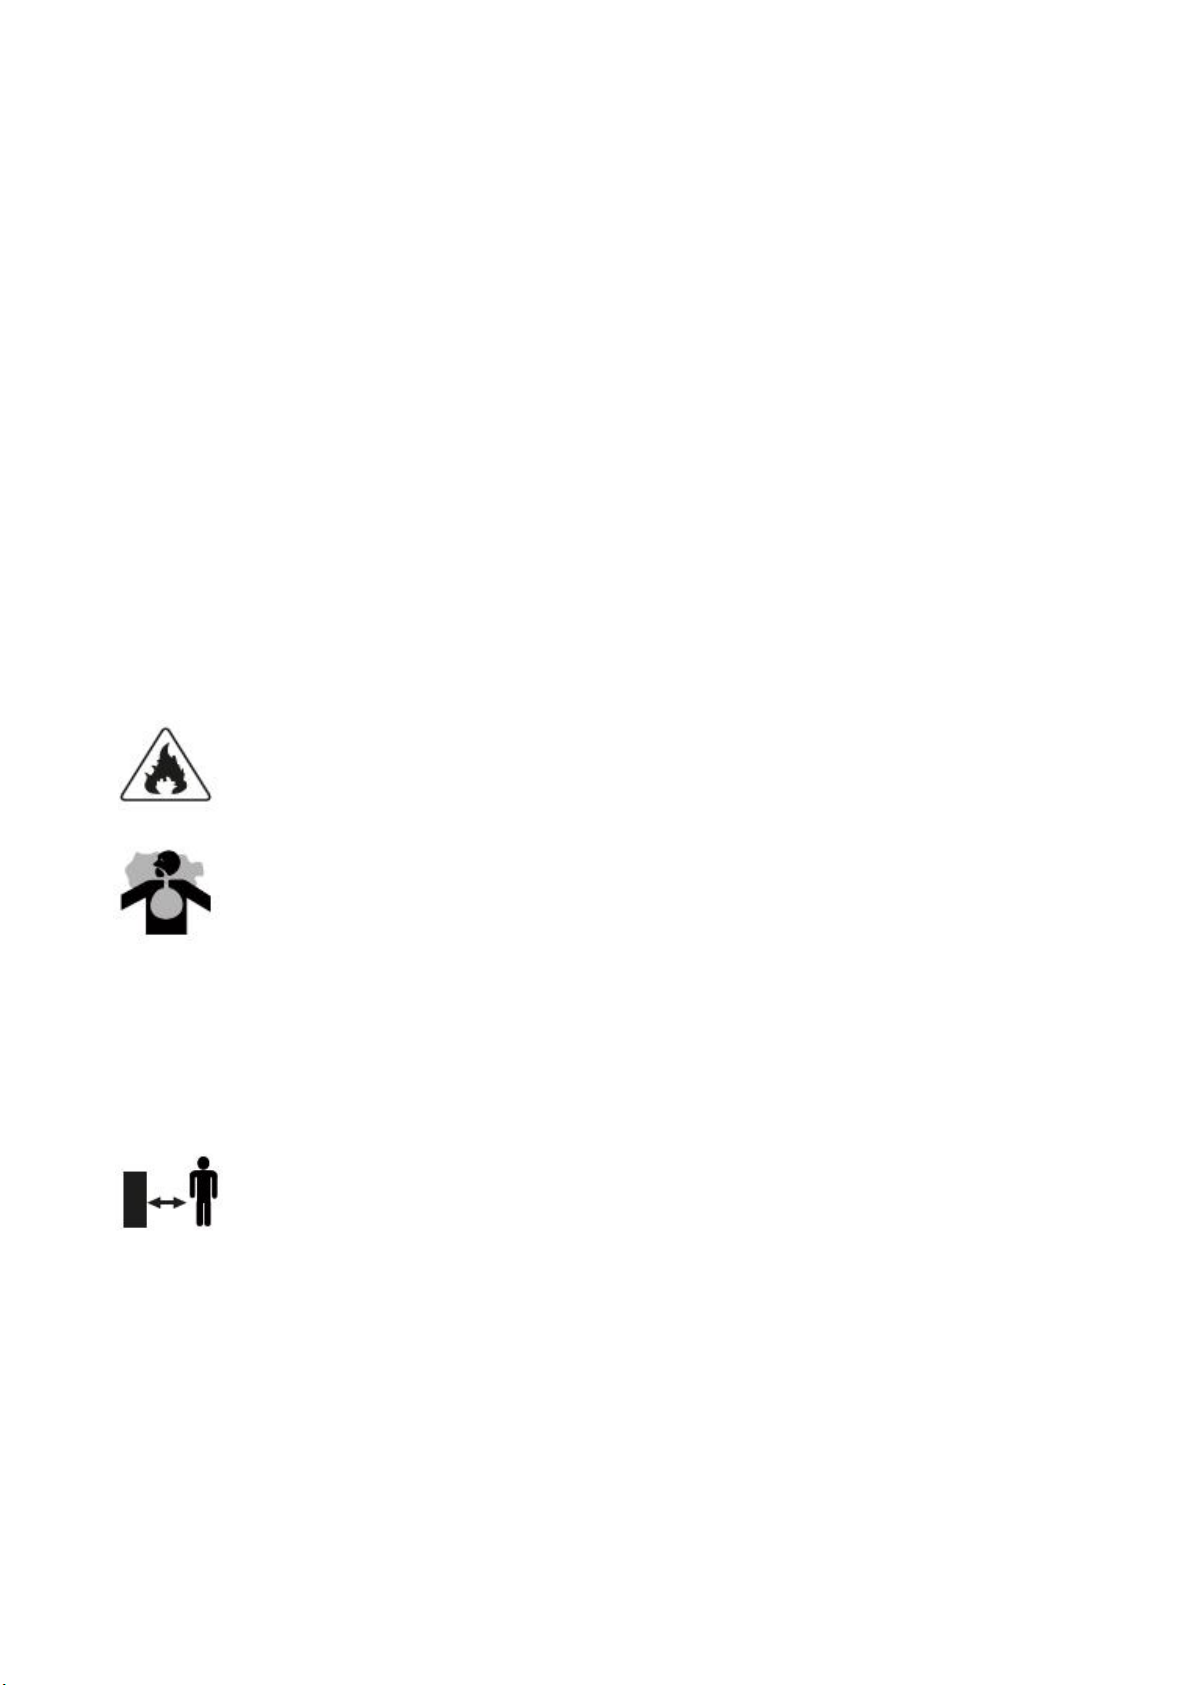
3. WARNING SIGNS .......................................................................................................................................... 8
4. OPERATING INSTRUCTIONS ....................................................................................................................10
4.1. CONDITIONS OF USE ................................................................................................................................10
4.2. ASSEMBLY .................................................................................................................................................. 11
4.2.1. Main parts assembly ...........................................................................................................................11
4.3. FUEL AND OIL ............................................................................................................................................ 12
4.3.1. FILLING THE FUEL TANK .............................................................................................................13
4.3.2. ENGINE OIL ..................................................................................................................................... 14
4.4. STARTING THE MACHINE ....................................................................................................................... 15
4.4.1. CHECK POINTS BEFORE STARTING .......................................................................................... 15
4.4.2. STARTING THE ENGINE ................................................................................................................16
4.4.3. STOPPING THE ENGINE ................................................................................................................ 17
4.4.4. TRACK OPERATION ....................................................................................................................... 18
5. START CHIPPING ........................................................................................................................................ 20
5.1. CHIPPING BRANCHES .............................................................................................................................. 20
5.2. EMERGENCY SWTICH ..............................................................................................................................21
(1) Emergency switch ...................................................................................................................................22
(2) Hour/Tach meter ..................................................................................................................................... 22
5.3. ROTOR JAMMED ........................................................................................................................................22
6. MAINTENANCE AND SERVICE ................................................................................................................23
6.1. VISUAL INSPECTION ................................................................................................................................ 23
6.2. CLEANING ...................................................................................................................................................24
6.3. MAINTENANCE OF ENGINE ................................................................................................................... 24
6.3.1. SPARK PLUG ....................................................................................................................................24
6.3.2. ENGINE OIL REPLACEMENT ....................................................................................................... 25
6.3.3. AIR FILTER ....................................................................................................................................... 25