manuals.online logo
Brands
  1. Home
  2. •
  3. Brands
  4. •
  5. Yamaha
  6. •
  7. Music Pedal
  8. •
  9. Yamaha HH-65 User manual

Yamaha HH-65 User manual

HH65
OWNER’S MANUAL
■Handling Precautions
•Do not disassemble or alter the product. Doing so may result in damage or deterioration to the product.
• Do not step on or place heavy objects on the product. It may result in damage.
•Do not use or keep the product in places with extremely high temperature (places in direct sunlight,
close to a heater, in a closed car, etc.) or damp (bathroom, outside on a rainy day, etc.). It may result in
deformation, discoloration, damage or deterioration.
•To clean the product, please wipe with a soft cloth or a damp cloth that been wrung out thoroughly, If
the product is soiled, use a neutral detergent on a cloth then wipe with a damp cloth that has been
wrung out thoroughly to remove any remaining detergent. Do not use benzine, thinner or alcohol as it
may result in discoloration or deformation. Also pay close attention so as not to let the water and
detergent come into contact with the cushions used in the product, it may result in deterioration.
•When connecting or disconnecting the cable, make sure that you hold the plug, not the cable. Also,
never place any heavy objects on the cable and never allow any sharp objects to come into contact
with the cable. Applying excessive force to the cable may result in damage to the cable such as cutting
the wires, etc.
■Inside This Package
Before setup, please make sure that all of the items listed below are present and ac-
counted for. If anything is missing, please contact the dealer from whom you purchased
the unit.
* To customers who purchased a pads set (DTPK95M, etc.), please refer to the attached
“Accessories List” sheet included with each pads set when confirming package contents.
INTRODUCTION
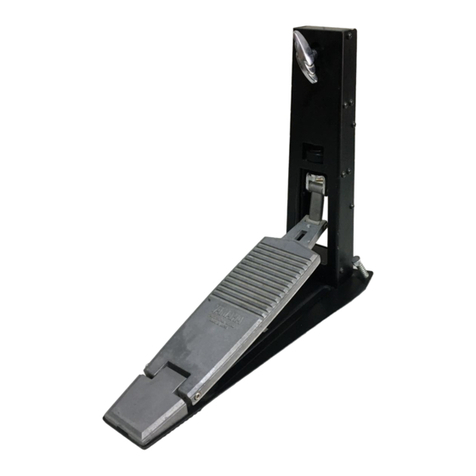
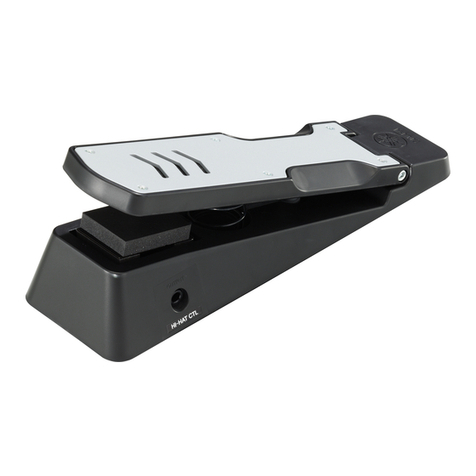
Thank you for purchasing the Yamaha HH65 Hi-Hat Controller Pedal. The HH65 is a hi-hat
pedal type controller that is designed for use with an electronic drum system. When used
in conjunction with a pad such as the TP65, etc. as the hi-hat pad, it is capable of provid-
ing operation and tone that comes extremely close to that of an acoustic hi-hat, from
fully open to fully closed and more. To get the most out of the HH65, please read this
Owner's Manual carefully. After reading, keep it in a safe place for future reference.
Spur
Pedal
■Part Names
●HH65
• HH65 Main Unit X1 • Stereo Phone Cable X1
Plug has two black rings
(The monaural type connec-
tor has one black ring.)
Output jack
Square Bolt
保証書
この度はヤマハ・HI-HATCONTROLPEDALHH65をお買上げ戴きましてありがと
うございます。本書は、本書記載内容で修理を行なう事をお約束するものです。お買
上げの日から下記期間中に故障が発生した場合は、本書をご提示の上お買上げの販
売店または最寄りのヤマハ電気音響製品サービス拠点に修理をご依頼ください。
1. 正常な使用状態(取扱説明書、本体貼り付けラベルなどの注意書に従った使用状態)で故障した場合には、お買上げの販売店
が無料修理を致します。
2. 保証期間内(6ヶ月間)に故障して無料修理をお受けになる場合は、お買上げの販売店に商品と本書をご持参のうえご依頼くだ
さい。
3. ご贈答品、ご転居後の修理についてお買上げ販売店にご依頼できない場合には、最寄りのヤマハ電気音響製品アフターサー
ビス拠点にお問い合わせください。
4. 保証期間内(6ヶ月間)でも次の場合は有料となります。
(1) 本書のご提示がない場合。
(2) 本書にお買上げの年月日、お客様、お買上げの販売店の記入がない場合、及び本書の字句を書き替えられた場合。
(3) 使用上の誤り、他の機器から受けた障害または不当な修理や改造による故障及び損傷。
(4) お買上げ後の移動、輸送、落下などによる故障及び損傷。
(5) 火災、地震、風水害、落雷、その他の天災地変、公害、塩害、異常電圧などによる故障及び損傷。
(6) 消耗部品の交換。
(7) お客様のご要望により出張修理を行なう場合の出張料金。
5. この保証書は日本国内においてのみ有効です。
ThiswarrantyisvalidonlyinJapan.
6. この保証書は再発行致しませんので大切に保管してください。
※この保証書は本書に示した期間、条件のもとにおいて無料修理をお約束するものです。したがってこの保証書によってお客
様の法律上の 権利を制限するものではありませんので、保証期間経過後の修理などについてご不明の場合は、お買上げの
販売店、ヤマハ電気音響製品アフターサービス拠点にお問い合わせください。
無償修理規定
ご販売店様へ※印欄は必ずご記入の上お渡しください。
持込修理
品名/品番
保証期間
※お買上げ日
お客様
※
販
売
店
HI-HATCONTROLPEDALHH65
 製番
本 体:お買い上げの日から6ヶ月
     年     月     日
住 所 〒
お名前                    様 
電 話       (    )
印  
        (    )
店  名
住  所
電  話
■Troubleshooting
If the following trouble occurs when the HH65 is used, please check the following points
before asking your dealer for assistance.
●Hi-Hat Control does not function
What to check
Problem
Is the HH65's output jack properly
connected to the DTX Series
Drum Trigger Module's HI-HAT
CONTROL input using the sup-
plied stereo phone cable?
Refer to the previous “Connections” section and check whether
the connections are proper or not.
Is the module properly connected to
a pair of headphones or an external
audio device such as an amplifier,
speakers, etc.?
Check the connections between the drum trigger module and
the external device or headphones, also check the external
device's power switch or volume settings.
Are module's settings correct? Check the volume setting of the voice assigned to the INPUT
(HI-HAT CONTROL) or the HI HAT Input to which the HH65 is
connected (refer to the previous “Adjusting the Voice Volume”
section), or whether or not the headphone volume is set too
low, etc.
■Replacing Worn Pads
•The function of some parts (switch rubber, switch, jacks, etc.) will deteriorate over time
and prolonged use. The manner in which these parts wear will depend upon the circum-
stances under which, and the amount of time the product is used.
•Please ask the dealer from whom you purchased the device about replacing worm parts.
Adjusting the Voice Volume
To change the volume of the voice assigned to the HH65 or the volume of the voice
assigned to the pad that is connected to the Hi-Hat Input, use the [VOICE] Edit Mode
in the DTX Series Drum Trigger Module. Please refer to the Owner's Manual that
came with your module for further information.
• Owner’s Manual (this sheet) x1
■Connections■Setting Up
Place the HH65 in the area underneath the
rack or stand mounted pad (TP65, etc.) that
will be used for the hi-hat cymbal.
Spur
NOTE: If the drum pads are set on a special pur-
pose drum riser (optional), or if damage to
the floor is not a concern, extend the pedal's
spur so that its point digs into the riser or
floor to prevent the HH65 from moving dur-
ing performance.
NOTE: To prevent damage to the floor, rotate the
spur counter-clockwise so that the edge
does not come in contact with the floor.
Hi-hat cymbal pad
(TP65, etc.)
●Pedal Stroke Adjustment
The amount of pedal stroke (the amount
that the pedal moves up and down when
stepped on) can be adjusted to meet your
particular playing requirements.
The stroke can be changed according to
the position at which the adjustment bolt
is set. Setting the adjustment bolt to a
higher position results in a wider stroke
while setting it to a lower position results
in a narrower stroke.
Use a drum key (optional) to loosen the
square bolt and adjust the bolt's position,
then firmly tighten the square bolt.
Square Bolt
Wider Stroke
Narrower Stroke
Use the Supplied stereo phone cable to con-
nect the HH65's output jack to the HI-HAT
CONTROL input jack on the DTX Series Drum
Tr igger Module (DTXPRESS (1&2)/DTX/
DTXTREME (1&2)).
Insert the cable's L-shaped plug into the jack
on the HH65.
Connect the output jack of the pad (TP65, etc.)
being used for the hi-hat cymbal to the HI-HAT
input jack.
●HH65 Hi-Hat Control Function
The HH65 functions much like the pedal on a hi-hat stand while the pad that is con-
nected to the hi-hat input functions as the hi-hat cymbal.
•Aclosed sound can be obtained by stepping on the HH65.
•A"foot splash" can be obtained by stepping on and quickly releasing the foot pedal.
•Changes in the sound produced by the hi-hat pad can also be obtained according to
the amount that the HH65's pedal is depressed (close/half open/open).
●Using the HH65 as a bass drum pedal (DTXPRESS/DTXTREME ).
When the HH65 is connect to the DTXPRESS or DTXTREME it can also be used as a
bass drum pedal. Please refer to the Owner's Manual that came with the module for
further information.
❇Make sure that the stereo cable is used to connect the HH65 to the module whether the HH65 is to be
used as a hi-hat controller or a bass drum pedal. If a monaural cable (Plug has one black rings) is used,
the pedal will be inactive.
SPECIAL MESSAGE SECTION
NOTICE: Service charges incurred due to a lack of knowledge relathing to how a function or effect works (when the unit is operating
as designed) are not covered by the manufacturer’s warranty, and are therefore the owners responsibility. Please study this manual
carefuly and consult your dealer before requesting service.
ENVIRONMENTAL ISSUES: Yamaha strives to produce products that are both user safe and environmentally friendly. We sincerely
believe that our products and the production methods used to produce them, meet these goals. In keeping with both the letter and the
spirit of the law, we want you to be aware of the following:
Warning: Do not attempt to disassemble.
Disposal Notice: Should this product become damaged beyond repair, or for some reason its useful life is considered to be at an end,
please observe all local, state, and federal regulations that relate to the disposal of products that contain lead, plastics, etc. If your
dealer is unable to assist you, please contact Yamaha directly.
NAME PLATE LOCATIOIN: The name plate is located on the bottom of the product. The model number, serial number are located on
this plate.
You should record the model number, serial number, and the date of purchase in the spaces provided below and retain this manual as
a permanent record of your purchase.
Model : HH65 Serial No.
Purchase Date
PLEASE KEEP THIS MANUAL
HI HAT
CONTROL
INPUT
Output jack
HH65
Insert
HI HAT
INPUT
Pad used for the hi-hat cymbal (TP65, etc.)
●Foot Splash is unavailable
The DTX Series Drum Trigger Module (DTXPRESS/DTX/DTXTREME) produces a foot splash according
to the amount of time detected between the moment that the pedal is pressed and the moment it is
released. The foot splash can be more easily obtained by adjusting the detection time.Adjust the detection
time to fit to your particular playing style and needs. Refer to the Owner's Manual that came with your
module for further information.
●The HH65 cannot be used as a kick pad
What to check
Problem
I
s the HH65 properly connected to
or setup with the drum trigger
module (DTXPRESS or DTXTREME)?
Please refer to the Owner's Manual that came with your drum
trigger module and check whether or not connections and/or
settings are proper.
❇The HH65 can be used as a kick pad only when connected to the DTXPRESS or DTXTREME.
Also refer to the Owner's Manual that came with your DTX Series Drum Trigger Module (DTXPRESS /
DTX/DTXTREME, etc.) for more information regarding the problems described above or any other prob-
lems you may experience.
If a solution to the problem can not be found even after consulting the manuals, contact the dealer from
whom you purchased the product.
■Specifications
Size 142mm (W) X 398mm (D) X 104mm (H)
Weight 1.5Kg
Sensor System Continuous Switch x1
Output Jack Standard Stereo Phone Jack
* Improvements may result in a change in the specifications and/or design of the product without notice.
Printed in Indonesia
WF75930

Other manuals for HH-65

2

Other Yamaha Music Pedal manuals

Yamaha HSAT930 User manual

Yamaha

Yamaha HSAT930 User manual

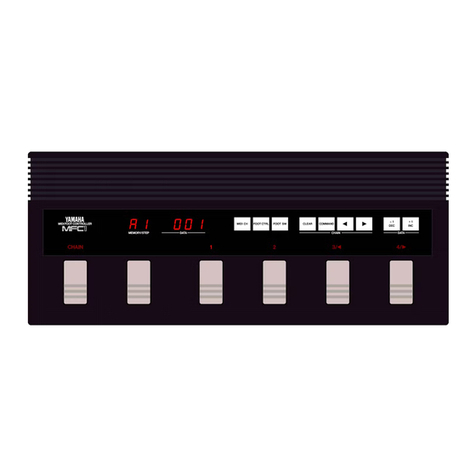
Yamaha MFC1 User manual
Yamaha

Yamaha MFC1 User manual

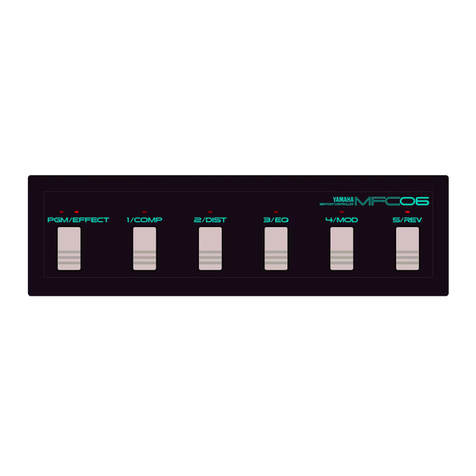
Yamaha MFC06 User manual

Yamaha

Yamaha MFC06 User manual

Yamaha Druid Pro DD-55 User manual

Yamaha

Yamaha Druid Pro DD-55 User manual

Yamaha MFC05 User manual

Yamaha

Yamaha MFC05 User manual

Yamaha MagicStomp Firmware update

Yamaha

Yamaha MagicStomp Firmware update

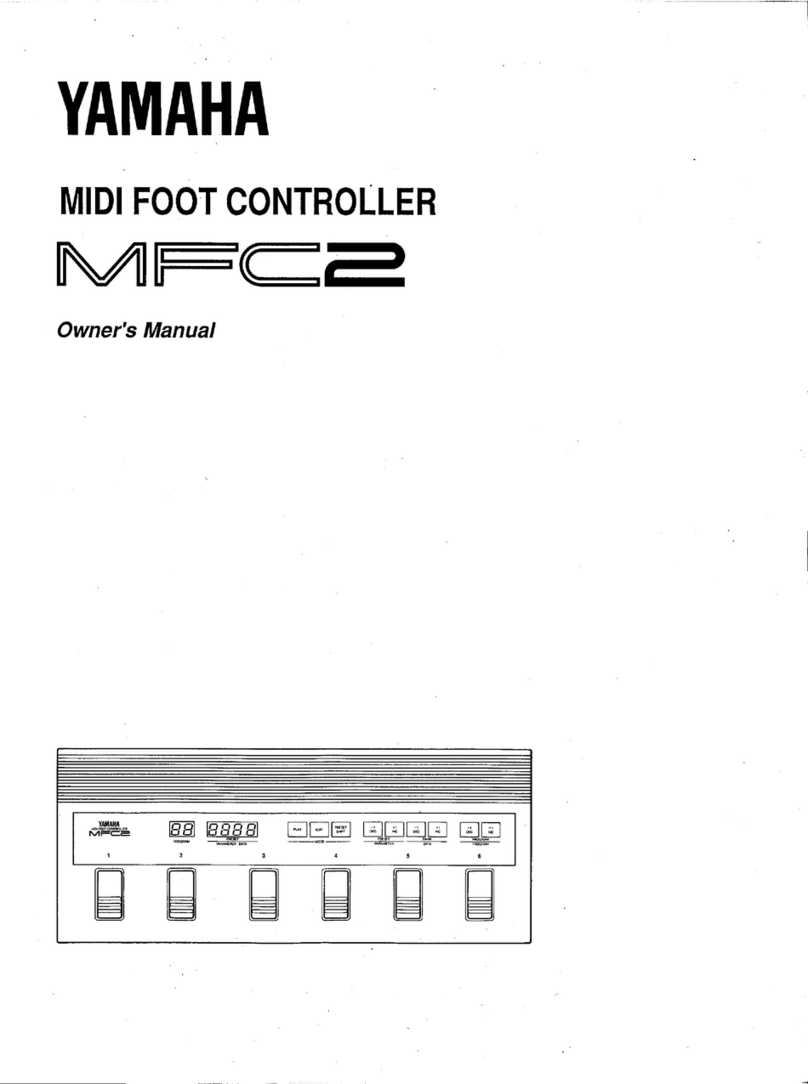
Yamaha MFC2 User manual

Yamaha

Yamaha MFC2 User manual

Yamaha LP-255 User manual

Yamaha

Yamaha LP-255 User manual

Yamaha MFC2 User manual

Yamaha

Yamaha MFC2 User manual

Yamaha TP-7026 User manual

Yamaha

Yamaha TP-7026 User manual

Yamaha GW10 User manual

Yamaha

Yamaha GW10 User manual

Yamaha DFP8210 User manual

Yamaha

Yamaha DFP8210 User manual

Yamaha DFP7210 User manual

Yamaha

Yamaha DFP7210 User manual

Yamaha UD-Stomp Manual

Yamaha

Yamaha UD-Stomp Manual

Yamaha Foot Pedal FP7210A User manual

Yamaha

Yamaha Foot Pedal FP7210A User manual

Yamaha Pedal Unit LP-5 User manual

Yamaha

Yamaha Pedal Unit LP-5 User manual

Yamaha Pedal Unit LP-7A/LP-5A User manual

Yamaha

Yamaha Pedal Unit LP-7A/LP-5A User manual

Yamaha LP-255 User manual

Yamaha

Yamaha LP-255 User manual

Yamaha VP-500 User manual

Yamaha

Yamaha VP-500 User manual

Yamaha LP-7A User manual

Yamaha

Yamaha LP-7A User manual

Yamaha Magicstomp UB99 User manual

Yamaha

Yamaha Magicstomp UB99 User manual

Yamaha HH80 User manual

Yamaha

Yamaha HH80 User manual

Yamaha MFC2 User manual

Yamaha

Yamaha MFC2 User manual

Yamaha MFC 10 User manual

Yamaha

Yamaha MFC 10 User manual

Popular Music Pedal manuals by other brands

PIRATE MIDI mLoop manual

PIRATE MIDI

PIRATE MIDI mLoop manual

Pyle Pro PPDLA1 manual

Pyle Pro

Pyle Pro PPDLA1 manual

Lehle Sunday Driver SW operating instructions

Lehle

Lehle Sunday Driver SW operating instructions

Cicognani Dragon Distortion operating manual

Cicognani

Cicognani Dragon Distortion operating manual

Keeley HYDRA instruction manual

Keeley

Keeley HYDRA instruction manual

EBS DynaVerb user manual

EBS

EBS DynaVerb user manual

Musician Sound Design Automagic Silver Machine MKII operating manual

Musician Sound Design

Musician Sound Design Automagic Silver Machine MKII operating manual

Moen Gec8 JR owner's manual

Moen

Moen Gec8 JR owner's manual

RJM OVERTURE user manual

RJM

RJM OVERTURE user manual

Donner Noise Killer owner's manual

Donner

Donner Noise Killer owner's manual

Shift Line FORCE user guide

Shift Line

Shift Line FORCE user guide

Onerr Digital Delay DGD-2 user guide

Onerr

Onerr Digital Delay DGD-2 user guide

TC Electronic VORTEX FLANGER quick start guide

TC Electronic

TC Electronic VORTEX FLANGER quick start guide

Mooer Micro Series owner's manual

Mooer

Mooer Micro Series owner's manual

PRS Guitars HORSEMAT TRANSPARENT OVERDRIVE instruction manual

PRS Guitars

PRS Guitars HORSEMAT TRANSPARENT OVERDRIVE instruction manual

Eventide ModFactor user guide

Eventide

Eventide ModFactor user guide

Behringer Digital Delay DD400 quick guide

Behringer

Behringer Digital Delay DD400 quick guide

Lithium Grim Klonulator Building instructions

Lithium Grim

Lithium Grim Klonulator Building instructions

manuals.online logo
manuals.online logoBrands
  • About & Mission
  • Contact us
  • Privacy Policy
  • Terms and Conditions

Copyright 2025 Manuals.Online. All Rights Reserved.