Yamaha F200A Manual

SERVICE MANUAL
292087 60L-28197-3D-1X
SUPPLEMENTARY
F200A
FL200A
https://www.boat-manuals.com/

NOTICE
This Supplementary Service Manual has been prepared to introduce new service and new data
information for the F200 and FL200 which is based on the F225 and FL225. For complete informa-
tion on service procedures, it is necessary to use this Supplementary Service Manual together with
the following manual.
Important information 1
Particularly important information is distinguished in this manual by the following notations:
The Safety Alert Symbol means ATTENTION! BECOME ALERT! YOUR SAFETY IS
INVOLVED!
WARNING
Failure to follow WARNING instructions could result in severe injury or death to the machine
operator, a bystander, or a person inspecting or repairing the outboard motor.
CAUTION:
A CAUTION indicates special precautions that must be taken to avoid damage to the out-
board motor.
NOTE:
A NOTE provides key information to make procedures easier or clearer.
F225A, FL225A SERVICE MANUAL: 69J-28197-3D-11
F200A, FL200A
SUPPLEMENTARY SERVICE MANUAL
©2001 by Yamaha Motor Co., Ltd.
1st Edition, August 2001
All rights reserved.
Any reprinting or unauthorized use
without the written permission of
Yamaha Motor Co., Ltd.
is expressly prohibited.
Printed in the Netherlands
https://www.boat-manuals.com/

Contents
General information 1
GEN
INFO
Specifications 2
SPEC
Periodic checks and adjustments 3
CHK
ADJ
Fuel system 4
FUEL
Power unit 5
POWR
Lower unit 6
LOWR
Bracket unit 7
BRKT
Electrical systems 8
ELEC
Troubleshooting 9
TRBL
SHTG
Index
–+
https://www.boat-manuals.com/

60L3D1X
General information
How to use this manual....................................................................................1
Manual format...............................................................................................1
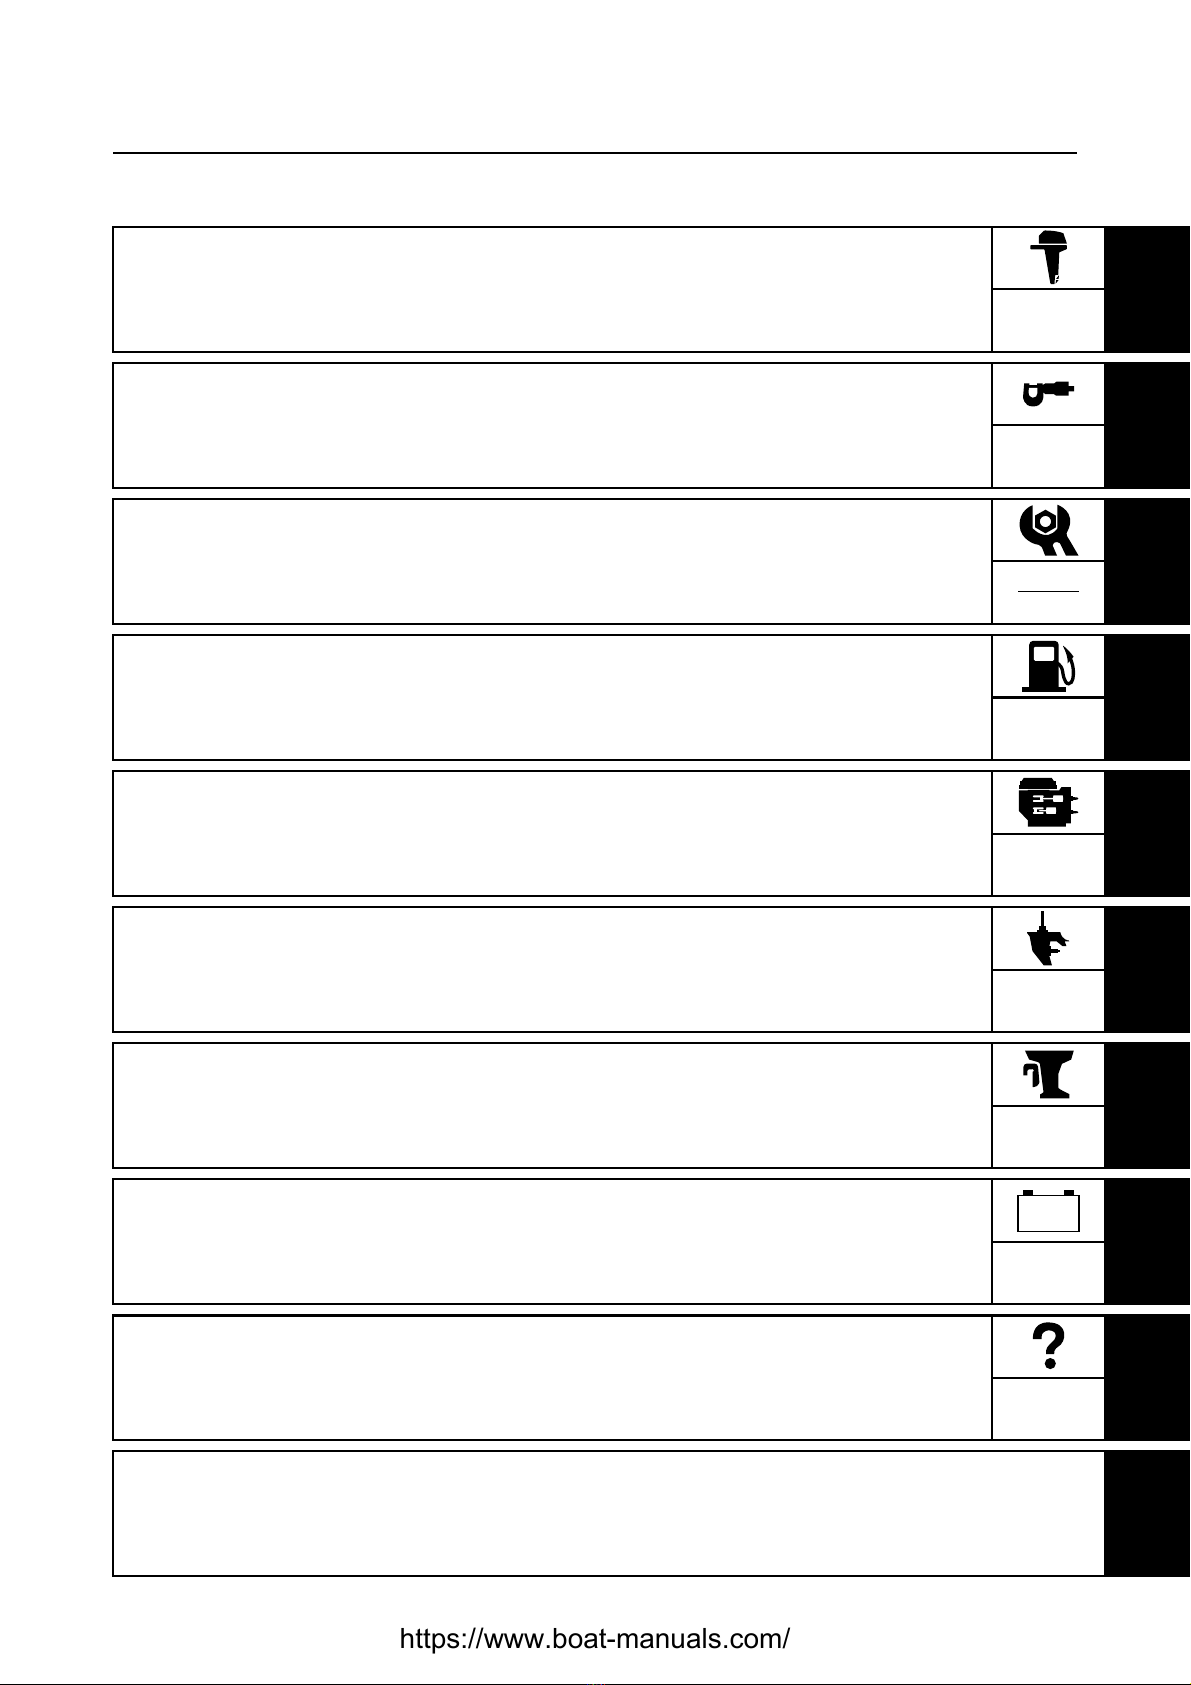
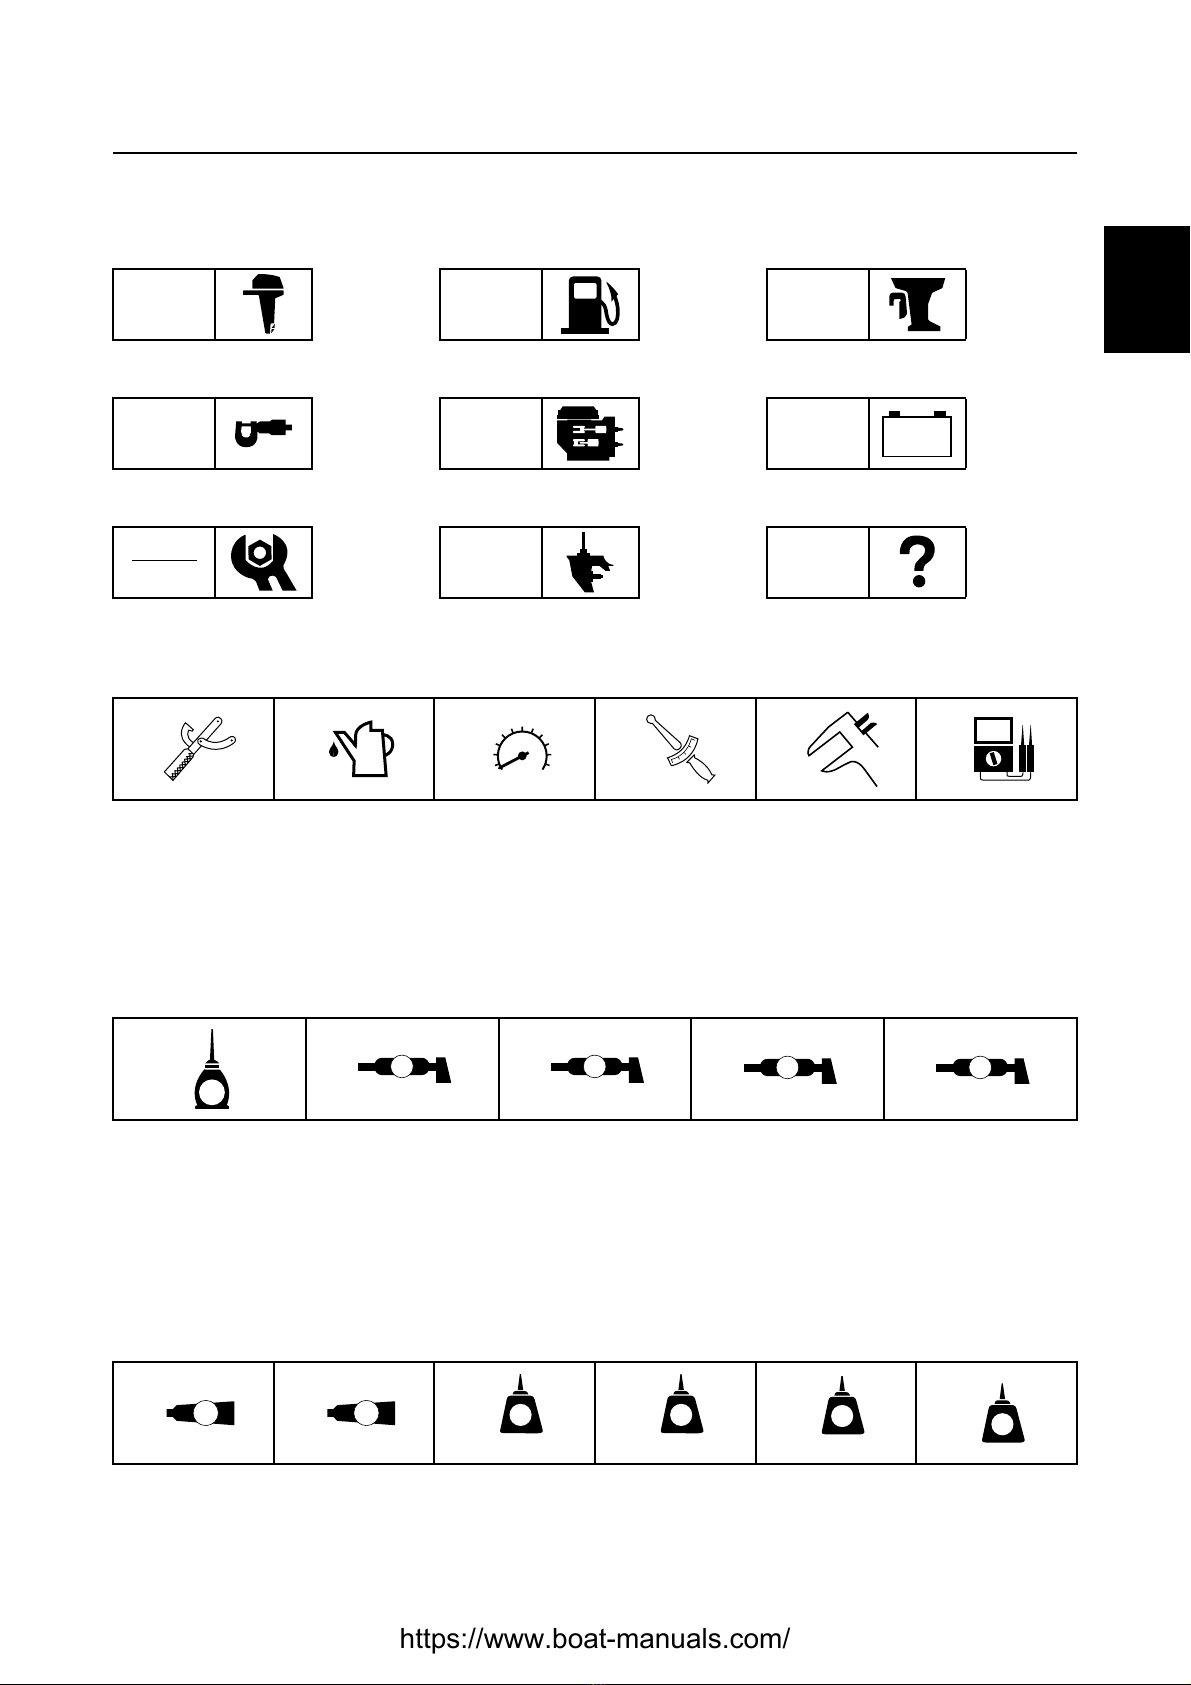
Symbols........................................................................................................2
Identification......................................................................................................3
Applicable models ........................................................................................3
Serial number...............................................................................................3
Features and benefits.......................................................................................4
Electronic control system..............................................................................4
Ignition and fuel injection timing ...................................................................5
Technical tips....................................................................................................6
Fuel injection control.....................................................................................6
Propeller selection............................................................................................7
Propeller size................................................................................................7
Selection.......................................................................................................7
Predelivery checks ...........................................................................................8
Checking the fuel system .............................................................................8
Checking the gear oil....................................................................................8
Checking the engine oil................................................................................8
Checking the battery.....................................................................................8
Checking the outboard motor mounting height.............................................9
Checking the remote control cables.............................................................9
Checking the steering wheel ......................................................................10
Checking the gearshift and throttle operation.............................................10
Checking the tilt system..............................................................................10
Checking the engine start switch and engine stop switch/
engine shut-off switch...............................................................................10
Checking the cooling water pilot hole.........................................................11
Test run ......................................................................................................11
Break-in......................................................................................................11
After test run...............................................................................................11
https://www.boat-manuals.com/

60L3D1X
Specifications
General specifications....................................................................................12
Maintenance specifications ...........................................................................14
Power unit...................................................................................................14
Lower unit...................................................................................................17
Electrical.....................................................................................................18
Dimensions.................................................................................................21
Tightening torques..........................................................................................24
Specified torques........................................................................................24
General torques..........................................................................................27
Periodic checks and adjustments
Special service tools ......................................................................................27
Maintenance interval chart.............................................................................28
Bracket unit
Power trim and tilt unit...................................................................................30
Assembling the gear pump.........................................................................30
Electrical systems
Fuel control system........................................................................................31
Checking the fuel injector...........................................................................31
Checking the low-pressure fuel pump and high-pressure fuel pump .........32
Troubleshooting
Yamaha Diagnostic System...........................................................................33
Introduction.................................................................................................33
Getting started............................................................................................33
Self-diagnosis..................................................................................................42
Diagnosing the electronic control system...................................................42
Index.................................................................................................................44
Wiring diagram
https://www.boat-manuals.com/

GEN
INFO General information
160L3D1X
How to use this manual 1
Only chapters containing revisions or additional items in the base manual have been included in this
manual.
Manual format
The format of this manual has been designed to make service procedures clear and easy to under-
stand. Use the information below as a guide for effective and quality service.
1Parts are shown and detailed in an exploded diagram and are listed in the components list.
2Tightening torque specifications are provided in the exploded diagrams and after a numbered
step with tightening instructions.
3Symbols are used to indicate important aspects of a procedure, such as the grade of lubricant
and lubrication point.
4The components list consist of parts and part quantities, as well as bolt, screw, O-ring, and hose
dimensions.
5Service points regarding removal, checking, and installation are shown in individual illustrations
to explain the relevant procedure.
NOTE:
For troubleshooting procedures, see Chapter 9, “Troubleshooting.”
https://www.boat-manuals.com/

60L3D1X 2
Symbols
The symbols below are designed to indicate the content of a chapter.
General information
Specifications
Periodic checks and adjustments
Fuel system
Power unit
Lower unit
Bracket unit
Electrical systems
Troubleshooting
GEN
INFO
SPEC
CHK
ADJ
FUEL
POWR
LOWR
BRKT
ELEC
TRBL
SHTG
–+
Symbols 1to 6indicate specific data.
1Special tool
2Specified oil or fluid
3Specified engine speed
4Specified tightening torque
5Specified measurement
6Specified electrical value
(resistance, voltage, electric current)
Symbols 7to Ain an exploded diagram indicate the grade of lubricant and the lubrication point.
7Apply Yamaha 4-stroke motor oil
8Apply water resistant grease (Yamaha grease A)
9Apply molybdenum disulfide grease
0Apply corrosion resistant grease
(Yamaha grease D)
AApply low temperature resistant grease
(Yamaha grease C)
Symbols Bto Gin an exploded diagram indicate the type of sealant or locking agent and the appli-
cation point.
BApply Gasket Maker®
CApply Yamabond No. 4
DApply LOCTITE®No. 271 (Red)
EApply LOCTITE®No. 242 (Blue)
FApply LOCTITE®No. 572
GApply silicon sealant
123456
T
R
.
.
7890A
EA M D C
BCDEFG
GM
4
271
LT
242
LT
572
LT SS
How to use this manual
1
2
3
4
5
6
7
8
9
https://www.boat-manuals.com/

GEN
INFO General information
360L3D1X
Identification 1
Applicable models
This manual covers the following models.
Serial number
The outboard motor serial number is
stamped on a label attached to the port
clamp bracket.
1Model name
2Approved model code
3Transom height
4Serial number
Applicable models
F200AET, FL200AET
Model name Approved
model code Starting
serial No.
F200AET 60L X: 600101–
FL200AET 60M X: 600101–
https://www.boat-manuals.com/

60L3D1X 4
Features and benefits 1
Electronic control system
The ECM controls the ignition timing, the fuel injection timing, the fuel injection volume, and the ISC
and it maintains a stoichiometric air-fuel ratio in all operating conditions, including starting and idling.
Also, the ECM converts the signals from the input sensors and sends instructions to each part.
B Z
T
P
P
~
S60L1180
Injector #1,4
40
ISC motor A
ISC motor B
ISC motor C
ISC motor D
Oil pressure warning lamp
Overheat warning lamp
Engine warning lamp
Buzzer
Tachometer
25
High-pressure fuel pump
Low-pressure fuel pump
Battery power source
Main relay
Connector pin position
Main relay
Battery
Rectifire/Regulator
Main switch 28
Power source
for diagnosis
lamp
36
Diagnosis signal
26
Personal
computer
Starboard bank
Port bank
Ground for power source 42
Ground for unit 32
Thermo switch 37
Neutral switch 31
6
Emergency engine stop switch 4
Shift cutoff switch 9
Oil pressure sensor 29
Power source for oil pressure sensor 10
Intake air temperature sensor 7
Engine temperature sensor 35
Ground for sensors 8
Intake air presssure sensor 33
TPS 34
Power source for intake air pressure sensor
11
Power source for TPS 12
Pulser coil #3 13
Pulser coil #2 14
Pulser coil #1 15
Vacancy
DES switch
Vacancy
Ignition coil #1,4
ECM
Ignition coil #2,5
Ignition coil #3,6
Injector #2,5
39
Injector #3,6
20
18
21
19
24
23
27
3
1
17
16
44 43 42 41 40 39 38 37 36 35 34 33 32 31 30 29 28 27 26 25 24 23
22 21 20 19 18 17 16 15 14 13 12 11 10 9 8 7 6 5 4 3 2 1
30
2
22
44
43
38
Identification / Features and benefits
https://www.boat-manuals.com/

GEN
INFO General information
560L3D1X
Ignition and fuel injection timing
This engine adopted the group injection system that the fuel required for one combustion is injected
twice per one cycle.
Therefore, the injector driving circuits can be integrated to 3 circuits and a simpler electrical struc-
ture is obtained.
Firing order : #1, #2, #3, #4, #5, #6
Injection order: #1 and #4 →#2 and #5 →#3 and #6 (group injection)
TDC
720˚
180˚
120˚
TDC
TDC
TDC
TDC
Crankshaft angle
Cylinder
Cylinder #1
Cylinder #2
Cylinder #3
Cylinder #4
Cylinder #5
Cylinder #6
Ignition
Injection
Ignition
Injection
Ignition
Injection
Ignition
Injection
Ignition
Injection
Ignition
Injection
Compression
Compression
Compression
Compression
Compression
Compression
Intake
Intake
Intake
Intake
Intake
Intake
Combustion Exhaust
Combustion Exhaust
Combustion Exhaust
Combustion
Exhaust
Combustion Exhaust
Combustion Exhaust
: Ignition spark
: Wasted spark
S60L1190
https://www.boat-manuals.com/

60L3D1X 6
Technical tips 1
Fuel injection control
The F200 injects fuel simultaneously to the following cylinder pairs: #1 and #4, #2 and #5, and #3
and #6. Optimal injection timing is provided in accordance with the operating conditions of the
engine.
Starting fuel injection volume and injection timing
The injectors are actuated in sync with the standard crankshaft position signals (BTDC 70°) for cyl-
inder pairs #1 and #4, #2 and #5, and #3 and #6, respectively.
Normal fuel injection volume and injection timing
To control the actuation timing of the injectors, the injection ending timing is established by using the
top-dead-center of the intake stroke as the standard, for cylinder pairs #1 and #4, #2 and #5, and #3
and #6, respectively.
#6
B70
#1 #2 #3 #4 #5 #6 #1 #2
CYLINDER #1
CYLINDER #2
CYLINDER #3
CYLINDER #4
CYLINDER #5
CYLINDER #6
SIGNAL #1/4
SIGNAL #2/5
SIGNAL #3/6
INJECTION #1/4
INJECTION #2/5
INJECTION #3/6
B10 B70 B10
B70 B10
B70 B10
B70 B10B10 B70 B10
B70 B10
B70 B10
(Compression TDC)
Compression Combustion Exhaust Intake Compression Expansion
Compression Combustion Exhaust Intake Compression
Intake Compression Combustion Exhaust Intake Compression
Compression Combustion Exhaust Intake
Compression Combustion Exhaust
Intake
Intake Intake Intake
Combustion Exhaust
Exhaust
Combustion Exhaust
Starting injection start timing
(standard position BTDC 70˚)S60L1200
#6
B70
#1 #2 #3 #4 #5 #6 #1 #2
CYLINDER #1
CYLINDER #2
CYLINDER #3
CYLINDER #4
CYLINDER #5
CYLINDER #6
SIGNAL #1/4
SIGNAL #2/5
SIGNAL #3/6
INJECTION #1/4
INJECTION #2/5
INJECTION #3/6
B10 B70 B10
B70 B10B70 B10
B70 B10
B10 B70 B10
B70 B10
B70 B10
Compression Combustion Exhaust Intake Compression Expansion
Compression Combustion Exhaust Intake Compression
Intake Compression Combustion Exhaust Intake Compression
Compression Combustion Exhaust Intake
Compression Combustion Exhaust
Intake
Intake Intake Intake
Combustion Exhaust
Exhaust
Combustion Exhaust
(Compression TDC)
Synchronous injection completion timing
#1/4 synchronous injection start/completion
timing setting range S60L1210
Features and benefits / Technical tips
https://www.boat-manuals.com/

GEN
INFO General information
760L3D1X
Propeller selection 1
The performance of a boat and outboard
motor will be critically affected by the size
and type of propeller you choose. Propellers
greatly affect boat speed, acceleration,
engine life, fuel economy, and even boating
and steering capabilities. An incorrect choice
could adversely affect performance and
could also seriously damage the engine.
Use the following information as a guide for
selecting a propeller that meets the operating
conditions of the boat and the outboard
motor.
Propeller size
The size of the propeller is indicated on the
propeller blade or outside of the propeller
boss.
aPropeller diameter (in inches)
bPropeller pitch (in inches)
cPropeller type (propeller mark)
Selection
When the engine speed is at the full throttle
operating range (5,000–6,000 r/min), the
ideal propeller for the boat is one that pro-
vides maximum performance in relation to
boat speed and fuel consumption.
S60L1030
× -
S60L1040
× -
S60L1050
× -
Regular rotation model
Propeller size (in) Material
13 3/4 ×17 - M
Stainless
13 3/4 ×19 - M
13 3/4 ×21 - M
14 1/2 ×15 - M
14 1/2 ×19 - T
14 1/2 ×21 - T
14 7/8 ×21 - M
14 7/8 ×23 - M
15 ×17 - T
15 1/4 ×15 - M
15 1/4 ×17 - M
15 1/4 ×19 - M
Counter rotation model
Propeller size (in) Material
13 3/4 ×17 - ML
Stainless
13 3/4 ×19 - ML
13 3/4 ×21 - ML
14 1/2 ×15 - ML
14 1/2 ×19 - TL
14 1/2 ×21 - TL
14 7/8 ×21 - ML
14 7/8 ×23 - ML
15 ×17 - TL
15 1/4 ×15 - ML
15 1/4 ×17 - ML
15 1/4 ×19 - ML
https://www.boat-manuals.com/

60L3D1X 8
Predelivery checks 1
To make the delivery process smooth and
efficient, the predelivery checks should be
completed as explained below.
Checking the fuel system
1. Check that the fuel hoses are securely
connected and that the fuel tank is full
with fuel.
CAUTION:
This is a 4-stroke engine. Do not use pre-
mixed fuel and 2-stroke outboard motor
oil.
Checking the gear oil
1. Check the gear oil level.
Checking the engine oil
1. Check the oil level.
NOTE:
•If the engine oil is above the maximum level
mark (H), drain sufficient oil until the level is
between (H) and (L).
•If the engine oil is below the minimum level
mark (L), add sufficient oil until the level is
between (H) and (L).
Checking the battery
1. Check the capacity, electrolyte level, and
specified gravity of the battery.
2. Check that the red and black battery
cables are securely connected.
S60L1060
S60L1070
Recommended engine oil:
4-stroke motor oil
API: SE, SF, SG, or SH
SAE: 10W-30 or 10W-40
Oil capacity:
Without oil filter replacement:
5.8 L (6.1 US qt, 5.1 Imp qt)
Battery capacity: 12 V–100 Ah
Propeller selection / Predelivery checks
https://www.boat-manuals.com/

GEN
INFO General information
960L3D1X
Checking the outboard motor
mounting height
1. Check that the anti-cavitation plate is
aligned with the bottom of the boat. If the
mounting height is too high, cavitation
will occur and propulsion will be reduced.
Also, the engine speed will increase
abnormally and cause the engine to
overheat. If the mounting height is too
low, water resistance will increase and
reduce engine efficiency.
NOTE:
The optimum mounting height is affected by
the combination of the boat and the outboard
motor. To determine the optimum mounting
height, test run the outboard motor at differ-
ent heights.
2. Check that the clamp brackets are
secured with the clamp bolts.
Checking the remote control cables
1. Set the remote control lever to the neu-
tral position and fully close the throttle
lever.
2. Check that the throttle cam 1is in its
fully close position and the alignment
mark ais between the alignment mark
b.
3. Check that the set pin cis in the center
of the shift bracket and aligned with the
alignment mark don the bracket.
CAUTION:
The shift/throttle cable joint must be
screwed in a minimum of 8.0 mm (0.31 in)
e.
S60L1120
https://www.boat-manuals.com/

60L3D1X 10
Checking the steering wheel
1. Check the steering friction for proper
adjustment.
2. Check that the steering operates
smoothly.
3. Check that there is no interference with
wires or hoses when the outboard motor
is steered.
Checking the gearshift and throttle
operation
1. Check that the gearshift operates
smoothly when the remote control lever
is shifted from neutral into forward or
reverse.
2. Check that the throttle operates smoothly
when the remote control lever is shifted
from the fully closed position to the fully
open position a.
Checking the tilt system
1. Check that the outboard motor tilts up
and down smoothly when operating the
power trim and tilt unit.
2. Check that there is no abnormal noise
produced when the outboard motor is
tilted up or down.
3. Check that there is no interference with
wires and hoses when the tilted-up out-
board motor is steered.
4. Check that the trim meter points down
when the outboard motor is tilted all the
way down.
Checking the engine start switch and
engine stop switch/engine shut-off
switch
1. Check that the engine starts when the
engine start switch is turned to START.
2. Check that the engine turns off when the
engine start switch is turned to OFF.
3. Check that the engine turns off when the
engine shut-off cord is pulled from the
engine shut-off switch.
S60L1140
FNR
S60L1150
Predelivery checks
https://www.boat-manuals.com/

GEN
INFO General information
11 60L3D1X
Checking the cooling water pilot
hole
1. Start the engine, and then check that
cooling water is discharged from the
cooling water pilot hole.
Test run
1. Start the engine, and then check that the
gearshift operates smoothly.
2. Check the engine idle speed after the
engine has been warmed up.
3. Operate at trolling speed.
4. Run the outboard motor for one hour at
2,000 r/min or at half throttle, then for
another hour at 3,000 r/min or at 3/4
throttle.
5. Check that the outboard motor does not
tilt up when shifting into reverse and that
water does not flow in over the transom.
NOTE:
The test run is part of the break-in operation.
Break-in
During the test run, perform the break-in
operation in the following three stages.
1. One hour aat 2,000 r/min or at approxi-
mately half throttle.
2. One hour bat 3,000 r/min or 3/4 throttle
and one minute out of every ten at full
throttle.
3. Eight hours cat any speed, however,
avoid running at full speed for more than
five minutes.
ÈHour
After test run
1. Check for water in the gear oil.
2. Check for fuel leakage in the cowling.
3. After a test run and while the engine is at
idle, flush the cooling water passage with
fresh water using the flushing kit.
S60L1160
S60L1170
01210
https://www.boat-manuals.com/

60L3D1X 12
General specifications 2
Item Unit Model
F200AET FL200AET
Dimension
Overall length mm (in) 892 (35.1)
Overall width mm (in) 634 (25.0)
Overall height
(X) mm (in) 1,805 (71.1)
Boat transom height
(X) mm (in) 635 (25.0)
Weight(*1)
(X) kg (lb) 269 (593)
Performance
Maximum output kW (hp)
at 5,500 r/min 147.1 (200)
Full throttle operating range r/min 5,000–6,000
Maximum fuel consumption L (US gal,
lmp gal)/hr
at 6,000 r/min
66.0 (17.4, 14.5)
Power unit
Type V6, 4-stroke, DOHC, 24 valves
Cylinder quantity 6
Displacement cm3(cu. in) 3,352 (204.5)
Bore ×stroke mm (in) 94.0 ×80.5 (3.70 ×3.17)
Compression ratio 9.9
Control system Remote control
Starting system Electric
Ignition control system Microcomputer (TCI)
Ignition timing Degree TDC–BTDC 21
Alternator output V, A 12, 45
Spark plugs LFR5A-11 (NGK)
Cooling system Water
Exhaust system Through propeller boss
Lubrication system Wet sump
(*1) Includes a stainless propeller and excludes oil, battery cables and rigging parts.
1
2
3
4
5
6
7
8
9
Predelivery checks / General specifications
https://www.boat-manuals.com/

SPEC Specifications
13 60L3D1X
Fuel and oil
Fuel type Regular unleaded gasoline
Fuel rating PON*
RON 86
91
Engine oil type 4-stroke motor oil
Engine oil grade API
SAE SE, SF, SG, or SH
10W-30 or 10W-40
Engine oil quantity
(with oil filter replacement)
L
(US qt, lmp qt)
6.0 (6.3, 5.3)
(without oil filter replacement)
L
(US qt, lmp qt)
5.8 (6.1, 5.1)
Gear oil type Hypoid gear oil
Gear oil grade API
SAE GL-4
90
Gear oil quantity
L
(US qt, lmp qt)
1.15 (1.22, 1.01) 1.00 (1.06, 0.88)
Bracket
Trim angle
(at 12 degree boat transom) Degree –3–16
Tilt-up angle Degree 70
Steering angle Degree 32 + 32
Drive unit
Gearshift positions F-N-R
Gear ratio 2.00 (30/15)
Reduction gear type Spiral bevel gear
Clutch type Dog clutch
Propeller shaft type Spline
Propeller direction
(rear view) Clockwise Counterclockwise
Propeller identification mark T, M TL, ML
Electrical
Battery capacity V–Ah 12–100
* PON: Pump Octane Number = (Research Octane Number + Motor Octane Number)/2
RON: Research Octane Number
Item Unit Model
F200AET FL200AET
https://www.boat-manuals.com/

60L3D1X 14
Maintenance specifications 2
Power unit
Item Unit Model
F200AET FL200AET
Power unit
Minimum compression
pressure* kPa
(kgf/cm2, psi) 880 (8.8, 125)
Lubrication oil pressure kPa (kgf/cm2,
psi) at
700 r/min
650 (6.5, 924)
Cylinder heads
Warpage limit mm (in) 0.1 (0.004)
(lines indicate straightedge
position)
Camshaft cap inside diameter mm (in) 25.00–25.02 (0.9843–0.9850)
Cylinders
Bore size mm (in) 94.00–94.02 (3.7008–3.7016)
Taper limit mm (in) 0.05 (0.0020)
Out-of-round limit mm (in) 0.01 (0.0004)
Pistons
Piston diameter (D) mm (in) 93.921–93.941 (3.6977–3.6985)
Measuring point (H) mm (in) 5 (0.2)
Piston-to-cylinder clearance mm (in) 0.075–0.080 (0.0029–0.0031)
Piston pin boss bore mm (in) 21.02–21.03 (0.8276–0.8280)
Piston pins
Outside diameter mm (in) 21.00 (0.827)
Piston rings
Top ring
Dimension B mm (in) 1.17–1.19 (0.0461–0.0468)
Dimension T mm (in) 2.8–3.0 (0.110–0.118)
End gap mm (in) 0.15–0.30 (0.0059–0.0118)
Side clearance mm (in) 0.04–0.08 (0.0016–0.0031)
2nd ring
Dimension B mm (in) 1.17–1.19 (0.0461–0.0468)
Dimension T mm (in) 3.6–3.8 (0.142–0.150)
End gap mm (in) 0.30–0.45 (0.0118–0.0177)
Side clearance mm (in) 0.03–0.07 (0.0012–0.0027)
* Measuring conditions:
Ambient temperature 20 °C (68 °F), wide open throttle, with plugs disconnected from all cylinders.
The figures are for reference only.
General specifications / Maintenance specifications
https://www.boat-manuals.com/

SPEC Specifications
15 60L3D1X
Oil ring
Dimension B mm (in) 2.40–2.47 (0.0945–0.0972)
Dimension T mm (in) 2.3–2.7 (0.091–0.106)
End gap mm (in) 0.15–0.60 (0.0059–0.0236)
Side clearance mm (in) 0.04–0.13 (0.0016–0.0051)
Camshafts
Intake (A) mm (in) 45.30–45.40 (1.7835–1.7874)
Exhaust (A) mm (in) 45.35–45.45 (1.7854–1.7894)
Intake and
exhaust (B) mm (in) 35.95–36.05 (1.4154–1.4193)
Camshaft journal diameter mm (in) 24.96–24.98 (0.9827–0.9834)
Camshaft journal oil clearance mm (in) 0.02–0.06 (0.0008–0.0023)
Camshaft runout limit mm (in) 0.1 (0.004)
Valves
Valve clearance (cold)
Intake mm (in) 0.20 ±0.03 (0.008 ±0.001)
Exhaust mm (in) 0.34 ±0.03 (0.013 ±0.001)
Head diameter (A)
Intake mm (in) 34.85–35.15 (1.3720–1.3839)
Exhaust mm (in) 29.85–30.15 (1.1752–1.1870)
Face width (B)
Intake mm (in) 2.11 (0.0831)
Exhaust mm (in) 2.43 (0.0957)
Seat contact width (C)
Intake mm (in) 1.1–1.4 (0.043–0.055)
Exhaust mm (in) 1.4–1.7 (0.055–0.067)
Margin thickness (D)
Intake mm (in) 0.7 (0.028)
Exhaust mm (in) 1.0 (0.039)
Stem diameter
Intake mm (in) 5.477–5.492 (0.2156–0.2162)
Exhaust mm (in) 5.464–5.479 (0.2151–0.2157)
Guide inside diameter
Intake and exhaust mm (in) 5.51–5.52 (0.2169–0.2173)
Stem-to-guide clearance
Intake mm (in) 0.01–0.02 (0.0004–0.0008)
Exhaust mm (in) 0.01–0.02 (0.0004–0.0008)
Stem runout limit mm (in) 0.01 (0.0004)
Valve springs
Free length mm (in) 44.20 (1.740)
Minimum free length mm (in) 42.60 (1.677)
Tilt limit mm (in) 1.5 (0.06)
Item Unit Model
F200AET FL200AET
https://www.boat-manuals.com/
This manual suits for next models
5
Table of contents
Other Yamaha Outboard Motor manuals
Popular Outboard Motor manuals by other brands

Mercury
Mercury 20 Jet Operation and maintenance manual

Parsun
Parsun T15BM owner's manual

Side-Power
Side-Power SEP50/140S Installation and user manual

Hobbico
Hobbico AquaCraft EP1 Assembly and operation manual

Craftsman
Craftsman 298.586190 owner's manual

Mercury
Mercury 10 FOURSTROKE Installation operation maintenance warranty manual