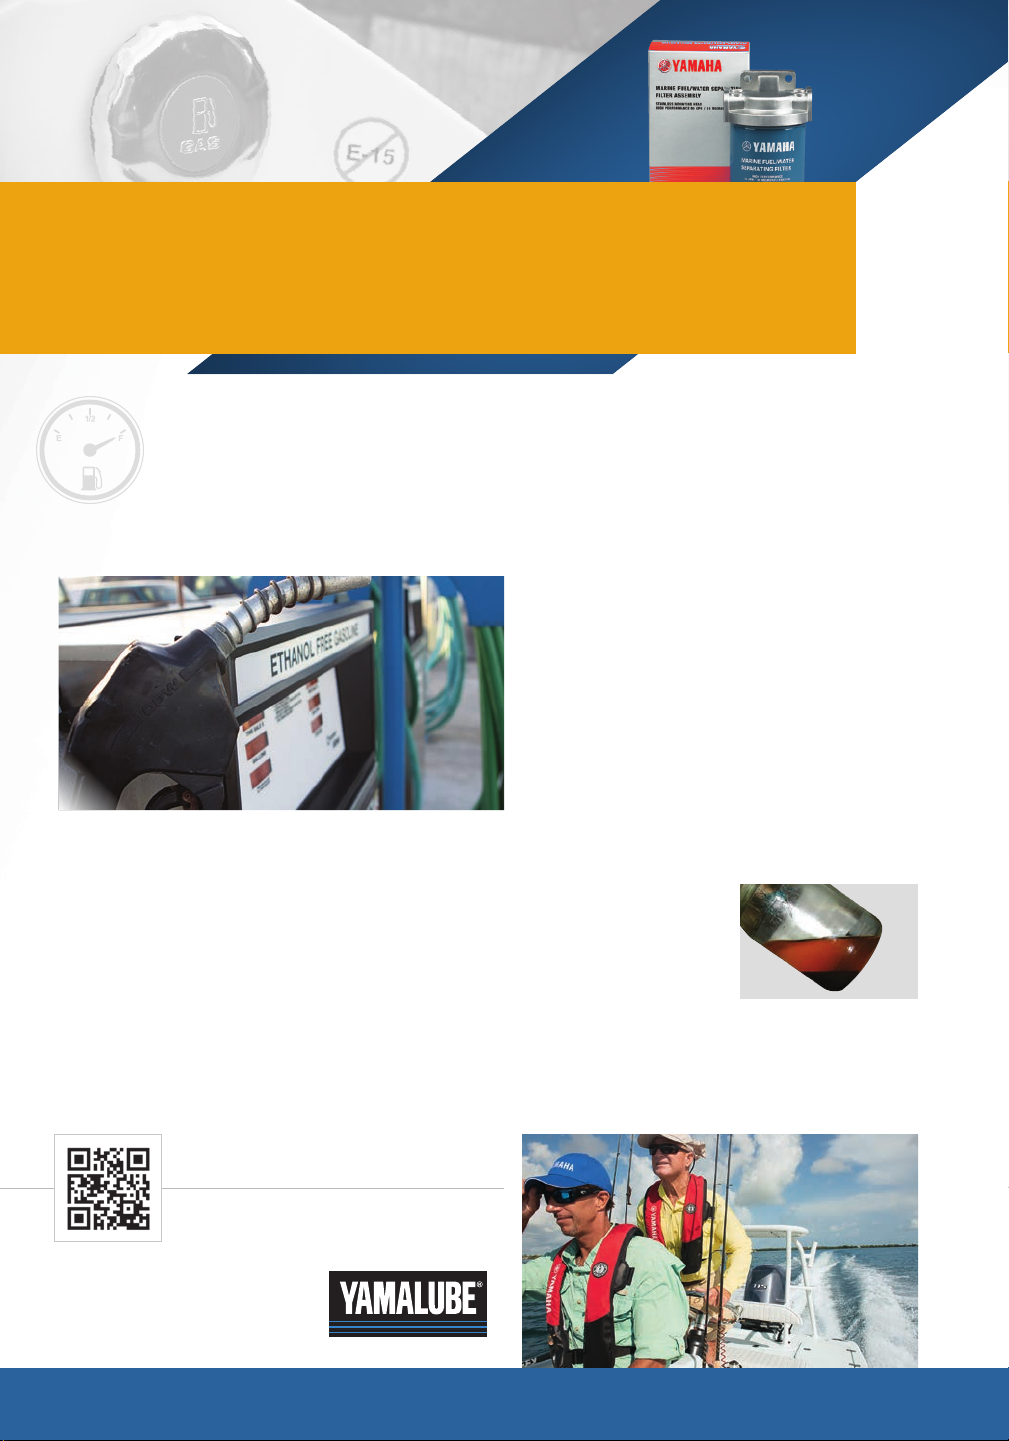
Scan here to learn more
about outboard flushing.*
Scan here to see a video about
the three flushing methods.*
What’s so important about flushing my outboard?
I boat exclusively in freshwater, do I still need to?
Your Yamaha outboard is raw-water cooled, meaning it uses the water it’s operating on as cooling
water. All water, fresh or salt, contains contaminants that will eventually build up in the cooling
passages over time. Additionally, saltwater is naturally corrosive and any remaining in those cooling
water passages after use is left there to do its worst, unabated. Saltwater can also experience
crystallization when exposed to heat above 170 degrees, which causes deposits to form and
potentially restrict cooling water passages. For these
reasons, it’s a must that you flush your engine
thoroughly with fresh, clean water after every use.
How do I go about flushing my outboard?
Use one of these three basic methods to flush after each trip.
•Use the built-in flush attachment. This is a great procedure to follow, especially if
you can’t remove your boat from the water, or if your outboard has dual water inlets
and you don’t have the special adapter. Simply connect a garden hose to the inlet
side of your non-running outboard’s built-in flush attachment, turn the spigot on full
blast, and let the hose’s water pressure do the work. Let the water run for 15 minutes
to ensure it fully circulates through the entire cooling system several times. If your
boat’s out of the water, like on a trailer or a lift, the fresh water will also trickle down
and adequately clean the water pump and the lower unit’s cooling water passages.
•The flush muff method. This is the most common and often-used fresh water
flushing method. Simply connect a garden hose to clean fresh water on one end
and a “flush muff” attachment, which slides around the lower unit to provide water
to both sides of the raw water inlet, to the other end. Turn on the water until you
see water squirting out the sides of the flush muff, then start your outboard in
neutral. Set the outboard to no more than a fast idle (900-RPM max) and allow to
run for 15 minutes in neutral. Increase hose water pressure enough to maintain a
bit of squirting out from under the flush muffs at all times while the outboard is
running. This helps ensure it gets fed enough cooling water.
Note: Outboards utilizing two cooling water inlets require a special adapter to use this method. Check with your
outboard’s manufacturer.
Note: Increasing engine speed may cause water demand to exceed supply. If you notice the hose becoming flat while
the outboard is running using this procedure, increase the water flow and/or decrease the engine RPM.
Warning: For safety, we suggest you remove the propeller before you begin. Accidental engagement of the outboard
into gear with the outboard running will cause an exposed propeller to spin rapidly, possibly resulting in serious
injury or death.
•The flush bag method. This method can be used for a boat on a trailer or when
moored. A flush bag, when filled with water, simulates the outboard idling in its
normal state but immerses the lower unit in fresh, clean tap water. Simply place
the bag around the outboard, attach the hose, and fill the bag. Ensure the water
level reaches the height of the outboard’s water pump (about 1” above the lower
unit separation seam). Start the engine, and run for 15 minutes in neutral. Leave
the hose running during this entire procedure. When complete, stop the outboard,
then the hose, and then drain the bag.
Note: Thoroughly dry the bag before storage.
7