2 En
Contents
Introduction......4
Supplied accessories......4
About this manual......4
Part name......5
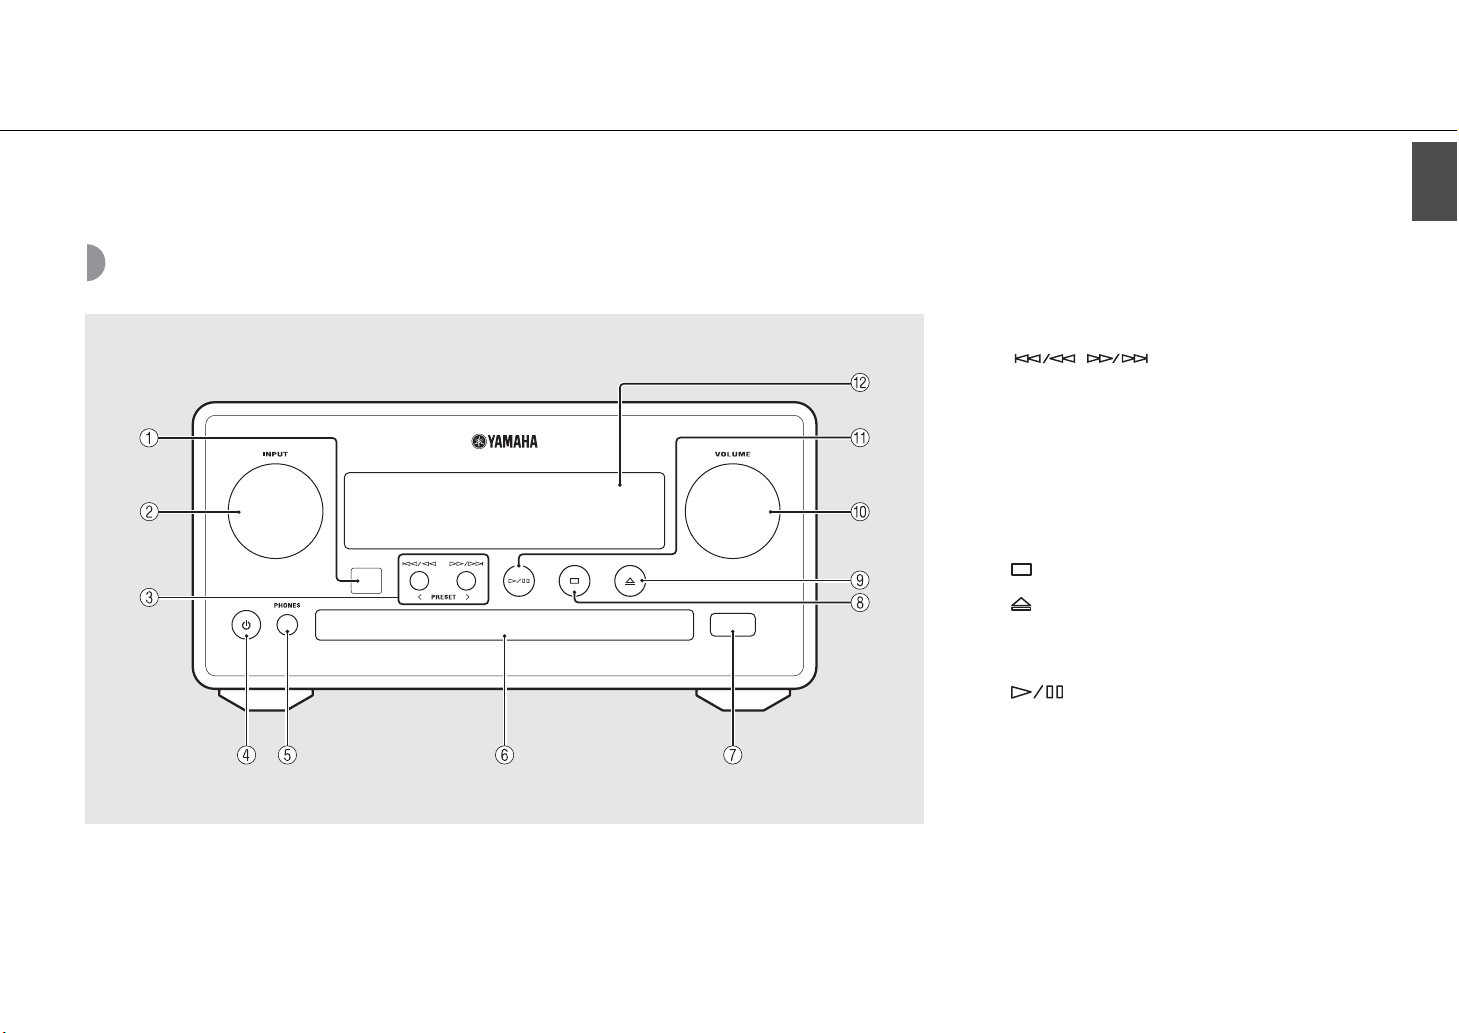
Front panel......5
Rear panel......6
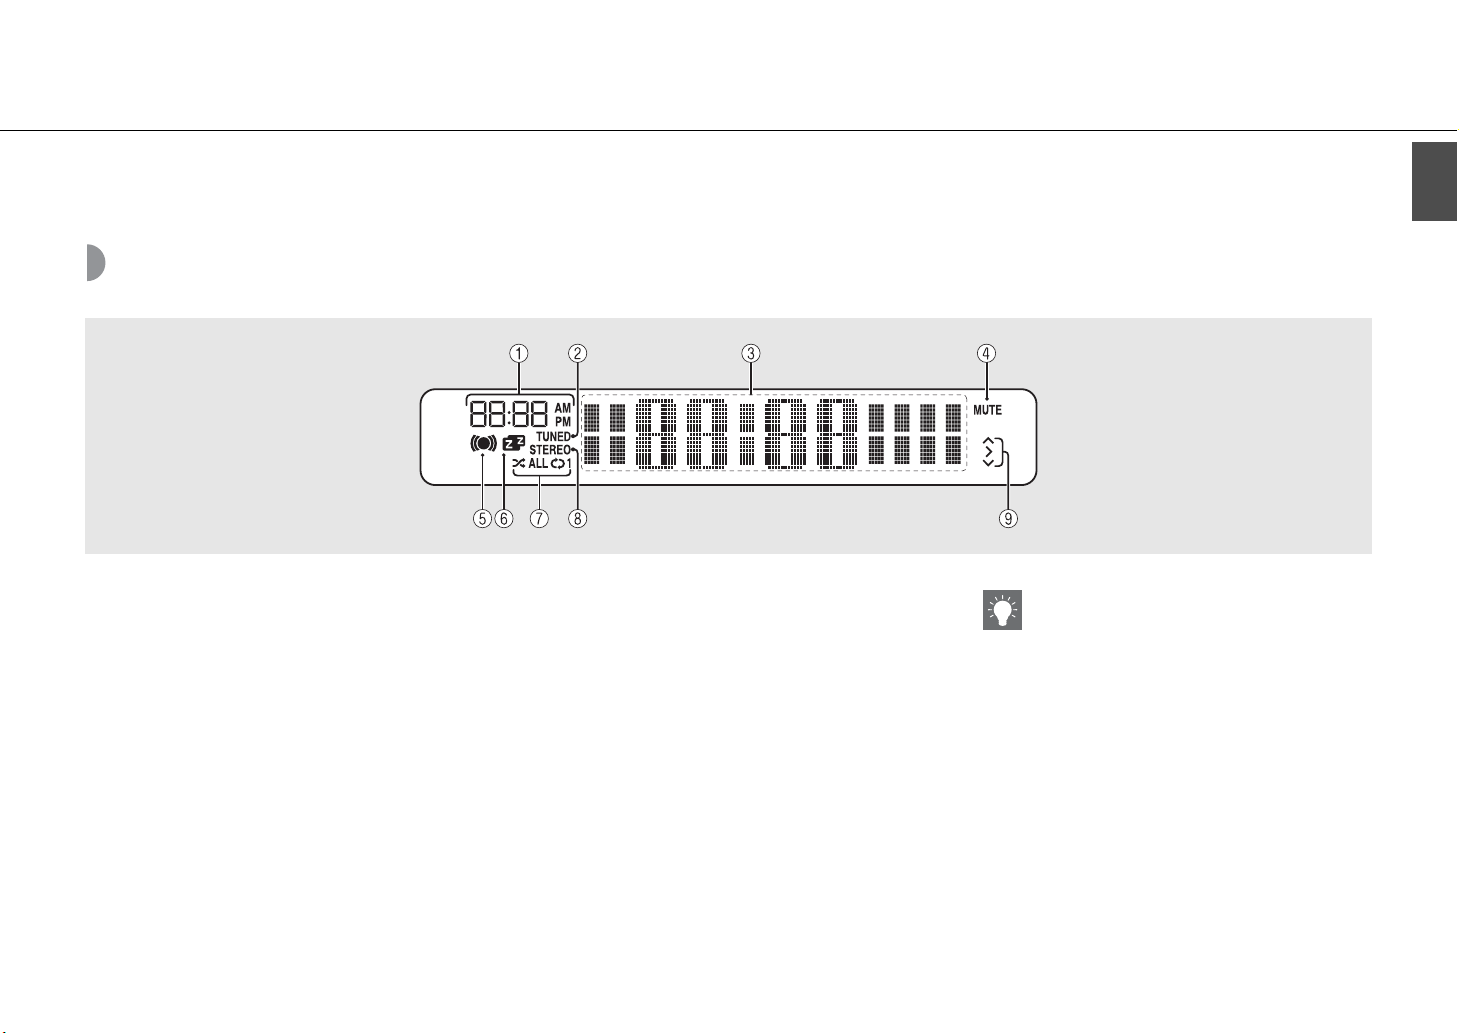
Front panel display......7
Adjusting display brightness......7
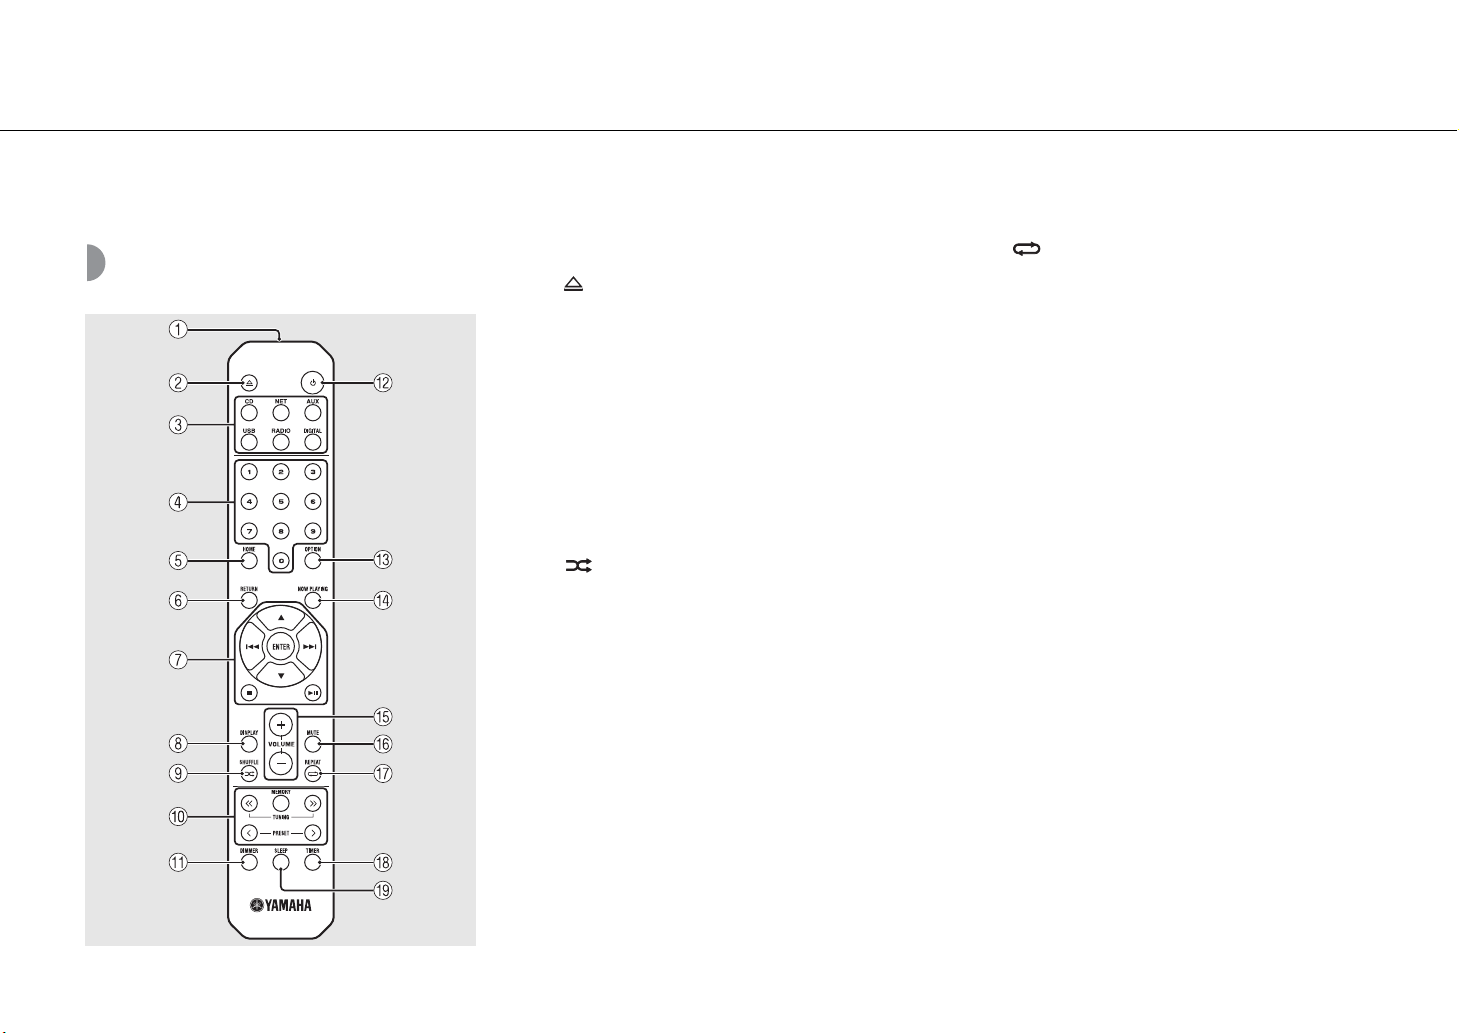
Remote control......8
Preparations......9
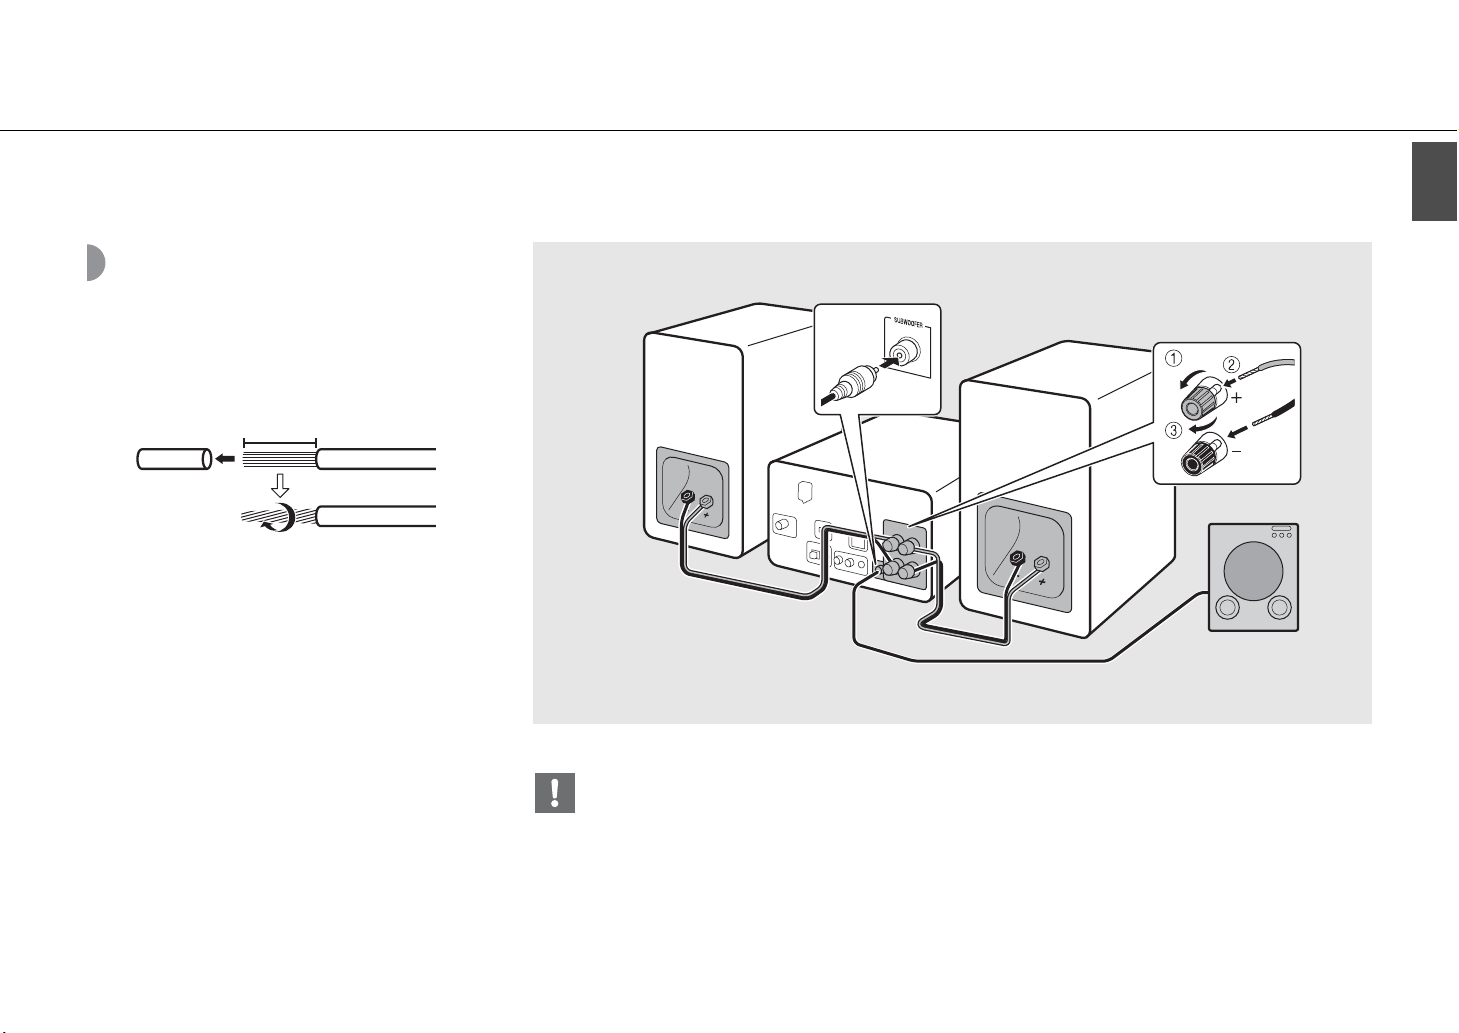
Connecting the speakers......9
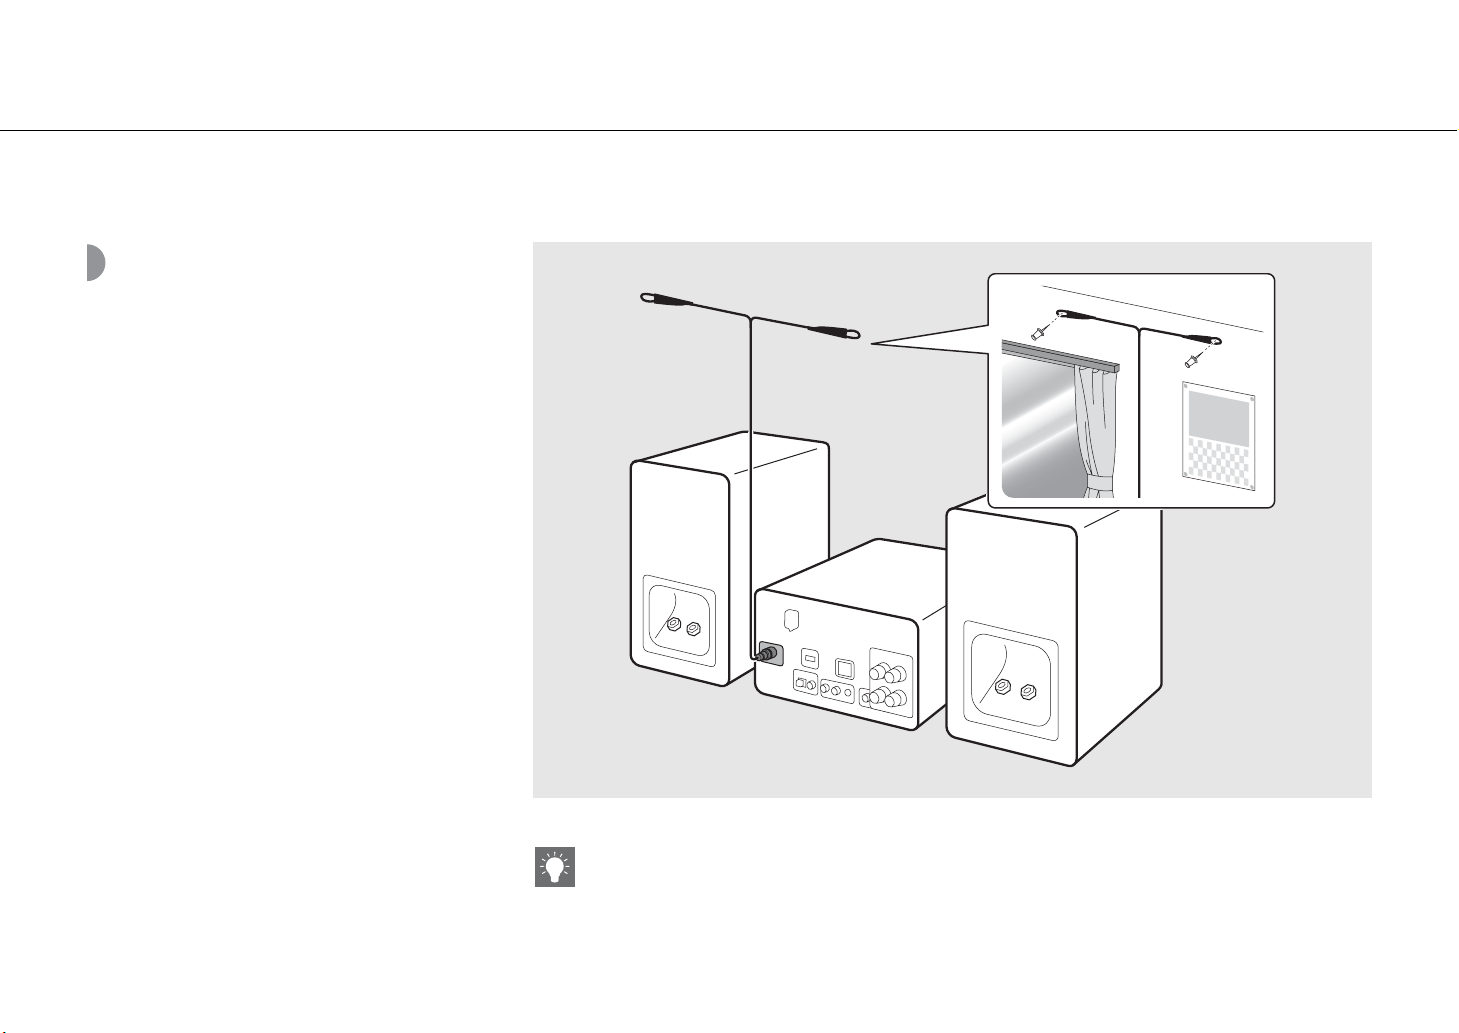
Connecting antenna......10
Connecting to the network......11
Turning on the power......12
Setting the network devices......13
PC......13
NAS......13
Mobile devices......13
Listening to CD......14
Listening to iPod/USB devices......15
Playing iPod......15
Playing USB devices......15
Listening to the songs in the
computer......17
Setting the media sharing of music files......17
Playing back songs in the PC......18
Listening to external sources......19
More on playback......20
Shuffle playback......20
Repeat playback......20
Playback information......21
Adjusting sound quality......22
Listening to FM radio stations......23
Tuning in FM stations......23
Presetting FM stations......23
Selecting preset FM stations......24
Deleting a preset station......24
Listening to Internet radio......25
Listening to the Music with
AirPlay......26
Playing iPod......26
Playing iTunes......26
Using the clock......27
Setting the clock......27
Setting the wake-up timer......28
Sleep timer......29
Updating the firmware......30
Option settings......31
Option menu list......32
Troubleshooting......33
General......33
Network......34
iPod......35
Disc......36
USB devices......36
FM reception......37
Messages on the front panel display......38
Supported devices/media and
file formats......39
Specifications......41
Information about software......i