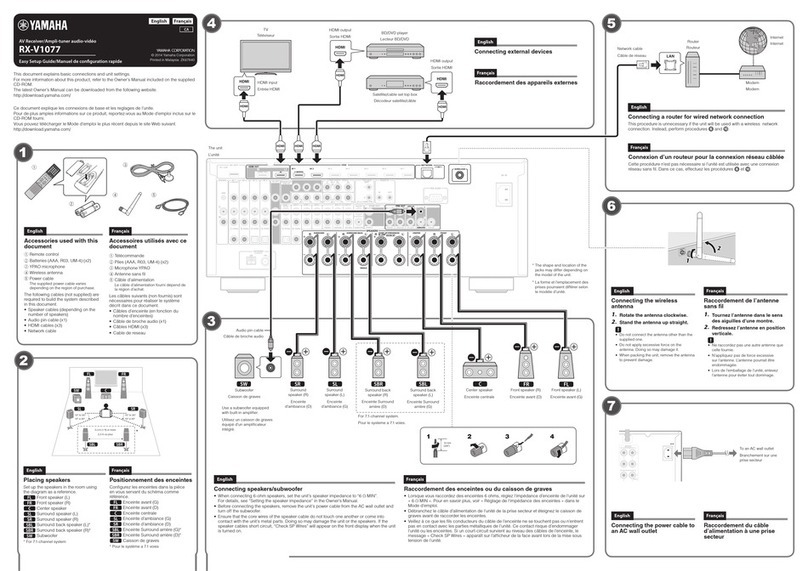
1. Connect the DC plug to the DC IN jack on the instrument.
2. Connect the other end (AC plug) into an AC outlet.
WARNING
• This AC adaptor is designed for use with only Yamaha electronic instruments.
Do not use for any other purpose.
• Indoor use only. Do not use in any wet environments.
• Do not put burning items, such as candles, on the unit. A burning item may fall over and cause
a fire.
CAUTION
• When setting up, make sure that the AC outlet is easily accessible. If some trouble or
malfunction occurs, immediately disconnect the AC adaptor from the outlet. When the AC
adaptor is connected to the AC outlet, keep in mind that electricity is flowing at the minimum
level, even if the adaptor is not connected to the instrument. When you are not using the
instrument for a long time, make sure to unplug the power cord from the wall AC outlet.
If the plug is accidentally removed from the AC adaptor
Without touching the metallic section, slide the plug into place as shown in the
illustration zthen push it in completely until you hear the click sound.
WARNING
• Make sure to keep the plug attached to the AC adaptor. Using the plug alone can cause electric
shock or fire.
• Never touch the metallic section when attaching the plug. To avoid electric shock, short circuit
or damage, also be careful that there is no dust between the AC adaptor and plug.
1. Schließen Sie den Gleichstromstecker an der DC-IN-Buchse des Instruments
an.
2. Schließen Sie das andere Ende (Wechselstromstecker) an eine Netzsteckdose
an.
WARNUNG
• Dieser Netzadapter ist ausschließlich zur Verwendung mit elektronischen Musikinstrumenten
von Yamaha vorgesehen.
Verwenden Sie ihn nicht für andere Zwecke.
• Nur für den Gebrauch in Innenräumen. Nicht in nassen Umgebungen verwenden.
• Stellen Sie keine brennenden Gegenstande (z. B. Kerzen) auf dem Instrument ab. Ein
brennender Gegenstand konnte umfallen und einen Brand verursachen.
VORSICHT
• Beim Aufbauen achten Sie darauf, dass die verwendete Netzsteckdose leicht erreichbar ist.
Sollten Probleme auftreten oder es zu einer Fehlfunktion kommen, trennen Sie sofort den
Netzadapter von der Steckdose. Bedenken Sie, dass wenn der Netzadapter an der
Netzsteckdose angeschlossen ist, auch dann ein minimaler Strom hindurch fließt, wenn der
Adapter nicht mit dem Instrument verbunden ist. Falls Sie das Instrument für längere Zeit nicht
nutzen möchten, sollten Sie unbedingt das Netzkabel aus der Steckdose ziehen.
Falls der Stecker versehentlich vom Netzadapter gelöst wird
Schieben Sie den Stecker an Ort und Stelle, ohne dabei metallene Teile zu
berühren, wie in Abbildung zgezeigt, und schieben Sie ihn dann vollständig
hinein, bis Sie ein Klickgeräusch hören.
WARNUNG
• Sorgen Sie dafür, dass der Stecker immer mit dem Netzadapter verbunden bleibt. Die
Verwendung nur des Steckers allein kann zu elektrischem Schlag oder Bränden führen.
• Berühren Sie niemals den metallenen Bereich, während Sie den Stecker anbringen. Um
elektrischen Schlag, Kurzschlüsse oder sonstige Schäden zu vermeiden achten Sie auch
darauf, dass sich kein Staub zwischen Netzadapter und Stecker befindet.
1. Connectez la fiche CC à la prise d'entrée DC IN de l'instrument.
2. Connectez l'autre extrémité (fiche secteur) à une prise secteur.
AVERTISSEMENT
• L'adaptateur secteur est conçu pour être utilisé exclusivement avec les instruments de
musique électroniques Yamaha.
Ne l'affectez pas à un autre usage.
• Utilisation en intérieur uniquement. N'utilisez pas l'adaptateur dans un environnement humide.
• Ne deposez pas des objets presentant une flamme, tels que des bougies, sur l'instrument.
Ceux-ci pourraient se renverser et provoquer un incendie.
ATTENTION
• Lors de l'installation, assurez-vous que la prise secteur est facilement accessible. En cas de
problème ou de dysfonctionnement, retirez immédiatement l'adaptateur secteur de la prise
murale. Lorsque l'adaptateur secteur est branché dans la prise secteur, gardez à l'esprit
qu'une faible dose d'électricité circule toujours dans l'instrument, même si l'adaptateur n'est
pas connecté à l'instrument. Lorsque vous n'utilisez pas l'instrument pendant une période
prolongée, veillez à débrancher le cordon d'alimentation de la prise murale.
En cas de retrait accidentel de la fiche de l'adaptateur secteur
Faites glisser la fiche en place comme indiqué dans l'illustration z, sans toucher
la partie métallique, et poussez-la à fond jusqu'à ce que vous entendiez un déclic.
AVERTISSEMENT
• Prenez soin de laisser la fiche fixée sur l'adaptateur secteur. L'utilisation de la fiche seule
pourrait provoquer une décharge électrique ou un incendie.
• Ne touchez jamais la partie métallique lorsque vous fixez la fiche. Pour éviter toute décharge
électrique, tout court-circuit ou tout dommage, assurez-vous également qu'il n'y a pas de
poussière entre la fiche et l'adaptateur secteur.
1. Conecte el enchufe de CC a la clavija DC IN del instrumento.
2. Conecte el otro extremo (el enchufe de CA) a la toma de CA.
ADVERTENCIA
• Este adaptador de CA ha sido diseñado para su uso exclusivo con instrumentos electrónicos
de Yamaha.
No lo utilice para ninguna otra finalidad.
• Únicamente para uso en interiores. No utilizar en entornos donde haya humedad.
• No coloque objetos encendidos como, por ejemplo, velas sobre la unidad, porque podrian
caerse en el instrumento y provocar un incendio.
ATENCIÓN
• Durante la instalación, asegúrese de que se puede acceder fácilmente a la toma de CA. Si se
produjera algún problema o funcionamiento anómalo, desconecte de inmediato el adaptador
de CA de la toma de corriente. Si el adaptador de CA está conectado a la toma de CA, tenga en
cuenta que le sigue llegando una corriente mínima, aunque no esté conectado al instrumento.
Si no va a utilizar el instrumento durante algún tiempo, asegúrese de desenchufar el cable de
alimentación de la toma de corriente de la pared.
Si accidentalmente se retira la clavija del adaptador de CA
Sin tocar la parte metálica, inserte la clavija en su lugar como se muestra en la
imagen zy, a continuación, empújela a fondo hasta que oiga un clic.
ADVERTENCIA
• Asegúrese de que la clavija está conectada al adaptador de CA. Si se utiliza la clavija sola se
podría producir una descarga eléctrica o un incendio.
• No toque nunca la parte metálica cuando conecte la clavija. Para evitar que se produzcan
descargas eléctricas, cortocircuitos o daños, tenga cuidado también de que no haya polvo
entre el adaptador de CA y la clavija.
1. Подключите штекер источника постоянного тока кразъему DC IN на
инструменте.
2. Подключите другой конец кабеля (штепсельную вилку) крозетке сети
переменного тока.
ПРЕДУПРЕЖДЕНИЕ
•Этот блоком питания можно использовать только сэлектронными инструментами
компании Yamaha.
Не используйте его для других целей.
•Предназначен только для использования впомещениях. Не используйте вусловиях
высокой влажности.
•Не ставьте на инструмент предметы, являющиеся источником открытого огня, например
свечи. Горящий предмет может упасть истать источником возникновения пожара.
ВНИМАНИЕ
•Перед настройкой убедитесь, что используемая розетка электросети легко доступна.
При возникновении какого-либо сбоя или неисправности немедленно отсоедините блок
питания от розетки электросети. Учтите, что когда блок питания подсоединен крозетке,
минимальный ток присутствует, даже если другой конец кабеля блока не подсоединен к
инструменту. Если инструмент не используется втечение длительного времени,
отсоедините кабель питания от розетки электросети.
Если вилка случайно отсоединилась от блока питания
Не прикасаясь кметаллическому участку, сдвиньте вилку как показано на
рис. zинадавите на нее до щелчка.
ПРЕДУПРЕЖДЕНИЕ
•Вилка должна быть всегда вставлена вблок питания. Использование вилки отдельно
может привести кпожару или поражению электрическим током.
•Не прикасайтесь кметаллической части, когда вставляете вилку врозетку. Во избежание
короткого замыкания, поражения электрическим током или причинения ущерба следите
за тем, чтобы между вилкой иблоком питания не было пыли.
Owner’s Manual EN
Bedienungsanleitung DE
Mode d'emploi FR
Manual de instrucciones ES
Руководство пользователя RU
[For European Countries]
Manufacturer: Yamaha Corporation 10-1, Nakazawa-cho, Naka-ku,
Hamamatsu, 430-8650, Japan
Importer: Yamaha Music Europe GmbH Siemensstrasse 22-34, 25462
Rellingen, Germany
Slide the plug as indicated, then push it in
completely until you hear the click sound.
NOTE: The shape of the plug differs depending on
locale.
Schieben Sie den Stecker wie gezeigt an Ort und
Stelle; drücken Sie ihn ganz hinein, bis Sie ein
Klickgeräusch hören.
HINWEIS: Die Form des Steckers variiert je nach
Land.
Faites glisser la fiche en place comme indiqué et
poussez-la à fond jusqu'à ce que vous entendiez
un déclic.
NOTE: La forme de la fiche varie selon le pays.
Deslice el enchufe como se indica y, a
continuación, empújelo por completo hasta que
oiga un “clic”.
NOTA: La forma del enchufe varía según la región.
Сдвиньте вилку как показано на рисунке и
надавите на нее до щелчка.
ПРИМЕЧАНИЕ:В разных странах штепсельные
вилки отличаются по форме.
z
Manual Development Department
© 2016 Yamaha Corporation
Published 08/2016 PO-A0
AC ADAPTOR
NETZADAPTER
ADAPTATEUR SECTEUR
ADAPTADOR DE CA
АДАПТЕР ПЕРЕМЕННОГО ТОКА
PA-130B / PA-150B EN DE FR ES RU
