Firmware Update Procedure for YSP-3300/YSP-4300
Page.6 of 7
STEP3 ENTER FIRMWARE UPDATE MODE
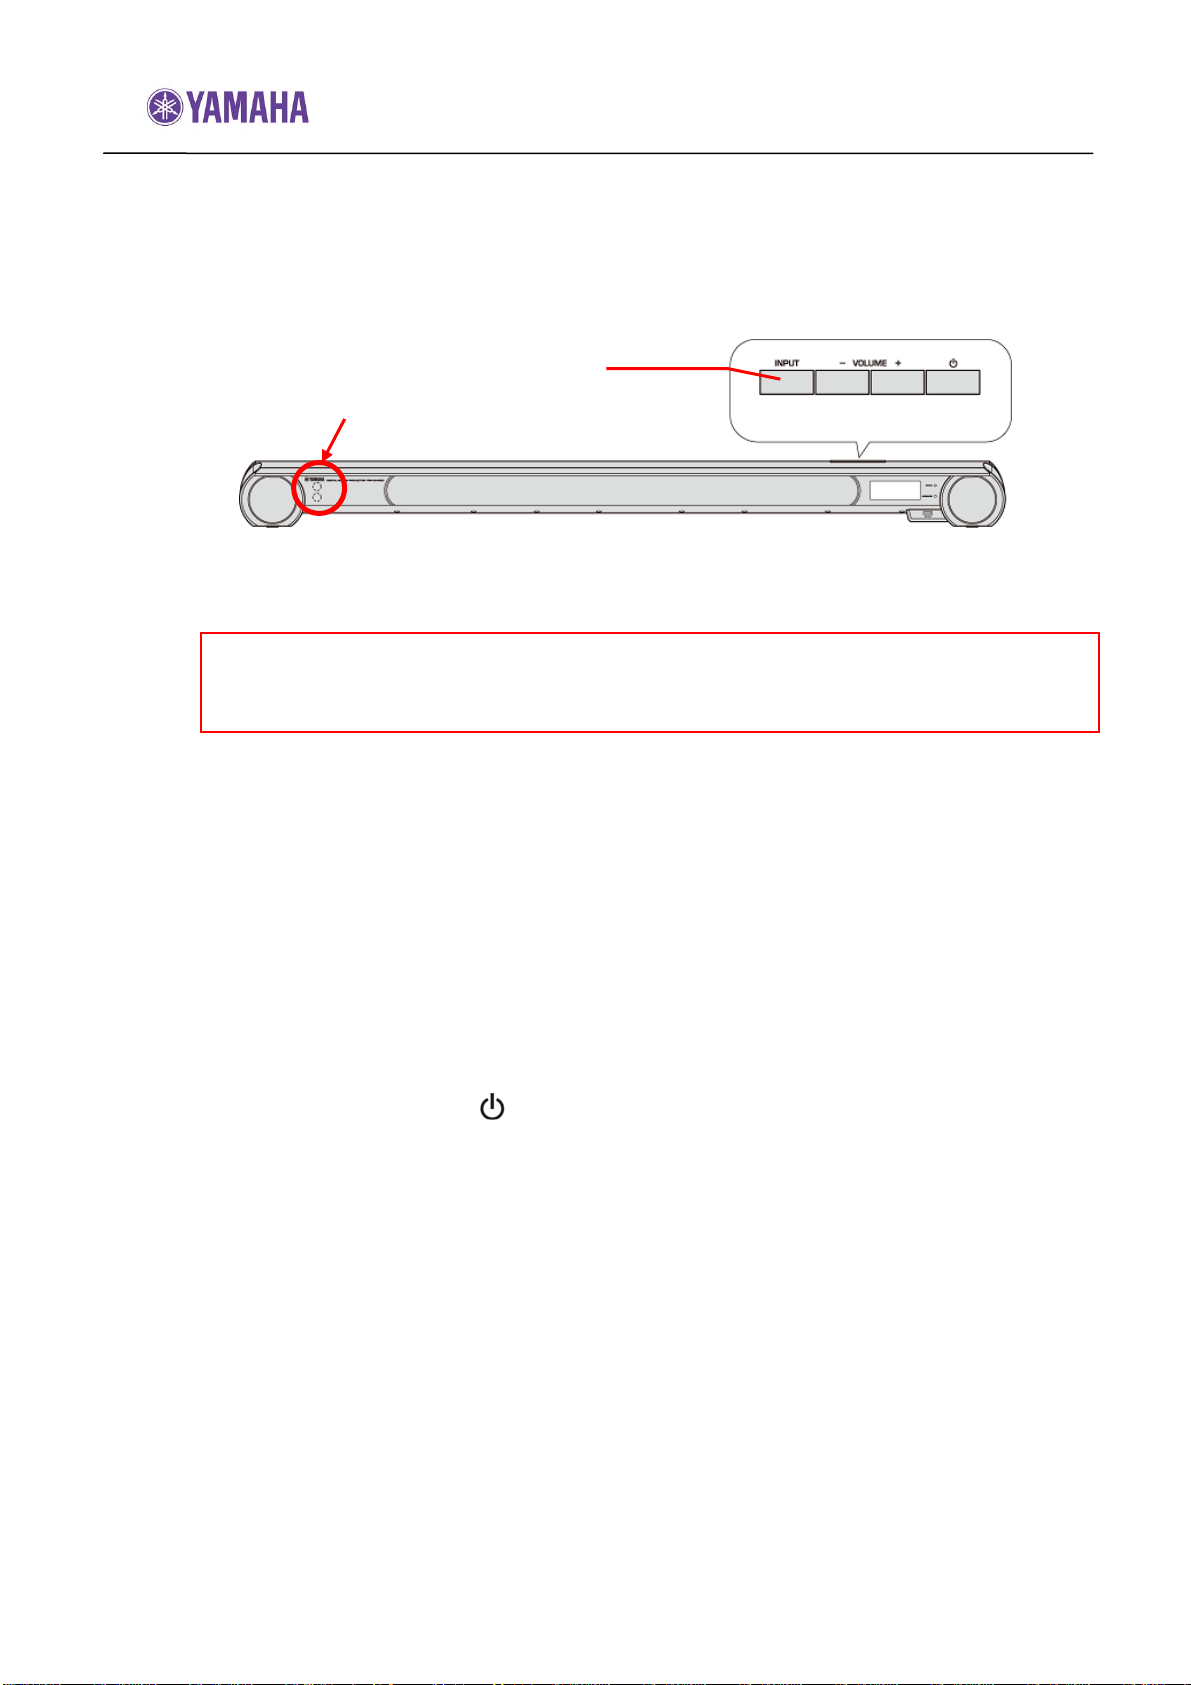
Confirm that the power of YSP is off. Press and hold the [INPUT] key on the
YSP and while holding that key, power on. “ADVANCED SETUP” will appear
on the front display. Then, press [UP]/[DOWN] key to display “FW UPDATE”.
After pressing [ENTER] or [RIGHT] key on the remote controller, current
version will be shown on the front display.
STEP4 Press [UP]/[DOWN] key on the remote controller, “START OK?” appears on the
YSP’s front display.
Note:
Executing this update will RESET the YSP’s setting, including the AUTO
SETUP (IntelliBeam) and radio station preset setting to factory default.
STEP5 START FIRMWARE UPDATE
Press [ENTER] key, “USB Update”, “Connect!” will be shown on the display
and the USB update will automatically start. During the update, “Update xx%” is
showing the progress.
In case display doesn’t change, power off and retry the update process again from the beginning
or check requirements. See Troubleshooting for details.
While update is in progress, DO NOT interrupt the YSP by pressing any keys
or switching off the power.
When completed, “Success”, “Please...” and “Power off!” are displayed
repeatedly. Press the [ ]key on the YSP to turn off the power.
Disconnect USB thumb drive from the YSP.
STEP6 CONFIRM UPDATED VERSION
Press and hold the [INPUT] key and power on. “ADVANCED SETUP” will
appear on the front display. Then, press [UP]/[DOWN] keys to display “FW
UPDATE”. After pressing [ENTER] or [RIGHT] key on the remote controller,
current version will be shown on the front display. To exit, power off.
If the version number doesn’t match, retry the update procedure again from the beginning or
check requirements. See Troubleshooting for details.
Your YSP is now ready for normal use.
Perform AUTO SETUP and optimize the sound beam adjustments. (Refer to the
AUTO SETUP (Intellibeam) section on the owner’s manual for details)
INPUT
IR Sensor