Yawarra ALIX User manual

Vehicle-mount ALIX
Quick Start Guide
Thank you for purchasing a vehicle-mount ALIX.computer.
Your package should contain:
ALIX board
ehicle-mount case
Optional Extras
Compact Flash card
miniPCI card(s)
Pigtail(s) and antenna(s)
Power supply
Please read the following instructions to begin using your vehicle-mount ALIX.
© Yawarra Tiny Computers April 2014

Vehicle-mount ALIX – Quick Start Guide 2
Things you will need
Tools
Anti-static wrist strap
2mm hex key (supplied)
Compact Flash card reader (optional)
Null modem cable (optional)
Materials
If you don't have them already, you'll need:
Compact Flash Card
miniPCI cards (optional) e.g. wireless adapter
Power supply
Operating system image for the vehicle-mount ALIX
Instructions
Safety Note
The ALIX board, like all electronic equipment, is sensitive to damage from static discharge.
To avoid damage caused by static discharge, we strongly recommend that you use an anti-
static wrist strap when handling the board.
Step 1 Remove the case
To install the Compact Flash (CF) and/or miniPCI cards into the vehicle-mount ALIX, you will
need to remove the board from the case.
1. Disconnect power and all cables.
Note: The CF socket on this machine is not hot-swappable.
2. Remove the four screws from the end plate on the rear of the case (the end with the
ethernet and serial ports).
3. Holding the board by the serial port, carefully slide the board out from the case.
Note: You do not need to remove the end plate from the board to set up your vehicle-
mount ALIX box. To remove the end plate from the board, remove the serial port
screws.
Step Configure and install a Compact Flash card
To use your vehicle-mount ALIX, you will need to have a CF card with a suitable operating
system installed in the CF socket on the vehicle-mount ALIX board.
If your CF card does not already have an operating system installed, you can either mount the
CF card in another machine (e.g. via a flash card reader or a CF to IDE adapter) and copy a
boot image onto it, or network boot the vehicle-mount ALIX. The vehicle-mount ALIX
supports many operating systems including BSD, Linux and a number of proprietary operating
systems.
© Yawarra Tiny Computers April 2014

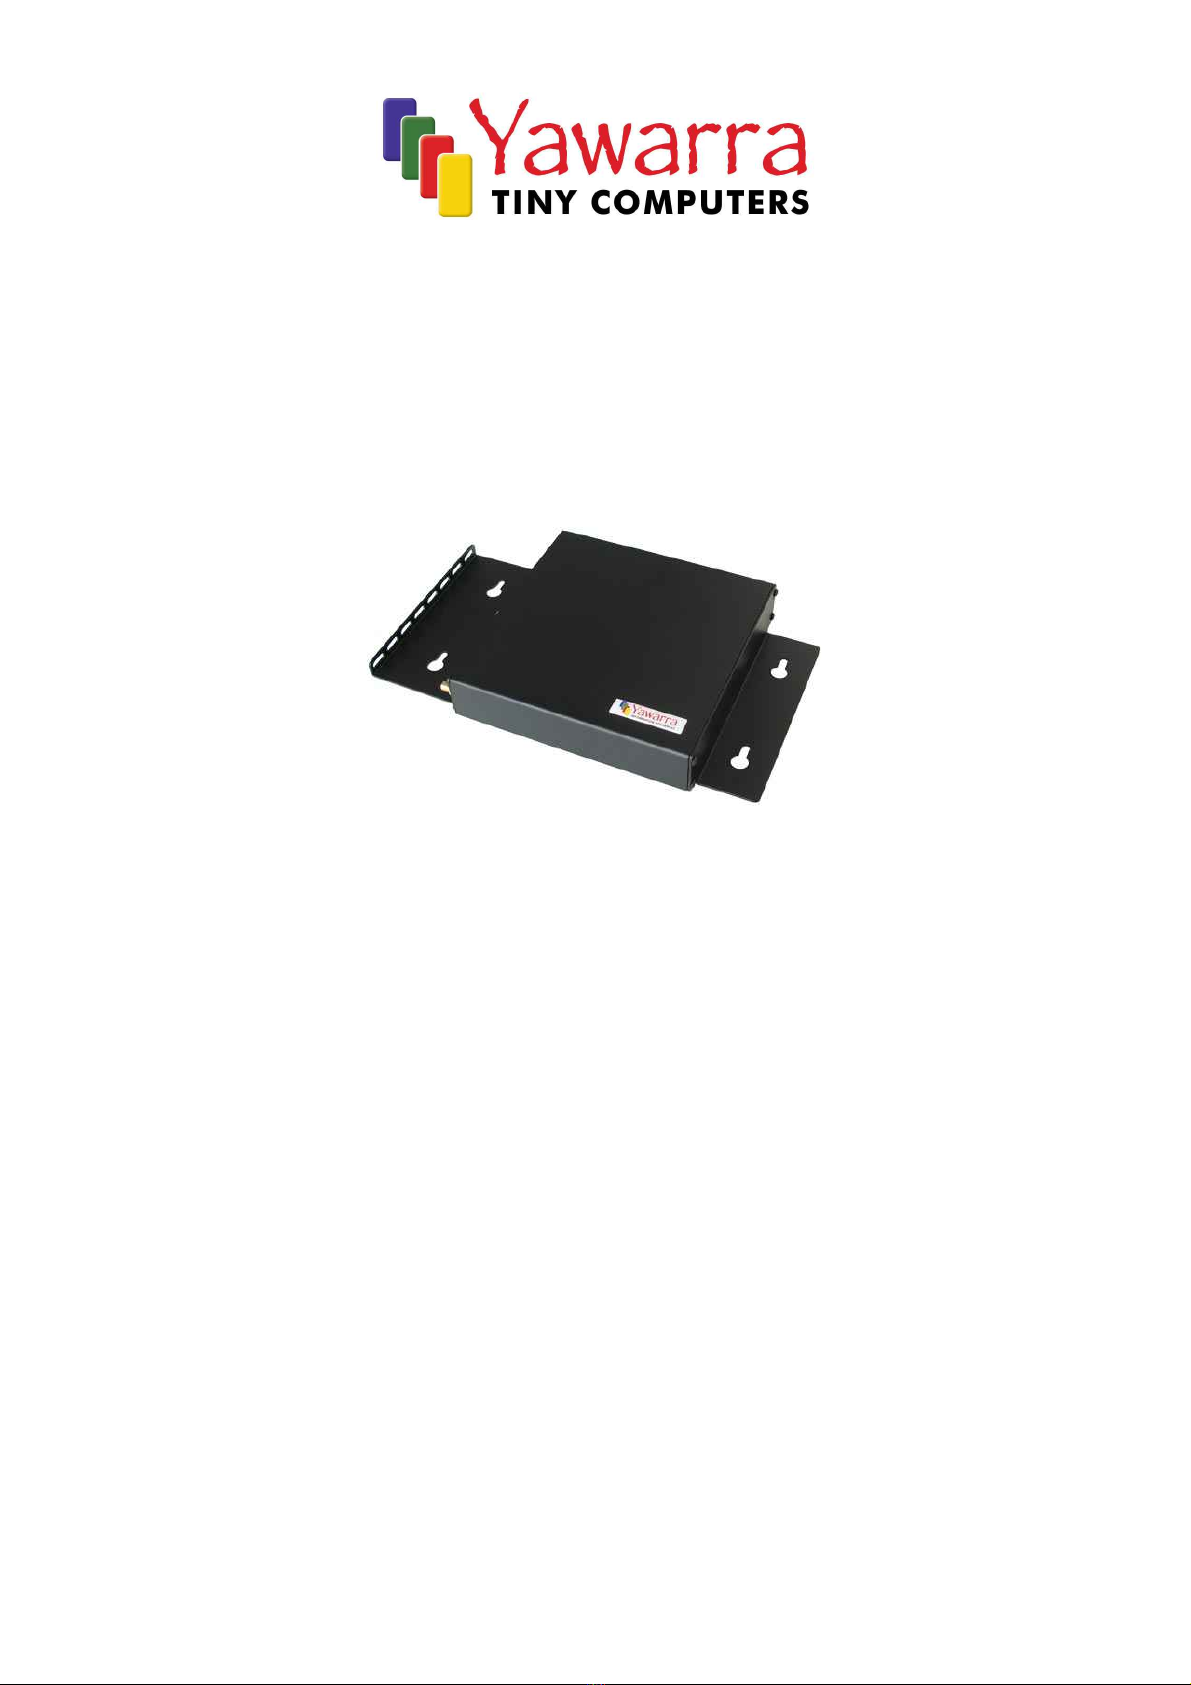
Vehicle-mount ALIX – Quick Start Guide 3
Installation
Insert the CF card into the socket on the front right hand side of the board, label up. Ensure
the CF card is fully engaged in the socket. The card should not extend past the edge of the
board.
Removal
To remove the CF card from the vehicle-mount ALIX board, grasp the CF card firmly
between thumb and index finger and pull straight out, taking care not to lift or twist the card
as this may damage the connector pins.
Step 3 Install the miniPCI card(s) (optional)
Insert your miniPCI card into the miniPCI slot at an angle of about 45° to the board. Ensure
that the card is firmly seated in the slot and then lay it onto the board, pressing down until the
locking tabs on either side of the card click into place.
If you are installing a wireless card, please note that like all electronic equipment, they are
sensitive to damage from static discharge, especially the RF switch and the power amplifier.
To avoid damage caused by static discharge, we strongly recommend that you do the
following when installing a wireless radio card.
•Touch your hands and the bag containing the wireless card to a ground point on the
board (for example one of the holes in the corner of the board). This will equalize the
potential of the wireless card and board.
•Insert the radio card into the miniPCI slot on the board.
•Install the bulkhead end of the pigtail into the case. This will ground the pigtail to the case.
•Touch the u.fl end of the pigtail to a ground point on the board to discharge any static,
then attach the u.fl end to the connector on the wireless card.
Step 4 Install the pigtail(s) (optional)
Remove the rubber blanking plug from the punchout in the end plate and insert the SMA
pigtail. Screw the pigtail retaining washer and nut onto the pigtail to secure it to the case.
Attach the u.fl end of the pigtail to the connector on the wireless card.
Step 5 Reinstall the board into the case
Before you can begin using your vehicle-mount ALIX, you will need to reinstall the board into
the case.
1. Slide the board, with end plate attached, back into the case, ensuring that the edges of the
board are inserted into the slots in the sides of the case.
2. Insert the end plate screws and tighten.
EMC Compliance
Please note that in order to comply with ACMA emissions regulations, the vehicle-mount
ALIX board must be housed in a suitable metal enclosure.
© Yawarra Tiny Computers April 2014

Vehicle-mount ALIX – Quick Start Guide 4
Step 6 Attach the antenna(s) (optional)
Screw the antenna onto the pigtail and position as required.
Step 7 Connect to the serial console (optional)
If you want to configure your operating system via the console, you will need to connect to
the serial port via a null modem cable.
Your terminal emulator should be set to 38400 baud, 8 bits, no parity, 1 stop bit, no flow
control.
Step 8 Apply power
Plug the power supply into the DC jack on the vehicle-mount ALIX. The vehicle-mount
ALIX boards run on 7-18 DC, and use about 5W at 12 (excluding miniPCI cards). You'll
need a power supply with a 2.1mm internal, 5.5mm external, centre positive plug.
The vehicle-mount ALIX will go through its boot up cycle, which you can watch if you are
connected to the serial console. The behaviour of the three LEDs on the vehicle-mount
ALIX boards is as follows:
•during memory check all LEDs on
•during O/S start up left-hand LED on
•after boot up operating system dependent
Your vehicle-mount ALIX is ready to use!
Step 9 Install vehicle-mount ALIX
Install the vehicle-mount ALIX into your desired location, using the keyholes located on the
case ends. For high-vibration environments, we recommend securing all cables to the
integrated cable tray using cable ties.
More information
For more detailed instructions on using your vehicle-mount ALIX, please visit our website at
www.yawarra.com.au and download the manufacturer's user guide.
Contact us
Please feel free to contact us if you have any queries regarding your vehicle-mount ALIX.
Ya arra Tiny Computers
Website www.yawarra.com.au
Email [email protected]
Phone 1300 859 799
Mail PO Box 606, Boronia IC 3155, Australia
© Yawarra Tiny Computers April 2014
Table of contents
Popular Automobile Accessories manuals by other brands

ZENEC
ZENEC ZE-MRV70 operating instructions

Truma
Truma Mover XT operating instructions

PE Racing
PE Racing Pedalbox Assembly Manual & Installation Instructions

Cruz
Cruz Evo Rack Pro P28-158 Assembly instructions

VBG
VBG Onspot Mounting instruction/Spare Parts List

Cruz
Cruz Alu Cargo Dark X Assembly instructions