manuals.online logo
Brands
  1. Home
  2. •
  3. Brands
  4. •
  5. yellow jacket
  6. •
  7. Security Sensor
  8. •
  9. yellow jacket AccuProbe 69320 User manual

yellow jacket AccuProbe 69320 User manual

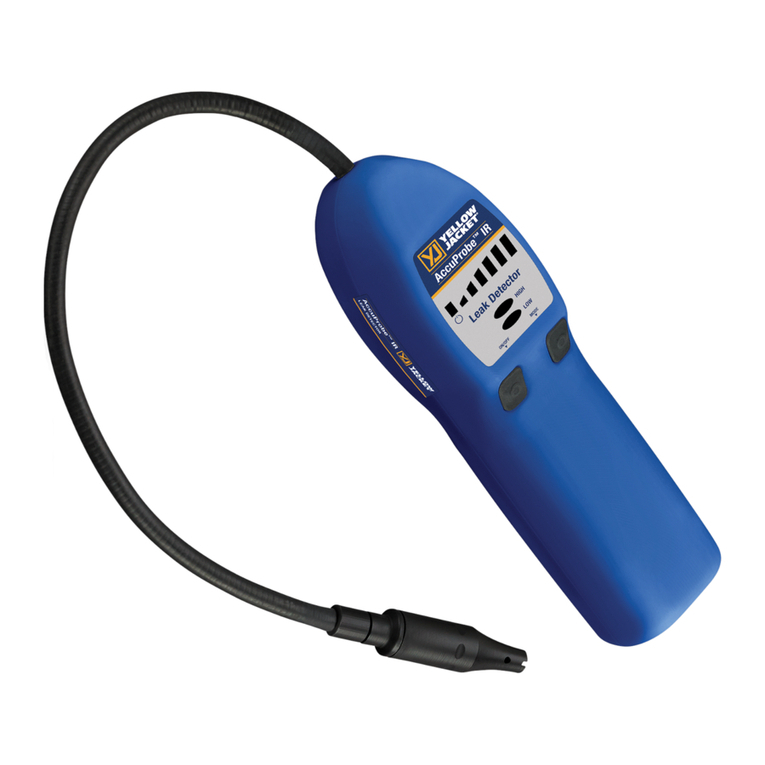
AccuProbe™IR Leak Detector
Operation and Maintenance
Manual
Model: 69320
Made in the USA
with Globally Sourced Parts
Test Equipment Depot - 800.517.8431 - 99 Washington Street Melrose, MA 02176 - TestEquipmentDepot.com
POWER ON: Turn on or off by long press-
ing the ON/OFF button. The power LED
will illuminate green unless battery is low.
WARM-UP: During warm-up, the unit
will beep slowly and the signal LEDs will
continuously scroll from left to right until
warm-up is complete. Warm-up time is
45 to 90 seconds.
SEARCH: Detector is ready for use when
signal LEDs stop scrolling from left to
right and a different beep rate can be
heard.
If a leak is detected, the signal LEDs will
illuminate from left to right and the beep
rate will increase. The number of LEDs
illuminated indicates the strength of the
leak.
The default mode is Standard mode. In
Standard mode, the detector automati-
cally zeros to the background refrigerant.
Once it zeros, the alarm will stop and it
will only alarm to a higher concentration
of refrigerant. To reset the zero point,
hold the probe in clean air for a few
seconds to allow the detector to re-zero.
ADJUSTING THE SENSITIVITY LEVELS:
Short press the ON/OFF button to toggle
sensitivity from high to low. The HIGH or
LOW LED will illuminate to indicate the
current sensitivity setting. High is the
default setting during power on.
MANUAL MODE: Short pressing the
MODE button toggles between Standard
mode and Manual mode. Manual mode
is indicated by the 1st signal LED slow
blinking and both HIGH and LOW LEDs
being off.
In manual mode, if a leak is detected, the
detector will alarm until the MODE button
is long pressed. The HIGH and LOW LEDs
will blink for 1 second to indicate the
OPERATING INSTRUCTIONS
2
detector is zeroing. At this point, the
detector will only alarm if a high concen-
tration of refrigerant is detected.
You can also reset the zero point in clean
air by holding the detector in clean air and
long pressing the MODE button again.
BATTERY AND CHARGING: The power
LED will slow blink red when the battery
is 10% or less. If the battery is depleted
completely, the power LED will illuminate
solid red and the unit will not operate.
To charge the unit, plug the supplied
micro USB cable into an appropriate USB
charging port per the input specifications
(see specifications).
When charging, the power LED will slow
blink green until fully charged, then
remain solid green.
ERRORS: If the battery is above or below
charge temperature, the unit will not
charge and the power LED will alter-
nate red and green. In this case, let the
battery cool or warm up. The unit will
charge once the battery is within the safe
operating temperature.
Other faults or internal errors are indicat-
ed when all LEDs blink. Contact Ritchie
Engineering Company, Inc. for service in
this case.
FILTER REPLACEMENT: Accuprobe™
IR has an integrated filter and probe tip.
To replace the filter/probe tip assembly,
simply unscrew the probe tip and screw
on the new filter/probe tip assembly. Do
not attempt to clean the filter.
SENSOR/BATTERY REPLACEMENT:
The sensor and battery in Accuprobe™
IR are not field replaceable. For instru-
ment service, contact Ritchie Engineering
Company, Inc.
3
• Sensor Type: Infrared
• Battery Type: Lithium Ion
• Charging Input Type: Micro USB
• Charging Time (starting at 0%): Approx 3 hours
• Battery Life: 8 hours
• Input Voltage: 5 V (dc) ±5%
• Input Current: 1 A ±5%
• Temperature Ranges and Humidity:
▪Storage: -20–60°C (-4–140°F)
▪Operating*: -20–50°C (-4–122°F)
▪Charging: 0–45°C (32–113°F)
▪Humidity: 95% RH NC maximum
SPECIFICATIONS
• Only use a certified charger/cord with an output of 5 V (dc) ±5%, 1 A ±5%
• Keep the device out of extremely high or low temperature locations
• Do not expose the battery to liquid
• Do not use the device if you notice any damage to the battery
• Do not disassemble or modify the battery
• Handle and dispose of the battery per local regulations
• If the recharging operation fails to complete, even when the specified recharging
time has elapsed, immediately stop further recharging
• Do not leave the battery unattended while charging
• Unplug the charger when the battery is fully charged
• Improper use or disposal of lithium ion batteries can cause a fire
• This instrument is not intended for use in flammable environments
CAUTIONS
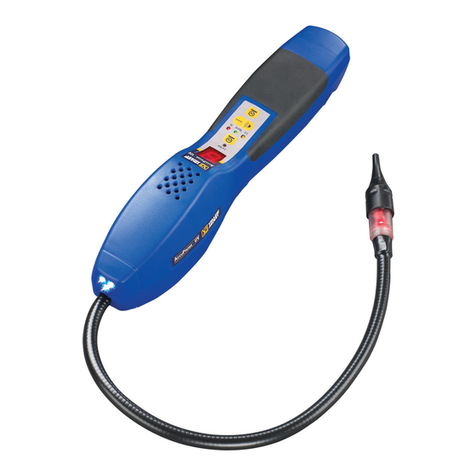
Micro USB Port
MODE
Button
Signal
LEDs
Power
LED
Sensitivity
LEDs
ON/OFF
Button
Probe Tip
• Altitude: 2000 m (6500 ft.)
• Pollution Degree: 2
• Overvoltage Category: 2
• Weight: 0.84 lb. (0.38 kg)
* Use below 0°C (32°F) should be limited
4
24 MONTH LIMITED WARRANTY
Ritchie Engineering Company, Inc.
guarantees YELLOW JACKET®Accu-
Probe™ IR Leak Detectors to be free of
defective material and workmanship that
would affect the life of the product under
normal use for the purpose for which
it was designed. This warranty does
not cover items that have been altered,
abused, misused, improperly maintained
or returned solely in need of field service
maintenance. This warranty excludes the
sensor, which has a one year warranty.
If found defective, we will upon
compliance with the following instruc-
tions, credit, replace or repair at our
option, the defective leak detector
provided it is returned within 24 months
of the date of sale. AccuProbe™IR Leak
Detectors have a date of manufacture
serial number located on the label on the
bottom of the unit.
Correction in the manner provided above
shall constitute a fulfillment of all
Most returned AccuProbe™IR Leak Detec-
tors are merely in need of normal field
service maintenance, such as making
minor adjustments. In many instances,
the information in this manual can save
you the time and effort of returning your
AccuProbe™ IR Leak Detector. If the infor-
mation contained in this manual does not
solve the problem, please call for service.
©1/20 Ritchie Engineering Company, Inc.
liabilities with respect to the quality,
material and workmanship of the product.
THE FOREGOING WARRANTY IS
EXCLUSIVE AND IN LIEU OF ALL OTHER
WARRANTIES OF QUALITY, WHETHER
WRITTEN, ORAL OR IMPLIED.
See www.yellowjacket.com to register
your product or contact Customer Service
for full warranty details.
Contact the Ritchie Engineering Customer
Service Department:
HOW TO OBTAIN SERVICE
Test Equipment Depot - 800.517.8431 - 99 Washington Street Melrose, MA 02176 - TestEquipmentDepot.com

Other yellow jacket Security Sensor manuals

yellow jacket AccuProbe UV Manual

yellow jacket

yellow jacket AccuProbe UV Manual

yellow jacket 69373 Series User manual

yellow jacket

yellow jacket 69373 Series User manual

yellow jacket 69373 Series Manual

yellow jacket

yellow jacket 69373 Series Manual

yellow jacket 69373 Series Manual

yellow jacket

yellow jacket 69373 Series Manual

yellow jacket AccuProbe UV Manual

yellow jacket

yellow jacket AccuProbe UV Manual

yellow jacket AccuProbe 69320 User manual

yellow jacket

yellow jacket AccuProbe 69320 User manual

yellow jacket 69341 User manual

yellow jacket

yellow jacket 69341 User manual

Popular Security Sensor manuals by other brands

STI UB-1 manual

STI

STI UB-1 manual

DeWalt DE0732 instructions

DeWalt

DeWalt DE0732 instructions

Inxpect LBK System instruction manual

Inxpect

Inxpect LBK System instruction manual

General Monitors FL4000 instruction manual

General Monitors

General Monitors FL4000 instruction manual

AROHA CS11 manual

AROHA

AROHA CS11 manual

Takex FP-5500E instruction manual

Takex

Takex FP-5500E instruction manual

PCB 2301-02A Installation and operating manual

PCB

PCB 2301-02A Installation and operating manual

STEINEL SensorSchalter IR 180 UP Information

STEINEL

STEINEL SensorSchalter IR 180 UP Information

WT sensor PC90D quick start guide

WT sensor

WT sensor PC90D quick start guide

Enerlites HMOS installation instructions

Enerlites

Enerlites HMOS installation instructions

Megger VF6 EX user guide

Megger

Megger VF6 EX user guide

nedis WIFISM10WT quick start guide

nedis

nedis WIFISM10WT quick start guide

BFT CELLULA FLX installation manual

BFT

BFT CELLULA FLX installation manual

AAF Flanders SAAFShield Installation, operation and maintenance instructions

AAF

AAF Flanders SAAFShield Installation, operation and maintenance instructions

Atsumi Electric NR30TS installation instructions

Atsumi Electric

Atsumi Electric NR30TS installation instructions

Eelectron PD02X02CON user manual

Eelectron

Eelectron PD02X02CON user manual

HOME8 FDS1300 user manual

HOME8

HOME8 FDS1300 user manual

V-TAC VT-81001 instruction manual

V-TAC

V-TAC VT-81001 instruction manual

manuals.online logo
manuals.online logoBrands
  • About & Mission
  • Contact us
  • Privacy Policy
  • Terms and Conditions

Copyright 2025 Manuals.Online. All Rights Reserved.