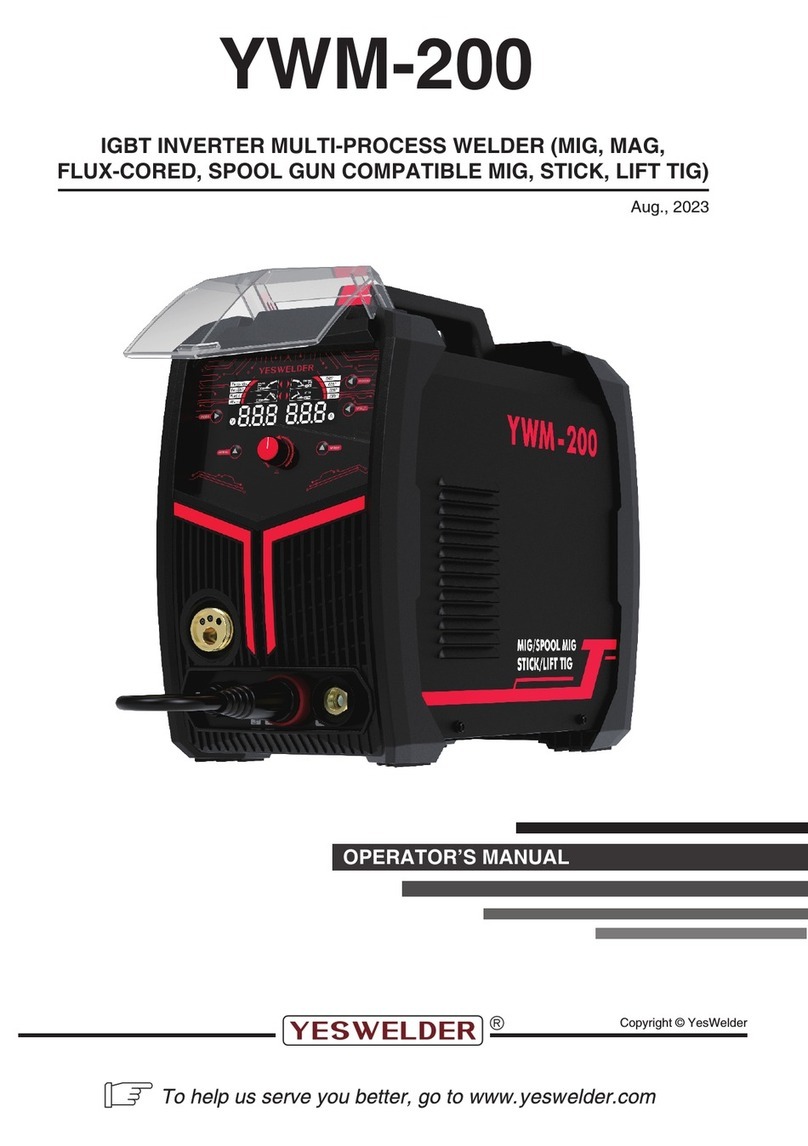
Yeswelder ARC-400Q User manual

USER’S MANUAL
Note: Please read this user's manual carefully before using this product.

The YESWELDER ARC-400Q WELDER provides a convenient method of performing “stick” welding carbon
steel or stainless steel. Inverter Technology provides the capability of welding thin or heavy gauge steel with
precision and ease. When adding the optional Arc Welder TIG Torch, Gas Regulator, and a cylinder of shield-
ing gas, the ARC400Q becomes a TIG welder.
44 Amps
1phase 208VAC
3phase 220/230/240V
3phase 380/400/440V
3phase 460/480V
40-400Amps DC
@460V
60%@400A
100%@300A
@200/230V
60%@200A
100%@155A
<5/32"
@220V
<13/64"
@380V
E6010
E6011
E6011
E6013
E7018
20 lbs.
10kg
19.29" [490mm] ×
10.827" [275mm] ×
16.34" [415mm]
The rated Duty cycle refers to the amount of welding that can be done within an amount of time. The
YESWELDER ARC-400Q has a duty cycle of 60% at 400 Amps. It is easiest to look at your welding time in
blocks of 10 Minutes and the Duty Cycle being a percentage of that 10 Minutes. If welding at 400 Amps with a
60% Duty Cycle, within a 10 Minute block of time you can weld for 6 Minutes with 4 Minutes of cooling for the
welder. If the Duty Cycle is exceeded, the Welder will automatically shut off, however the fan will continue run-
ning to cool the overheated components. When a safe temperature has been reached, the Welder will auto-
matically switch the welder output back on. To increase the duty cycle you can turn down the Amperage Out-
put control.
Output
Amperage
Range
Maximum
Input
Amperage
Input
Voltage
Rated
Duty Cycle
Rod
Diameter
Rod
Material Weight Overall
Dimensions
DUTY CYCLE
SPECIFICATIONS
READ AND UNDERSTAND ALL INSTRUCTIONS AND PRECAUTIONS BEFORE PROCEEDING. This unit
emits a powerful high voltage and extreme heat which can cause severe burns, dismemberment, electrical
shock and death. yeswelder shall not be held liable for consequences due to deliberate or unintentional mis-
use of this product.
SAFETY INFORMATION
The following explanations are displayed in this manual, on the labeling, and on all other information provided
with this product:
DANGER indicates a hazardous situation which, if not avoided, will result in death or serious injury.
WARNING indicates a hazardous situation which, if not avoided, could result in death or serious injury.
CAUTION used with the safety alert symbol, indicates a hazardous situation which, if not avoided, could result
in minor or moderate injury.
NOTICE is used to address practices not related to personal injury.
-1-

Improper use of an electric welder can cause electric shock, injury and death! Read all pre-
cautions described in the Welder Manual to reduce the possibility of electric shock.
Disconnect welder from power supply before assembly, disassembly or maintenance of the
torch, contact tip and when installing or removing nozzles.
Always wear dry, protective clothing and leather welding gloves and insulated footwear.
Use suitable clothing made from durableflame-resistant material to protect your skin.
If other persons or pets are in the area of welding, use welding screens to protect bystand-
ers from sparks.
Always operate the welder in a clean, dry, well ventilated area. Do not operate the welder in
humid, wet, rainy or poorly ventilatedareas.
The electrode and work (or ground) circuits are electrically “hot” when the welder is on. Do
not allow these “hot” parts to come in contact with your bare skin or wet clothing.
Separate yourself from the welding circuit by using insulating mats to prevent contact from
the work surface.
Be sure that the work piece is properly supported and grounded prior to beginning an elec-
tric welding operation.
Always attach the ground clamp to the piece to be welded and as close to the weld area as
possible. This will give the least resistance and best weld.
Electric welding produces sparks which can be discharged considerable distances at high
velocity igniting flammable or exploding vapors and materials.
Do not operate electric arc welder in areas where flammable or explosive vapors are pres-
ent.
Do not use near combustible surfaces. Remove all flammable items within 35 feet of the
welding area.
Always keep a fire extinguisher nearby while welding.
Use welding blankets to protect painted and or flammable surfaces; rubber weather-
stripping, dash boards, engines, etc.
Ensure power supply has properly rated wiring to handle power usage.
READ INSTRUCTIONS
Thoroughly read and understand this manual before using the welder. Save for future refer-
ence.
ELECTRIC SHOCK CAN KILL!
WELDING SPARKS CAN CAUSE FIRE OR EXPLOSION!
The electromagnetic field that is generated during arc welding may interfere with various
electrical and electronic devices such as cardiac pacemakers. Anyone using such devices
should consult with their physician prior to performing any electric welding operations.
Exposure to electromagnetic fields while welding may have other health effects which are
not known.
ELECTROMAGNETIC FIELDS CAN BE A HEALTH HAZARD!
-2-

•
•
•
Arc rays produce intense ultraviolet radiation which can burn exposed skin and cause eye
damage. Use a shield with the proper filter (a minimum of #11) to protect your eyes from
sparks and the rays of the arc when welding or when observing open arc welding (see ANSI
Z49.1 and Z87.1 for safety standards).
Use suitable clothing made from durable flame-resistant material to protect your skin.
If other persons or pets are in the area of welding, use welding screens to protect bystand-
ers from sparks and arc rays.
Fumes and gasses released during welding are hazardous. Do not breathe fumes that are
produced by the welding operation. Wear an OSHA-approved respirator when welding.
Always work in a properly ventilated area.
Never weld coated materials including but not limited to: cadmium plated, galvanized, lead
based paints.
Electric welding heats metal and tools to temperatures that will cause severe burns!
Use protective, heat resistant gloves and clothing when using Eastwood or any other weld-
ing equipment. Never touch welded work surface, torch tip or nozzle until they have com-
pletely cooled.
Grinding and sanding will eject metal chips, dust, debris and sparks at high velocity. To pre-
vent eye injury wear approved safety glasses.
Wear an OSHA-approved respirator when grinding or sanding.
Read all manuals included with specific grinders, sanders or other power tools used before
and after the welding process. Be aware of all power tool safety warnings.
A properly grounded 1Phase 220-240 Volt AC, 50/60Hz, 50 Amp outlet; 3 Phase 240-480 Volt AC,
50/60Hz, 50 Amp outlet.
NOTE: Unit must be grounded to work properly and safely!
A clean, safe, well-lit, dry and well-ventilated work area.
A non-flammable, long sleeve shirt or WELDING Jacket
Heavy Duty Welding Gloves
Auto-Darkening Welding Helmet to provide eye protection during welding operations. Note: MUST be a
#11 lens or darker.
Dedicated stainless steel wire welding brushes for each material to be welded.
Before you begin using the YESWELDER ARC-400Q WELDER, make sure you have the following:
REQUIRED ITEMS
HOT METAL AND TOOLS WILL BURN!
FLYING METAL CHIPS CAN CAUSE INJURY!
ARC RAYS CAN BURN!
FUMES AND WELDING GASES CAN BE A HEALTH HAZARD!
-3-

YESWELDER ARC-400Q WELDER
Ground Clamp with 10' [3m] Cable.
Electrode (stick) Holder with 10' [3m] Cable.
Instruction Manual.
Remove all items from the box. Compare with list below to make sure unit is complete.
UNPACKING
The Power Switch is located on the upper
rear panel (FIG A).
Power Switch
COMPONENTS & CONTROLS
FIG. A
Power
Power Switch
-4-
Illuminates green when the unit is plugged in and the Power Switch is set to the ON position (FIG B).
Power Indicator LED
Illuminates Amber when the unit has reached the maximum internal component temperature (FIG B). This oc-
curs when the Duty Cycle has been exceeded. The Welder will automatically shut off however the fan will con-
tinue running to cool the overheated components. When a safe temperature has been reached, the protective
circuit will automatically switch the welder output back on.
Thermal Protection LED
FIG. A
12 3
4
12 4
+ ,
13 4
+ ,
2 3 4
+ ,
12 3
+ , 4
+
1P 220V,380V with two of the
connectors
3P 220V/380V/440V/480V
with all the connectors

ELECTRIC SHOCK CAN CAUSE INJURY OR DEATH!
Disconnect welder from power supply before assembly, disassembly, or maintenance of the torch, con-
tact tip, and when installing or removing nozzles.
1. Be sure the power cord is unplugged and the power switch is in the “Off” position.
2. Insert the Brass Connector of the Electrode Cable into the Negative ( - ) Brass Receptacle on the Front
Panel. Note that the Keyed Tab of the Brass Connector fits into the Keyed Slot at the top of the Negative ( -
) Brass Receptacle (FIG C). Seat fully and turn 180° clockwise to lock in place.
3. Insert the Brass Connector of the Ground Cable into the Positive ( + ) Brass Receptacle on the Front
Panel. Note that the Keyed Tab of the Brass Connector fits into the Keyed Slot at the top of the Positive ( + )
Brass Receptacle (FIG D). Seat fully and turn 180° clockwise to lock in place.
4. Attach the Ground Clamp to the workpiece as close to the welding area as possible. To ensure good
ground, clean the grounded area of any rust, grease, oils or paint.
5. Place a Welding Rod between the jaws of the Electrode or “Stick” Holder.
WELDER SET-UP FOR ARC OR “STICK” WELDING
FIG. C FIG. D
-5-
The Amperage Adjustment Knob (FIG B) al-
lows the output amperage to be adjusted
from 40 to 400 Amps.
Amperage Adjustment Knob
Located at the lower right of the Front Panel
(FIG B). When “Stick” welding, the
GROUND Clamp Cable is plugged in here.
If using the optional TIG Torch, the
GROUND Clamp Cable is plugged in here.
Positive (+) Connector
Located at the lower left front of the Front
Panel (FIG B). When “Stick” welding, the
ELECTRODE Cable is plugged in here. If
using the optional TIG Torch Kit, the TIG
TORCH Cable is plugged in here.
Negative (-) Connector
FIG. B
Amperage Adjustment
ARC Force Adjustment
Thermal Protection LED
Power LED
Negative Connector
Positive Connector

WELDING SPARKS CAN CAUSE FIRE OR EXPLOSION!
Electric welding produces sparks which can be discharged considerable distances at high velocity ignit-
ing flammable or exploding vapors and materials. Remove all flammable items within 35 feet of the weld-
ing area. Always keep a fire extinguisher nearby while welding.
FUMES AND WELDING GASES CAN BE A HEALTH HAZARD!
Fumes and gasses released during welding are hazardous. Do not breathe fumes that are produced by
the welding operation. Wear an OSHAapproved respirator when welding. Always work in a properly ven-
tilated area.
HOT METAL AND TOOLS WILL BURN!
Electric welding heats metal and tools to temperatures that will cause severe burns! Use protective, heat
resistant gloves and clothing.
1. While wearing a properly functioning Auto Darkening Welding Helmet, lightlydrag the tip of the Welding
Rod along the workpiece surface to start an arc.
2. Feed the Welding Rod into the workpiece joint at a 15° angle.
3. Lift rod from workpiece when weld bead is completed.
4. Turn off Welder power switch.
5. Set the Electrode or “Stick” Holder on a safe, non-flammable, surface.
-6-
1. Plug the power cord into a properly grounded, 1Phase 220-240 Volt AC, 50/60Hz, 50 Amp outlet; 3
Phase 240-480 Volt AC, 50/60Hz, 50 Amp outlet
2. Make sure the Electrode or “Stick” is not making contact with the grounded workpiece.
ELECTRIC SHOCK CAN CAUSE INJURY OR DEATH!
The electrode and work (or ground) circuits are electrically “hot” when the welder is on. Do not allow
these “hot” parts to come in contact with your bare skin or wet clothing. Always wear dry, protective
clothing and leather welding gloves and insulated footwear.
3. Switch the Power Switch to “On”.
ARC RAYS CAN BURN!
Arc rays produce intense ultraviolet radiation which can burn exposed skin and cause eye damage. Use
a shield with the proper filter (a minimum of #11) to protect your eyes from sparks and the rays of the arc
when welding or when observing open arc welding (see ANSI Z49.1 and Z87.1 for safety standards).
PREPARING TO “STICK” WELD

Check Ground connection. Make sure that the ground is on a freshly
cleaned surface and close to the welding area. It is suggested to
weld toward the ground connection
Based on the material welding and size/material of the electrode,
pick an appropriate amperage to perform the desired weld.
Move electrode so that it is contacting the weld puddle and feed rod
into the puddle as needed.
Make sure that Electrodes are clean and dry before use.
Clean base metal of any oil, debris, coatings, or moisture.
Clean base metal of any oil, debris, coatings, or moisture. If base
metal is cold rolled steel make sure to remove any mill scale.
Move electrode so that it is contacting the weld puddle and feed rod
into the puddle as needed.
Check Ground connection. Make sure that the ground is on a freshly
cleaned surface and close to the welding area. It is suggested to
weld toward the ground connection.
Based on the material welding & size/material of the electrode,
pick an appropriate amperage to perform the desired weld.
Incomplete Circuit
Contaminated Base Metal
Electrode too far from welding
surface
Amperage Too Low
Incomplete Circuit
Contaminated Electrode Rod
Contaminated Base Metal
Electrode too far from welding
surface
Amperage Too Low
Difficulty
Starting Arc
Arc Wander
Difficulty
Holding Arc
PROBLEM
Clean base metal of any oil, debris, coatings, or moisture. If base
metal is cold rolled steel make sure to remove any mill scale.
To reduce heat it is best to spread the welding out around the area.
This can be done by using stitch welding techniques, alternating
sides, and/or taking your time and allowing the pieces to cool
between passes.
The angle of the electrode should be at 45° and drug away from the
weld arc. Failing to do so may cause poor weld appearance.
Reduce heat & allow more time between passes.
Use correct filler wire type & diameter for the joint being welded.
Clamp work piece tightly & weld while clamps are in place.
Add more tack welds until rigidity and stiffness is developed.
Make sure that Electrodes are clean and dry before use.
Clean base metal making sure to remove any oil, debris, coatings,
or moisture.
Make sure that Electrodes are clean and dry before use.
Contaminated Electrode Rod
Contaminated Base Metal
Incorrect positioning
Too much heat in material
Base Metal is absorbing too
much heat Preheat base metal (consult welding codes for requirements)
Incorrect Filler Wire
Insufficient Clamping
Insufficient Tack Welds
Too Much Heat in Material
Contaminated Electrode Rod
Contaminated base metal
Contamination
in weld bead
Poor Weld
Appearance
Weld Bead is
Cracking
Material is
Warping
Porosity in
weld bead
TROUBLESHOOTING
CAUSE CORRECTION
-7-
Table of contents
Other Yeswelder Welding System manuals