YiShi DAR5001A User manual

1 / 18
User Manual of DAR-5001A/B/C & DAR-5002C Standalone Voice Logger
User Manual of DAR-5001A/B/C &
DAR-5002C Standalone Voice Logger
Directory
Chapter One DAR5001A/B/C Manual.................................................................................2
1.1 Features.........................................................................................................................2
1.2 Installation Methods..................................................................................................3
1.3 Functional description of each ministry...................................................................4
1.4 LCD Screen Display Instructions................................................................................5
1.5 Settings List...................................................................................................................6
Chapter Two Setting Function.................................................................................................7
2.1 Date and Time Setting................................................................................................7
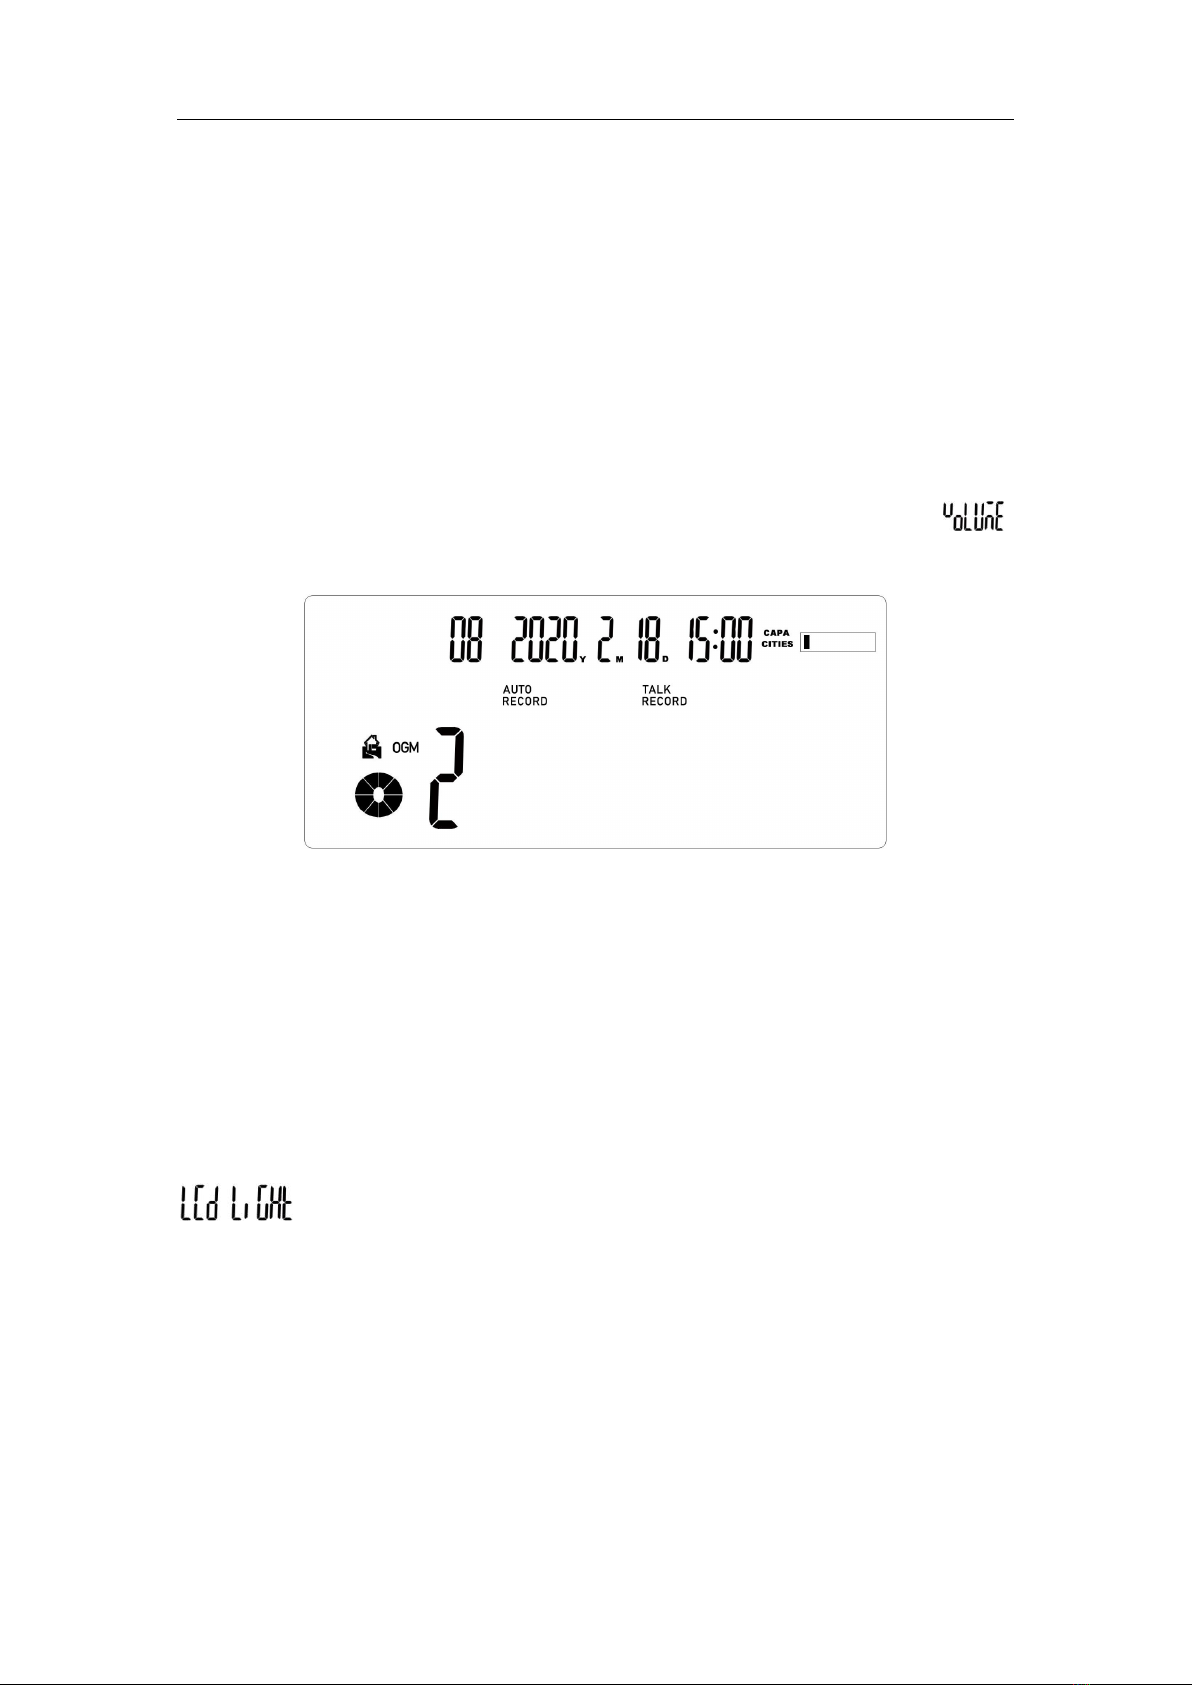
2.2 Volume setting..............................................................................................................8
2.3 LCD Contrast setting.............................................................................................8
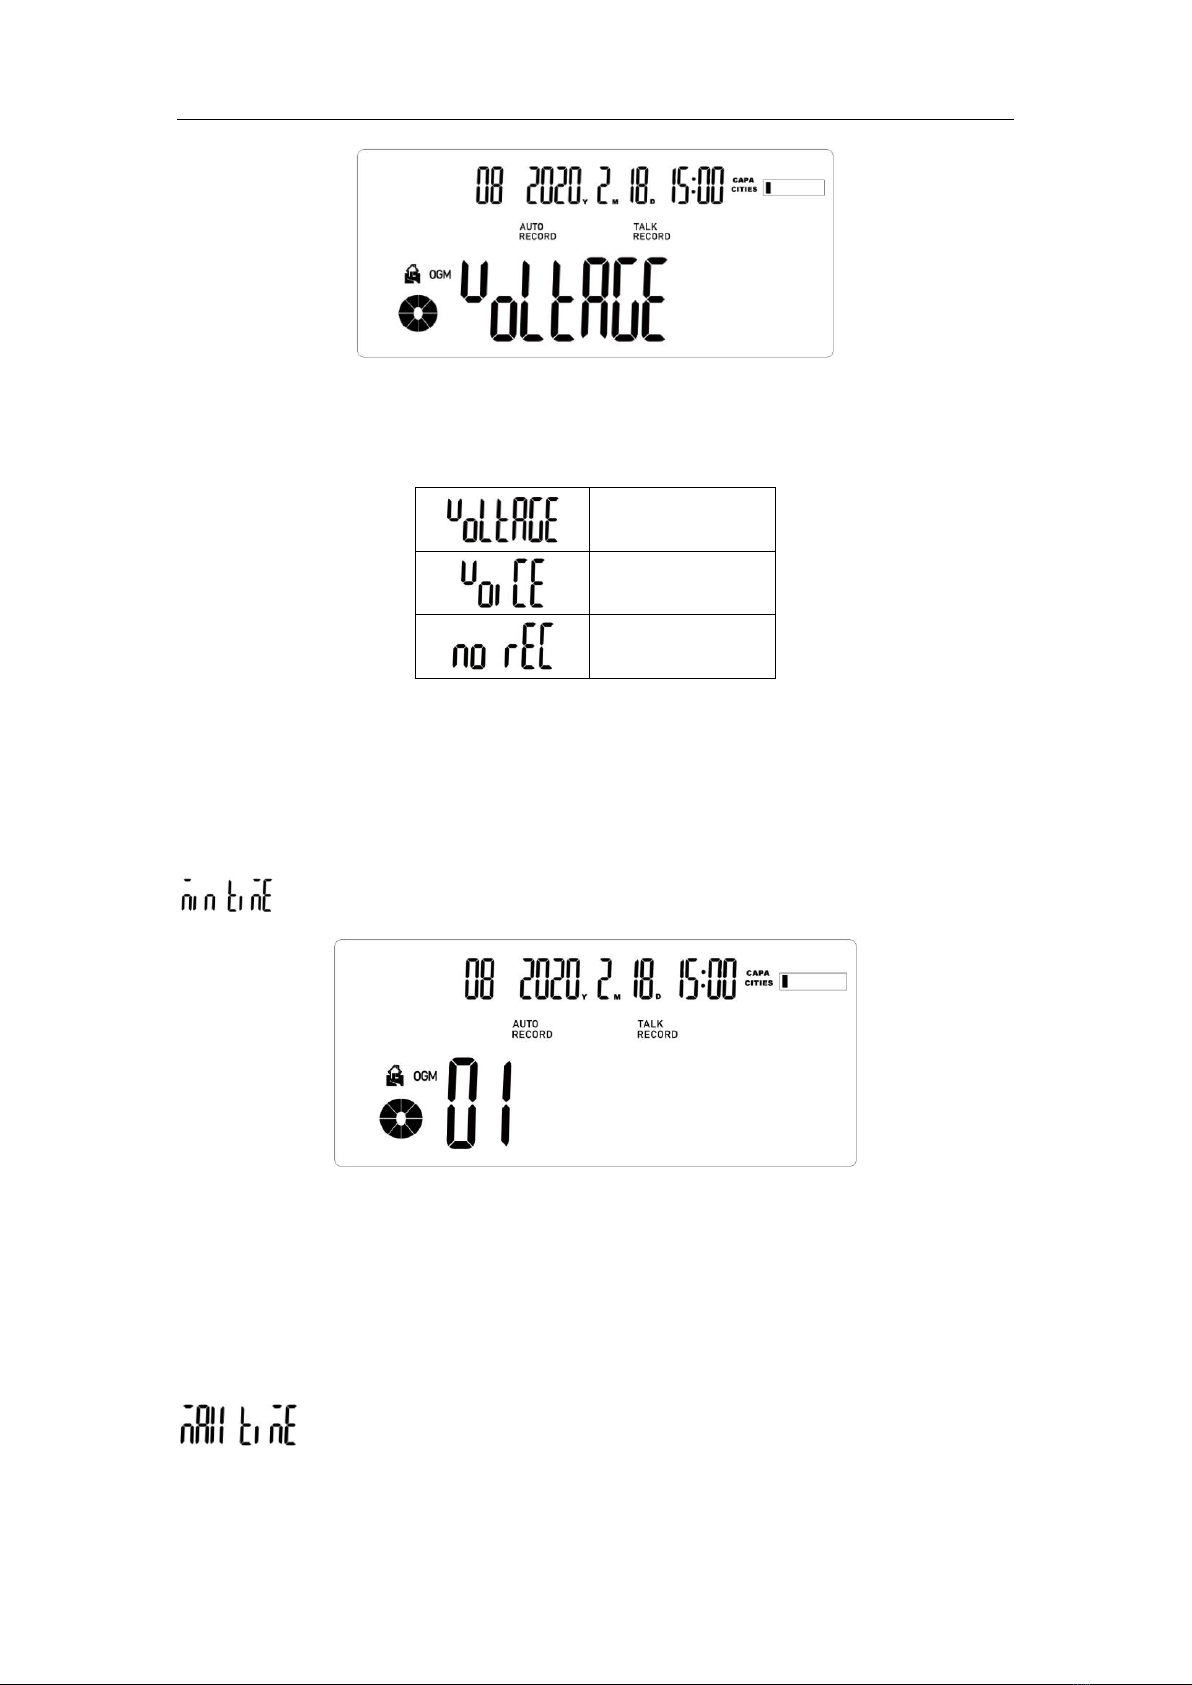
2.4 Setting of voltage threshold.........................................................................................9
2.5 Recording Trigger Settings..........................................................................................9
2.6 Shortest Recording Setting...........................................................................................10
2.7 Longest Recording Setting......................................................................................10
2.8 Voice Announcement setting...................................................................................11
2.9 Voice announcement to speaker setting.................................................................12
2.10 Message Ring Count Setting......................................................................................12
2.11 Maximum Message Time Setting.........................................................................13
2.12 Voice control sensitivity setting...............................................................................13
2.13 FSK Correction Time Setting ................................................................................14
Chapter Third Playback of recorded files...............................................................................14
Chapter Four Upgrades and other considerations.............................................................15
Chapter Five OGM/anti-harassment.......................................................................................17

2 / 18
User Manual of DAR-5001A/B/C & DAR-5002C Standalone Voice Logger
Chapter One DAR5001A/B/C Manual
1.1 Features
◆Use SD card to store messages/recordings
◆Incoming call message/extension call recording
◆Support voltage control/voice control recording mode
◆Support up to 128G memory card (Format: FAT32)
◆Dual system caller ID (FSK/DTMF)
◆Message and voice announcement audio files can be modified by the user
◆Voice announcement for incoming calls to prevent harassing the phone and send CID
to extension (only A series supports this function)
◆LCD screen brightness 5 levels adjustable
◆Built-in clock display, unchanged power-down time, can realize FSK automatic time
calibration
◆Playback by time index (display CID and date)
◆Built-in speaker, the sound can be played immediately
◆Recording files can be transferred to PC for storage and playback
◆Computer-free automatic recording, completely embedded device
SD Recording time
16GB Recording time 590 hour
32GB Recording time 1180 hour
64GB Recording time 2360 hour
128G Recording time 4720 hour
Important statement
This product strictly prohibits the secret recording without the permission of others. If you
violate the law, you must bear your own legal responsibility.
Function/Model
DAR5001A
DAR5001B
DAR5001C
DAR5002C
Channel
1CH
1CH
1CH
2CH
Voice announcement
Yes
NO
NO
NO
Incoming call anti-harassment function
Yes
NO
NO
NO
Auto answer
Yes
Yes
NO
NO
Caller ID
Yes
Yes
NO
NO
Local playback
Yes
Yes
Yes
Yes
Automatic recording
Yes
Yes
Yes
Yes
Recording mode (voltage control or
sound control)
Yes
Yes
Yes
Yes

3 / 18
User Manual of DAR-5001A/B/C & DAR-5002C Standalone Voice Logger
Note: All of our products support customization (can be customized according to customer
Requirements, starting from 3K
1.2 Installation Methods
(Must read when using this product for the first time)
1、Connect the telephone line to the RJ11 port on the right side of the recording box.
(Picture 1 )
2、Insert SD card (Picture 2)
3、Plug the telephone line provided by the telecommunications company into the RJ11
port on the left side of the recording box. (Picture 3)
4、Connect the power adapter to the DC power adapter jack on the bottom of the
recording box (Picture4)
This unit can't use any recording and other functions when there is no SD card. Please
don't remove the SD card at will.
After the machine is plugged in, if you want to use the answering function, please set the
number of rings first. For example, set the number of rings to 3 and start the answering
function. If no one answers the call within 3 rings, it will automatically enter the answering
mode. Use the built-in host message! (If the call is answered within the set number of
rings, the answering machine will not enter the answering mode).
When the number of rings is set to [00], the answering function is turned off.
When the number of rings is set to [2-9], the answering machine function is activated.
Speaker
Yes
Yes
Yes
Yes
SD card storage
Yes
Yes
Yes
Yes
FSK automatic time adjustment
Yes
Yes
NO
NO
screen display
Yes
Yes
Yes
Yes
Comes with clock
Yes
Yes
Yes
Yes

4 / 18
User Manual of DAR-5001A/B/C & DAR-5002C Standalone Voice Logger
Please follow the steps below before use
1.Please make a voice announcement file before use
2.Install SD card, insert power, LCD display After the card is read, the
screen will display the remaining space of the SD card.
3.Set the number of rings for answering: answer on/off.
4.Set the time / date.
1.3 Functional description of each ministry
1
PSTN interface
connection telephone station
2
Extension socket
Extension telephone line
(5002C:connection telephone station)
3
Power Jack
Connect the power adapter
4
Headphone Jack
Connect headphones
5
SD card slot
Insert SD memory card
6
Delete key
Delete the current recording during playback
7
Up
Up buttons
8
Setup
Enter setup options
9
Left
Left buttons
10
Down
Down buttons
11
Right
Right buttons
12
Confirm
Confirm/playback

5 / 18
User Manual of DAR-5001A/B/C & DAR-5002C Standalone Voice Logger
13
LED
Signal indicator
14
Return
Back/Cancel
15
Display Screen
Display Information Content
1.4 LCD Screen Display Instructions
1
Recording type (playback)
IN:Incoming Telegram Recording
NEW:Message Recording
OUT:Outing Calls Recording
Vacancy:Voice-activated Recording
2
Current serial number
Playback: the serial number of the current file
3
Total recordings for the day
Recording: display recording duration
Playback: Displays the total number of recordings on
the day of playback
4
Time/Date Display
Home:screen:show current time/date
Playback:Display the current Time/Date of Playback
5
SD Card space
Display memory space
6
Automatic Recording Icon
This icon lights up when recording is turned on
7
Recording Icon
Light up this icon during recording, and the LED will
flash at the same time
8
Message Icon
Lights up when the message function is turned on
9
Play progress bar
Show playback progress during playback
10
OGM Icon
Light this icon when voice announcement is turned on

6 / 18
User Manual of DAR-5001A/B/C & DAR-5002C Standalone Voice Logger
1.5 Settings List
All settings must be operated on the home screen
Display
Function Description
Operation Method
Default
Date/time setting
Setup+Confirm
Volume setting
Setup+1 times turn Down+Confirm
2
LCD Contrast setting
Setup+2 times turn Down+Confirm
4
Voltage threshold
setting
Setup+3 times turn Down+Confirm
10
Start recording
condition setting
Setup+4 times turn Down+Confirm
Voltage
Trigger
Minimum recording
time setting
Setup+5 times turn Down+Confirm
1
Maximum recording
time setting
Setup+6 times turn Down+Confirm
120
Voice announcement
setting (not for C type)
Setup+7 times turn Down+Confirm
(Only for Voltage Trigger)
OFF
Voice announcement
to speaker
Setup+8 times turn Down+Confirm
OFF
Message ringing
times setting
Setup+9 times turn Down+Confirm
(Only for Voltage Trigger)
0
Maximum message
time setting
Setup+ 10 times turn Down +
Confirm
15
Voice control
sensitivity setting
Setup + 11 times turn Down +
Confirm
5
FSK Correction time
setting
Setup + 12 times turn Down +
Confirm
OFF
Press the back key to exit the setting
SD memory card precautions
1. In order to bring out the best performance of this machine, please insert the (DC 8V
500mA) power adapter and SD card configured in this machine in the correct direction
(the SD card must be in the unlocked position) before using the phone line.
2. When the power adapter and SD card are installed, the unit automatically reads the SD
(version A only)
11
Break code display
Software function display area

7 / 18
User Manual of DAR-5001A/B/C & DAR-5002C Standalone Voice Logger
card and the LCD screen displays. After the card is read, the screen displays the total SD
space and used space.
3. This unit cannot be used without a power adapter connected or power failure.
4. When there is no SD card, this unit cannot use functions such as recording and
playback.
5. This machine supports SD card with FAT32 format. If the new card cannot be used,
please format to FAT32 format on the computer.
6. When the machine works abnormally, please unplug the power supply and external line,
and then connect the power supply and external line to test the device after one minute.
7. This unit is on a 1GB SD card and the recording time is about 34 hours. (This machine
supports a maximum of 128GB SD card and records up to 199 recording files per day)
All configuration files are saved in SD Card with file named “Setting” in the root
directory of SD Card. If the SD card is replaced, the configuration file will be lost
and the device will come back to factory mode.
Chapter Two Setting Function
2.1 Date and Time Setting
1. On the home screen, press the settings key to display Press the confirmation
key, the screen displays:
2. Press: Up/Down/Left/Right Key Adjust Year/Month/Day/Hour/Minute
3. After the adjustment is completed, press the confirmation key to complete the setting
Note:
※
The telecommunications sent by the telecommunications bureau has two systems, FSK
and DTMF. If the FSK automatic time calibration function is enabled, the time will be
automatically updated when receiving FSK incoming call information. If it is a DTMF

8 / 18
User Manual of DAR-5001A/B/C & DAR-5002C Standalone Voice Logger
system, you must set the time yourself.
2.2 Volume setting
1. When in the home screen, press the setting key/ 1 times turn Down to display
Press the confirmation key, the screen displays:
2. Press the up/down keys to adjust the volume in order, divided into 1,2,3 levels (will
play sound test volume)
3. After the adjustment is completed, press the confirmation key to complete the setting
2.3 LCD Contrast setting
1. When in the home screen, press the setting key/ 2 times turn Down to display
Press the confirmation key, the screen displays:

9 / 18
User Manual of DAR-5001A/B/C & DAR-5002C Standalone Voice Logger
2. Press the up/down keys to adjust the screen brightness in order, divided into 1, 2, 3, 4,
5 levels (the larger the value, the higher the brightness)
3. After the adjustment is completed, press the confirmation key to complete the setting
2.4 Setting of voltage threshold
1. When in the home screen, press the setting key/ 3 times turn Down to display
Press the confirmation key, the screen displays:
2. Press up/down/left/right to adjust the voltage threshold sequentially (factory default
10V)
3. After the adjustment is completed, press the confirmation key to complete the setting
2.5 Recording Trigger Settings
1. When in the home screen, press the setting key/ 4 times turn Down to display
Press the confirmation key, the screen displays:

10 / 18
User Manual of DAR-5001A/B/C & DAR-5002C Standalone Voice Logger
2. Press the up/down keys to adjust the start recording conditions in sequence (three
conditions in total)
Voltage controlled
Voice controlled
Not Recording
3. After the adjustment is completed, press the confirmation key to complete the setting
2.6 Shortest Recording Setting
1. When in the home screen, press the setting key/ 5 times turn Down to display
Press the confirmation key, the screen displays:
2. Press Up/Down/Left/Right to set the minimum recording duration (1-20 seconds)
3. After the adjustment is completed, press the confirmation key to complete the setting
2.7 Longest Recording Setting
1. When in the home screen, press the setting key/ 6 times turn Down to display
Press the confirmation key, the screen displays:

11 / 18
User Manual of DAR-5001A/B/C & DAR-5002C Standalone Voice Logger
2. Press Up/Down/Left/Right to set the longest recording duration in sequence (1-120
minutes)
3. After the adjustment is completed, press the confirmation key to complete the setting
2.8 Voice Announcement setting
Note: Only A series supports voice announcement function
1. When in the home screen, press the setting key/ 7 times turn Down to display
Press the confirmation key, the screen displays:
2. Press the Up/Down button to set the voice announcement function on / off (when the
voice announcement is on, the OGM word on the home screen will be lit), ON means
open, OFF means close
OGM only be available with “Voltage Trigger” method, and not for “Voice/Audio

12 / 18
User Manual of DAR-5001A/B/C & DAR-5002C Standalone Voice Logger
Trigger” method.
After the adjustment is completed, press the confirmation key to complete the setting
2.9 Voice announcement to speaker setting
1. When in the home screen, press the setting key/ 8 times turn Down to display
Press the confirmation key, the screen displays:
2. Press the Up/Down button to set Voice announcement to speaker
3. After the adjustment is completed, press the confirmation key to complete the setting
2.10 Message Ring Count Setting
1. When in the home screen, press the setting key/ 9 times turn Down to display:
Press the confirmation key, the screen displays:
2. Press the Up/Down keys to set the number of ringing times for the message (0 means
turn off the message function, 2-9 means ring times when the message function is on)

13 / 18
User Manual of DAR-5001A/B/C & DAR-5002C Standalone Voice Logger
3. After the adjustment is completed, press the confirmation key to complete the setting
2.11 Maximum Message Time Setting
1. When in the home screen, press the setting key/ 10 times turn Down to
display Press the confirmation key, the screen displays:
2. Press Up/Down/Left/Right to set the maximum message time (5-120 seconds)
Note: When the message time reaches the set value, the device will auto close the
message.
3. After the adjustment is completed, press the confirmation key to complete the setting
2.12 Voice control sensitivity setting
1. When in the home screen, press the setting key/ 11 times turn Down to display
Press the confirmation key, the screen displays:
2. Press Up/Down keys to set the voice sensitivity, a total of 1-9 levels (the larger the
value, the higher the sensitivity)

14 / 18
User Manual of DAR-5001A/B/C & DAR-5002C Standalone Voice Logger
3. After the adjustment is completed, press the confirmation key to complete the setting
2.13 FSK Correction Time Setting
1. When in the home screen, press the setting key/ 12 times turn Down to display
Press the confirmation key, the screen displays:
2. Press the Up/Down key to set, turn on/off the FSK incoming call automatic correction
time
3. After the adjustment is completed, press the confirmation key to complete the setting
Chapter Third Playback of recorded files
1. Main screen, press the playback button to enter the playback mode, the screen
displays:
2. Press Up/Down/Left/Right key to select the date of the recording file, and press Enter
to enter the playback mode

15 / 18
User Manual of DAR-5001A/B/C & DAR-5002C Standalone Voice Logger
Number
Description
Note
1
Incoming call recording
During voice control recording,1/2/3
Will not show
2
Message Recording
3
Dial out to record
4
Number of the current recording file
5
Total number of recordings on the current date
Record up to 199 records in a day
6
Date of the current recording file
7
Playback progress bar
8
Phone number display area
No number displayed during
voice-activated recording
3. When the recording file is being played back, pressing the delete key will delete the
current recording file.
Chapter Four Upgrades and other considerations
1. Remove the SD card, and put the announced audio file in the SD card directory, as
shown below:
2. The format of the audio file is as follow: Wave, A-Law, 8000Hz, 64kbps, mono.
(It is recommended that use the free GoldWave software to generate)

16 / 18
User Manual of DAR-5001A/B/C & DAR-5002C Standalone Voice Logger
3. Answer: Incoming call announcement audio file name
LeaveMessage: Message announcement audio file name for VoiceMail
Note: If the above two file names and file formats are wrong, there will be no
announcement function
4. Upgrade function: put the upgrade file in the Upgrade directory, then insert the SD
card into the device, restart the device, wait for two minutes to complete the upgrade
function
5. The device just supports the SD card in FAT32 format. If not, kindly reformat it to be
FAT32 format via PC before use.
6. Kindly check the 6th page and notice the Default Value for every setting. All the
settings user made are stored in SD card with one file named "Setting", which is in
the root directory of SD card. Once user insert one new SD card without “Setting”file,
the device will come back to factory mode. User just need copy the file "Setting" to
one new SD card, then save time from making settings another time. But user can not
mix the "Setting" files among 5001A, 5001B, 5001C and 5002C.

17 / 18
User Manual of DAR-5001A/B/C & DAR-5002C Standalone Voice Logger
7. It’s “Series Connection” for DAR-5001A, then both the two RJ11 ports should be
connected: Left for PSTN, and Right for Phone(as the below picture). If it’s mixed or
user just “Parallel Connects”only one RJ11 port, the Call Announcement before
Ringing can not be available.
Chapter Five OGM/anti-harassment
1. When OGM is activated on the recording box, the outside line makes an
incoming call. At this time, the extension on the recording box does not ring,
and the recording box automatically answers.

18 / 18
User Manual of DAR-5001A/B/C & DAR-5002C Standalone Voice Logger
2. The recording box recognizes the call CID information and plays the
announcement content
3. After the announcement is complete, the recording box sends ringing and
outside line CID information to the telephone extension
4. When the number of rings reaches the message setting condition (the
recording box starts the message function), the recording box enters the
message mode, and after the announcement of the message is played, a
voice message can be made. If the recording box is not enabled with the
message function or the message setting conditions are not met, the recording
box will continue to ring the extension. When the number of rings reaches 9
times, the user does not answer, and the recording box returns to the standby
state.
This manual suits for next models
3
Table of contents