manuals.online logo
Brands
  1. Home
  2. •
  3. Brands
  4. •
  5. York Fitness
  6. •
  7. Home Gym
  8. •
  9. York Fitness YRK56040A User manual

York Fitness YRK56040A User manual


www.
y
orkfitness.com.au

Owner’s Manual
TURBINE ROWER
Item # YRK56040A

www.
y
orkfitness.com.au

Table Of Contents
Congratulations on
purchasing your exercise
equipment from
You have chosen a high quality,safe and
Innovative piece of equipment as your
training partner and we are certain it will keep
you motivated on the way to achieving your
personal fitness goals.
Please take the time to read this owner’s
manual as it will help you to get the most
out of your new exercise equipment.
For more information visit www.yorkfitness.com.au
Please keep your purchase receipt with this manual.
ATTENTION
THIS ROWER IS INTENDED FOR RESIDENTIAL USE ONLY AND IS WARRANTED FOR THE APPLICATION.
ANY OTHER APPLICATION VOIDS THIS WARRANTY IN ITS ENTIRETY.
CONTENTS
PackList 04
Assembly Instructions 06
Console Operation 14
PartsList 17
Exploded Diagram 19
Warranty 21
2









www.
y
orkfitness.com.au

Before you begin
Thank you for selecting our revolutionary York Fitness Turbine Rower. A rower is an effective exercise for
increasing cardiovascular fitness, building endurance, and toning the body. Our fitness rower provides an
impressive selection of features designed to make your workouts at home more effective and enjoyable.
For your benefit, read this manual carefully before you use the York Fitness Turbine Rower. To help us assist
you, note the product model number and serial number before contacting us. Before reading further, please
familiarize yourself with the parts that are labeled in the drawing below.
Mid-Stabilizer
Transport Wheel
Rear Stabilizer
Sliding Rail
Pedals
Seat
Console
Handle Bars
3









www.
y
orkfitness.com.au

Rower Assembly Pack Checklist
NO:1/91 NO:9 NO:54
NO:53 NO:45 NO:14L/R
NO:11L/R NO:55 NO:13 NO:35 NO:8L/R
NO:3
PART NO. DESCRIPTION Q’TY
1/91 Main frame/middle stabilizer 1
9 Front support tube 1
54 Rear support tube 1
53 Seat 1
45 Slide rail 1
14L/R Pedal (L/R) 1/1
11L/R Fixed bracket for handlebar (L/R) 1/1
3 Roller 2
55 Foot mat 2
13 Allen bolt for pedal 4
35 Ball pin 1
8L/R End cap for front stabilizer tube (L/R) 1/1
User manual 1
Hardware pack 1
4









www.
y
orkfitness.com.au

Rower Assembly Pack Checklist
PART NO. DESCRIPTION Q’TY DRAWINGS
19 Allen bolt 5
34 Allen bolt 4
36 Cushion rubber 2
37 Spring washer 2
38 Flat washer 2
40L End cap for side rail (L) 1
40R End cap for side rail (R) 1
41 Axle for slide rail 1
42 Allen bolt 2
43 Flat washer 7
92 Allen key (6MM) 2
93 Wrench (13MM) 1
Note: Above parts are all the parts needed to assemble this machine. Before you start to
assemble, please check the hardware packing to make sure they are included.
5









www.
y
orkfitness.com.au

Rower Assembly Instructions
1Middle Stabilizer Rollers
1
2
3
42
34
1. Attach the rollers (3) onto middle stabilizer,
fasten with two sets of allen bolt (4) and nylon nut (2)
which are pre-assembled on the middle stabilizer.
6









www.
y
orkfitness.com.au

2Attaching The Slide Rail
134
38
37
41 34
37
38
35
45
1. Pull out the ball pin (35) from the main frame (1).
2. Insert the slide rail (45) onto the U type connect
tube of main frame (1), fasten with one axle for slide rail (41),
two sets of allen bolts (34), spring washers (37) and flat washers (38).
3. Then insert the ball pin (35).
Hardware Step 2
2 Allen Bolts (#34)
2 Spring Washers (#37)
2 Flat Washers (#38)
1 Axle (#41)
7









www.
y
orkfitness.com.au

3 Attaching the Seat and Rear Stabilizer
1
53
54
40R
40L
34
36
36
34
42
42
43
43
19
45
55 55
1. Insert the seat (53) to the slide rail (45).
2. Insert two cushion rubbers (36) to the slide rail (45),
Slightly fasten with two allen bolts (34).
3. Fasten two foot mats (55) on the rear support tube (54).
4. Attach the rear support tube (54) to the slide rail (45), fasten
with one allen bolt (19), three flat washers (43) and two allen bolts (42).
5. Then insert two end caps for side rail (40L/R) to the end of slide rail (45).
Hardware Step 3
2 Cushioned Rubbers(#36)
2 Allen Bolts (#34)
1 Allen Bolt ((#19)
3 Flat Washers (#43)
2 Allen Bolts (#42)
2 End Caps (#40)
8









www.
y
orkfitness.com.au

4 Attaching the Front Stabilizer
8L
8R
10 10 10 10
91
19
1. Turn over the main frame and place the rear support tube on
the floor.
2. Take off four self-tapping screws (10) from the end caps for
front stabilizer tube (8L/R) which are pre-assembled on the
end caps, then attach the end caps to the front support tube
(9) by four self-tapping screws (10).
3. Attach the front support tube (9) to the main frame (1),
fasten with four allen bolts (19).
Hardware Step 4
4 Allen Bolts (#19)
9









www.
y
orkfitness.com.au

5 Using the Lock Ball Pin
35
1.Turn over the main frame and place the front support tube
on the floor.
2. Pull out the ball pin (35) from the main frame and unfold the
slide rail(45). Then insert the ball pin (35) to the main frame
again to lock in position.
Note: Before inserting the ball pin (35).
1. Slightly lift up the main frame.
2. Make sure the ball pin holes are lined up.
3. Insert ball pin (35) into holes.
10









www.
y
orkfitness.com.au

6Attaching the Pedals
1
14L
14R
13
13
11L
11R
6mm
1. Insert two fixed brackets for handlebar (11L/R) into the holes
on the front support tube of main frame (1).
2. Attach the left pedal (14L) to the left side of main frame (1),
fasten with two allen bolts (13).
3. Repeat for the right pedal (14R) to the right side of main
frame (1).
11









www.
y
orkfitness.com.au

7Attaching the Handlebar
29
1. The handlebar (29) also can be placed into the
Handlebar holder.
8Folding the Rower
35
1. To fold the machine for storage, the ball pin can be
removed and the slide rail can be lifted up.
Remember to replace the pin after folding the slide rail.
12









www.
y
orkfitness.com.au

9Battery Replacement
1. Loosen the 3 screws on the right side fo the console. Gently ease the
console panel out of the shroud.
2. On the back panel, replace batteries. Make sure they fit tightly in the correct
postions.
3. Place console back into shroud and retighten the 3 screws.
1
3









www.
y
orkfitness.com.au

Operation of Your Console
Key Functions
BUTTONS:
MODE: Select to change between the presets TIME, COUNT, DISTANCE, CALORIES, and
PULSE.
PULSE RECOVERY:
** It is functional only when used with the wireless chest belt (not included) **
The console has a Recovery Mode. This lets you monitor how quickly you recover from
exercising.
After your exercise session press the Recovery button, the LCD console will then count down
from 60 seconds to zero. After this, a fitness score F1 to F6 will be displayed on console.
F1.0 = Excellent F2.0 = Good F3.0 = Fair F4.0 = below average
F5.0 = No Good F6.0 = Poor
RESET: Press and hold this button for 2 seconds to reset all of the value to Zero.
UP:Increase the setting value of the following functions.
TIME, COUNT, DISTANCE, CALORIES, and PULSE.
DOWN: Decrease the setting value of the following functions.
TIME, COUNT, DISTANCE, CALORIES, and PULSE.
Functions
TIME: Accumulates total work out time from 00:00 up to 99:59. You may also select a target
time before training by pressing “UP” and “DOWN” buttons. Each setting is 1:00 minute.
As soon as the target time is achieved, a 3 second alarm will sound.
DISTANCE: Accumulates training distance from 0.0 up to 99.9 KMS. You may also
preset the target distance before training by pressing “UP” and “DOWN” buttons. Each
14









www.
y
orkfitness.com.au

setting is 0.1KMS.
As soon as the target distance is achieved, a 3 second alarm will sound.
COUNT: Accumulates total count from 0 up to 9999. You may also preset the target count
before training by pressing “UP” and “DOWN” buttons. Each setting is 10 count.
As soon as the target count is achieved, a 3 second alarm will sound.
CALORIE: Accumulates calories consumption during training from 0 up to 9999 cal with
each increment 0.1cal. You may also preset the target calorie before training by pressing
“UP” and “DOWN” buttons. Each setting is 1 cal increment.
As soon as the target calorie is achieved, a 3 second alarm will sound.
(This data is a rough guide for comparison between different exercise sessions and should
not be used as a medical standard.)
PULSE: Your current pulse rate from 40 to 220bpm will be displayed on the LCD console
whenever you wear the wireless chest belt (optional item, not included).
If no heart rate signals are detected for 8 seconds, the console will show “P“.
You can set a target heart rate before training by pressing “UP” and “DOWN” buttons within
the rate zone 90 to 220. Each increment is 1 heart beat.
If you go above your target heart rate, the LCD Pulse value will flash and ask you to reduce
the intensity of your exercise.
STROKES PER MINUTE: Displays the average stroke count per minute.
TRAVEL DISTANCE: Displays your stroke travel distance visually on the LCD.
NOTE: If no signal has been transmitted into console for 4 minutes, the LCD display will shut
off automatically and all function data will reset to Zero. You may press any button or start
training to have the console power on again.
BATTERY REPLACEMENT:
Quick release the lock on the bottom of the console, slide cover out carefully. Install two
AAA batteries in the battery case inside the console.
Ensure that the batteries are correctly fitted. Battery must be correctly positioned.Make
sure the battery springs have proper contact with batteries
Ifthe display appears blank or displays only partial segments, remove the batteries and wait
15 seconds then restore them.
Whenever you remove the batteries, all the functional values will be reset to zero.
15









www.
y
orkfitness.com.au

Trouble Shooting
Problem Cause Solution
Monitor does not display
Batteries not Installed Install Batteries
Computer Wires not connected
Ensure the computer wires are
connected properly at the upright and
computer
No speed or distance
displays on
the monitor
Sensor wire not connected
Ensure the computer wires are
connected
properly at the upright and
the computer
Sensor wire not working properly Replace sensor wire
Monitor not working properly Replace monitor
No tension Air Damper needs
Adjustment
Adjust tension lever
accordingly
Squealing Belt slipping Adjust belt
16









www.
y
orkfitness.com.au

Part List
Part
No. Description Q'ty Part
No. Description Q'ty
1 Main frame 1 28 Decorative cover for handlebar
(Upper) 1
2 Nylon nut M8 12 29 Handlebar 1
3 Roller 2 30 Decorative cover for handlebar
(Lower) 1
4 Allen bolt M8*35 2 31 Allen bolt M6*15 12
5 Square end cap 80*40 5 32 Self-tapping screw ST4*20 2
6 Non-slip pad 2 33 Tension control knob 1
7 Self-tapping screw ST4*15 4 34 Allen bolt M8*20 6
8L End cap for front stabilizer tube (L) 1 35 Ball pin 1
8R End cap for front stabilizer tube (R) 1 36 Cushion rubber 4
9 Front support tube 1 37 Spring washer Ф8 2
10 Self-tapping screw ST5*20 20 38 Flat washer ф8*ф25 2
11R Fixed bracket for handlebar (R) 1 39 Nylon rubber jacket 2
11L Fixed bracket for handlebar (L) 1 40R End cap for side rail (R) 2
12 U type bracket for pedal 2 40L End cap for side rail (L) 2
13 Allen bolt for pedal M12*140 4 41 Axle for slide rail 1
14 R Pedal (R) 1 42 Allen bolt M8*40 2
14 L Pedal (L) 1 43 Flat washer ф8*ф17 15
15 Fixed bracket for pedal 2 44 Square end cap 60*30 1
16 Cross-head screw M5*12 18 45 Slide rail 1
17 Nylon nut M5 16 46L Slide rail (L) 1
18 Fixed plate for strap 4 46R Side rail (R) 1
19 Allen bolt M8*16 9 47 Self-tapping screw 10
20R Decorative cover for tension control
knob (R) 1 48 Axle for roller 6
20L Decorative cover for tension control
knob (L) 1 49 Roller 6
21 Foam grip 2 50 Cross-head screw M5*15 6
22 Round end cap 25.4 2 51 Allen bolt M6*20 4
23 Sensor wire 1 1 52 U type bracket for seat 1
24 Meter 1 53 Seat 1
25 Decorative plate for left chain cover 1 54 Rear support tube 1
26 Decorative plate for right chain
cover 1 55 Foot mat 2
27 Sensor wire 2 1 56 Strap 2
17









www.
y
orkfitness.com.au

Part
No. Description Q'ty Part
No. Description Q'ty
57R Air duct (R) 1 76 Spring clutch 1
57L Air duct (L) 1 77 Belt pulley 1
58 Air damper 1 78 Nylon nut M6 4
59 Nylon nut M12 1 79 Belt pulley bracket 1
60 Flat washer Ф12.5*Ф25*2.2 1 80 Bearing 6000ZZ 3
61 Wind turbine 1 81 Clamp spring Ф10 1
62 Bearing 608ZZ 2 82 Belt 1
63 Pulley 1 83 Self-tapping screw ST5*30 8
64 Tension rope 1 84 Powder metal 2
65 Guy cable 1 85 Pulley 1
66 Bearing bracket 2 86 Axle for pulley 1
67 Clamp spring Ф17 4 87 Air outlet 1
68 Bearing 6003ZZ 2 88 Self-tapping screw 6
69 Bearing bracket 2 89R Chain cover (R) 1
70 Fixed plate for bearing 2 89L Chain cover (L) 1
71 Axle for wind turbine 1 90 Woven tape 1
72 Bushing 6 91 Middle support tube 1
73 Rubber ring 1 92 Allen key 6mm 2
74 Sensor bracket 1 93 Wrench 13mm 1
75 Adjusted screw sets 2 Tool Pack 1
18









www.
y
orkfitness.com.au

5
5
66
7
7
8L8R
9
10
10
1010
11L11R
12
13
1213
14L
15
14R
15
16
16
16
16
16
16
17
1717
17
17
17
18
18
18
18
19
19
20L
16
16
10
21
21
22
22
28
29
30
31
32
33
20R
34
3434
34
34
35
36
363436
36
37
38
3940L
40R41
40R
40L
3938
37
42
43
43
43
44
45
46L
46R
4747474747
47474747
2
48
49
50
51
52
53
54
55
55
56
56
1
2
3
42
34
5
5
19
19
543
43
91
92
19









www.
y
orkfitness.com.au

10
10
1010
10
10
10
10
10
10
10
10
10
65
642
2
43
43
89L
89R
57L
57R
88
8888
88
88
87
58
59
60
61
6262
63
2
231
31
31
66
66
67
68
69
67
70
71
67
70
69
6867
72
72
72
73
74
7575
76
77
78
79
80
81
82
83
83
8383
83
83
83
84
80
85
80
86
84
90
27
83
26
25
24
23
20

Other York Fitness Home Gym manuals

York Fitness G-570 User manual

York Fitness

York Fitness G-570 User manual

York Fitness 50037 User manual

York Fitness

York Fitness 50037 User manual

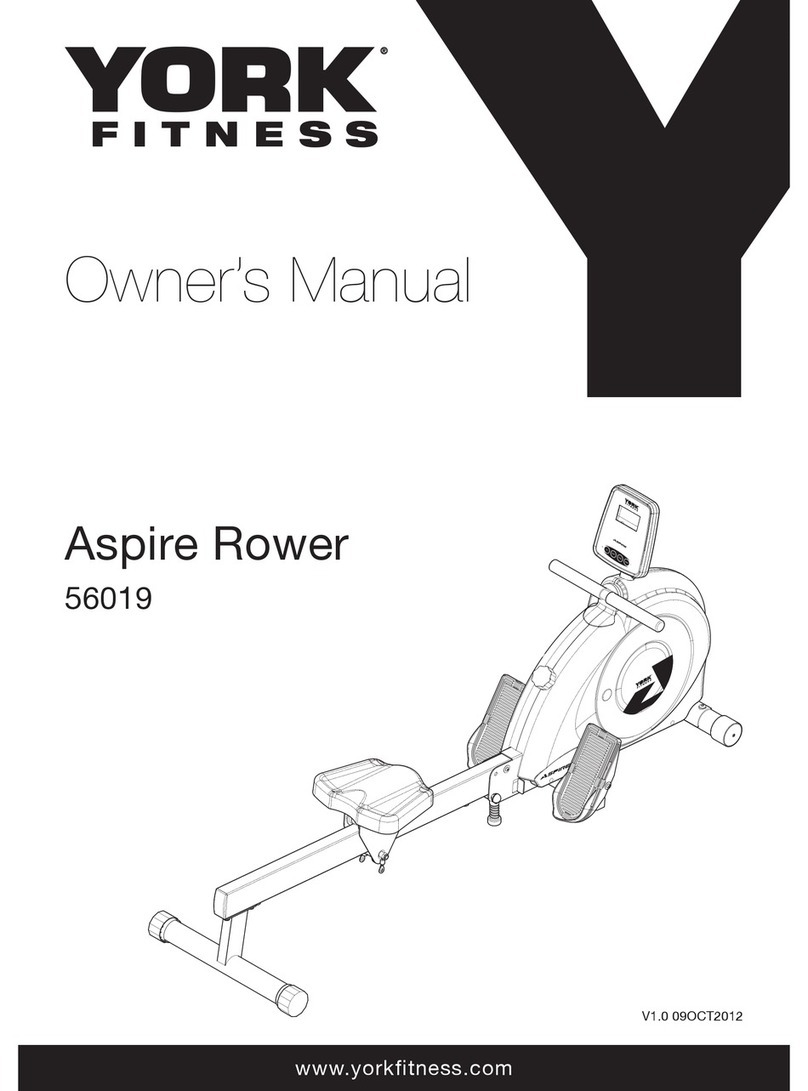
York Fitness Aspire Rower 56019 User manual

York Fitness

York Fitness Aspire Rower 56019 User manual

York Fitness 56020 User manual

York Fitness

York Fitness 56020 User manual

York Fitness WR1000 User manual

York Fitness

York Fitness WR1000 User manual

York Fitness Aspire User manual

York Fitness

York Fitness Aspire User manual

York Fitness 7245 LEG PRESS User manual
York Fitness

York Fitness 7245 LEG PRESS User manual

York Fitness Excel 310 User manual

York Fitness

York Fitness Excel 310 User manual

York Fitness Perform Multigym User manual

York Fitness

York Fitness Perform Multigym User manual

York Fitness ASPIRE 120 User manual

York Fitness

York Fitness ASPIRE 120 User manual

York Fitness 540 User manual

York Fitness

York Fitness 540 User manual

York Fitness heritage G102 multigym User manual

York Fitness

York Fitness heritage G102 multigym User manual

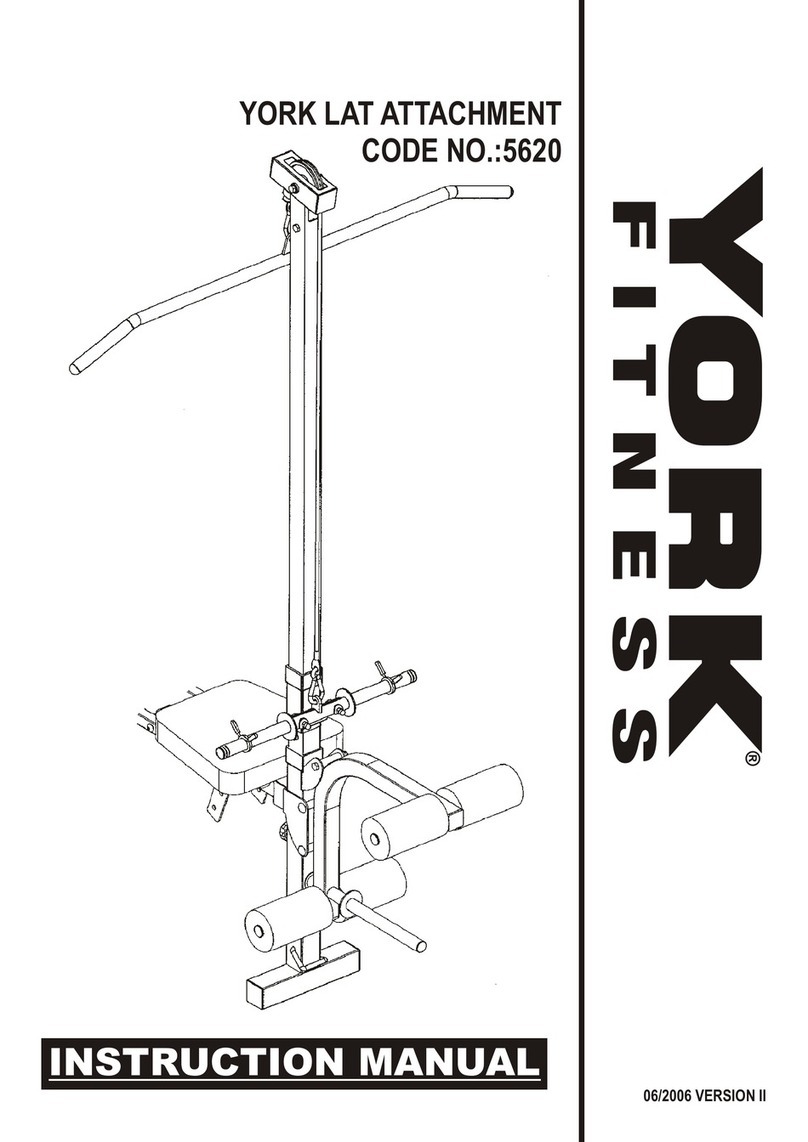
York Fitness 5620 lat attachment User manual

York Fitness

York Fitness 5620 lat attachment User manual

York Fitness Active 110 Rower User manual

York Fitness

York Fitness Active 110 Rower User manual

York Fitness 7240 Dual Stack Gym User manual

York Fitness

York Fitness 7240 Dual Stack Gym User manual

York Fitness YBR-PR-210 User manual

York Fitness

York Fitness YBR-PR-210 User manual

York Fitness G504 User manual

York Fitness

York Fitness G504 User manual

York Fitness Quest User manual

York Fitness

York Fitness Quest User manual

York Fitness 13 IN 1 BENCH User manual

York Fitness

York Fitness 13 IN 1 BENCH User manual

York Fitness 5200 User manual

York Fitness

York Fitness 5200 User manual

York Fitness G505 User manual

York Fitness

York Fitness G505 User manual

York Fitness 401 User manual

York Fitness

York Fitness 401 User manual

York Fitness R302 Rower User manual

York Fitness

York Fitness R302 Rower User manual

York Fitness 56017 User manual

York Fitness

York Fitness 56017 User manual

Popular Home Gym manuals by other brands

Club Weider WEBE34110 user manual

Club Weider

Club Weider WEBE34110 user manual

ParaBody 415101 Assembly instructions

ParaBody

ParaBody 415101 Assembly instructions

Hoist Fitness RS-1102-A owner's manual

Hoist Fitness

Hoist Fitness RS-1102-A owner's manual

ParaBody GS6 Exercise Chart

ParaBody

ParaBody GS6 Exercise Chart

Weider 195 Tc Bench Gebruiksaanwijzing

Weider

Weider 195 Tc Bench Gebruiksaanwijzing

Weider 8950 user manual

Weider

Weider 8950 user manual

WeiderPro 831.14922.1 user manual

WeiderPro

WeiderPro 831.14922.1 user manual

First Degree Fitness PacificChallenge AR owner's manual

First Degree Fitness

First Degree Fitness PacificChallenge AR owner's manual

VIRTUFIT Row 1.0 user manual

VIRTUFIT

VIRTUFIT Row 1.0 user manual

ParaBody PBF508 Assembly instructions

ParaBody

ParaBody PBF508 Assembly instructions

Horizon Fitness ADONIS owner's manual

Horizon Fitness

Horizon Fitness ADONIS owner's manual

Weider WEEVBE33110 user manual

Weider

Weider WEEVBE33110 user manual

Matrix VS-S33 Lat Pulldown owner's manual

Matrix

Matrix VS-S33 Lat Pulldown owner's manual

Life Fitness Pro 2 Series PSFLYSE parts manual

Life Fitness

Life Fitness Pro 2 Series PSFLYSE parts manual

Impex MARCY DIAMOND ELITE MD-389 owner's manual

Impex

Impex MARCY DIAMOND ELITE MD-389 owner's manual

WeiderPro Pro 4300 user manual

WeiderPro

WeiderPro Pro 4300 user manual

Weider WEBE0635.0 user manual

Weider

Weider WEBE0635.0 user manual

Weider PRO 900 Gebruikershandleiding

Weider

Weider PRO 900 Gebruikershandleiding

manuals.online logo
manuals.online logoBrands
  • About & Mission
  • Contact us
  • Privacy Policy
  • Terms and Conditions

Copyright 2025 Manuals.Online. All Rights Reserved.