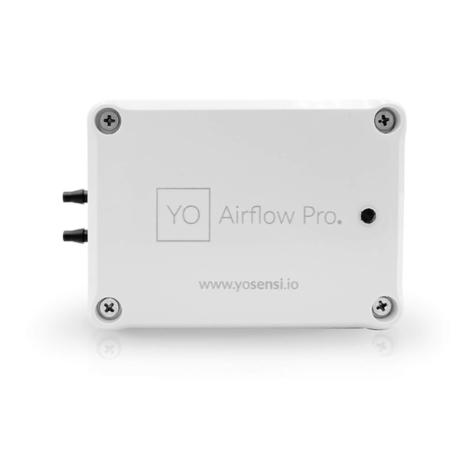
YO Airflow Pro2User guide v1.0
Yosensi Management Platform configuration
Before you can make the node visible, you’ll need an organisation and an application. The
organisation is your own space, at the highest level of IoT systems management (like the root
directory in operating systems). It can be created only by Yosensi staff, and all clients using Yosensi
Management Platform have it created for them by default (in case of any problems you can find us on
[email protected]). The application is a representation of each system and, together with nodes definitions, are created by customers. Basic integration of a Node and Yosensi Management Platform
is described below.
A subscription is needed to use Yosensi Management Platform. Contact us on
Yosensi Management Platform integration instructions:
1. Go to app.yosensi.io and log in.
2. You’ll see the default organisation view. To switch to another organisation, click on the user
avatar in the right top corner and select ‘Switch Organization’.
3. To create an application, press the bottom right ‘+’ button. Fill in the ‘Name’ and ‘Description’
fields and ‘Select Application Profile’ which is the region definition.
Figure 12 Application creation form.
4. Proceed to the application by clicking its name on the list, and press the ‘+’ button to add a
node. Select ‘Lora’ or ‘Helium’ if you want to connect to Helium network in ‘Node Type’ field.
Set the ‘Name’, ‘Description’ fields and fill in ‘Node ID’ (deveui) and ‘OTAA Key’ (otaa section -
appkey)which can be found using the firmware section. Select a model that is compatible
with your device—it affects the number of charts, its placement and data source (YO Airflow
Pro2model). You can also set the node’s ‘Location’, if locations have been pre-defined. If you
haven’t defined a suitable location, leave this field set at <None>.