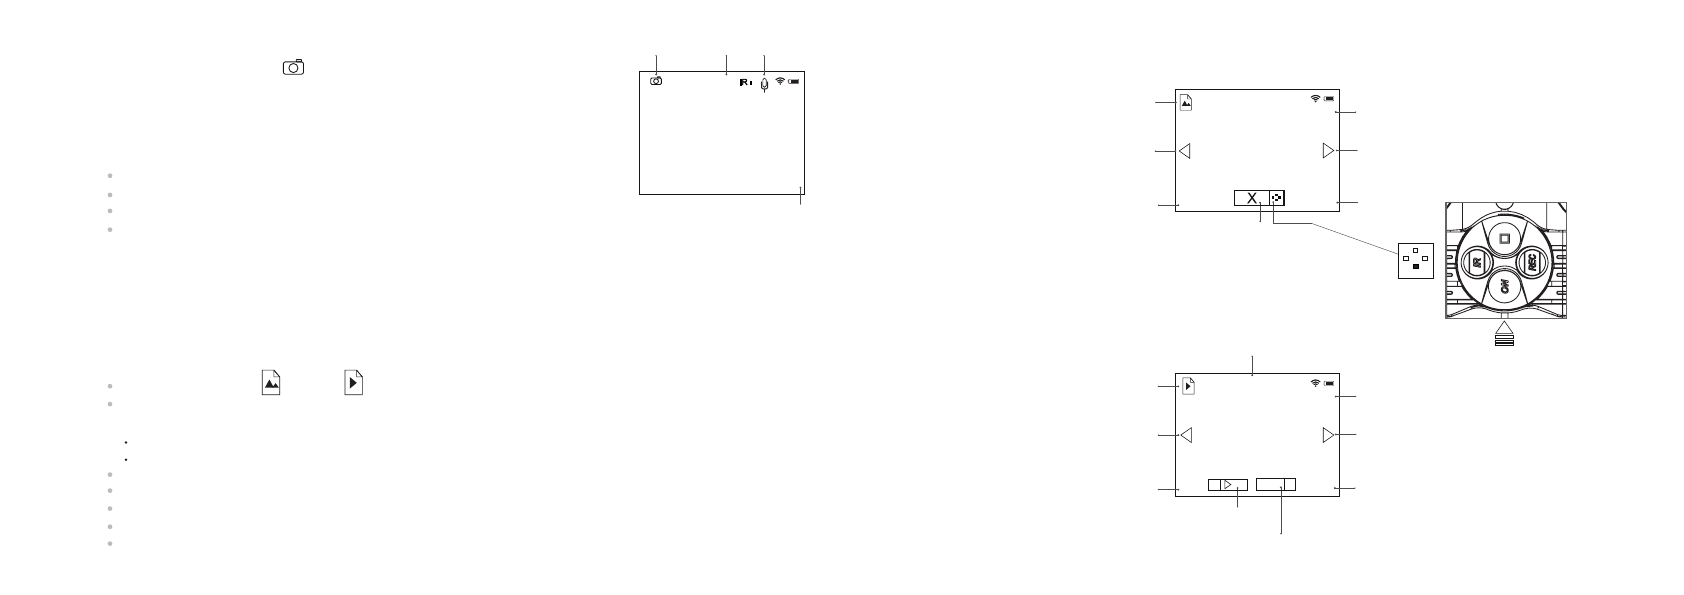
Hold down the ZOOM (4) button to enter the main menu.
Use the IR (3) and REC (5) buttons to select submenu " ".Video/photo resolution selection
Enter the submenu with a short press of the ZOOM button.
Date format is displayed as: yyyy/mm/dd (2017/04/12)
Use the navigation buttons to select desired value (REC (5) button to increase value; IR (3) button to
decrease value). To move from one digit to another briefly press the ZOOM (4) button.
To save the date and go to time setup, press and hold down the ZOOM button for more than one second.
Time setup
Enter the submenu with a brief press of the ZOOM (14) button.
Time format is displayed as: “format mm/hh” (24 06:51)
Use the navigation buttons IR (3) / REC (5) to select the required time format - 24/AM/PM. To set the hour
value, briefly press the ZOOM button.
Use the navigation buttons to select the hour value (REC button to increase the value; IR button to
decrease the value).
To set the minute value, briefly press the ZOOM button.
Use the navigation buttons to select the minute value (REC button to increase the value; IR button to
decrease the value).
To save the time settings and to exit the submenu, press and hold down the ZOOM button for more than
one second.
Current time in the format selected is shown on the display.
The set value is saved.
When the unit is next switched on, the display shows the latest saved value.
Sound recording
This menu option allows you to activate/deactivate sound recording only during video recording.
Hold down the ZOOM (4) button to enter the main menu.
Use the IR (3) and REC (5) buttons to select submenu " ".Sound recording
Enter the submenu with a short press of the ZOOM button.
Use the buttons to select one of the options:IR and REC
Yes – to activate sound recording.
No – to deactivate sound recording.
Hold down the ZOOM (4) button to enter the main menu.
Use the IR (3) and REC (5) buttons to select submenu "About device".
Enter the submenu with a short press of the ZOOM button.
Name: Signal N320RT (name of the unit)
SKU: 28062 (model number)
Serial: 20119307 (serial number)
FW: 12.34.567 (software version)
HW: MNV001 (hardware version)
Confirm your selection with a short press of the ZOOM button.
When activating sound recording, the icon appears on the display. Icon is shown when sound is
deactivated.
The sound record icon is shown on the display in the VIDEO and PHOTO modes.
The set value is saved.
When the unit is next switched on, the display shows the latest saved value.
About device
This menu option shows the following service information about your device:
16
15
i
Date and time setup
This menu option allows you to set the current date and time, and time format.
Date setup