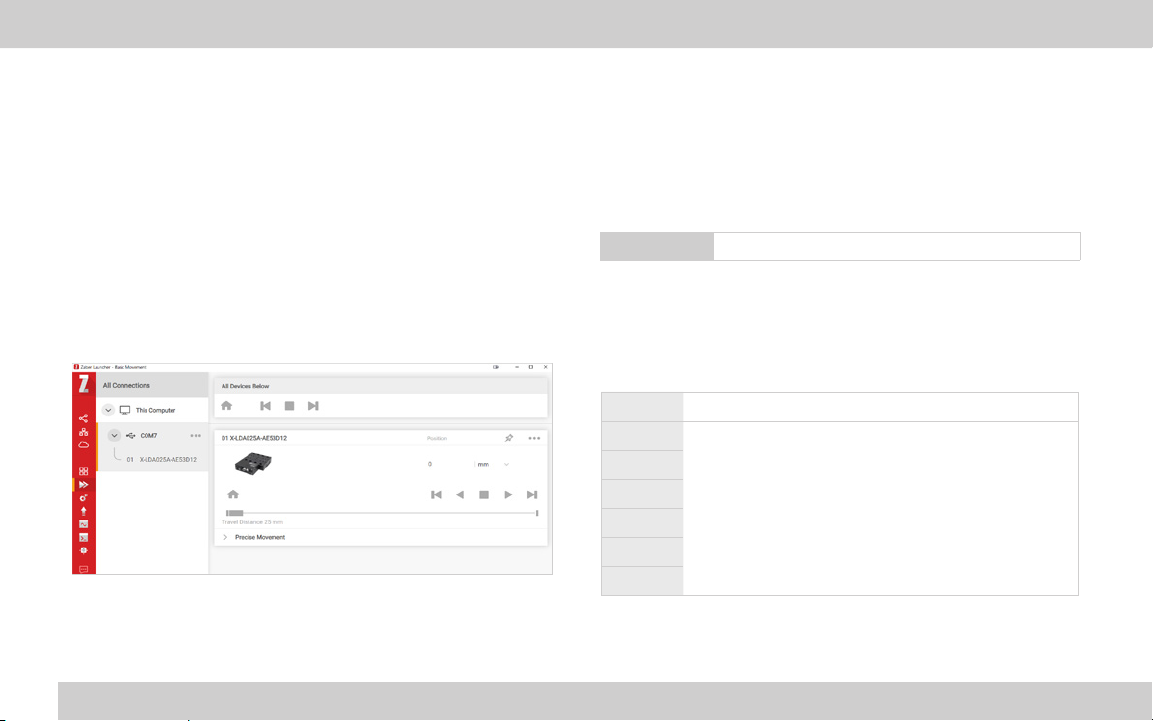
3 ZABER TECHNOLOGIES INC.
Getting Started Guide
Common Terminology
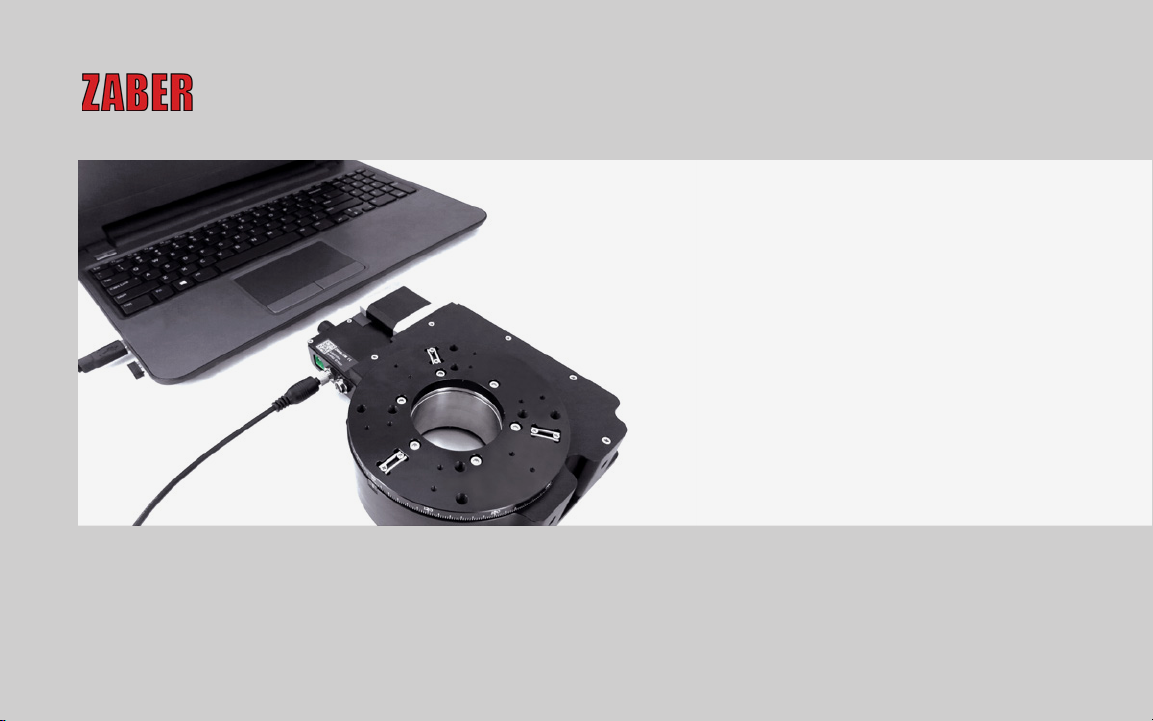
Positioner
A motorized product with moving mechanics, such as a linear
stage, a rotational stage, or a stepper motor.
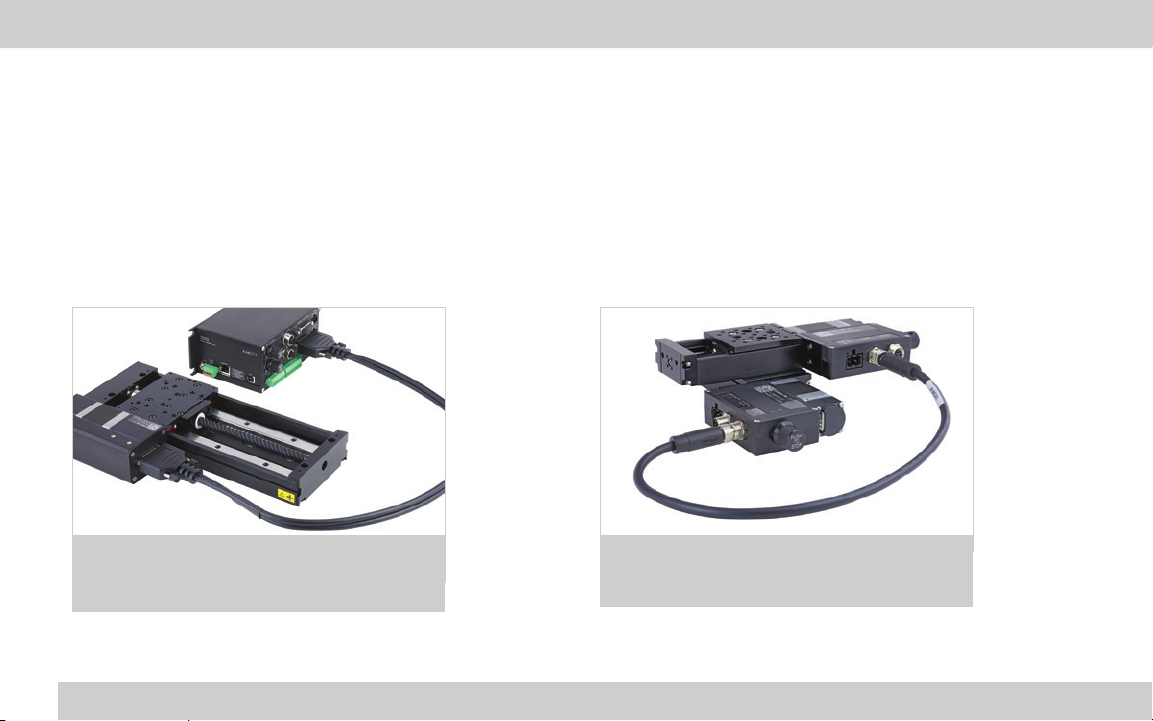
Peripheral
A positioner that includes a motor and mechanics but does not
include an integrated controller. Peripherals are designed for use
with Zaber’s motor controllers, but they can also be used with
compatible third-party motor drivers and controllers.
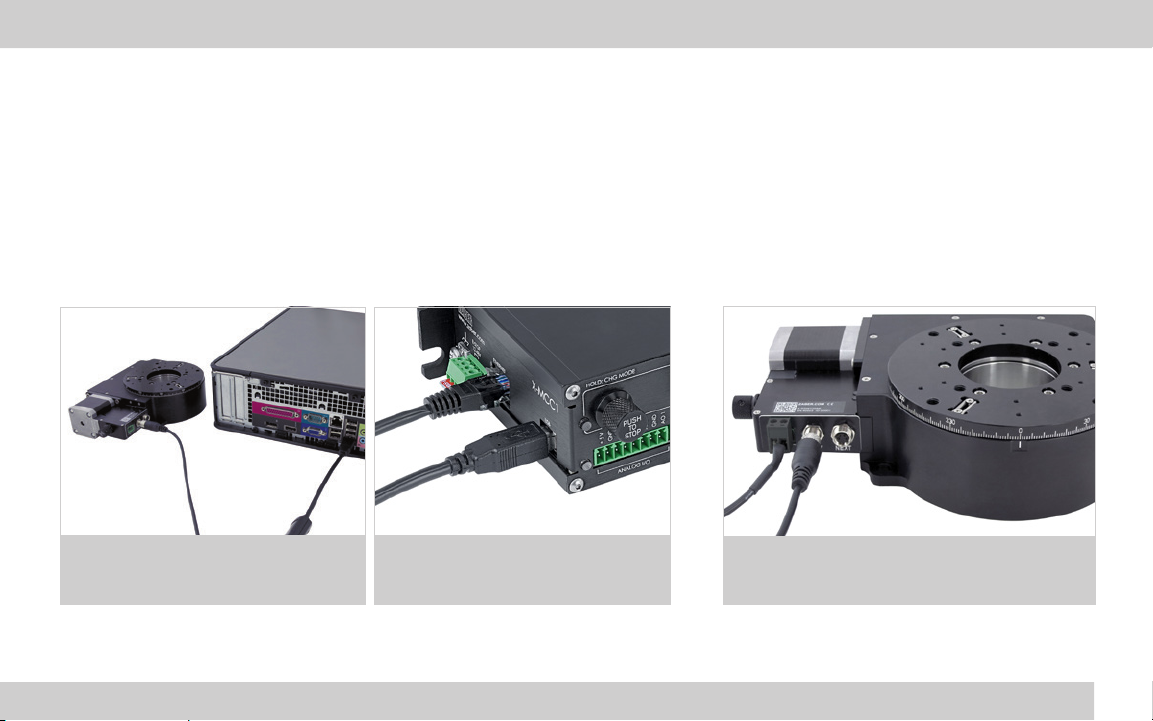
Device
A stand-alone controller or a positioner with an integrated
controller. Stand-alone controllers are designed for use with
Zaber’s peripherals, but they can also be used with compatible
third-party peripherals.
Joystick
A product that allows multi-axis manual input and push-button
input for positioners. Joysticks do not function as controllers;
instead, they are designed to communicate with Zaber’s motor
controllers when connected in series.
X-Series, A-Series, and T-Series
Devices that share common features, such as connectors,
protocols, and power. The series is indicated by the rst letter of
the device’s name. For example, the X-LSM025A model belongs
to the X-Series family. This guide specically relates to X-Series
devices. See an older version of the manual for setup instructions
for T-Series or A-Series devices at:
www.zaber.com/documents/Getting-started-guide.pdf.
Closed-Loop and Servo Devices
For Zaber devices, closed-loop refers to any device where encoder
feedback is used to inform the trajectory of the controller. Servo
devices refer to a sub-set of these where encoder feedback is also
required for the driver. Direct-drive stages are servo devices.
Stepper motor devices with encoders use closed-loop control
but are not servo devices, as the driver controls stepping directly
without encoder feedback. Encoder feedback is still used to inform
the trajectory of the controller on these.
Servo devices require tuning of their control loop to get the best
performance (more on page 9). They also use encoder counts as
their unit of resolution, as opposed to stepper motors, which use
microsteps (more on page 8).