5
ADJUST MOTOR LIMITS ON PRIMARY REMOTE (IF DESIRED)
A. Set Lower Limit
B. Set Upper Limit
12345
Channel
Display
Up
Stop
Down
Channel +
Channel -
CL
Conrm Limit
OPERATION RESULT
1Hold LIMIT button down e motor begins to jog
2Release the button aer jogging stops e motor is ready for limit setting
3Press DOWN button e motor will go down continuously
4When the motor is close to the desired
lower limit, press STOP button on the
remote
e motor stops running
5Press either the UP or DOWN button e motor runs step by step to adjust lower
limit accurately
6Conrm the setting by pressing the
CONFIRM button on the remote
e motor jogs and the lower setting is
completed
OPERATION RESULT
1Press UP button on the remote
transmitter
e motor will go up continuously
2When the motor is close to the desired
upper limit, press STOP button on the
remote
e motor stops running
3Press either the UP or DOWN button e motor runs step by step to adjust upper
limit accurately
4Conrm the setting by pressing the
CONFIRM button on the remote
e motor jogs and the upper setting is
completed
e lower and upper limits have been set at
the factory. If you need to make adjustments
to the limits, follow the instructions below.
Please Note: When clearing the factory set
limits, both the upper and lower limits will
need to be reset.
Use the CHANNEL buttons to select the
channel for the shading that needs to be
adjusted. en follow the directions below.
If only adjusting one shading on a channel,
unplug the other shadings.
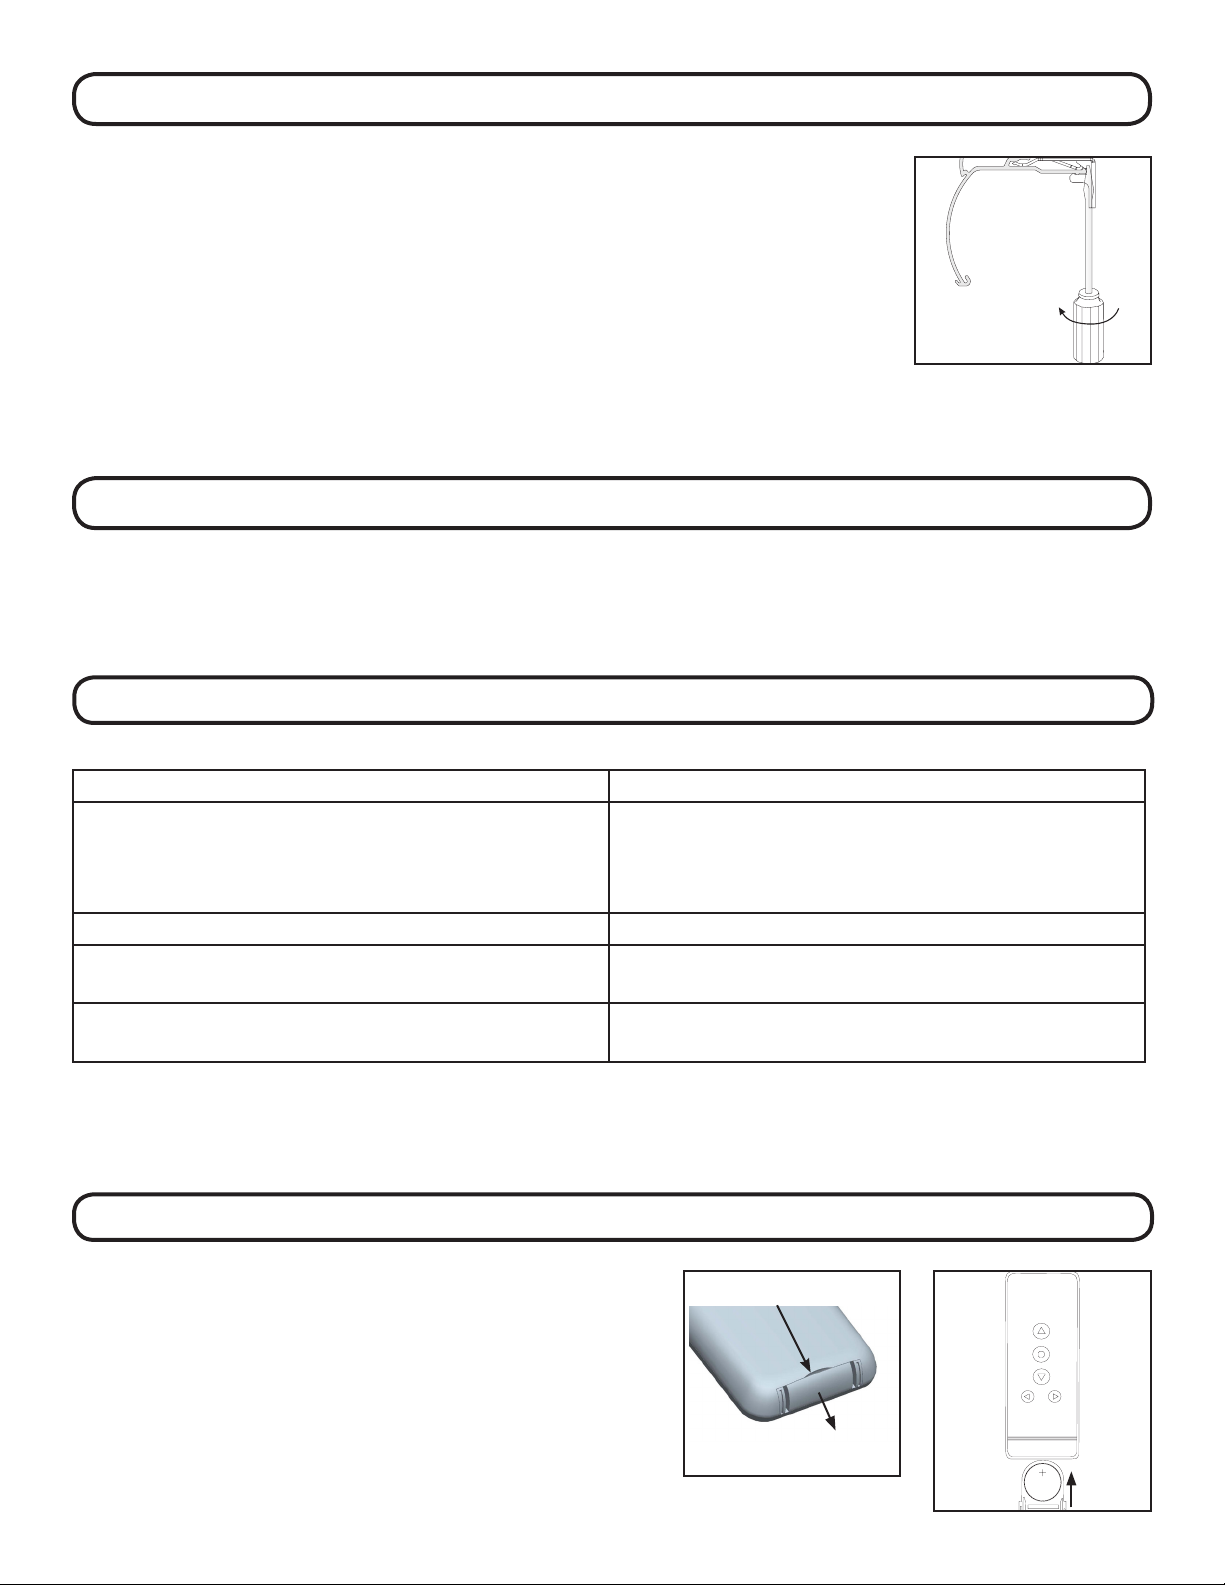
CHANGE FAVORITE POSITION (IF ONE WAS SET)
Use the UP or DOWN buttons to position the shade at the desired “favorite” position. First press and hold the LIMIT
button on the back of the remote with a small screwdriver or tip of a pen. While holding the LIMIT button press and hold
the UP button. Release both buttons when the shade jogs.
To erase the “favorite” position bring the shade to the upper limit. Press and hold the LIMIT button on the back of
the remote, then press and hold the UP button. Release both buttons when the shade jogs.