More information and FAQ on:
T3 Live_IM-EN-2.0.X 9
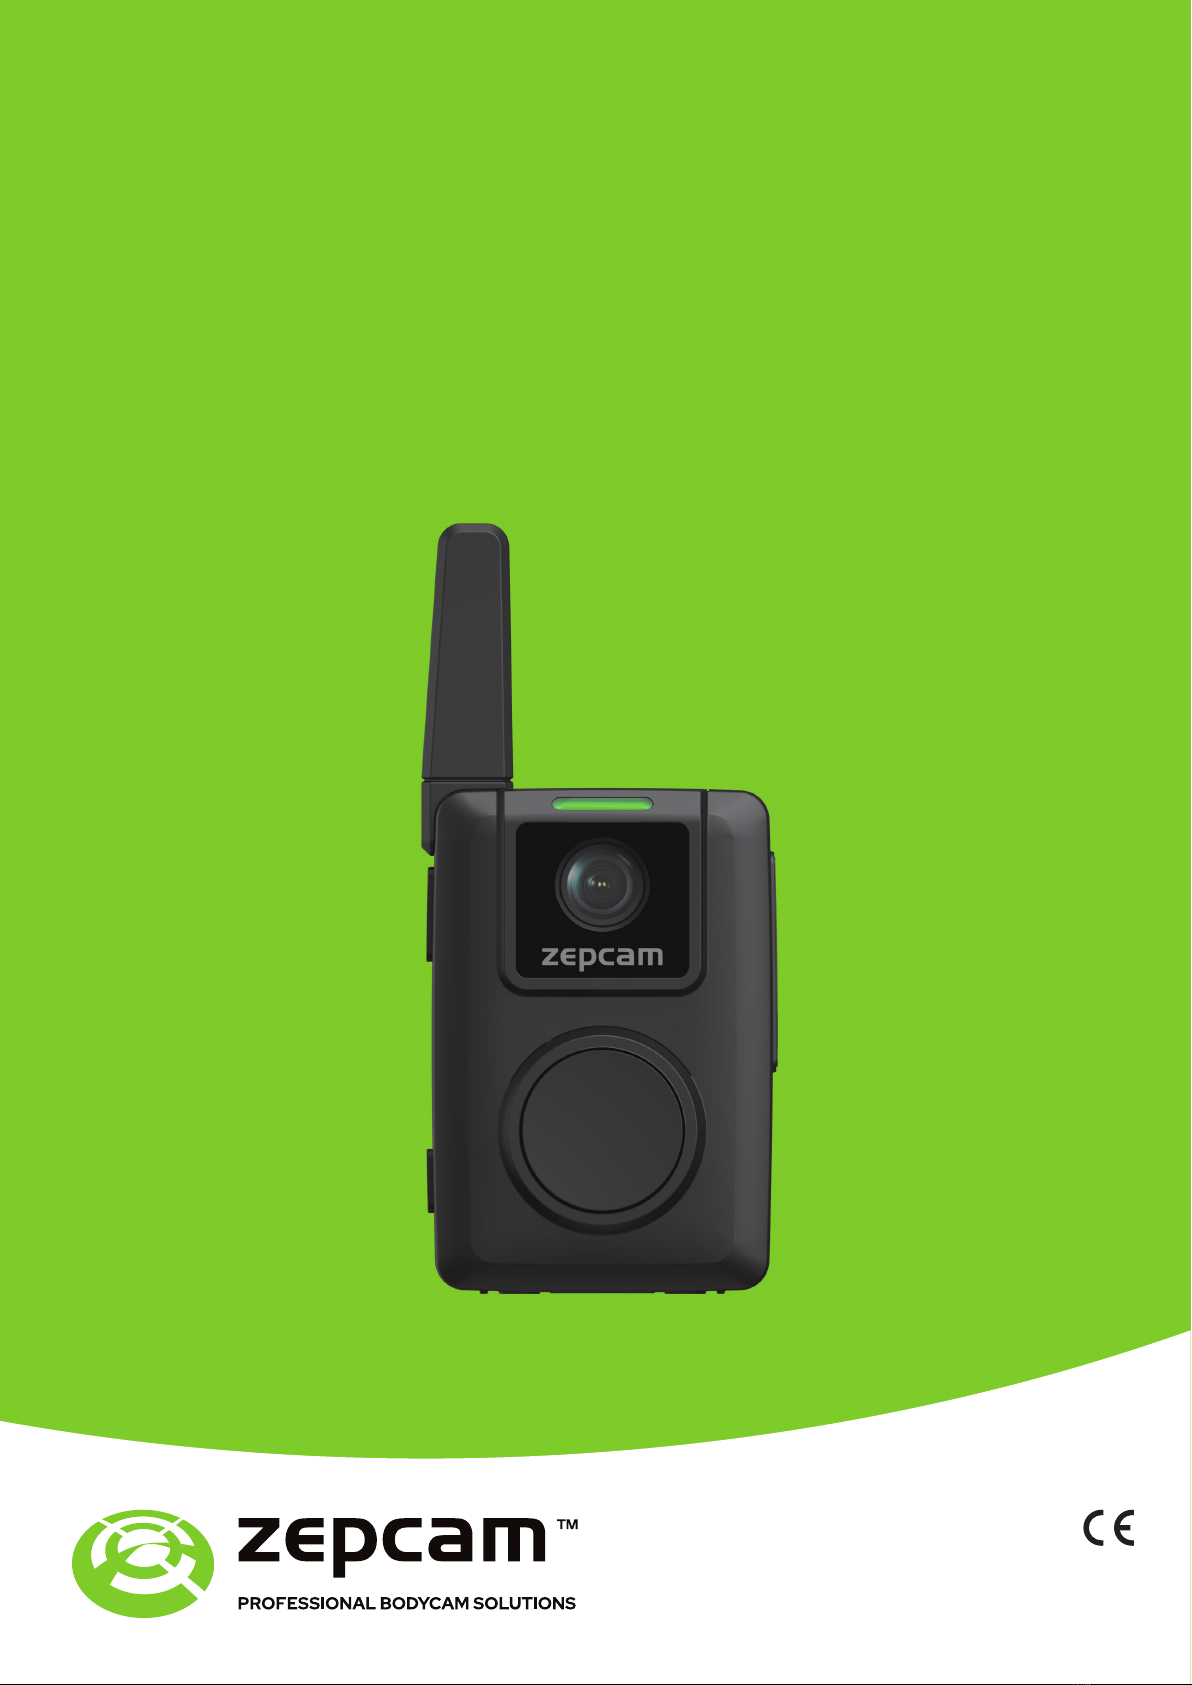
How to wear the T3 Live Bodycam
7. Verify the 4G/LTE connection is operational on the LCD Display:
• The 4G sign should be visible on the LCD display
• The T3 Live Bodycam should be listed in the Live page of ZEPCAM Manager. If it does not work,
please contact our support desk: support@zepcam.com
• By default, Wi-Fi is on, as indicated on the LCD display. To connect the T3 Live Bodycam to a Wi-Fi
network, please consult the ZEPCAM Manager Manual
• ZEPCAM recommends fi eld testing the T3 Live Bodycam, to verify that all settings are OK
The T3 Live Bodycam comes with a variety of fi xing types to mount on every uniform. Please
consult the ZEPCAM Bodycam Accessories at:
zepcam.com/wp-content/uploads/2022/09/Accessories-T2_T3Live-EN.pdf
The most common place to wear the T3 Live Bodycam is on the chest. The ideal location would
optimise the dominant hand, the fi eld of view, comfort and will not hinder motion or fall off in any
situation.
•To engage the T3 Live Bodycam, insert the bodycam in normal position into the lock on the
mount. Ensure the T3 Live Bodycam clicks into place
•To release the T3 Live Bodycam from the mount, hold the T3 Live Bodycam firmly and twist the
bodycam 180° (upside down) and push the bodycam upwards
Charge the Battery
The T3 Live Bodycam can be recharged using a USB-C Connector, or by using a T3 Single or Multi
Docking Station. It is advised to always recharge the battery fully in order to ensure optimal performance.
Charge using a T3 Docking Station (Single/Multi)
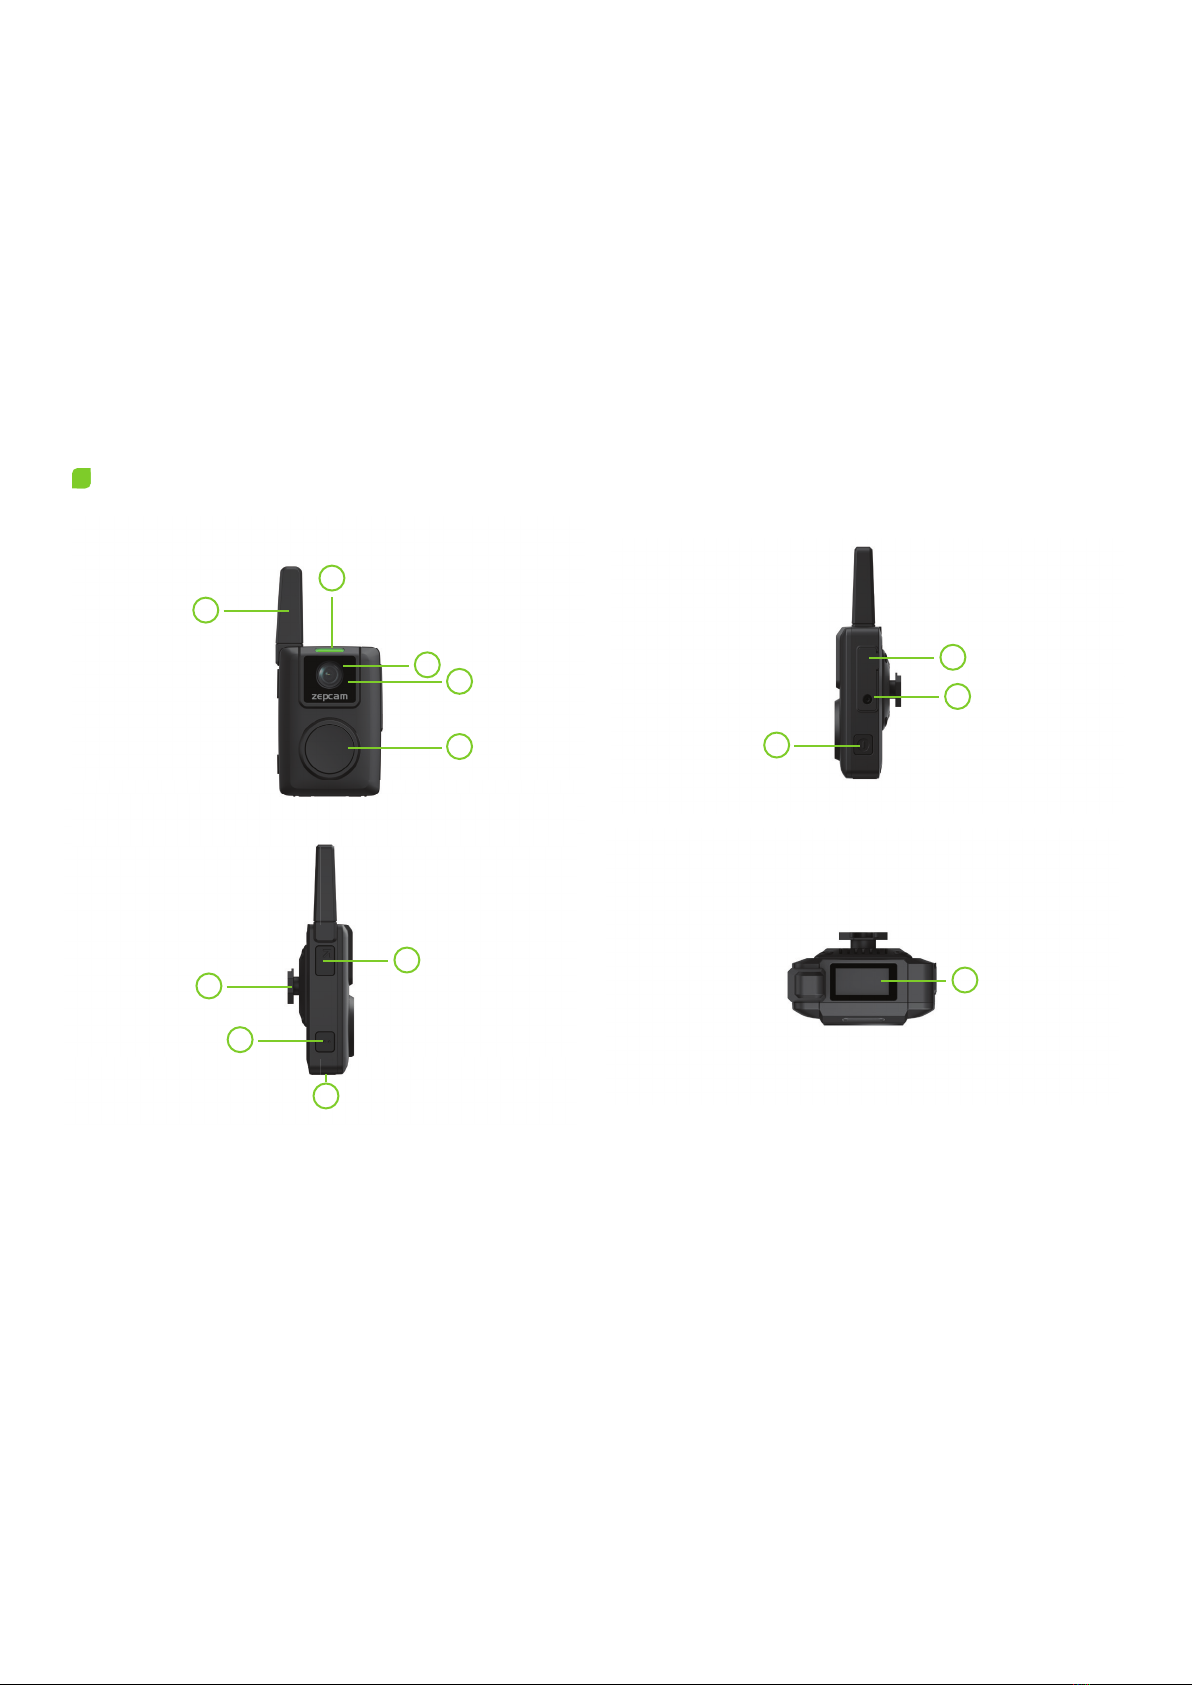
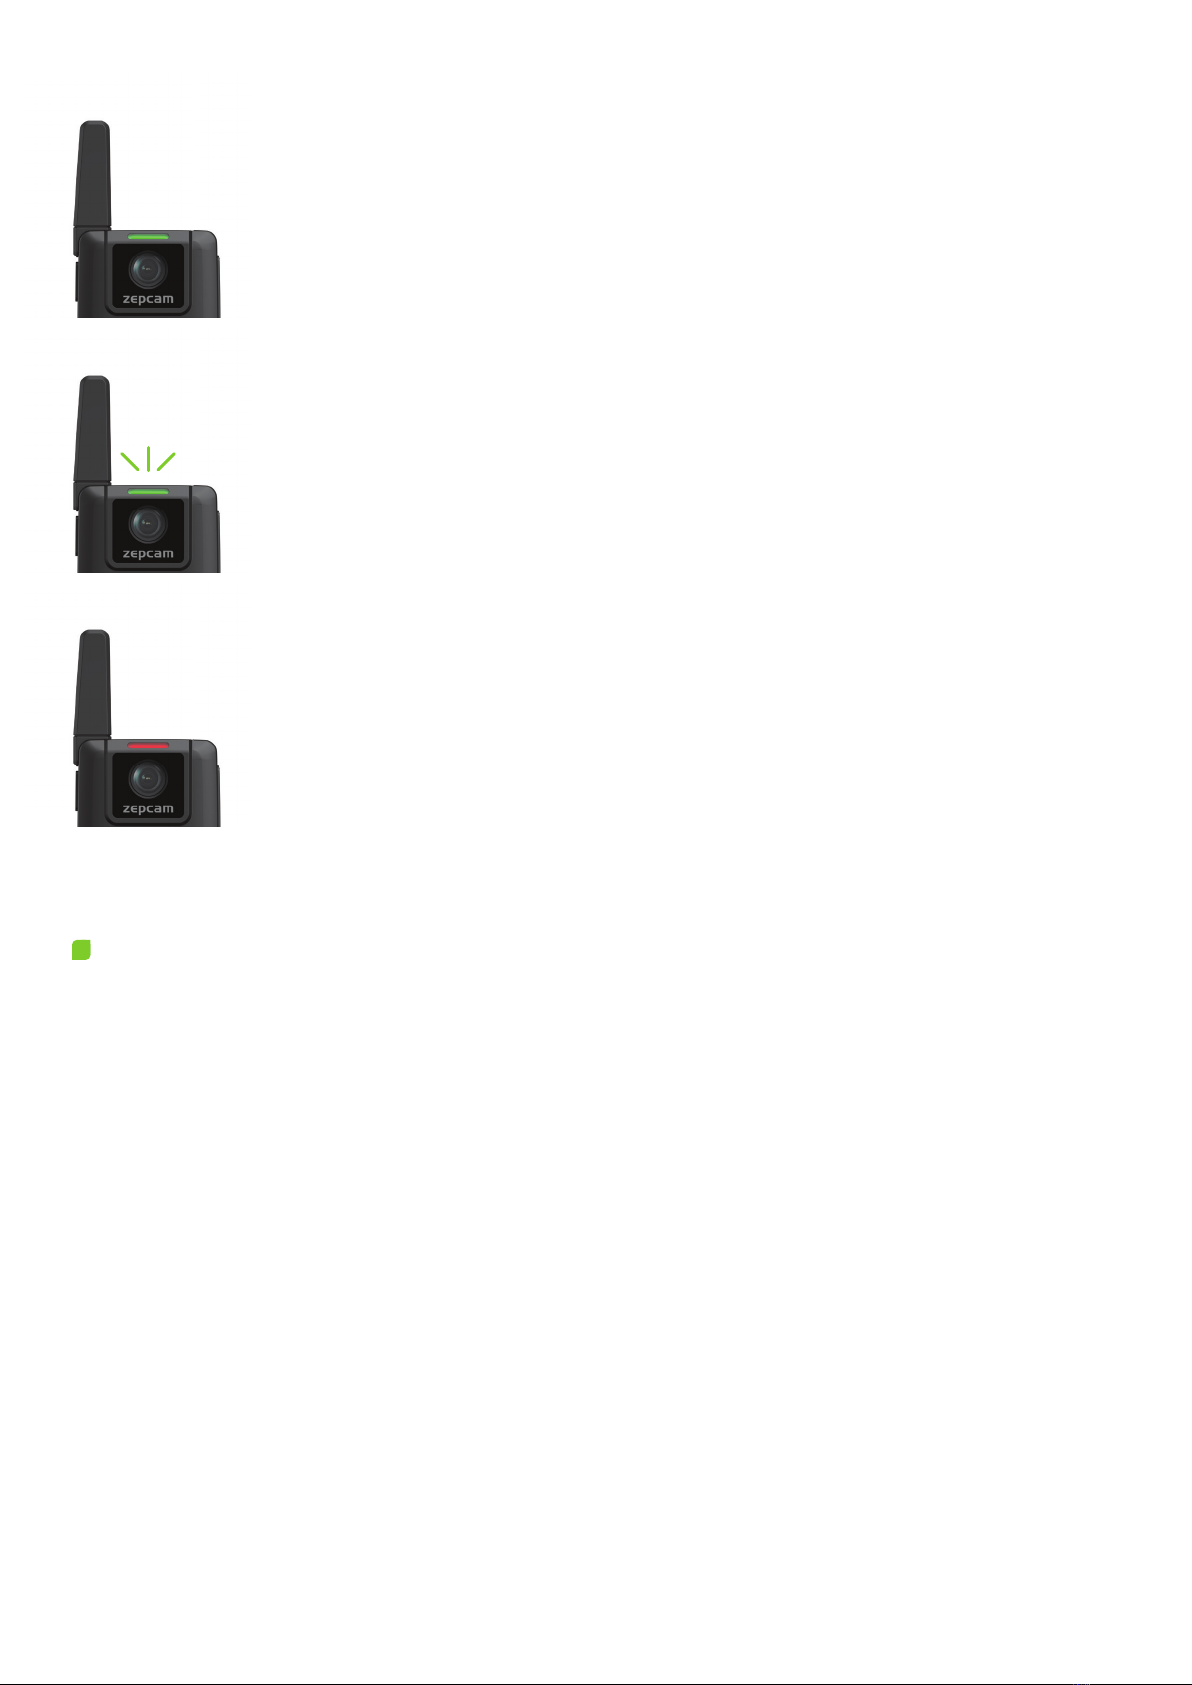
1. Ensure the LED indicator on the T3 Live Bodycam is green or press the Start/Stop button to stop
recording (and streaming) to put the bodycam in standby mode
2. Place the T3 Live Bodycam in the Docking Station and ensure the T3 Live Bodycam clicks securely in
place
3. Verify the LED is fl ashing green and the battery status indicator on the LCD display shows recharging
4. The battery is fully charged when the green LED stops fl ashing and the battery indicator in the LCD
display is fully fi lled