ZKTeco LPRC200 User manual

LPRC200 User Manual
Page | 1Copyright©2020 ZKTECO. CO., LTD. All rights reserved.
User Manual
LPRC200
Date: June 2020
Doc Version: 1.3
English
Thank you for choosing our product. Please read the instructions carefully
before operation. Follow these instructions to ensure that the product is
functioning properly. The images shown in this manual are for illustrative
purposes only.
For further details, please visit our Company’
s website
www.zkteco.com.

LPRC200 User Manual
Page | 1Copyright©2020 ZKTECO. CO., LTD. All rights reserved.
Copyright © 2020 ZKTECO CO., LTD. All rights reserved.
Without the prior written consent of ZKTeco, no portion of this manual can be copied or forwarded in any
way or form. All parts of this manual belong to ZKTeco and its subsidiaries (hereinafter the "Company" or
"ZKTeco").
Trademark
is a registered trademark of ZKTeco. Other trademarks involved in this manual are owned by
their respective owners.
Disclaimer
This manual contains information on the operation and maintenance of the ZKTeco equipment. The
copyright in all the documents, drawings, etc. in relation to the ZKTeco supplied equipment vests in and is
the property of ZKTeco. The contents hereof should not be used or shared by the receiver with any third
party without express written permission of ZKTeco.
The contents of this manual must be read as a whole before starting the operation and maintenance of the
supplied equipment. If any of the content(s) of the manual seems unclear or incomplete, please contact
ZKTeco before starting the operation and maintenance of the said equipment.
It is an essential pre-requisite for the satisfactory operation and maintenance that the operating and
maintenance personnel are fully familiar with the design and that the said personnel have received
thorough training in operating and maintaining the machine/unit/equipment. It is further essential for the
safe operation of the machine/unit/equipment that personnel have read, understood and followed the
safety instructions contained in the manual.
In case of any conflict between terms and conditions of this manual and the contract specifications,
drawings, instruction sheets or any other contract-related documents, the contract conditions/documents
shall prevail. The contract specific conditions/documents shall apply in priority.
ZKTeco offers no warranty, guarantee or representation regarding the completeness of any information
contained in this manual or any of the amendments made thereto. ZKTeco does not extend the warranty
of any kind, including, without limitation, any warranty of design, merchantability or fitness for a particular
purpose.
ZKTeco does not assume responsibility for any errors or omissions in the information or documents which
are referenced by or linked to this manual. The entire risk as to the results and performance obtained from
using the information is assumed by the user.
ZKTeco in no event shall be liable to the user or any third party for any incidental, consequential, indirect,
special, or exemplary damages, including, without limitation, loss of business, loss of profits, business
interruption, loss of business information or any pecuniary loss, arising out of, in connection with, or

LPRC200 User Manual
Page | 2Copyright©2020 ZKTECO. CO., LTD. All rights reserved.
relating to the use of the information contained in or referenced by this manual, even if ZKTeco has, of the
possibility of such damages.
This manual and the information contained therein may include technical, other inaccuracies or
typographical errors. ZKTeco periodically changes the information herein which will be incorporated into
new additions/amendments to the manual. ZKTeco reserves the right to add, delete, amend or modify the
information contained in the manual from time to time in the form of circulars, letters, notes, etc. for better
operation and safety of the machine/unit/equipment. The said additions or amendments are meant for
improvement /better operations of the machine/unit/equipment and such amendments shall not give any
right to claim any compensation or damages under any circumstances.
ZKTeco shall in no way be responsible (i) in case the machine/unit/equipment malfunctions due to any
non-compliance of the instructions contained in this manual (ii) in case of operation of the
machine/unit/equipment beyond the rate limits (iii) in case of operation of the machine and equipment in
conditions different from the prescribed conditions of the manual.
The product will be updated from time to time without prior notice. The latest operation procedures and
relevant documents are available on http://www.zkteco.com.
If there is any issue related to the product, please contact us.
ZKTeco Headquarters
Address ZKTeco Industrial Park, No. 26, 188 Industrial Road,
Tangxia Town, Dongguan, China.
Phone +86 769 - 82109991
Fax +86 755 - 89602394
For business related queries, please write to us at: sales@zkteco.com.
To know more about our global branches, visit www.zkteco.com.

LPRC200 User Manual
Page | 3Copyright©2020 ZKTECO. CO., LTD. All rights reserved.
About the Company
ZKTeco is one of the world’s largest manufacturer of RFID and Biometric (Fingerprint, Facial, Finger-vein)
readers. Product offerings include Access Control readers and panels, Near & Far-range Facial Recognition
Cameras, Elevator/floor access controllers, Turnstiles, License Plate Recognition (LPR) gate controllers and
Consumer products including battery-operated fingerprint and face-reader Door Locks. Our security
solutions are multi-lingual and localized in over 18 different languages. At the ZKTeco state-of-the-art
700,000 square foot ISO9001-certified manufacturing facility, we control manufacturing, product design,
component assembly, and logistics/shipping, all under one roof.
The founders of ZKTeco have been determined for independent research and development of biometric
verification procedures and the productization of biometric verification SDK, which was initially widely
applied in PC security and identity authentication fields. With the continuous enhancement of the
development and plenty of market applications, the team has gradually constructed an identity
authentication ecosystem and smart security ecosystem, which are based on biometric verification
techniques. With years of experience in the industrialization of biometric verifications, ZKTeco was
officially established in 2007 and now has been one of the globally leading enterprises in the biometric
verification industry owning various patents and being selected as the National High-tech Enterprise for 6
consecutive years. Its products are protected by intellectual property rights.
About the Manual
This manual introduces the operations of LPRC200.
All figures displayed are for illustration purposes only. Figures in this manual may not be exactly consistent
with the actual products.

LPRC200 User Manual
Page | 4Copyright©2020 ZKTECO. CO., LTD. All rights reserved.
Document Conventions
Conventions used in this manual are listed below:
GUI Conventions
For Software
Convention Description
Bold font Used to identify software interface names e.g. OK, Confirm, Cancel
>
Multi-level menus are separated by these brackets. For example, File > Create >
Folder.
For Device
Convention Description
< > Button or key names for devices. For example, press <OK>
[ ]
Window names, menu items, data table, and field names are inside square brackets.
For example, pop up the [New User] window
/
Multi-level menus are separated by forwarding slashes. For example,
[File/Create/Folder].
Symbols
Convention Description
This implies about the notice or pays attention to, in the manual
The general information which helps in performing the operations faster
The information which is significant
Care taken to avoid danger or mistakes
The statement or event that warns of something or that serves as a
cautionary example.

LPRC200 User Manual
Page | 5Copyright©2020 ZKTECO. CO., LTD. All rights reserved.
Table of Contents
SAFETY PRECAUTIONS ............................................................................................................................... 6
1OVERVIEW............................................................................................................................................ 7
1.1 ABOUT THE PRODUCT............................................................................................................................... 7
1.2 FEATURES................................................................................................................................................. 7
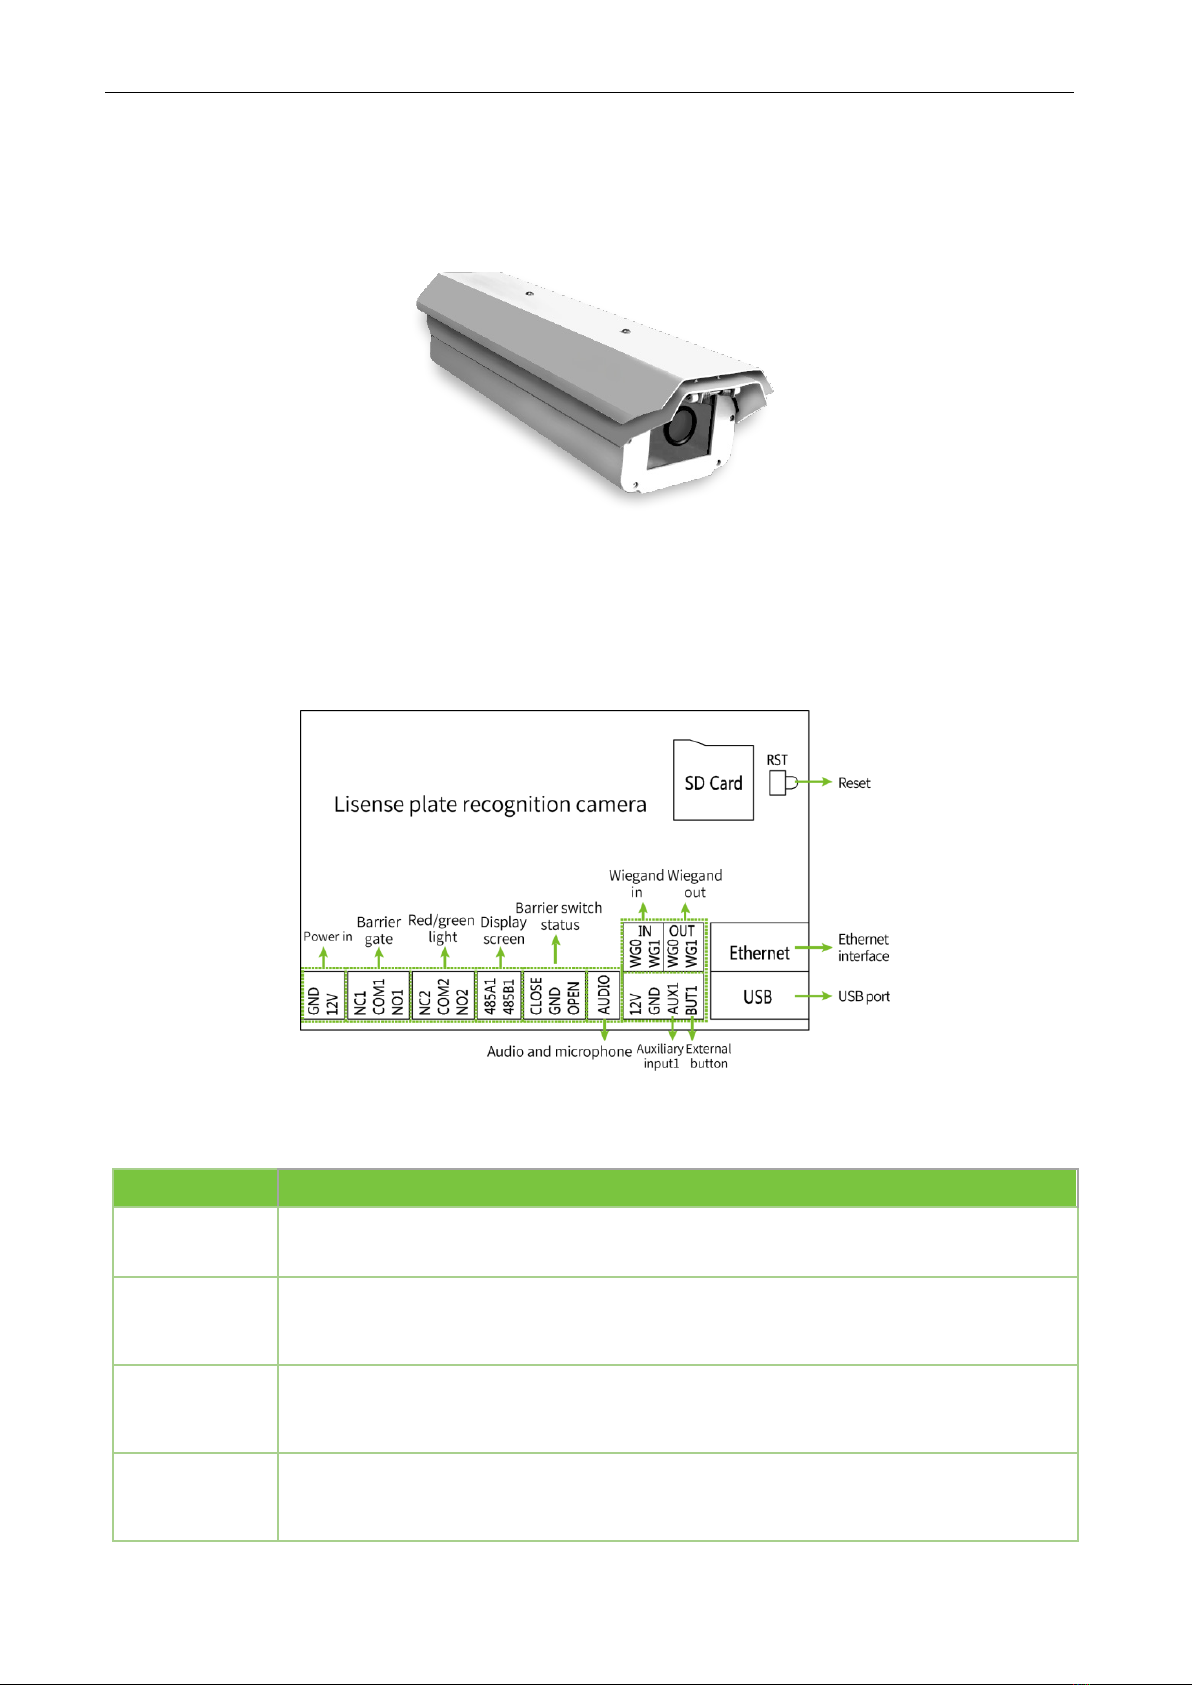
1.3 APPEARANCE............................................................................................................................................ 8
1.4 PORT DEFINITION ..................................................................................................................................... 8
2COMPUTER CONNECTION CONFIGURATION................................................................................... 10
2.1 SOFTWARE ENVIRONMENT...................................................................................................................... 10
2.2 NETWORK AND IP ADDRESS CONFIGURATION .........................................................................................10
2.2.1 Default Parameter Settings........................................................................................................................10
2.2.2 Connectivity Test ...........................................................................................................................................10
3CAMERA ACCESS OVER A WEB BROWSER........................................................................................ 12
3.1 LOGIN ....................................................................................................................................................12
3.2 LIVE ....................................................................................................................................................... 15
3.3 FILE........................................................................................................................................................ 17
3.4 SETUP .................................................................................................................................................... 17
3.4.1 Device Information......................................................................................................................................18
3.4.2 Time Settings..................................................................................................................................................18
3.4.3 Display Settings ............................................................................................................................................19
3.4.4 Streams.............................................................................................................................................................20
3.4.5 Video Parameters .........................................................................................................................................22
3.4.6 Intelligent Analysis ......................................................................................................................................24
3.4.7 Data Management .......................................................................................................................................28
3.4.8 Push Configuration......................................................................................................................................28
3.4.9 4G Configuration..........................................................................................................................................29
3.4.10 P2P Configuration........................................................................................................................................30
3.4.11 Network Settings..........................................................................................................................................31
3.4.12 FTP Settings ....................................................................................................................................................32
3.4.13 User Management........................................................................................................................................33
3.4.14 Firmware Upgrade.......................................................................................................................................34
3.4.15 System Update ..............................................................................................................................................34
3.4.16 Auto Reboot....................................................................................................................................................35
3.4.17 Restore ..............................................................................................................................................................36
3.4.18 Local Settings.................................................................................................................................................37
3.5 LOG........................................................................................................................................................ 38
FAQS .......................................................................................................................................................... 39

LPRC200 User Manual
Page | 6Copyright©2020 ZKTECO. CO., LTD. All rights reserved.
Safety Precautions
Electrical safety
•Before connecting an external cable to the device, complete the grounding properly and set up
surge protection; otherwise, static electricity will damage the mainboard.
•Ensure that the standard voltage applicable in your country or region is used (the rated voltage of
the machine is 220V). Power mismatch may cause short circuit or device damage.
Operation safety
•The device hardware may be damaged by transportation and other unpredictable causes. Check
whether the device has serious damage before installation. If the device has major defects, contact
your dealer as soon as possible.
•Do not connect or disconnect cables to/from the device when it is in working state.
•Do not keep the device in a place that vibrates. Handle the device with care. Do not place heavy
objects on top of the device.
•Do not apply rosin, alcohol, benzene, pesticides, and other volatile substances that can damage
the device enclosure. Clean the enclosure with a piece of soft cloth or a small amount of cleaning
agent.
•Non-professional personnel is not allowed to open the device cover. If you have any technical
questions regarding usage, contact certified or experienced technical personnel.

LPRC200 User Manual
Page | 7Copyright©2020 ZKTECO. CO., LTD. All rights reserved.
1Overview
1.1 About the Product
The LPRC200 is a high-performance H.264/H.265-based license plate recognition camera and it has the
properties of:
•Integrating HD imaging
•Image collection
•License plate recognition
•Image decompression
•Storage of data on an embedded intelligent platform.
It automatically identifies the numbers, letters, and characters on license plates, and outputs the identified
results. At the same time, it can identify vehicle details (such as colors, auto logos and vehicle models). It is
mainly used in the field of parking charge and entry/exit management.
1.2 Features
•High-performance architecture of dual-core processors, stable system architecture, powerful
computing capacity, embedded capture, analysis and recognition features.
•Adopt modular structure design to ensure normal work under harsh environment.
•Complete SDK can support secondary development docking, system integration is simple.
•The algorithm is stable and reliable, with strong scene adaptability, and supports the recognition
of ordinary blue, black, yellow, double-layer yellow and multiple national license plates.
•Support vehicle feature recognition, including body color, logo and vehicle type.
•1/2.8" wide dynamic CMOS, 2 million HD lens, high-quality images, resolution up to 1920*1080.
•License plate recognition accuracy reaches more than 99% in the daytime and more than 98% at
night, with a wide range of recognition angles.
•4G module is optional to meet the construction requirements of field communication cabling free.
•It can support remote connection and debugging of equipment by mobile phone APP and
computer client and set parameters. It is not distance-limited and can be readily adapted anytime
and anywhere to simplify the operation, maintenance, installation and debugging of the product.

LPRC200 User Manual
Page | 8Copyright©2020 ZKTECO. CO., LTD. All rights reserved.
1.3 Appearance
1.4 Port Definition
•Wiring terminal diagram:
•Port description:
Pin
Description
Reset Used to restore the original camera parameters
Ethernet Standard Ethernet RJ45 socket, 10M/100M self-adaptive, can be con;5nected with
various network devices, such as switches, routers, hubs, etc.
USB USB connection
GND
+12V
Used to connect the power adapter. The camera's power supply voltage is 12V/3A
DC. Do not use other power sources to prevent damage to the camera.

LPRC200 User Manual
Page | 9Copyright©2020 ZKTECO. CO., LTD. All rights reserved.
NC1
COM1
NO1
Used for connecting barrier gate
NC2
COM2
NO2
Indicator light connection (Red and Green)
485A1
485B1
RS485 transmission function used to connect the display screen and voice module of
parking system
CLOSE
GND
OPEN
Barrier switch status
Audio Used to connect audio and microphone of the parking system
WG0
WG1 IN Wiegand in
WG0
WG1 OUT Wiegand out
12V
GND
AUX1
BUT1
Auxiliary input and external button connection

LPRC200 User Manual
Page | 10 Copyright©2020 ZKTECO. CO., LTD. All rights reserved.
2Computer Connection Configuration
2.1 Software Environment
The camera must be connected to a switch or a PC over the standard Ethernet port. The PC which will be
used to display images and control the camera should meet the following requirements:
•CPU: Intel Pentium 4 with processor speed of 2.4 GHz or above.
•RAM: 1GB or above.
•Network port: 100M Ethernet port.
•Operating system: 32-bit or 64-bit operating system, such as Windows 7, Windows 8, Windows 10.
•Internet Explorer: Microsoft Internet explorer 9.0 or later, Firefox ESR.
2.2 Network and IP Address Configuration
Set the IP address of the camera to be in the same network segment as the PC.
Note: IP addresses cannot be the same in the same LAN setting; otherwise, IP address conflict can lead
to device malfunction.
2.2.1 Default Parameter Settings
Before using the camera, set the IP address, gateway address, and other information of the camera
properly. You can modify the default parameter settings according to requirements.
•IP address: 192.168.1.88
•Subnet Mask: 255.255.255.0
•Gateway: 192.168.1.1
2.2.2 Connectivity Test
Open the Start menu in the PC and type cmd in the search dialog box once the camera IP address is set. In
the command prompt window, type Ping and camera IP address (e.g. Ping 192.168.0.18) to test the
connectivity between the PC and camera.

LPRC200 User Manual
Page | 11 Copyright©2020 ZKTECO. CO., LTD. All rights reserved.
If the message is "Request timed out" or "Destination host unreachable", then it means the PC and the
camera are not connected properly. Perform the following steps:
•Check whether hardware connection is correct.
•Check whether the TCP/IP addresses of the PC and the camera are in the same network segment.
•Check whether the ping command is disabled.

LPRC200 User Manual
Page | 12 Copyright©2020 ZKTECO. CO., LTD. All rights reserved.
3Camera Access over a Web Browser
3.1 Login
1. Type the IP address (default: 192.168.1.88) of the camera in the address bar of a web browser. Then
enter your Username (default: admin) and password (default: 123456). as displayed in the below
figure.
2. Installation of control upon initial login:
If you are accessing the device for the first time, you are asked to download a control. Please manually
download and install the control. The control name is WebLPRActiveXPlus.exe.
Click [Download Plugin] at the top left corner of the screen to download the WebLPRActiveXPlus.exe
control, select the downloading path and click [Download]. After the downloading completes, access
WebVideoActiveXPlus.exe to install it. The security prompt may be displayed during the installation. Click
[Run] to continue the installation.

LPRC200 User Manual
Page | 13 Copyright©2020 ZKTECO. CO., LTD. All rights reserved.
Note: The WebVideoActiveXPlus.exe control must be installed for viewing videos over a web browser.
When the control is updated, it needs to be downloaded again.
3. After the installation is completed, return to the Web browsing page, enter the camera's default IP
address (192.168.1.88) in the address bar, enter the default username and password and click [Login].
Note: When logging in with the default IP address, the setup wizard screen as displayed below will pop up
each time. If default parameters are used, click [Apply] directly. If you need to modify the parameters, you
can select [Next] to modify them. After changing the IP address, this wizard screen will no longer appear.

LPRC200 User Manual
Page | 14 Copyright©2020 ZKTECO. CO., LTD. All rights reserved.
4. After setting the parameters successfully, you can preview the video, as displayed in the figure below:
•Live: Click to access the live preview page to view live video and pictures. Under live video, you
can capture live pictures, record live video and play live in full screen. Meanwhile, you can
manually open the barrier gate, draw recognition area and virtual line on live video panel. Under
live pictures, you can set lens debug, identify parameters and other features.

LPRC200 User Manual
Page | 15 Copyright©2020 ZKTECO. CO., LTD. All rights reserved.
•File: Click to access the page where the required video clips or pictures can be viewed or
downloaded based on the live video recorded.
•Setup: Click to access the parameter configuration page. On this page, you can view or modify the
camera parameters, including Device Information, Time Settings, Display Settings, Streams, Video
Parameters, Intelligent Analysis, Date Management, Push Configuration, P2P Configuration, 4G
Configuration, Network Settings, FTP Settings, User Management, Firmware Upgrade, System
Update, Auto Reboot, Restore and Local Settings.
•Log: Click to access the page to search and view the operation log.
3.2 Live
Click [Live] to access the live preview page. You can preview the live video and set relevant parameters.
•Snap: Click the icon to capture and save a photo from live preview video, and the storage
location can be set in 3.4.16 Local Settings. The captured photos are stored automatically in a
folder named after the current date and the photo is named after the capture time. For example,
the file name of a photo is CH01_20180703_142004.jpg, and it is saved in the 20180703 folder,
indicating that the snapshot date is 2018-07-03, the snapshot time is 14:20:04, and the sub-folder
named after the IP address of the device will be automatically generated locally.

LPRC200 User Manual
Page | 16 Copyright©2020 ZKTECO. CO., LTD. All rights reserved.
•Record: Click the icon to organize real-time recording, and the storage location can be viewed
in 3.4.16 Local Settings. The video is saved in a folder named year, month and day, and the video is
named after recording time. For example, a video file titled CH01_main_20180703_142004. avi,
and saved in the 20180703 folder, indicating the recording date is 2018-07-03, recording time is
14:20:04, while the local will automatically generate a subfolder named after the device's IP
address.
•Full: Click the icon to switch to full-screen mode and click Esc on the keyboard to exit the full
screen.
•GDI+: Check [GDI+] to make the image lines in the recognition area smoother.
•Note: This function has certain requirements for PC graphics card (required to support DirectX
function and acceleration function), otherwise video will be delayed, however it is recommended
to choose according to the actual situation.
•Manual Open: Click [Manual Open] to manually open the barrier gate.
•Draw Recog Area: You can set the recognition area to avoid unnecessary interference and focus
on the required area. Click [Draw Recog Area], then drag the four dots viewed in the screen to the
desired area and click [Save]. Note: Complex background (such as dropdown of barrier gate or
pillar) should be avoided inside the recognition area.
•Draw Virtual Lines: Draw virtual lines to trigger the recognition of the license plate. Click [Draw
Virtual Lines], drag the yellow line with the two points within the recognition area displayed in the
screen, and click [Save]. Note: The virtual line should be drawn inside the recognition area.
•Lens Debug: Adjust the lens parameters, including Zoom and Focus.
•Identify Parameters: Can set the parameters of identification, including Mounting Distance,
Virtual line to trigger recognition, Filter the background bar, Output one time for plates in same
position, Output one time for same plates, Identify interval for same plate(s), Large Angel Scene
and so on.

LPRC200 User Manual
Page | 17 Copyright©2020 ZKTECO. CO., LTD. All rights reserved.
3.3 File
You can enter year, month and day to search for the required picture or videos, depending on your needs.
In the meantime, you can view videos, open images and download the recorded images from SD card to
your laptop.
3.4 Setup
You can view or modify camera parameters, including Device Information, Time Settings, Display Settings,
Streams, Video Parameters, Intelligent Analysis, Date Management, Push Configuration, P2P Configuration,
4G Configuration, Network Settings, FTP Settings, User Management, Firmware Upgrade, System Update,
Auto Reboot, Restore and Local Settings.

LPRC200 User Manual
Page | 18 Copyright©2020 ZKTECO. CO., LTD. All rights reserved.
3.4.1 Device Information
•Device Information: The basic parameters of the device, including device name, device type,
serial number, firmware version, hardware version and format.
•Format: The analog output format, PAL or NTSC
Click [Save] after setting the parameters.
Note: Re-login is required to take effect after the parameters are modified.
3.4.2 Time Settings
It is used to set the system date and time. You can choose NTP Server, Synchronize with Local Computer or
Set the Time Manually. You can set as needed and click [Save].

LPRC200 User Manual
Page | 19 Copyright©2020 ZKTECO. CO., LTD. All rights reserved.
Time Zone (38 in total): The default time zone is GMT+08:00 Beijing.
NTP Server:Select the [NTP Enable] check box, enter the server address and interval (0-24 hours), and
click [Save].
Synchronize with Local Computer:Click , the time setting is consistent with that on the local
computer.
Set the Time Manually: Enter the date and time manually and click to save the changes.
DST: Select the [Enable DST] check box and set the start and end time.
3.4.3 Display Settings
The text, date, time and color of video displayed in preview video can be set in the display setting interface.
Click [Save] to examine the effect of the settings on the right, depending on the actual situation.
Name: You can change the name of the specific channel to a maximum of 31 bytes in length. Upon
selecting the ‘Show’ check box, it will appear in the preview screen.
Main/Sub Stream OSD: Select the OSD text size of the mainstream/sub-stream preview window, and the
range value is 12-96pt.
Multi OSD: Enter other text to be displayed, select [Show] check box so that it can be displayed in the
preview window.
Time Format: Choose 24 hours or 12 hours. Select [Show] check box to display appropriate data on the
screen.
Date Format: You can choose YYYY-MM-DD, MM-DD-YYYY or DD-MM-YYYY.
Table of contents
Other ZKTeco IP Camera manuals