7
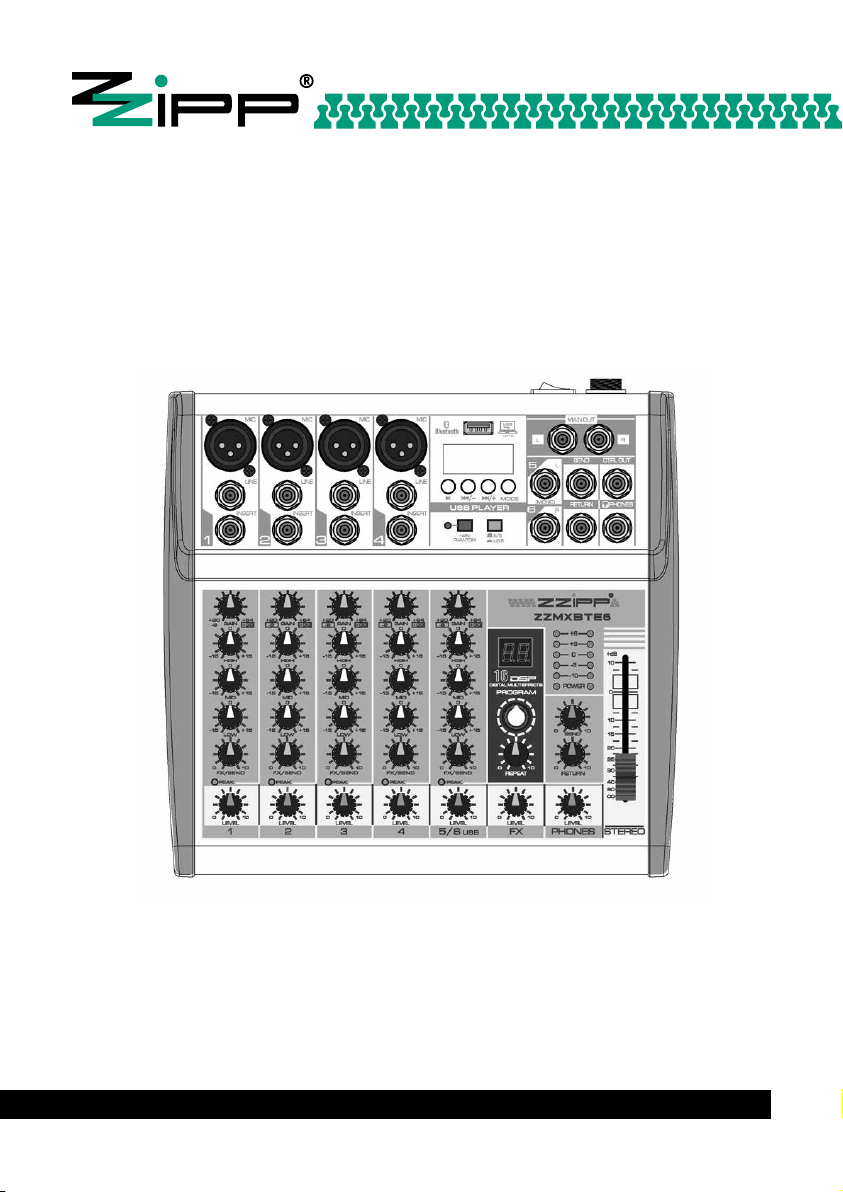
FUNZIONAMENTO LETTORE MP3
COLLEGAMENTO BLUETOOTH
1. Premere il tasto MODE per sele-
zionarela funzionalità bluetooth.
Il display mostra “BT”, e l’icona
bluetooth del display lampeggia.
2. Sul dispositivo destinato alla tra-
smissione cercare tra i dispositivi
bluetooth da accoppiare KT-04UP
o KT-06UP e selezionarlo. Quando
l’accoppiamento dei dispositivi
è avvenuto si sentirà un segnale
sonoro.
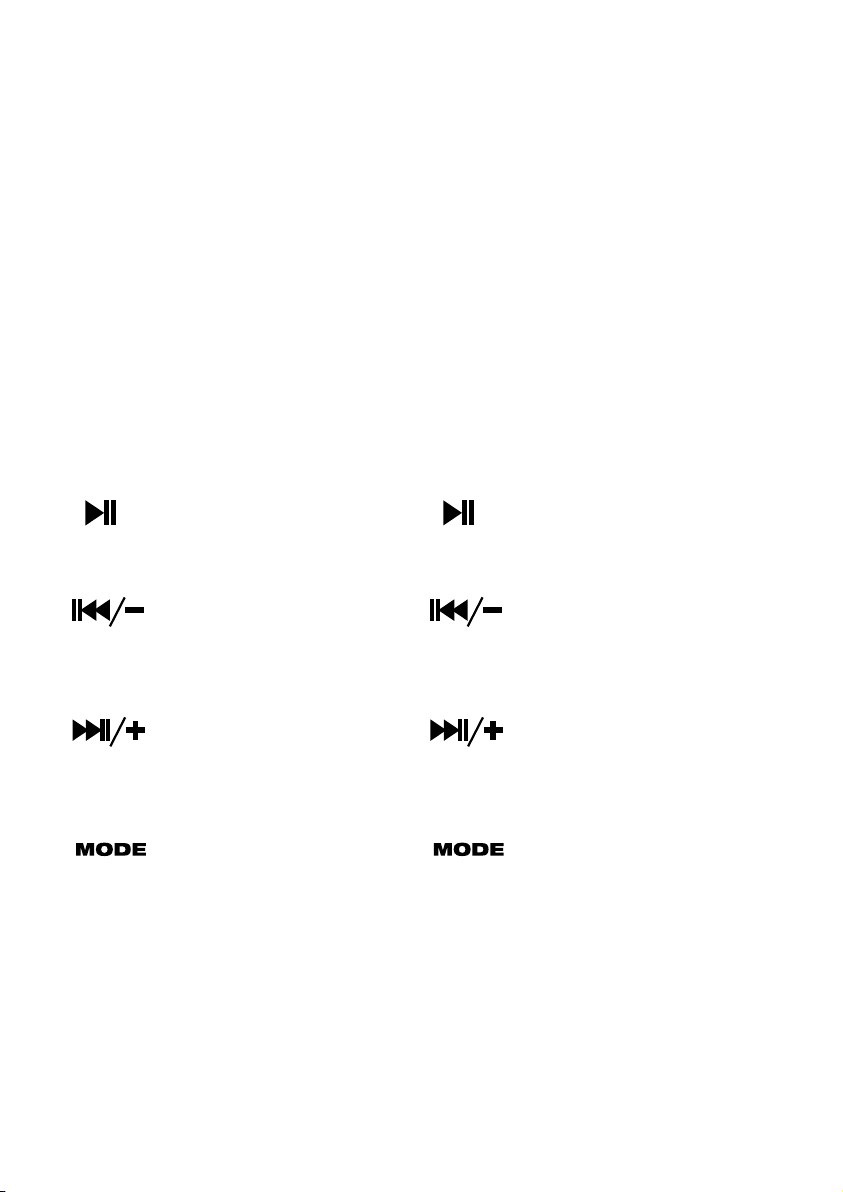
FUNZIONI DEI TASTI
Premere questo tasto per
iniziare o interrompere la
riproduzione.
Con la pressione rapida,
passa al brano precedente.
Con una pressione prolunga-
ta, riduce il volume.
Con la pressione rapida,
passa al brano successivo.
Con una pressione prolunga-
ta aumenta il volume.
Permette di selezionare la
modalità di funzionamento
tra USB, REC (registrazione)
e BT (Bluetooth).
MP3 PLAYER OPERATION
BLUETOOTH CONNECTION
Press the MODE button to select the
Bluetooth function. The display shows
“BT”, and the bluetooth icon on the
display flashes.
On the device intended for transmis-
sion, search for the KT-04UP or KT-
06UP bluetooth devices to be paired
and select it. When the pairing of the
devices has occurred a sound signal
will be heard.
KEY FUNCTIONS
Press this button to start or
stop playback.
With quick pressure, go to
the previous song. With a
long press, it reduces the
volume.
With quick pressure, go to
the next song. With a long
press the volume increases.
Select the operating mode
between USB, REC (recor-
ding) and BT (Bluetooth).