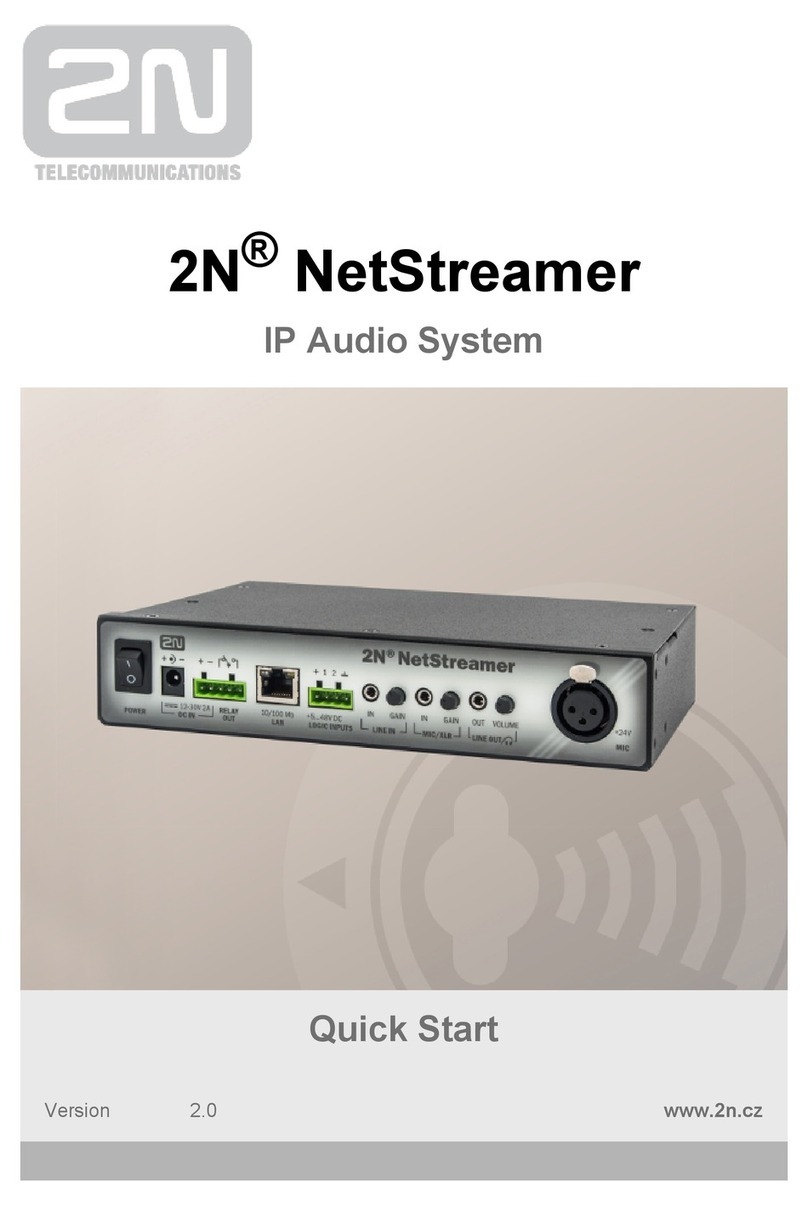
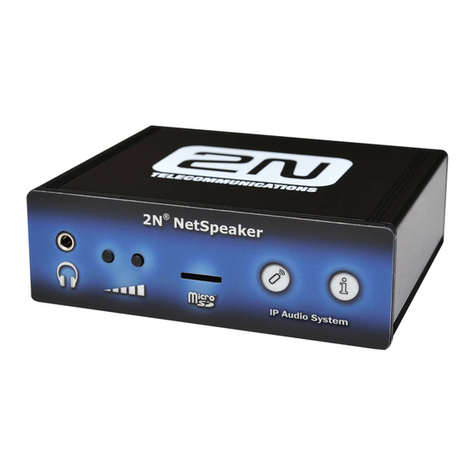
2N NetSpeaker User manual

22N TELEKOMUNIKACE a.s., www.2n.cz
®
2N® NetSpeaker Quick Start
2N NetSpeaker ® Quick Start
Despite being a robust application for administration of a high number of
(loud)speakers, 2N® NetSpeaker can be ready for playing in a few minutes. The
purpose of the Quick Start manual is to provide easy system installation for use in
home or business environment. Just follow the quick steps below. For advanced
configuration see the Advanced Configuration manual at wiki.2n.cz.
Box Contents
The box includes the unit, mounting accessories and this Quick Start2N NetSpeaker
®
manual. Refer to for the latest control and playingwww.2n.cz 2N NetSpeaker
®
software version.
Installation Preparation
You need your 2N® NetSpeaker unit, a 12V/2A DC power supply or PoE switch (except
for 2N® NetSpeaker Lite and 2N® NetSpeaker Lite PCB), the UTP cable and a PC
with Windows Vista or later or Windows Server for installation.
What you should know
2N NetSpeaker Server
® requires administrator rights for installation.
The firewall may block the and also connection2N NetSpeaker Server
®
of the units to the .2N NetSpeaker
®2N NetSpeaker Server
®
Virtual Network adapters may cause malfunction of some
2N® NetSpeaker Server components.
2N NetSpeaker Server
® allows you to use all features of this system for
Without licences, you can 800 hours, which is a trial licence. use up to 5
2N® units and 1 RTP destination. NetSpeaker

32N TELEKOMUNIKACE a.s., www.2n.cz
®
System in Network EnvironmentFigure: 2N® NetSpeaker
Installation
2N NetSpeaker Server
® installation and configuration:
Launch the installer on the PC used as a server. 2N NetSpeaker Server
®
After installation you will be asked to restart the PC, so please do that in order to
continue installation.
The Configuration wizard starts automatically after restart 2N NetSpeaker
®
(see the figure below).
Figure: 2N NetSpeaker Configuration Wizard
®
Follow all the Configuration Wizard steps to configure your system.

42N TELEKOMUNIKACE a.s., www.2n.cz
®
2N NetSpeaker Virtual Sound Card
® installation and configuration:
Launch the installation wizard.2N NetSpeaker Virtual Sound Card
®
Start the use the right mouse button to2N NetSpeaker Virtual Sound Card,
®
access the menu and log in using the username and password created by
Configuration Wizard.
Figure: 2N® NetSpeaker Login via Virtual Sound Card2N NetSpeaker ®
Now you can control in your network (see the figure below)2N NetSpeaker
®
and play music from your favourite player or service.
Figure: 2N NetSpeaker Selection via Virtual Sound Card
®2N NetSpeaker ®
Application
All the above mentioned steps should be sufficient for a successful 2N® NetSpeaker
setup in your LAN. In the case of troubles or for a more advanced setup please refer
to
the manual at or the . 2N NetSpeaker ® wiki.2n.cz 2N NetSpeaker Control Panel
®
2N TELEKOMUNIKACE a.s.
® hereby declares that this product complies with
all basic requirements and other relevant provisions of the 1999/5/EC
directive. For the full wording of the Declaration of Conformity see www.2n.cz.
This device complies with Part 15 of the FCC Rules. Its operation is subject to the
following two conditions: (1) This device may not cause harmful interference, and (2)
this device must accept any interference received, including interference that may
cause undesired operation.
Please contact your reseller to get an extended warranty.
1649v4
Other manuals for NetSpeaker
8
Table of contents
Other 2N IP Audio System manuals