©2020 3Built LLC Page 5of 910/5/2020
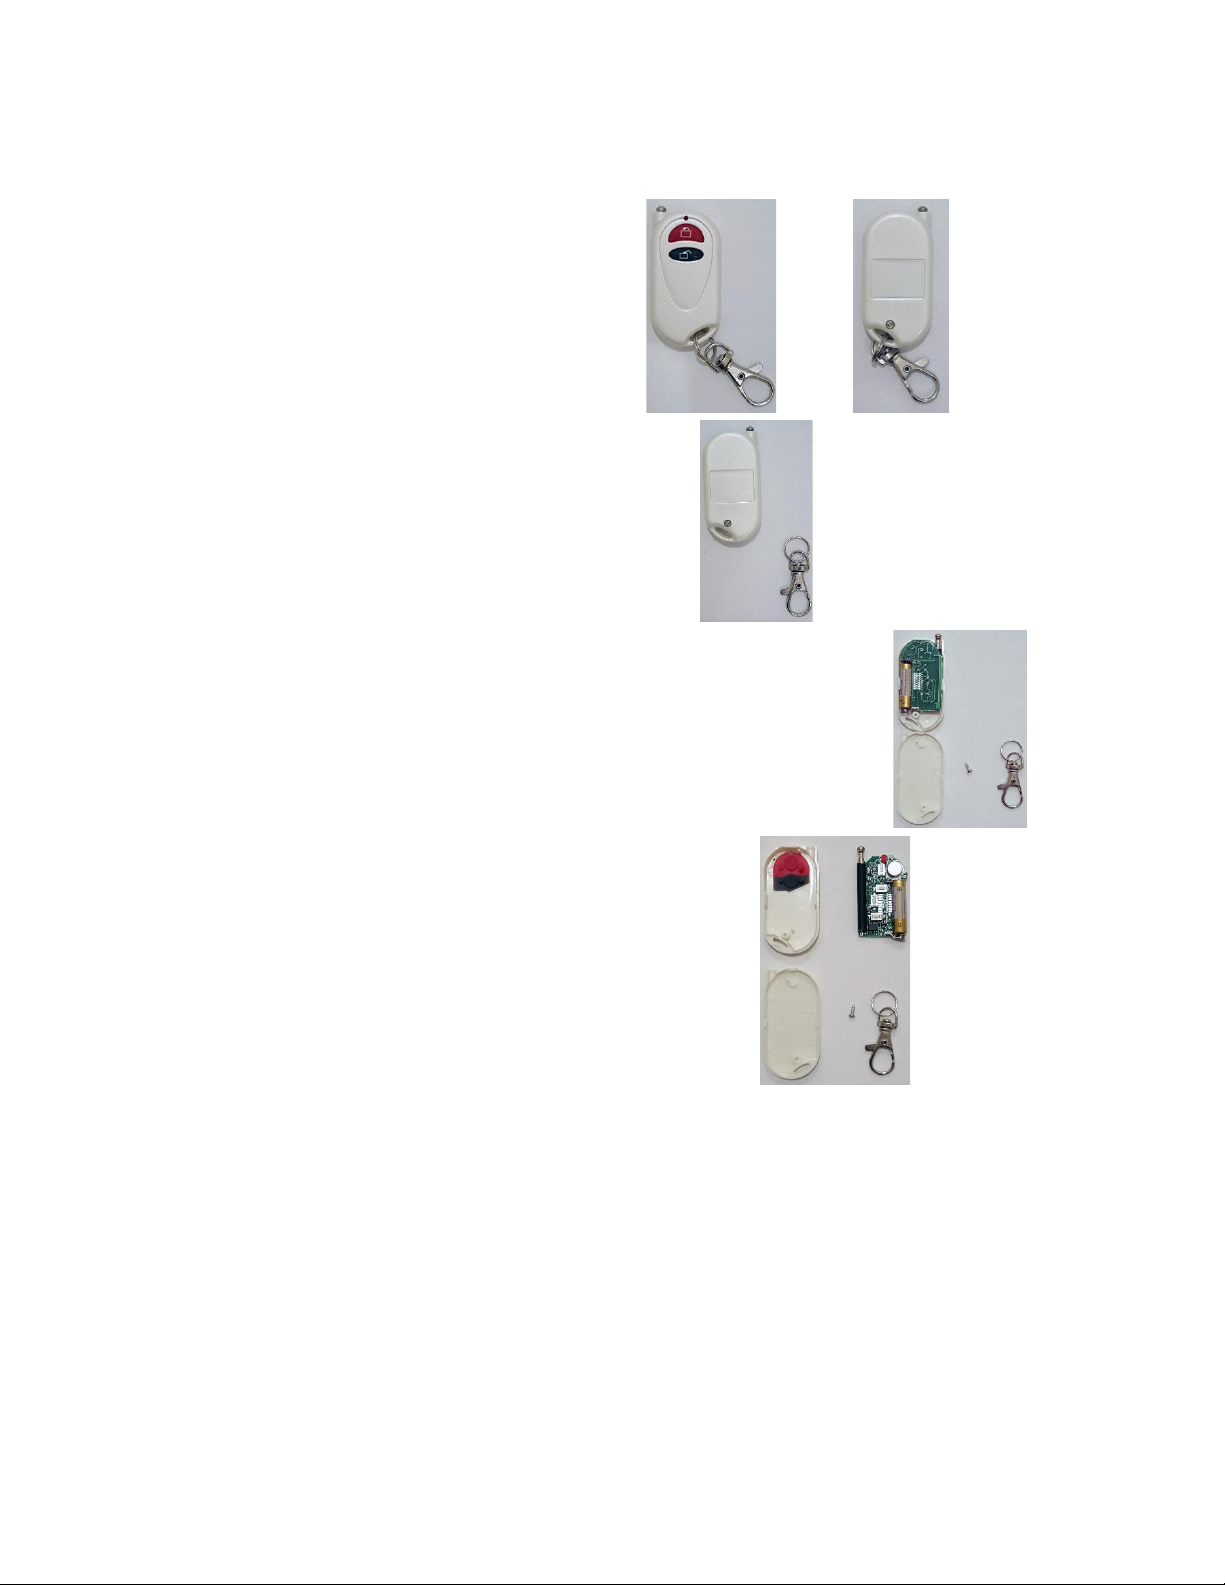
STANDARD TRANSMITTER
OPTIONAL SETTINGS FOR THE RECEIVER
•All programming must start within 10 seconds of powering the receiver.
•A receiver in factory DEFAULT mode will only beep 1 time at powerup.
•A receiver in OPTIONAL mode will beep four times at startup. Each beep indicates a
status in the order below: (short beep means enabled; long beep means disabled)
1) Standard Vibration Mode
2) 8-Second Automatic Unlock
3) 12-Hour Sleep Mode
4) Beep Notification
1) Open the transmitter as described in Page 2.
2) The third button will be used for all custom functions.
3) Toggle STANDARD/HIGH VIBRATION MODE: push button for 2 seconds and release.
a. In certain circumstances the normally-closed (blue and yellow wire) type of
connection can have intermittent connection due to vibration. The Receiver can
be switched to high vibration mode (10g limit) which causes the relay to activate
on power up. In this case, the green and blue wires are used for normally-
closed. The yellow wire is not used.
b. There will be additional power consumption in this mode since the relay is
continually engaged.
c. 1-beep: standard/default vibration mode (normally closed: blue and yellow wires)
d. 2-beeps: high vibration mode (normally closed: blue and green wires)
4) Toggle 8-SECOND AUTOUNLOCK: push button for 7 seconds and release.
a. The 8-second automatic unlock can be disabled. The receiver can then be left
locked while power is present.
b. 1-beep: default mode (autounlock is enabled)
c. 2-beeps: autounlock is disabled
5) Toggle 12-hour SLEEP MODE: push button for 12 seconds and release.
a. The 12-hour sleep timer can be disabled for continuous operation beyond 12
hours.
b. 1-beep: default mode (sleep mode is enabled)
c. 2-beeps: sleep mode is disabled
6) Toggle BEEP NOTIFICATION MODE: push button for 17 seconds and release.
a. The beeping signals can be disabled, if necessary. No audible signals will be
given.
b. 1-beep: default mode (beep notification enabled)
c. 2-beeps: silent mode is enabled.