Cessna 182 Instruction Manual
5
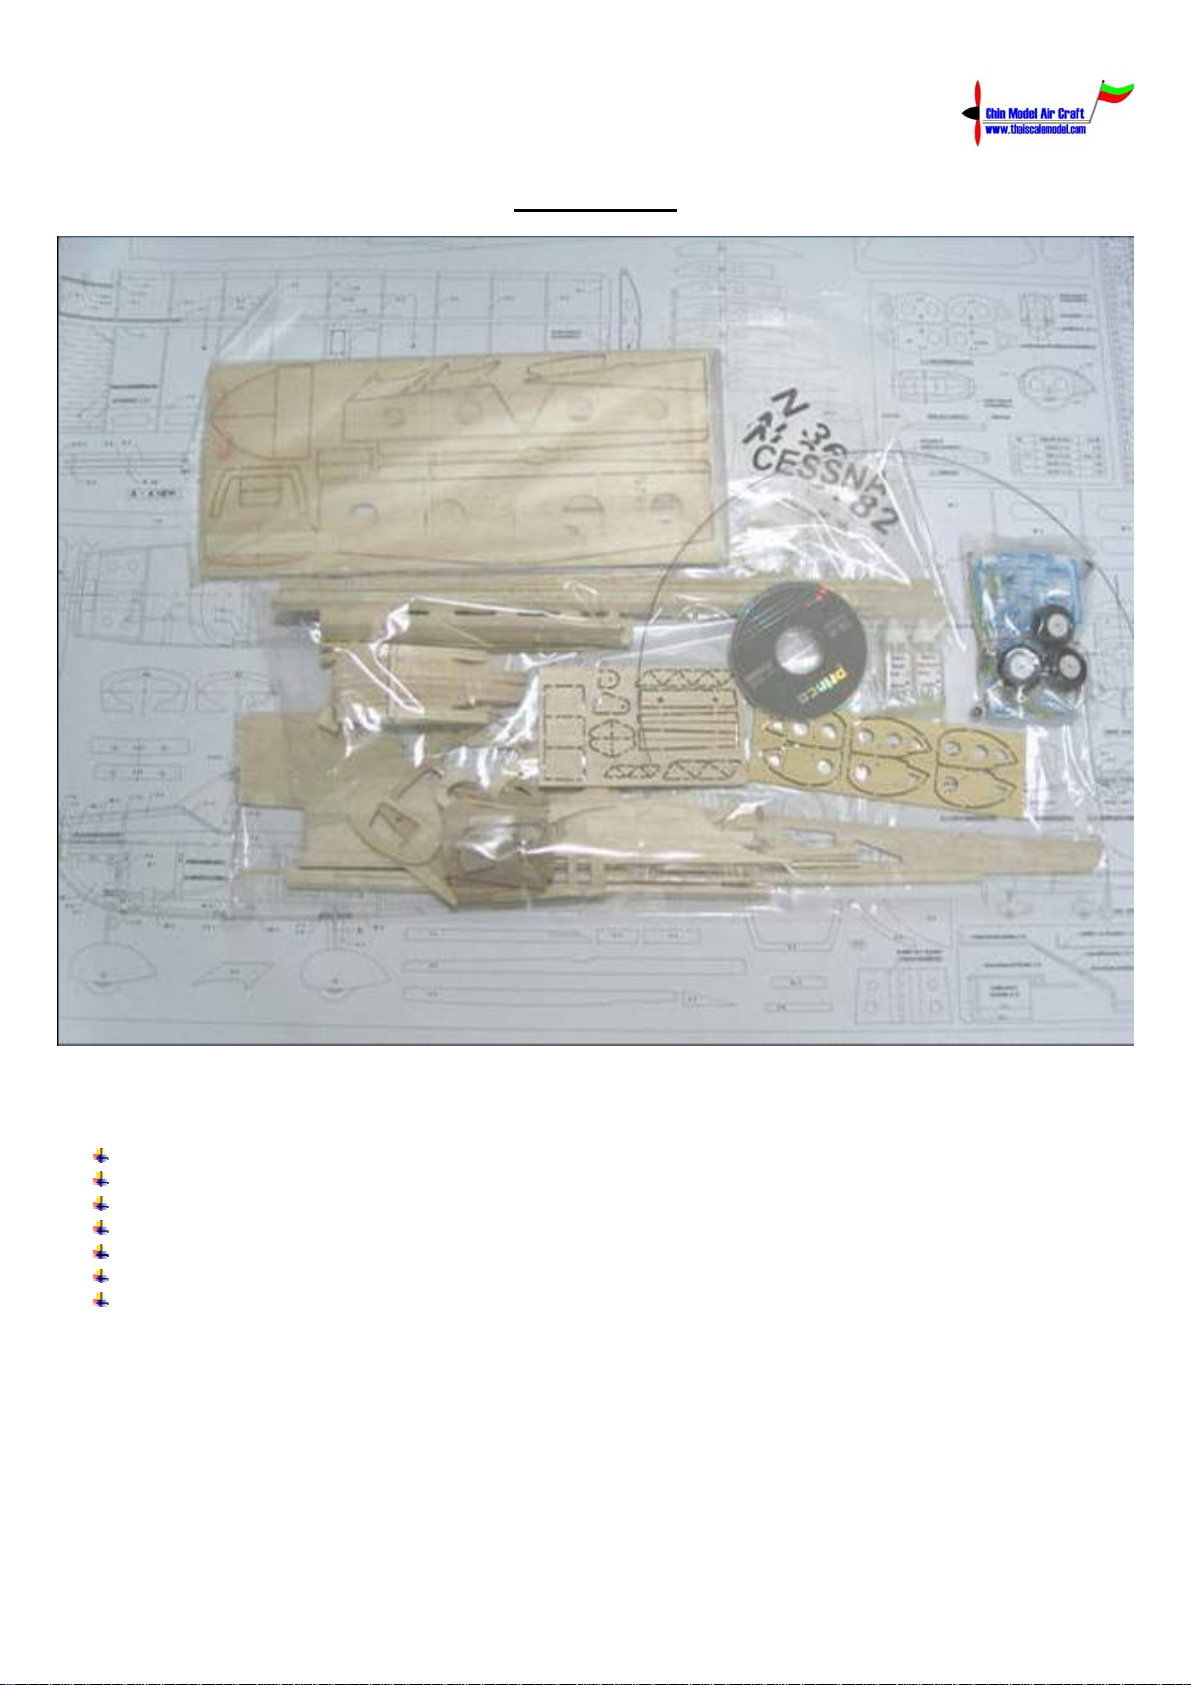
Kit Contents
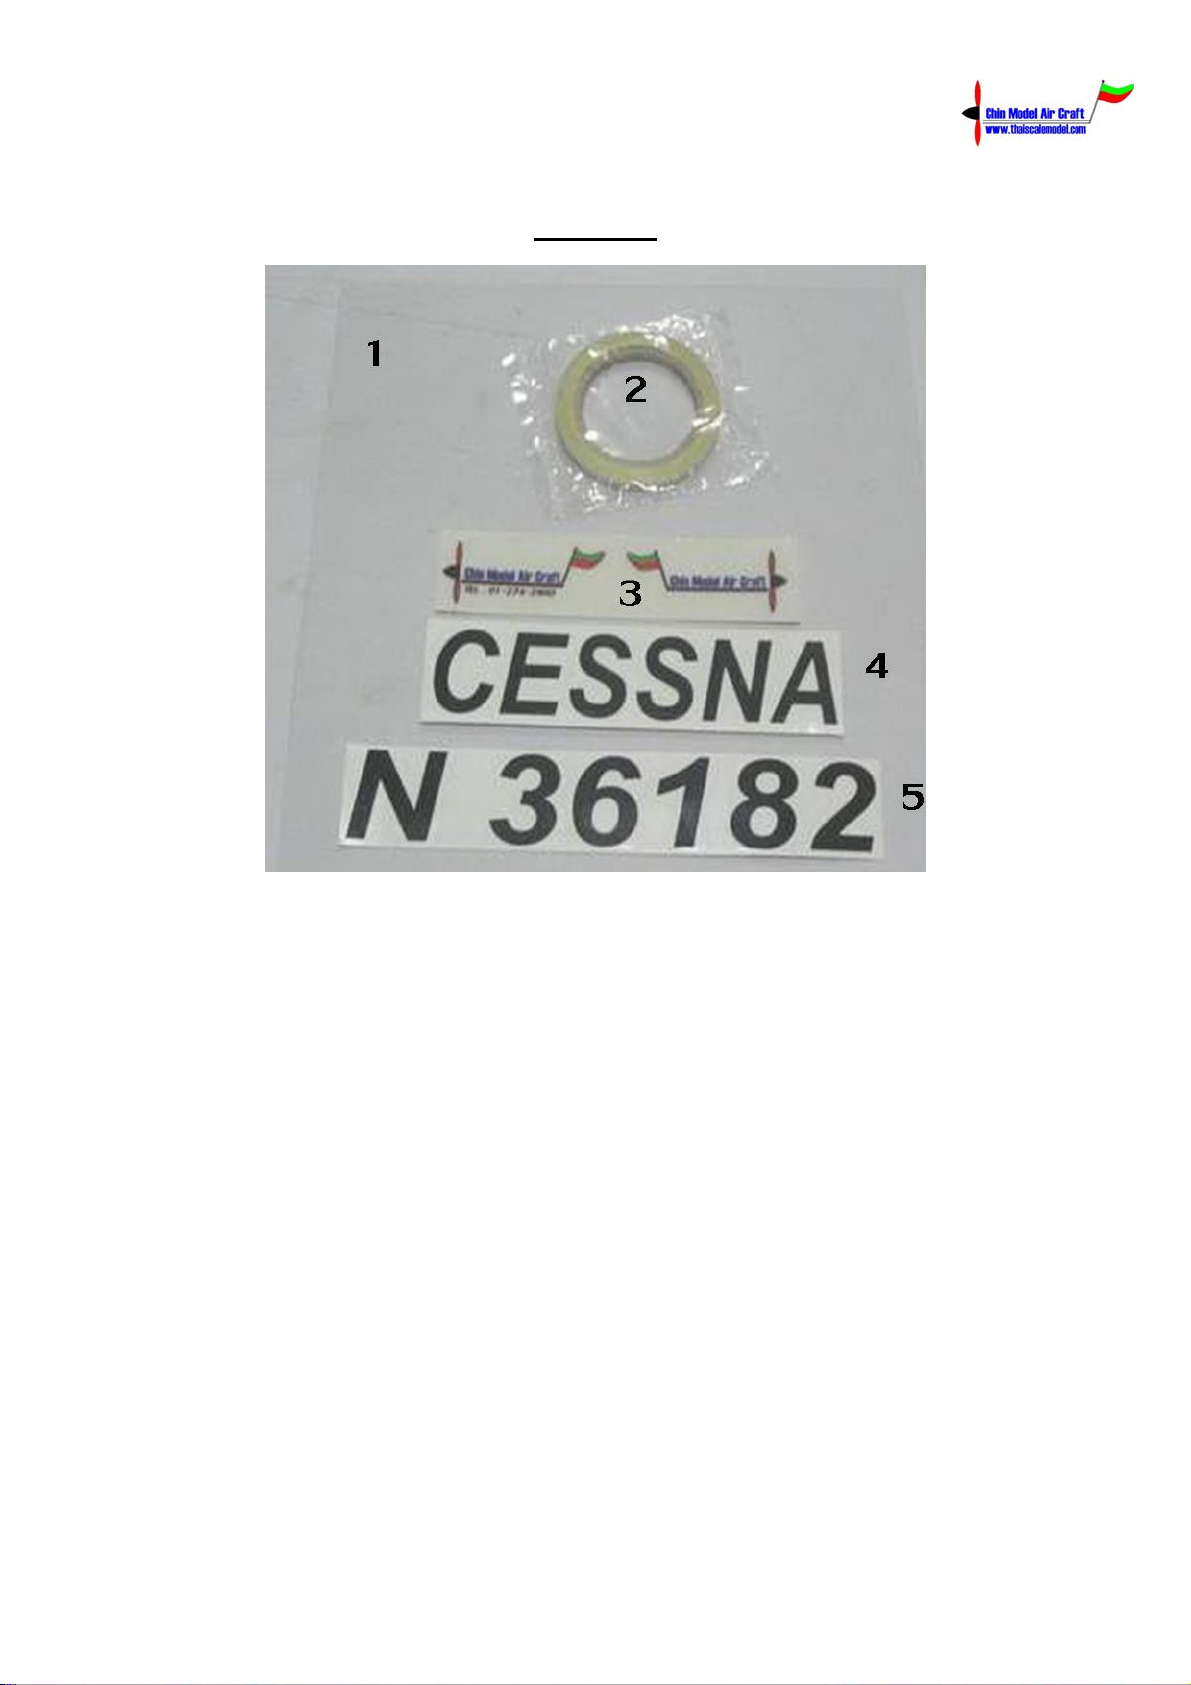
Hardware for Cessna 182 includes;
1. Nosegearset 1Set
2. 40mm.Foamwheel 3Wheel
3. Nose wheel pushrod with metal clevis 1 Set
4. 2.5 mm. Main landing gear wire 1 Set
5. Main landing gear strap with sheet metal screws 1 Set
6. Plastic tabs for wing struts with sheet metal screws 1 Set
7. Nylon clevis for wing struts 2 Pieces
8. Wing strut straps with sheet metal screws 1 Set
9. Plastic tabs for battery hatch 1 Set
10. Sheet metal screws for motor cover 4 Pieces
11. CD ROM motor straps with sheet metal screws 1 Set
12. Rudder–Elevatorcontrolhorn 1Set
13. Aileronscontrolhorn 1Set
14. Antennatube 1Piece
15. Wingboltwithwasher 1Set
16. Wheel pant washer 6 Pieces
17. Wheel pant straps with sheet metal screws 3 Set
18. 2:1 Epoxy adhesive Set in 30 minutes and cure in 6-8 Hours 1 Set
19. CAhinges 13Pieces
20. 0.9 mm. Elevator joiner wire 1 Piece
21. 0.8mm.Pushrodwire 1Piece