10
Other advice
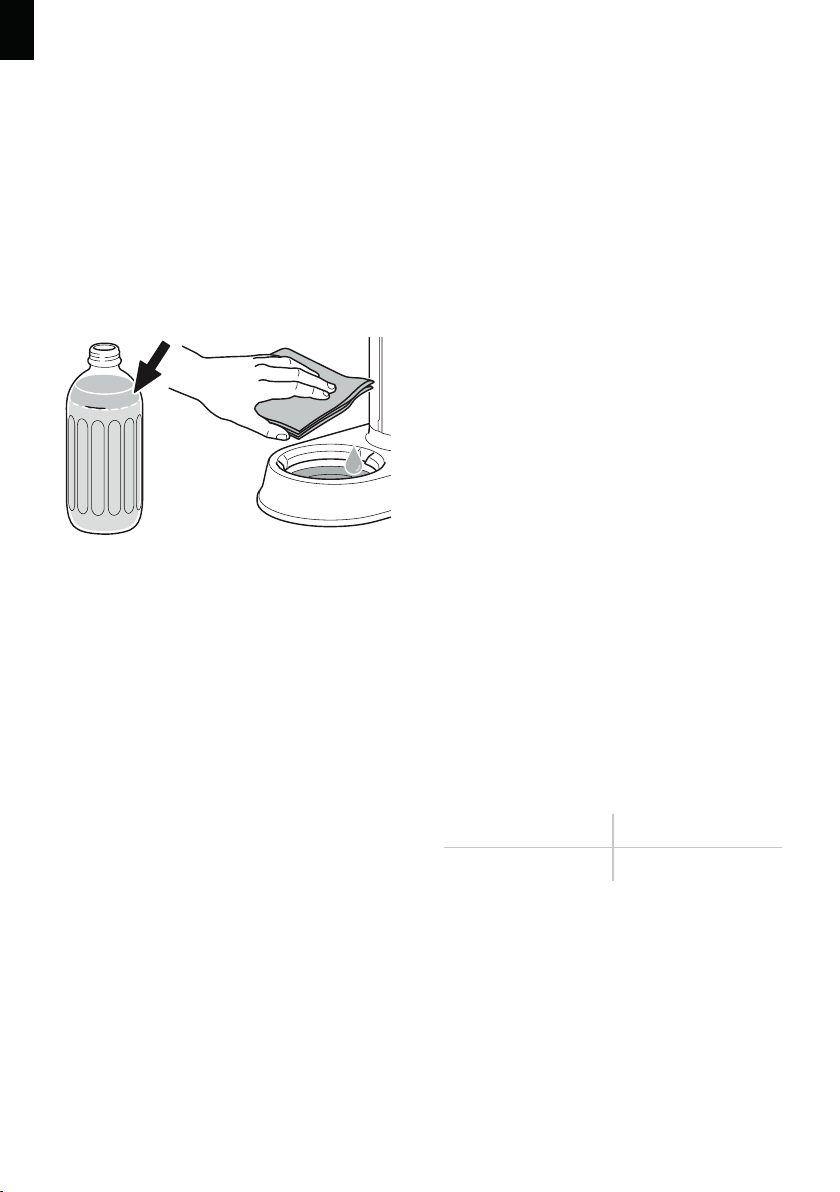
Water in the drip tray
If the bottle is overfilled, excess water will be
collected in the drip tray. This is not wrong, but
to avoid this, be sure to only fill up the bottle
to the filling line. To empty the drip tray use a
clean dishcloth.
Clean the bottle
The bottle is durable enough to be washed in
the dishwasher, but we recommend washing
it by hand to prolong its look. Before first
time use, make sure to wash the bottle with
lukewarm water and mild detergent.
Clean the Carbonator
To prolong the look and performance of your
Carbonator, use the included cloth or a clean
microfiber cloth to clean the Carbonator.
For Carbonators with a matte finish, we
recommend a soft cloth and clean water. For
Carbonators in stainless steel, we recommend
a microfiber cloth moisturized with clean
water and mild soap if needed. Avoid strong
detergents and abrasive household cleaners,
this applies to all Carbonators.
Avoid bacteria and odor by keeping the bottle
clean and storing it with the cap o.
Use cold water
For more ecient use of the COit’s recommended
to carbonate refrigerator cold water
Protect your countertop
In some conditions water from condensation
can arise on the CO canister. Make sure to
regularly wipe your countertop under your
Carbonator Pro, to protect the surface.
Recycling
The Carbonator and its associated items are
designed and manufactured with high quality
materials and components which can be
recycled and reused. Seperate and recycle the
parts according to local regulations.
Approved gas cylinders
The Carbonator is compatible with standard
gas cylinders approved for use with sparkling
water machines from all major brands. Other
gas cylinders may seem to work, but could
damage the machine or cause a safety
risk. Make sure to use gas cylinders with the
following measure and weight:
CO gas cylinder
Ø60 mm
Weight 425 g
EN