manuals.online logo
Brands
  1. Home
  2. •
  3. Brands
  4. •
  5. Aastra
  6. •
  7. Telephone
  8. •
  9. Aastra 8009 User manual

Aastra 8009 User manual

Attach the receiver cord.
Route the cord in the channel.
Saving numbers and codes in memory
Using the 8009 features
Keeping a caller on the line
Use hwhen you want to interrupt your call without hanging up or when
you want to continue a conversation at another extension.
Your call will stay on hold until you resume your conversation. Note: If a call has been
on hold for 15 minutes, the phone automatically releases the call.
A note on privacy
Your phone uses a sensitive microphone for maximum voice clarity. Placing your
hand over the receiver may not stop your caller from hearing a private
conversation. For complete privacy, use h.
Saving a pause in memory
PBX or Centrex users may want to program a pause — to receive a second dial
tone — into a saved number. When you save the number, press hwhere
the pause should occur, for example, 9 h800-555-1234.
To detach the stand, slide it
in from the edge of the base.
A second jack (for a modem
or facsimile) is located here. Lower the stand into the
slots on the phone's base.
Lower the stand into the
slots on the phone's base.
Slide the stand back until it
clicks into a locked position.
6 Desk Mount
1. Lift the receiver and wait for the dial tone.
2. Press r. The number will be redialed.*
Redialing a call
Pressing rdials the number of the last person you called.
1. Lift the receiver and wait for a dial tone. (The dial tone will continue while you save.)
2. Press
s
.
3. Press a memory key.
4. Use the dial pad to enter the telephone number or telephone feature code.
5. Press
s
.
To save a telephone number or feature code in memory:
Saving frequently called numbers
Use the phone's six memory keys to save the numbers of your customers,
business associates, or anyone you call frequently. You can also save the feature
codes for telephone services on these keys.
Using Call Waiting or Three-Way Calling
If your business uses these services, lconnects other parties to your call.
123
4
7Desk Mount 7Wall Mount
6Wall Mount†
† For wall mounting, we recommend that you use a wall mounting plate, which your
telephone company can install. The excess line cord fits into the stand of the phone.
*If you experience problems when redialing a number on a PBX line, you may need to redial the number manually,
inserting a pause between the PBX access code and the number.The pause will let the PBX switch accommodate the
rapid dial output. An alternate solution is to program the PBX access number and a pause into a memory key. If you
press the memory key instead of pressing the PBX access code when you dial out, your redialed number will always
contain a programmed pause. For details on programming a pause, see "Saving a pause in memory," on the next page.
† Your local telephone company can supply details about these subscriber services.
Ending a call without hanging up
To end one call and start another without hanging up the receiver, press G.
When you hear a dial tone, you are ready to make the next call.
Using the Release key with a held call
If the receiver is offhook, pressing Gwill reconnect a held call.
If the receiver is onhook, pressing Gwill drop (hang up) the held call.
Erasing a number
You can clear the number from a memory key in two ways: you can erase the
number, or you can save a new number over the old one.
5
1. Press
l
. Your new call will be
connected while your old call stays on hold.
2. Press
l
to return to the first
call. Keep pressing
l
to
alternate between calls.
1. Press
l
. Wait for a dial tone,
then call the second party.
2. When the second call is connected,
press
l
to reconnect the first
call. All three parties are now connected.
To place a call using Redial:
Connecting the phone
1. Lift the receiver and wait for a dial tone. (The dial tone will continue while you erase.)
2. Press
s
.
3. Press the memory key that you wish to erase.
4. Press
s
.
5. Hang up the receiver.
To erase a memory key:
Attach the line cord.
Lift the stand out of the slots
on the base.
Slide the stand back until it
clicks into a locked position.
1. Press
h
. (The light flashes.)
2. Hang up the phone,
or
leave the phone offhook.
1. If the phone is offhook, press
h
.
2. If the phone is onhook, pick up the
receiver at your 8009 or at an
extension phone. (The flashing stops.)
To place a customer on hold: To resume your conversation:
When you hear a Call Waiting tone: To connect a third party to your call:
† †
Personalizing your phone Other information
Labelling your saved numbers
To record the numbers you've saved in memory, you can label the keys with the
supplied labels and key covers . Instructions are included on the label sheet.
Adjusting the receiver volume
The receiver volume bar is located below the dial pad. If your caller's
voice is too soft, press the right side of the bar to increase the volume. Pressing
the left side changes the volume back to normal. The volume is automatically
reset to normal each time you hang up the phone.
Adjusting the ringer volume
You can adjust the ringer volume while the phone is ringing. The volume wheel,
located on the right side of the phone, gives you a choice of four settings: Loud
(top setting), Medium, Soft and Off (bottom setting). At the Off setting, the lamp
flashes when a call comes in but the phone does not ring.
Call on Hold Light flashes quickly.
Message Waiting Light flashes slowly.
† If this telephone is dropped, or if it falls from the furniture on which it rests, be aware that the key covers
may separate from the set and pose a choking hazard to small children.
Visual Ringing Light flashes in time with ringing.
When the light flashes
The light flashes when the telephone rings, and when a caller is on hold. If your
business subscribes to a message waiting service from your local telephone
company, or if your PBX or Centrex system features certain types of messaging,
the phone's lamp flashes when a message is waiting. Once the message has been
retrieved, the flashing stops.
Ringer Equivalence Number (REN), Load Number (LN)
The Ringer Equivalence Number (REN) for both Co/Centrex and PBX versions of
the 8009 telephone is 2.5. The Load Number (LN) for the 8009 telephone is 34.
Solutions to common problems
If you hear a dial tone or a recorded message when you save a number:
This is normal. Since the 8009 is programmed off-hook, a dial tone will continue
while you save or erase numbers or codes in memory. You may even hear beeps
or a recording. These sounds do not interfere with programming.
If the telephone does not ring:
The ringer volume may be turned to Off. Turn the volume control wheel on the
right side of the phone to either Loud (the top position), Medium, or Soft.
If there is no dial tone:
Check that the line cord and receiver cord are not damaged and that they are
attached properly.
If you cannot hear a caller or be heard:
Make sure the receiver cord is inserted securely into the jack in the phone and
the jack in the receiver (handset). Make sure the receiver cord is not damaged.
If you have repair questions or other questions about this product:
For repair or other questions about this product, call 1-800-574-1611 in the USA
and Canada. In other areas, contact your local telephone company.
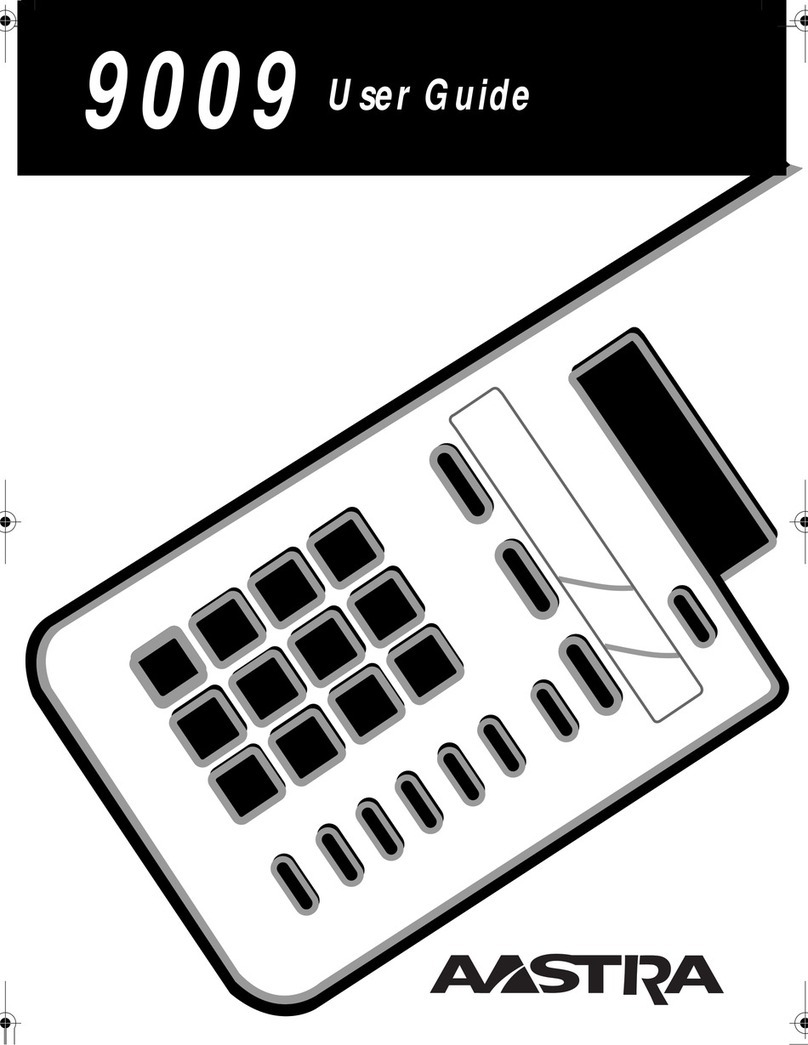
8009
User Guide
(519) 555-6324
Rls
Link
Redial
Hold
Save
1
2
ABC
3
DEF
6
MNO
9
WXY
#
0
*
7
PRS
8
TUV
5
JKL
4
GHI
1
2
3
© Aastra Telecom Inc., 2000. P0739817 Issue 07 CC1953 Rev 02
††
Link: if your business uses a call waiting or a three-way calling service, Link lets you
connect other parties to your conversation.
Memory keys: six keys store frequently used numbers or feature codes.
Labels and key covers let you personalize the phone.
Rls: lets you end a call without hanging up the receiver.
Save: lets you program numbers or telephone feature
codes into the memory keys.
Redial: lets you use a single key press to dial the
number of the last person you called.
Hold: keeps your call on the line while you
hold a private conversation or move to an
extension phone.
Adjustable ringer: a volume wheel
lets you choose from four settings
including Off.
Receiver volume bar: lets you
increase the volume of your
caller's voice.
Removable stand: lets you
use the phone on a desk or
wall.
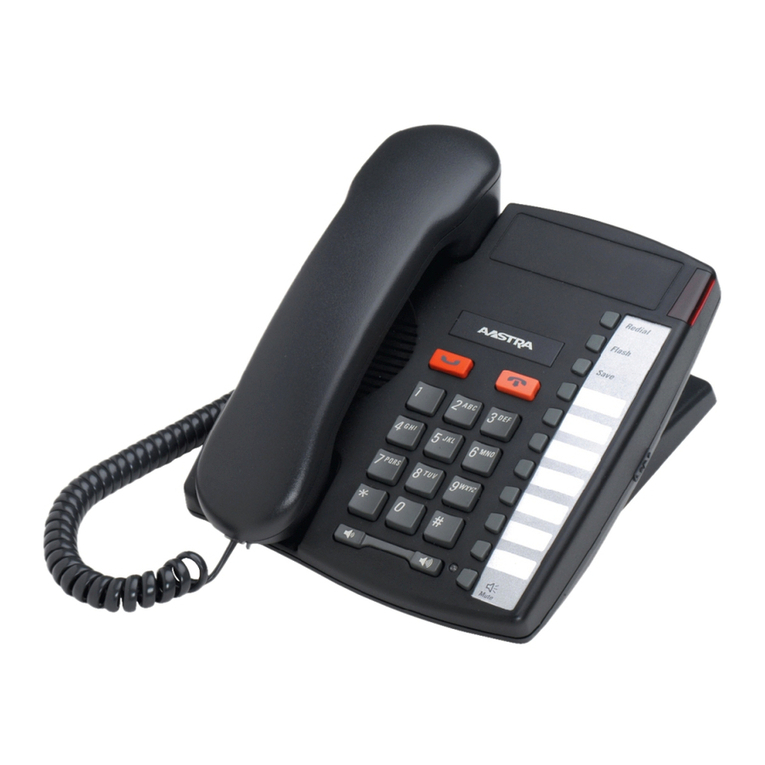
Introducin g the 8009 telephone — the affordable, simple-to-use business tool
from Aastra Telecom. The 8009 has been designed to work with many of the
powerful custom calling and messaging services available from your local telephone
company or on your PBX system or Centrex system. And as you'd expect, it's packed
with familiar, time-saving features to make staying in touch with your customers
easier and more enjoyable.

Other Aastra Telephone manuals

Aastra ITE-760 User manual

Aastra

Aastra ITE-760 User manual

Aastra Dialog 4106 Basic User manual

Aastra

Aastra Dialog 4106 Basic User manual

Aastra 480 Guide User manual

Aastra

Aastra 480 Guide User manual

Aastra Aastralink RP User manual

Aastra

Aastra Aastralink RP User manual

Aastra Meridian 9216 User manual

Aastra

Aastra Meridian 9216 User manual

Aastra 470 User manual

Aastra

Aastra 470 User manual

Aastra BluStar 8000i User manual

Aastra

Aastra BluStar 8000i User manual

Aastra Aastra 610d Instruction manual

Aastra

Aastra Aastra 610d Instruction manual

Aastra 9116LP User manual

Aastra

Aastra 9116LP User manual

Aastra Ascotel Office 45 User manual

Aastra

Aastra Ascotel Office 45 User manual

Aastra Aastra 610d User manual

Aastra

Aastra Aastra 610d User manual

Aastra 6737i User manual

Aastra

Aastra 6737i User manual

Aastra M760E User manual

Aastra

Aastra M760E User manual

Aastra 6721ip User manual

Aastra

Aastra 6721ip User manual

Aastra ITE-780 User manual

Aastra

Aastra ITE-780 User manual

Aastra 6730I User manual

Aastra

Aastra 6730I User manual

Aastra Aastra 610d User manual

Aastra

Aastra Aastra 610d User manual

Aastra M740E User manual

Aastra

Aastra M740E User manual

Aastra DIALOG 4223 PROFESSIONAL User manual

Aastra

Aastra DIALOG 4223 PROFESSIONAL User manual

Aastra BLUESTAR 8000I Service manual

Aastra

Aastra BLUESTAR 8000I Service manual

Aastra M725 User manual

Aastra

Aastra M725 User manual

Aastra 9316CW User manual

Aastra

Aastra 9316CW User manual

Aastra PowerTouch 350 User manual

Aastra

Aastra PowerTouch 350 User manual

Aastra IntelliGate 630d User manual

Aastra

Aastra IntelliGate 630d User manual

Popular Telephone manuals by other brands

Extel Karo HD-2660 Installation and user guide

Extel

Extel Karo HD-2660 Installation and user guide

Iwatsu ADIX APS Quick reference guide

Iwatsu

Iwatsu ADIX APS Quick reference guide

Nortel Meridian SL-100 M3905 user guide

Nortel

Nortel Meridian SL-100 M3905 user guide

Starcomms LSP-3000 user guide

Starcomms

Starcomms LSP-3000 user guide

Siemens HIPATH 2000 operating instructions

Siemens

Siemens HIPATH 2000 operating instructions

Coby CT-P940 Installation and operation instructions

Coby

Coby CT-P940 Installation and operation instructions

Sayson 480 user guide

Sayson

Sayson 480 user guide

Panasonic CPC-EX installation guide

Panasonic

Panasonic CPC-EX installation guide

Oricom CARE120 user guide

Oricom

Oricom CARE120 user guide

Mitel 5360 SIP PHONE user and administration guide

Mitel

Mitel 5360 SIP PHONE user and administration guide

Jacob Jensen 80 user manual

Jacob Jensen

Jacob Jensen 80 user manual

Comdial SCS 8324SJ-FB Station user's guide

Comdial

Comdial SCS 8324SJ-FB Station user's guide

Daisy Polycom VVX150 Full user guide

Daisy

Daisy Polycom VVX150 Full user guide

Iwatsu enterprise cs Quick reference guide

Iwatsu

Iwatsu enterprise cs Quick reference guide

Memco C100 Base 4 installation guide

Memco

Memco C100 Base 4 installation guide

Siemens HiPath 500 Quick reference guide

Siemens

Siemens HiPath 500 Quick reference guide

Motorola MOTO WX306 user manual

Motorola

Motorola MOTO WX306 user manual

intrado VOICEMAXX CE 7942 Guide

intrado

intrado VOICEMAXX CE 7942 Guide

manuals.online logo
manuals.online logoBrands
  • About & Mission
  • Contact us
  • Privacy Policy
  • Terms and Conditions

Copyright 2025 Manuals.Online. All Rights Reserved.