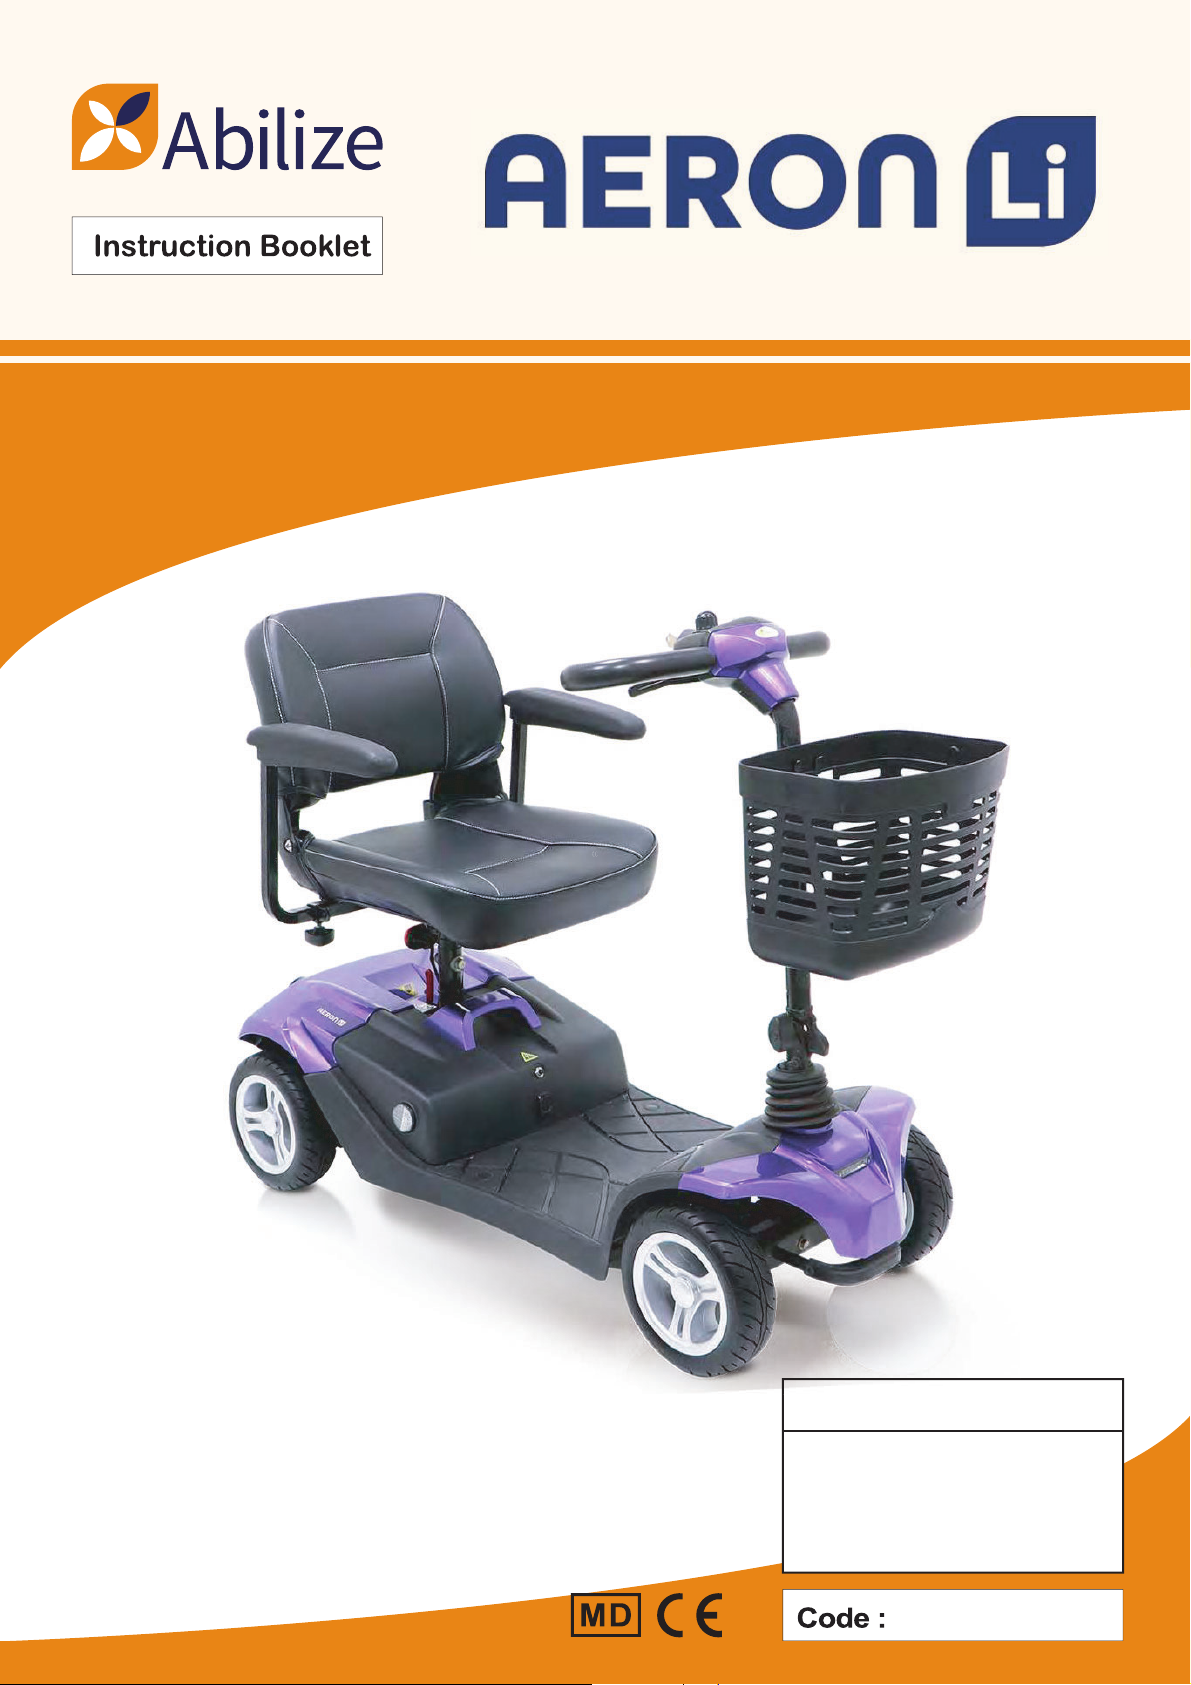
Instruction Booklet: Identification of Parts
Before operation, please remove the Lock Nut (A) and press button of Circuit Breaker (B) to
activate the system.
Function of Parts:
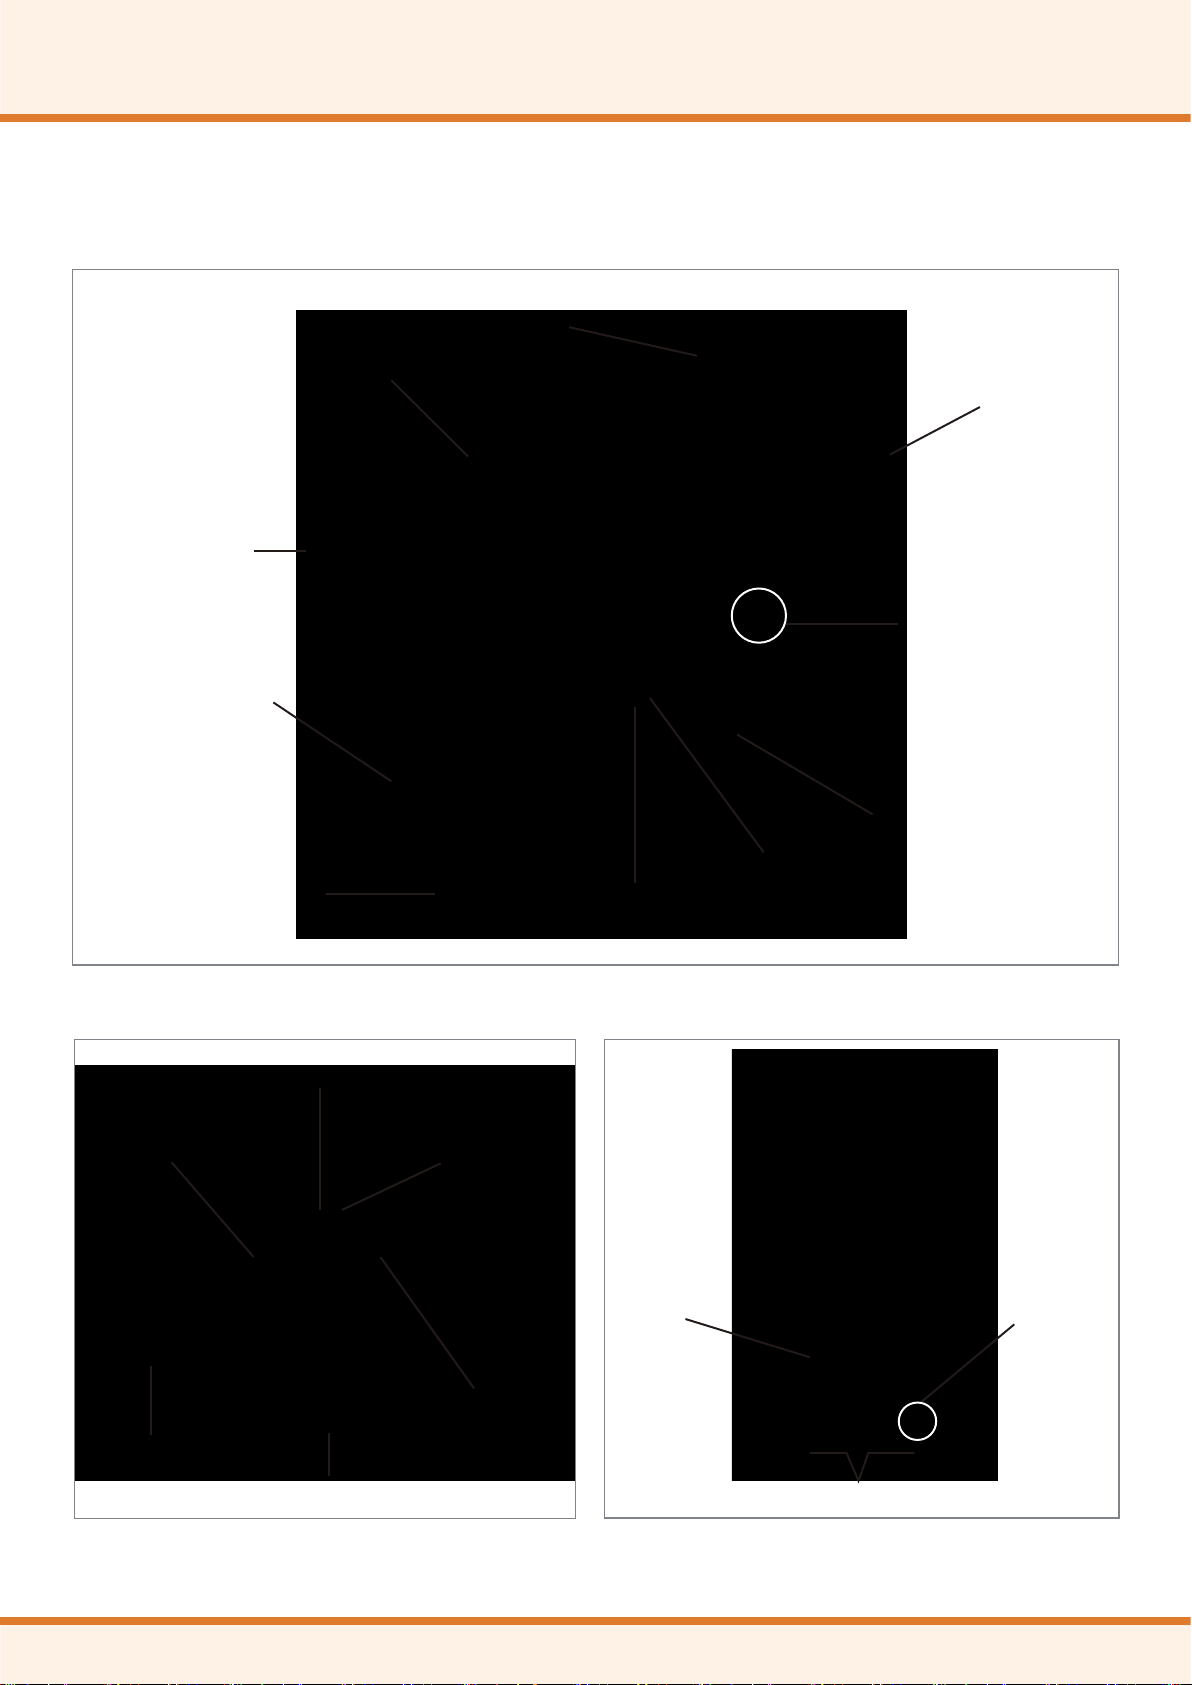
Main Key Switch (C)
•Turn the key to the right to turn the scooter on.
•Turn the key to the left to turn the scooter and
LED light on.
•Turn the key to the centre position to turn the
scooter off.
CAUTION: Always ensure that the scooter is switched off before getting on or off the
scooter and before removing any items of the scooter.
CAUTION: Turning the scooter OFF whilst driving will bring the scooter to an abrupt stop.
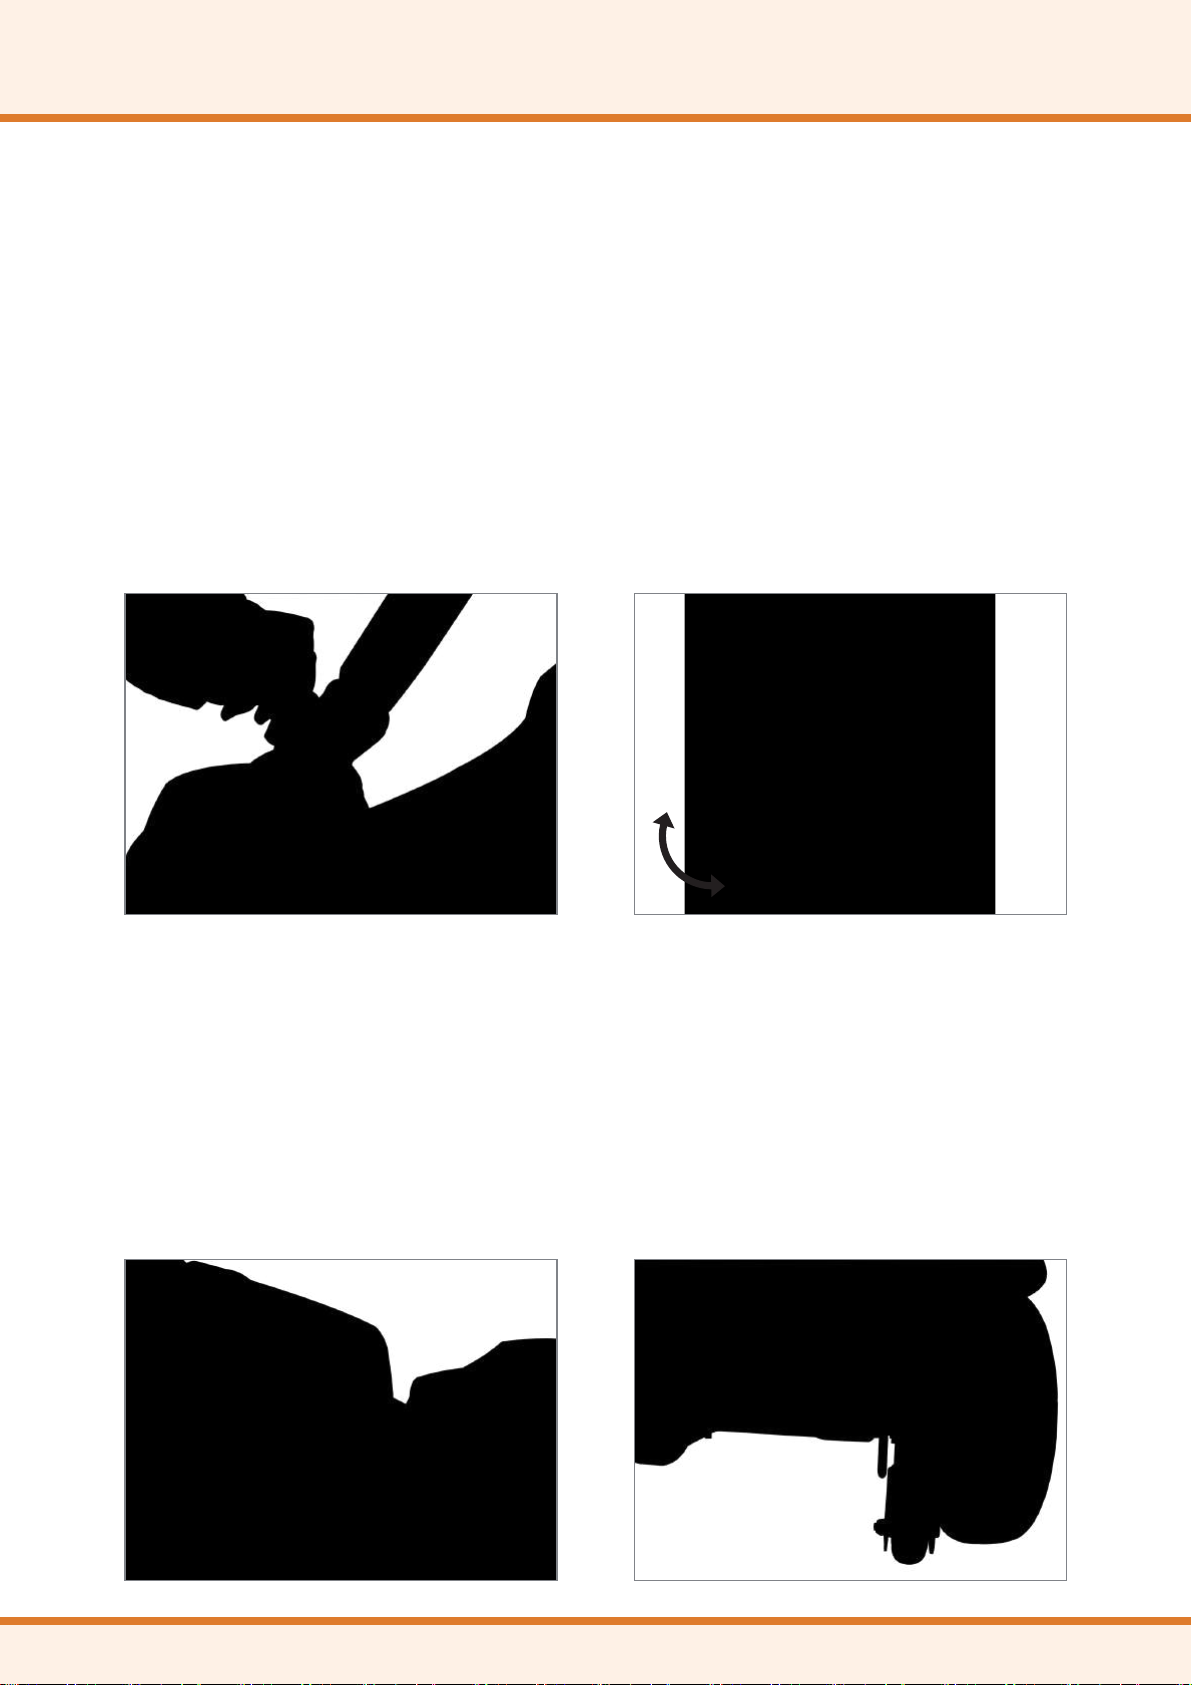
Speed Dial Knob (D)
The rabbit icon indicates fast or high speed. The turtle icon indicates slow or low speed. By turning
this Knob (D) towards chosen icon you can control the overall speed of the scooter.
CAUTION: Before driving the scooter, set the speed to low speed by turning the knob
towards turtle icon.
CAUTION: Drive in high speed when encounter an up slope, and drive in low speed when
encounter a down slope.
Horn Button (E)
Press Horn Button (E) once to sound warning tone when necessary.
Battery Gauge (F)
The LEDs represents an approximation of battery capacity. If the charge is full, all LEDs are lit.
When only red and orange LEDs are lit, the batteries are consuming and should be charged soon.
When only red LEDs are lit, charge the batteries immediately.
Self Diagnostic Warning Light (G)
Flashing light indicates there is a problem within scooter. See page 11 for more information.
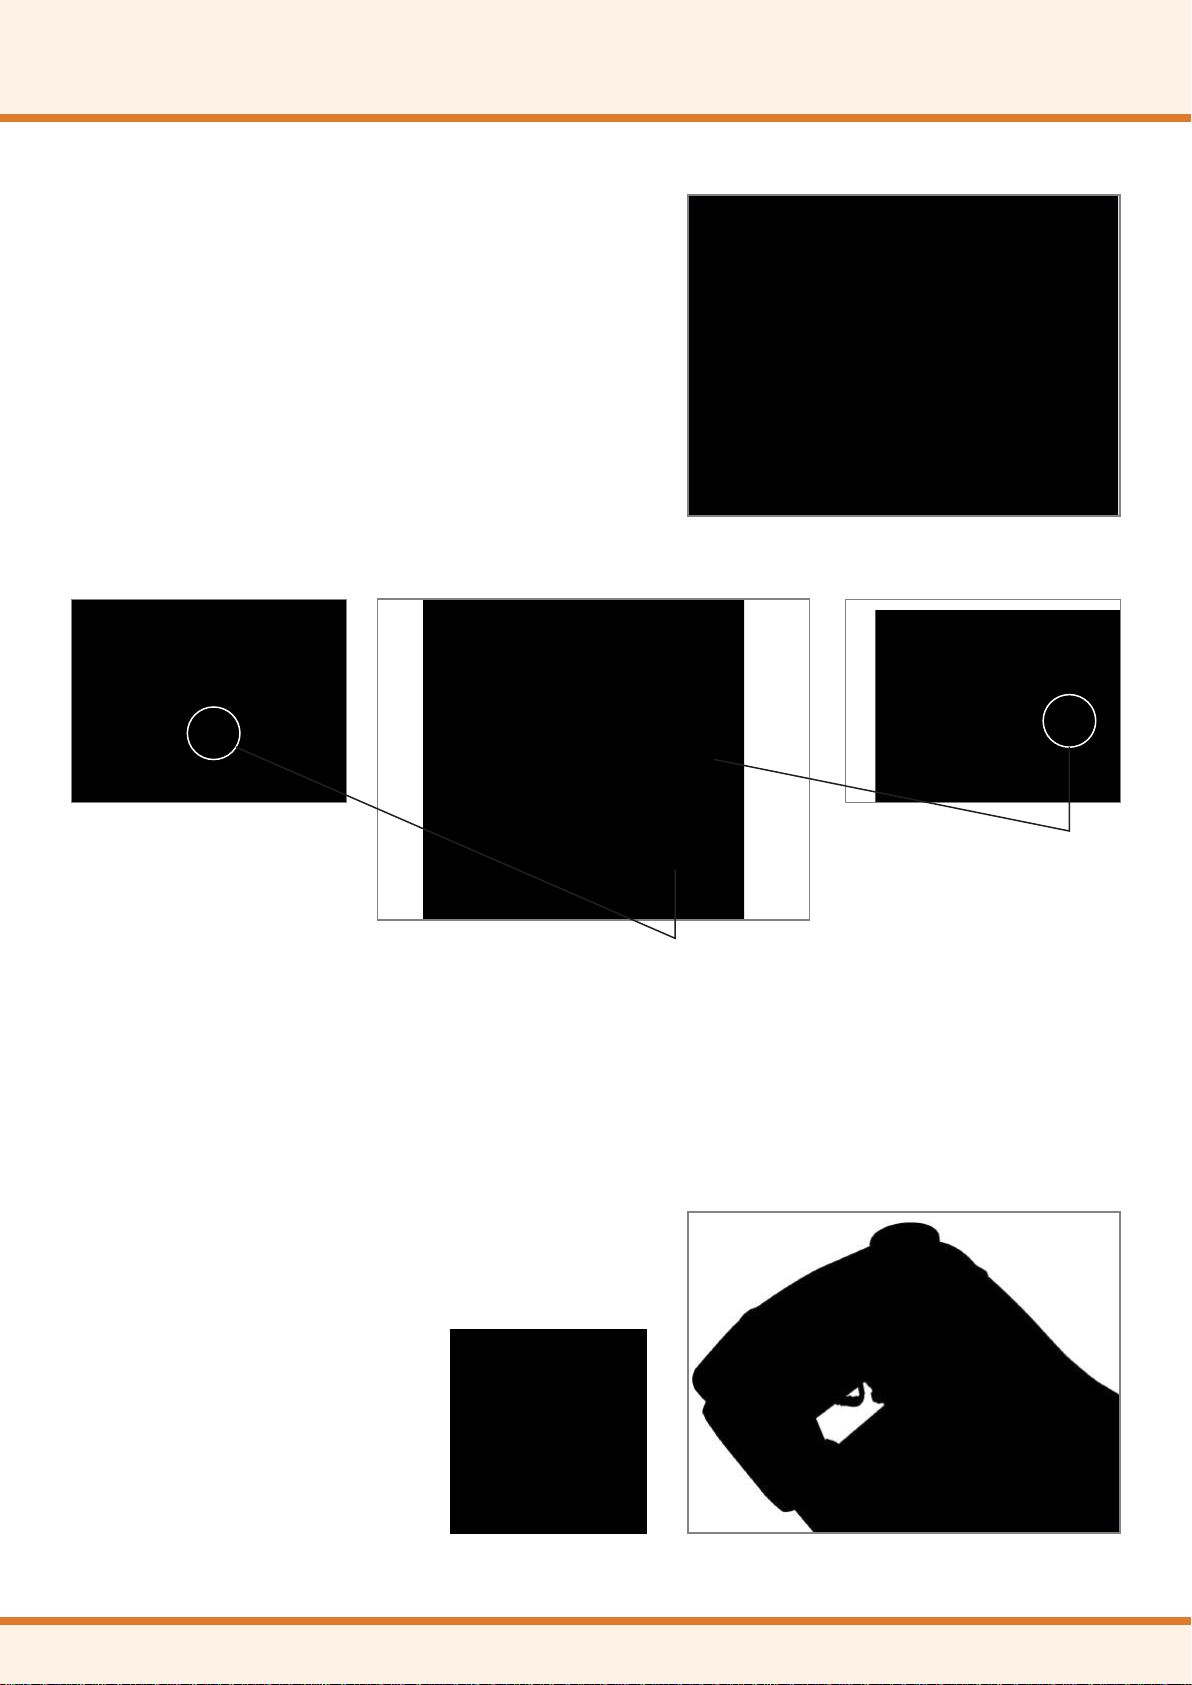
Throttle (H) (H1)
To move forward by pulling the right side of Throttle (H). To move backward by pulling the left side
of Throttle (H1 ). (The movement directions can be reversed by local dealers if required.) Releasing
the throttle to engage automatic brake. These are also your accelerator, the further you pull it, the
faster you go. (Subject to the position of the RabbiUTurtle control).
CAUTION: Releasing the throttle engages the automatic brake, but will taxi for a short
buffering distance, please keep safe distance when stopping to prevent any danger.
06