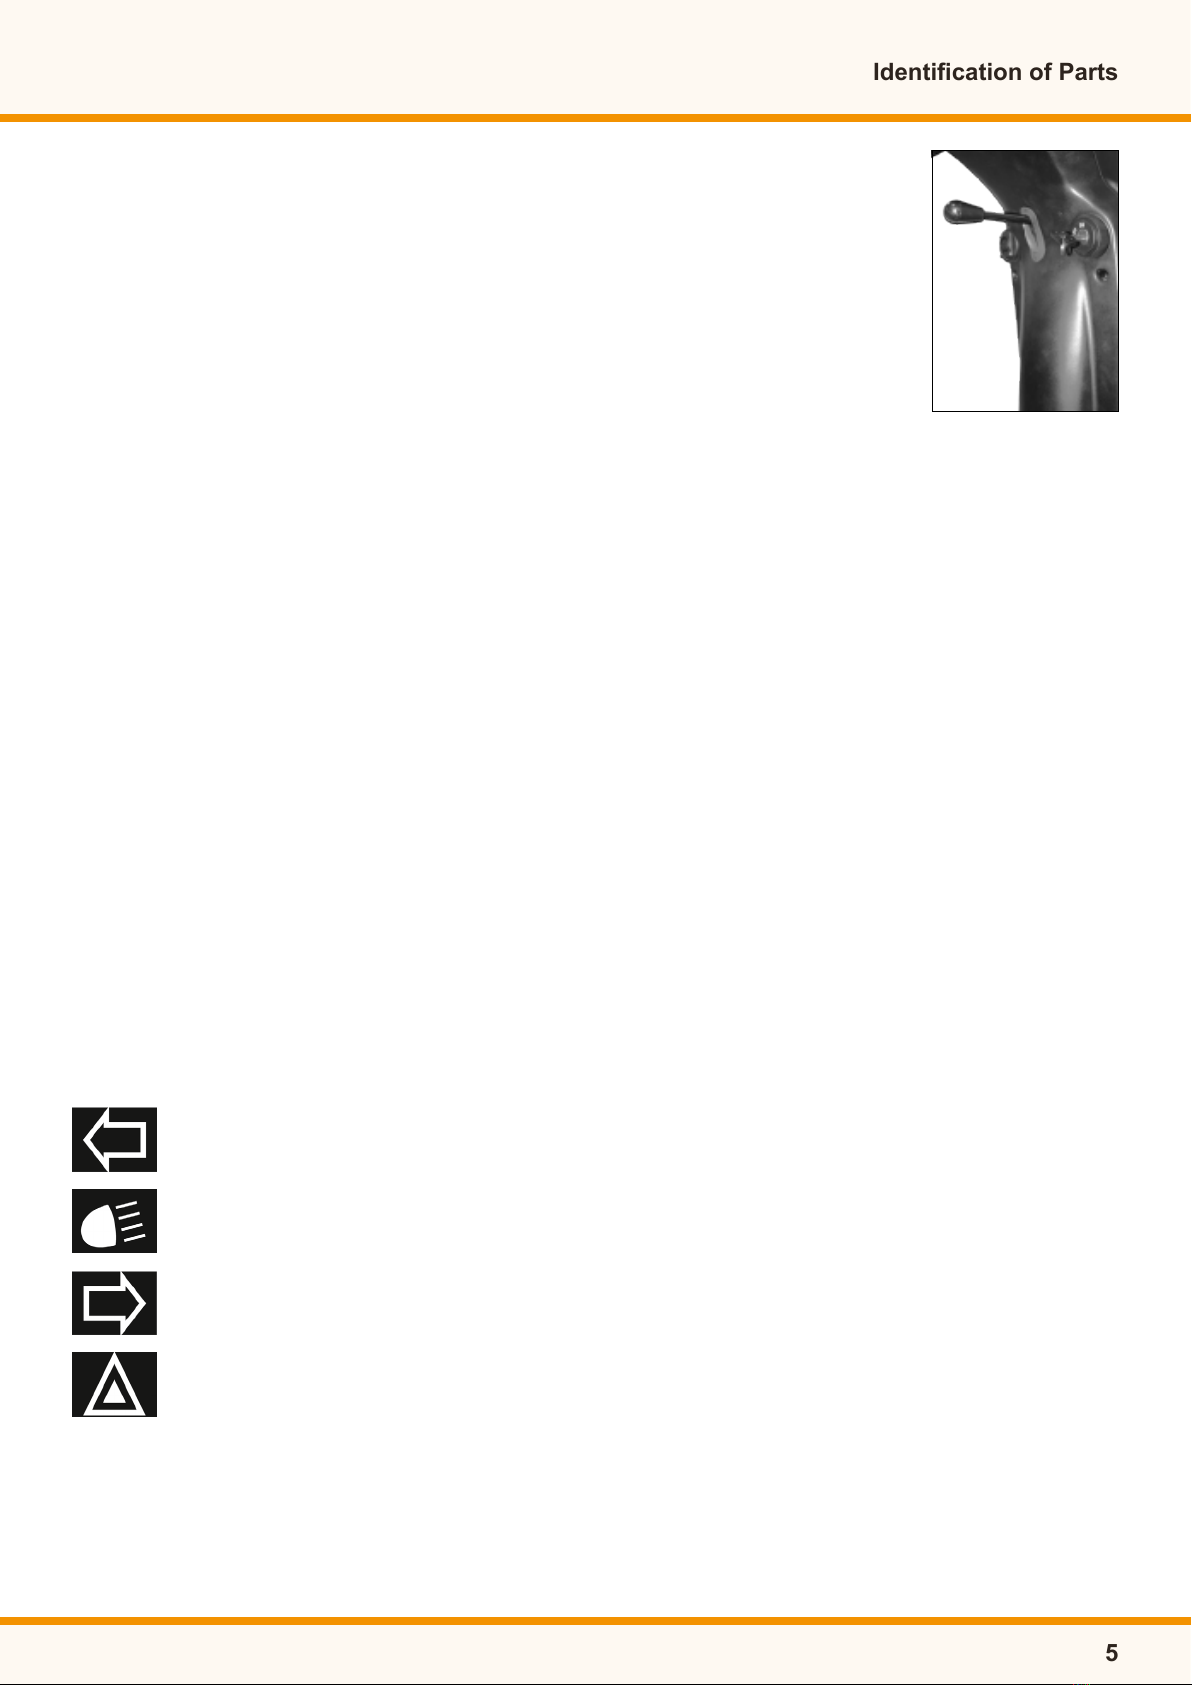
Important Precautions
3
• Only one person at a time can ride the Scooter.
• Maximum load is 181 kg / 400 Ibs pounds.
• Turn key off before getting on or off.
• Always drive carefully and be aware of others using the same area.
• Always use pedestrian crossings wherever possible. Take extreme care when crossing roads.
• Do not drive on a slope exceeding 10 degrees, and take extreme care when turning on a slope.
• Do not use full power when turning a sharp corner.
• Take great care and drive in low speed when backing up, riding downhill or on an uneven
surface, and climbing a curb.
• Please use the lowest speed when driving through a descending road or uneven terrain. If the
speed is too fast, leave your hand off the handle bar, let the scooter stop. Make sure you are
safe and start again.
• The weight capacity limit can be different depending on ramp degree.
• A slow speed must always be used when ascending, descending or traversing a slope or
incline and also on uneven terrain, ramps and soft or loose surfaces, such as gravel or grass.
• To prevent any danger, do not turn around at high speed while ascending or descending
a ramp.
• Scooter may not operate well in high humidity.
• Do not leave the powered scooter in a rain storm of any kind.
• Direct exposure to rain or dampness will cause the scooter to malfunction electrically and
mechanically; may cause the powered scooter to prematurely rust.
• Never put scooter in neutral when staying on a slope.
• Follow trafc laws when riding outside.
• When the scooter is on moving transport vehicles, do not sit or stay on scooter.