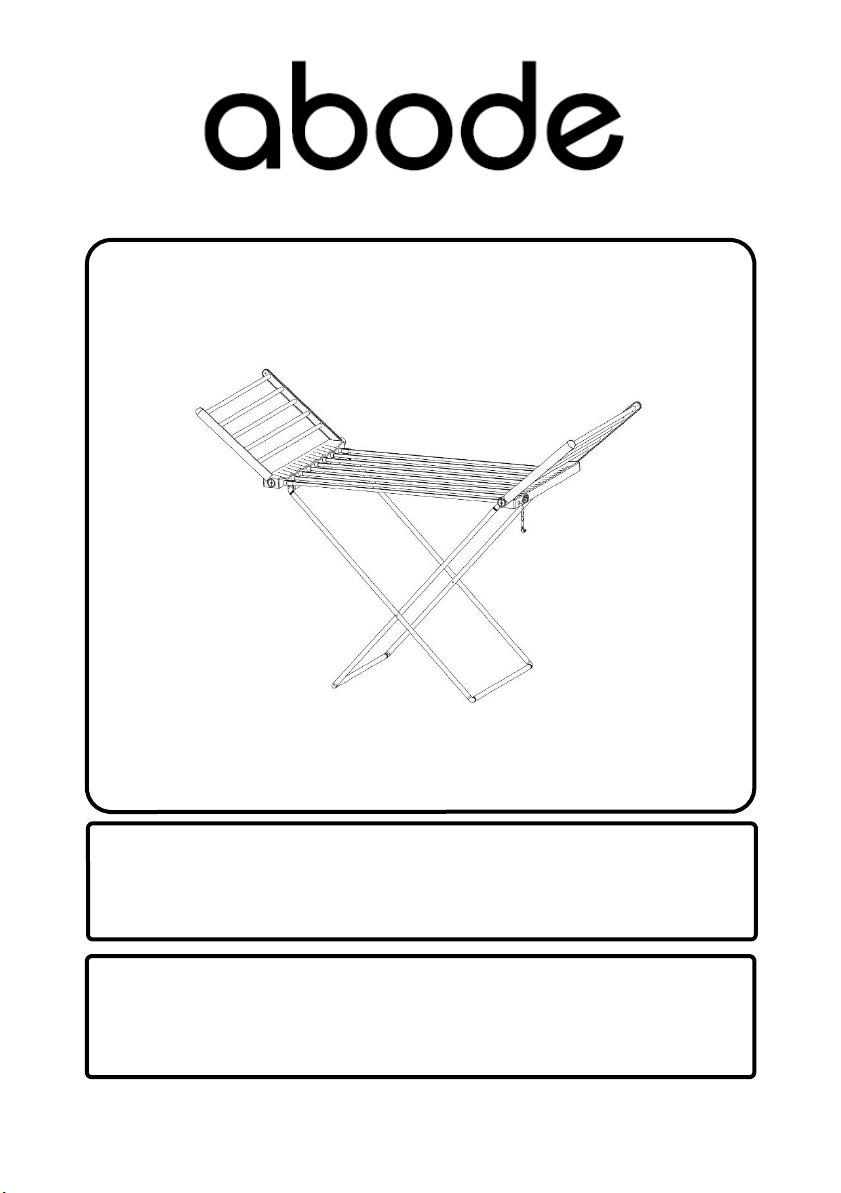
Abode AECHD2001 User manual
Model number(s):
AECHD2001
Electric Clothes Airer
Instruction Manual
IMPORTANT:
RETAIN FOR FUTURE REFERENCE
For Customer Services & Spare Parts please call 0345 209 7461

Contents
Safety Instructions ………………………………………. 3-4
Product Overview ………………………………………. 5
Usage ………………………………………. 6-7
Cleaning & Maintenance ………………………………………. 8
Trouble shooting ………………………………………. 8
Guarantee ………………………………………. 9
Technical specification ………………………………………. 10
Connections to the Mains ………………………………………. 11

Safety Instructions
Important note:
Please read this booklet before installing and switching on this appliance.
The manufacturer assumes no responsibility for incorrect installation and
usage as described in this booklet.
This appliance can be used by children aged from 8 years and above and
persons with reduced physical, sensory or mental capabilities or lack of
experience and knowledge if they have been given supervision or
instruction concerning use of the appliance in a safe way and understand
the hazards involved. Children shall not play with the appliance.
•Children should be supervised to ensure that they do not play with the
appliance.
•If the supply lead is damaged it must be replaced by a qualified person
using the correct lead, available from 0345 209 7461.
•Packaging material is dangerous to children. Never allow children to play
with packaging material.
•Check the appliance for damage after unpacking it. Do not connect the
appliance if it has been damaged in transport.
•The appliance can only be used safely if it is correctly installed according
to the safety instructions. The installer is responsible for ensuring that
the appliance works correctly after installation.
•A defective appliance may cause electric shock. Never switch on a
defective appliance. Unplug the appliance from the mains or switch off
the circuit breaker in the fuse box. Contact the customer services.
•The appliance is not intended to be operated by means of an external
timer or separate remote control system.
•This appliance is intended for domestic use and the household
environment only. The appliance is not intended for use outside.
3
Safety Instructions
•Do not tamper with the appliance. If necessary, call our customer
helpline.
•Do not switch on the appliance if it is damaged in any way. Contact our
customer helpline.
•Do not leave the appliance unattended during operation. The
manufacturer is not liable for damage which is caused by improper use
or incorrect operation.
•The accessible parts become very hot when in operation. Never touch
hot parts. Keep children at a safe distance.
•In the event of a malfunction, turn off the appliance’s electricity
supply. For repairs, call customer services.
•Ensure that your mains voltage corresponds to that stated on the
appliance.
•The appliance should be connected to an earthed main socket.
•Before cleaning, always unplug the appliance from the power supply.
•Repairs can only be undertaken by a competent qualified electrician.
•This appliance is intended only for drying textiles washed in water.
4
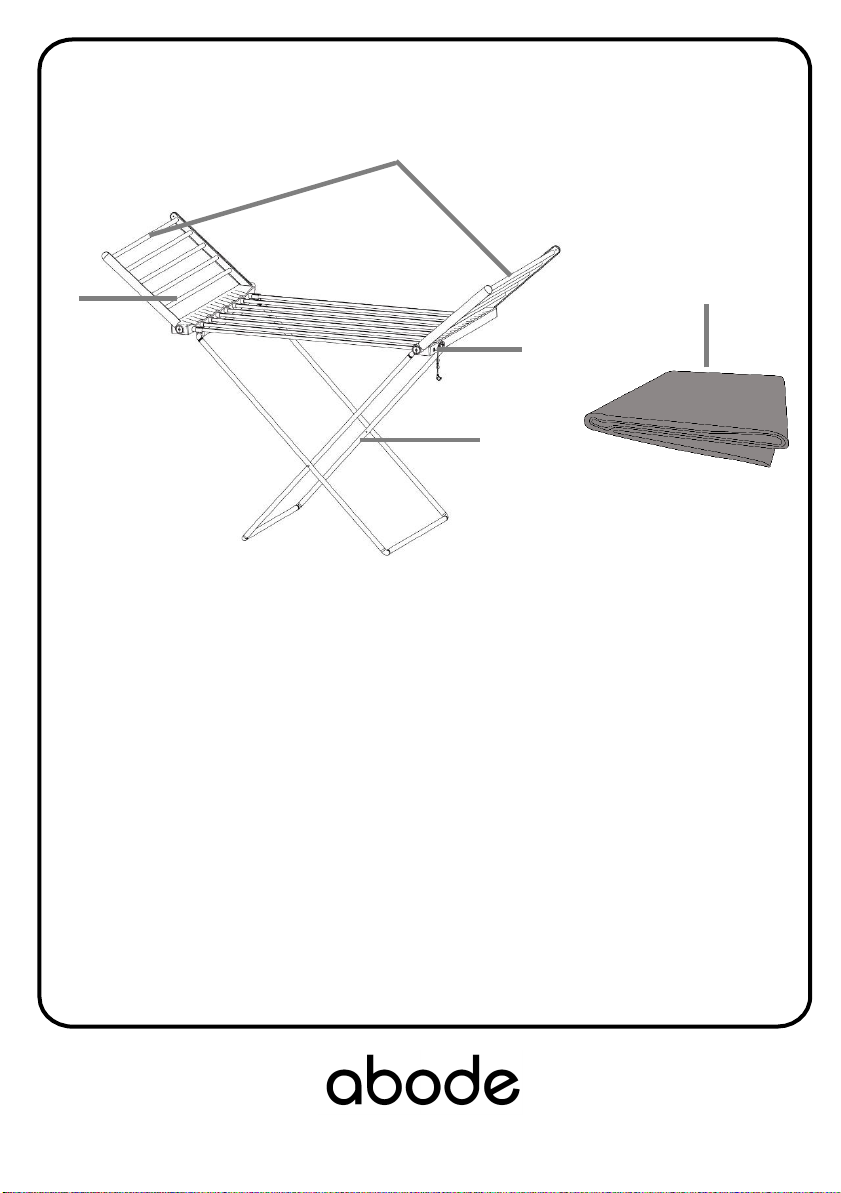
Product Overview
2
4
Unit & Spare Parts
If any of the above parts are missing please contact the customer service team on
0345 209 7461.
1
5
3
1. Wings
2. Drying poles
3. Power switch
4. Legs
5. Cover
5

Usage
Note: When opening/unfolding and closing/folding the clothes airer then please
be careful to not trap your fingers or hands.
To use the clothes airer please follow the below steps:
1. Unfold the clothes airer, ensuring the legs are fully extended and the wings
are open and rest on the side bars. Be careful to not trap your fingers or
hands.
2. Ensure the clothes airer is fully upright and placed on a stable floor. Plug the
appliance into an earthed mains socket.
6
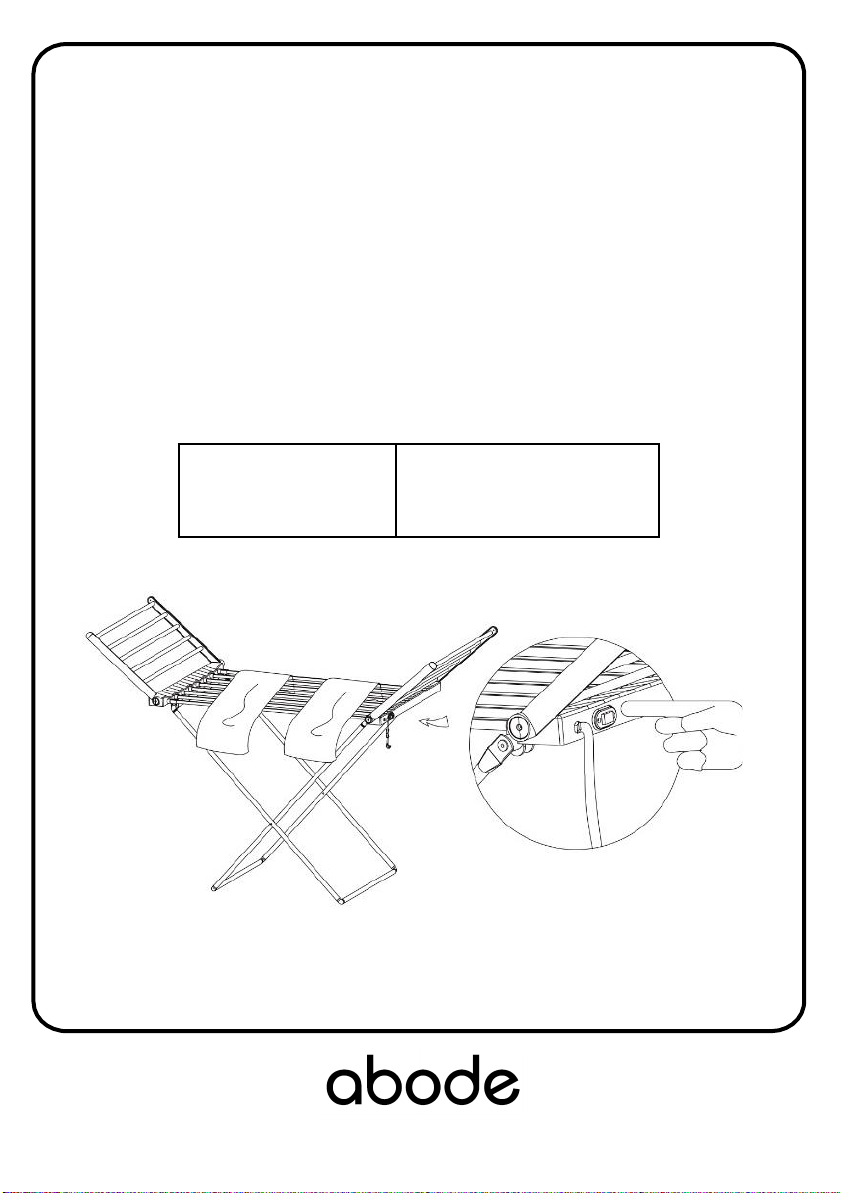
Usage
Note: When opening/unfolding and closing/folding the clothes airer then please
be careful to not trap your fingers or hands.
3. Ensure the clothes airer is fully upright and placed on a stable floor. Plug the
appliance into an earthed mains socket.
4. Locate the power switch which is on the side of the unit and press the switch
to the ON position, the light will illuminate. After a short period of time
(approximately 5-10 mins) the electric clothes rack will reach its operation
temperature. Put the laundry on the airer as required and if required place the
cover over the airer and the clothes (by using the cover the laundry should dry
faster).
5. Switch off after use. Allow to cool down before closing/unfolding.
7
Max load (kg)
Total –10kg
Main body - 5kg
Arm/wing –2.5kg (each)

Cleaning and Maintenance:
How to clean:
•Clean the surface of each pole with a warm damp cloth and allow to dry.
8
Trouble Shooting:
Problem
Solution
The appliance doesn't work
Check that the appliance is switched on.
Check that there has not been a power cut.
Check that the plug is not
faulty.
Check that the fuse has not blown.
Check that the voltage is correct for the appliance.

9
Guarantee
This product is guaranteed for 12 months from the date of the original
purchase. If any defect arises due to faulty materials or workmanship you
must contact customer services with the original proof of purchase so a
replacement or refund can be arranged.
Refund or replacement is at the discretion of Customer Services.
The following conditions apply:
•Customer Services will require a valid proof of purchase at the point of
replacement or refund.
•The product must be installed and used in accordance with the
instructions contained in this instruction guide and any other
instructions for use which has been supplied.
•It must be used for domestic purposes only and for its intended use.
•This guarantee does not cover wear and tear, damage, misuse or
consumable parts.
This does not affect your statutory rights.
For Customer Services & Spare Parts please call 0345 209 7461

Technical Specification
Model number AECHD2001
Rated Voltage 220V –240V ~ 50Hz
Wattage 230W
IP rating IPX1
Temperature range 45 - 55⁰C
Max load (kg)
Total –10kg
Main body - 5kg
Arm/wing –2.5kg (each)
Unfolded Dimensions (H x W x D) (CMS) 93cm x 148cm x 54cm
Folded Dimensions (H x W x D) (CMS) 5.3cm x 96.6cm x 54cm
10
Table of contents


