Access Interfacing Solutions ADR100 User manual

Subject: ADR100 Getting
Started Guide
Revision: 2.2
Issue Date: 30/10/2018
Product names mentioned
herein are for identification
purposes only and may be
trademarks and/or
registered trademarks of
their respective companies.
© Copyright 2018
ALL RIGHTS RESERVED
Access-IS
18 Suttons Business Park, Reading
Berkshire, RG6 1AZ, United Kingdom
Tel: +44 (0) 118 966 3333
Web: www.access-is.com
Email: support@access-is.com
ADR100
Photo ID Reader
Getting Started Guide

Page 2of 16 Copyright © Access-IS 2018
Warnings
This manual contains important information regarding the installation and operation of the ADR100 Photo ID
Reader. For safe and reliable operation of the imager, installers must ensure that they are familiar with, and
fully understand, all instructions contained herein.
Warranty
Access Ltd warrants that this product shall be free from defects in workmanship and materials for a period of
one year from the date of original purchase. If the product should fail to operate correctly in normal use during
the warranty period, Access will replace or repair it free of charge. No liability can be accepted for damage
due to misuse or circumstances outside Access' control. Access will not be responsible for any loss, damage
or injury arising directly or indirectly from the use of this product. Access' total liability under the terms of this
warranty shall in all circumstances be limited to the replacement value of this product.
Radio Frequency Energy
European EMC Directive 2014/30/EU
This product complies with the requirements of this directive by meeting the following standards:
EN 55022:2010: Information technology equipment. Radio disturbance characteristics. Limits and
methods of measurement.
BS EN 55024:2010+A1:2015: Information technology equipment. Immunity characteristics. Limits
and methods of measurement.
FCC Compliance Statement (United States)
This equipment generates, uses and can radiate radio frequency energy and if not installed and used
properly, that is, in strict accordance with the manufacturer's instructions, may cause interference to radio
communication. It has been tested and found to comply with the limits for a class A computing device in
accordance with the specifications in Subpart J of part 15 of FCC rules, which are designed to provide
reasonable protection against such interference when the equipment is operated in a commercial
environment. Operation of this equipment in a residential area may cause interference, in which case the user
at his own expense will be required to take whatever measures may be necessary to correct the interference.
Changes or modifications not expressly approved by the manufacturer could void the user's authority to
operate the equipment.
Canadian Department of Communications RFI statement
This equipment does not exceed the class A limits for radio noise emissions from digital apparatus set out in
the radio interference regulations of the Canadian Department of Communications.
Le présent appareil numérique n'émet pas de bruits radioélectriques dépassant les limites applicables aux
appareils numériques de la classe A prescrites dans le règlement sur le brouillage radioélectriques publié par
le ministère des Communications du Canada.

Page 3of 16 Copyright © Access-IS 2018
Contents
1. Overview ............................................................................................................................4
2. Installation .........................................................................................................................5
2.1 Opening the box.......................................................................................................5
2.2 Connecting the ADR100 to the host..........................................................................5
2.3 Mounting...................................................................................................................6
2.4 Testing the device ....................................................................................................6
2.5 Troubleshooting........................................................................................................7
2.6 Maintenance.............................................................................................................8
3. Access-IS Document Reader Software............................................................................9
3.1 Installing the software...............................................................................................9
3.2 Starting the software...............................................................................................12
3.3 Reading your first document...................................................................................12
3.4 Document reader software status messages..........................................................14
A. Specifications..................................................................................................................15
B. Model numbers................................................................................................................16
C. Document history............................................................................................................16

Page 4of 16 Copyright © Access-IS 2018
1. Overview
The ADR100 Photo ID Reader captures a full-colour image of an ID card together with ultraviolet
(UV) and, where the option is installed, infrared (IR) images. This device has been designed for
indoor and outdoor use, under all lighting conditions and weather –overcast, bright sun, rain.
When a photo ID card is presented to the reader the photograph on the card is automatically
detected, cropped and rotated, allowing both the holder’s portrait and card images to be displayed
right-way-up. When reading an ICAO-compliant driving licence or identity card, the Photo ID Reader
will also decode its Machine Readable Zone (MRZ).
Access-IS Document Reader Software (ADRS) is the perfect partner for the ADR100. Capable of
standalone use, ADRS provides a graphical display that delivers an instant visual snapshot of
document data, resulting in a more efficient and effective workflow. More advanced users can take
advantage of its powerful programming interface, which allows the software to be integrated into
larger systems.
•Full-page capture of credit card sized documents in colour and UV, with an option to also capture
IR greyscale images.
•Reads ID cards, driving licences and, when fitted with the IR option, resident permits conforming
to ICAO 9303.
•Option to also read 1D and 2D barcodes.
•Designed to be used indoors or outdoors in any weather.
•Audible beep to confirm successful data capture.
•Replaceable 4 mm toughened and scratch-resistant glass face.
•Robust, compact and maintenance-free design.
•Supports ID-1 (credit card) sized documents
including:
All US state and federally-issued ID cards,
such as driver’s licenses, photo IDs, voter
IDs, social security cards, medical ID
cards, immigration IDs and resident
permits.
All North American, European and other
national driving licences.
All European and other national ID and
e-ID cards.
EHIC (European Health Insurance Card).
Travel tickets.
Any CR-80/ID1 documents.
Figure 1: ADR100 Photo ID Reader

Page 5of 16 Copyright © Access-IS 2018
2. Installation
The ADR100 is simple to install. You can connect the product before or after you install the
Access-IS Document Reader Software (ADRS) on the host computer.
Refer to Installing the software (on page 9) for software installation instructions.
2.1 Opening the box
Unpack the ADR100 and ensure that you have the following items:
•Advisory notice card.
•ADR100 Photo ID Reader.
•USB 2.0 cable.
•24 V DC power supply unit.
Report any missing items or damage immediately to your Sales Representative.
2.2 Connecting the ADR100 to the host
Connect the ADR100 directly to a USB port on the host computer. Ensure that the host is running
Windows XP or above.
Note: The ADR100 is approved for use with a USB cable no longer than 3 m total length. If a longer
cable is used, you should fit a DC EMC filter to the power supply. Please contact the Access-IS
support team for details.
1. Plug the white Molex power connector into the 24 V DC power supply supplied by Access-IS or
your own power supply unit.
2. Plug the micro USB connector into the ADR100.
3. Ensure the power supply is connected to an available power outlet using a suitable IEC power
cord.
4. Connect the other end of the USB cable to a USB 2.0 socket on the host PC.
When you connect the ADR100 to a USB port, Windows automatically detects the device and
installs the required standard Windows drivers, which may take a few minutes.
5. Install the software (see Access-IS Document Reader Software (on page 9)).
No additional drivers are needed.

Page 6of 16 Copyright © Access-IS 2018
2.3 Mounting
The ADR100 is an OEM device designed for integration into self-service kiosks. The device has
been designed for indoor and outdoor use, under all lighting conditions and weather –overcast,
bright sun, rain.
Warning: The quality of the UV image can be adversely affected in high brightness conditions due
to UV light emitted from the sun being transmitted through the scanned document.
Figure 2: ADR100 dimensions (in millimetres)
2.3.1 Mounting points
When mounting the ADR100, use four M4 screws (not provided) to mount the unit. From the base of
the ADR100 (bottom of the plastic housing), the minimum insertion depth is 3 mm. The maximum
insertion depth is 6 mm.
2.4 Testing the device
Once you have connected the device and installed the software (see Access-IS Document Reader
Software (on page 9)), you can test the device. To do this, place an ID document on the glass
platen and check that it is detected and captured by the ADR100.
When using a document with an ICAO-compliant MRZ and the ADR100's IR option is fitted, the
document reader software should display a visual snapshot of the document's data, including
images. If the device fails to respond when connected to the host, refer to the Troubleshooting
section of this document.

Page 7of 16 Copyright © Access-IS 2018
2.4.1 ADR100 status indicators
Four indicators on the back of the device allow you to check the status of the ADR100.
Figure 3: The ADR100 rear view, showing lighting
indicators and cable connections
Table 1: ADR100 status indicators
Colour
Description
Blue
The ADR100 is switched on and
has power.
Communication with the document
reader software's Application
Programming Interface (API) is
established and the ADR100 can
read a document.
Orange
The ADR100 is busy reading a
document, or the detected
document is not stable.
Red
Bad read indicator.
Green
Good read indicator.
If all of these indicators are illuminated, the ADR100 is switched on, but there is no communication
between the ADR100 and the document reader software's API.
When ADRS is started, only the blue power indicator illuminates; the ADR100 is in standby mode
waiting to read a document. The ADR100 is not ready to scan a document if the blue power
indicator is not illuminated.
2.5 Troubleshooting
If the ADR100 does not appear to be working, refer to the following table to help identify and resolve
the problem. For further assistance, contact Customer Support (support@access-is.com).
Alternatively, use the Contact Customer Support page on the Access-IS website.
Note: Do not attempt to disassemble the ADR100 if it does not operate correctly. Any attempt to do
so may be dangerous and will invalidate the warranty.
Table 2: Troubleshoot ADR100
Problem
Solution
Persistent 'bad reads'
(A bad read is defined as more than
7 misread characters)
Ensure that you place the document correctly in the document
guide.
If the document is correctly placed, check the document
window, and clean as necessary.
The ADR100 is not detecting a
document
Check that ADRS is ready. Refer to Document reader
software status messages (on page 14) for more
information.
The ADR100 cannot scan a barcode
Ensure that the unit has been purchased with barcode option
enabled.
Ensure that the unit is configured to read the barcode that you
are scanning.
If scanning a document, ensure that the print quality is good.
If scanning a barcode on a mobile phone, ensure that you set
the screen backlight on the phone to its brightest setting.

Page 8of 16 Copyright © Access-IS 2018
2.6 Maintenance
2.6.1 Cleaning
Clean the glass with a lint-free cloth. If the glass is dirty, wipe the glass with a lint-free cloth
moistened with isopropyl alcohol or use an alcohol wipe. Do not use abrasive cleaners.
2.6.2 Storage
Store the unit in its original box, at a temperature of 0°C to 60°C.

Page 9of 16 Copyright © Access-IS 2018
3. Access-IS Document Reader Software
The Access-IS Document Reader Software (ADRS) delivers an instant visual snapshot of document
data, resulting in a more efficient and effective workflow.
You can install the software before or after you connect the ADR100 to the host computer.
For more information on how to configure ADRS, refer to the ADRS User Guide.
3.1 Installing the software
Before you install ADRS, make sure that your computer meets the minimum hardware requirements
and is running Windows XP or above.
To install ADRS, do the following:
1. Download the latest version of ADRS.
You can download the software from the Access-IS website
(http://www.access-is.com/gettingstarted/).
2. Extract the contents of the download file to a folder on your computer.
3. Run the Access-IS Document Reader.exe file.
The Access-IS - Document Reader Setup dialog box appears.
4. Click Next to continue and display the License Agreement page.
5. Review the license agreement and click I Agree to accept the terms of the agreement and
continue.

Page 10 of 16 Copyright © Access-IS 2018
6. On the Choose Components page, select the components to install.
If you do not want to integrate the software into another system and will therefore not require the
sample code, then you may clear the Sample Code check box.
7. Click Next.
8. On the Choose Install Location page, select the installation folder.
A default location is provided; to install to a different location, click Browse and select the folder
that you want to use.
9. Click Install to start installation.
Depending on your system's settings, a message may appear asking if you want to disable the
Certificate Propagation service. This service may affect the RFID operation of Access-IS
products with RFID functionality.
If you only use devices without RFID, such as the ADR100 and OCR31x, please select No. If, in
the future, you are planning to use an Access-ID RFID-enabled device, then please select Yes.

Page 11 of 16 Copyright © Access-IS 2018
If you do not use a smart card to unlock the host computer, you can safely disable the service.
The web page that automatically opens provides more information on the Certificate
Propagation service (https://www.technet.microsoft.com/en-us/library/ff404288).
Click Yes to stop and disable the service, and then click OK.
10. When installation is complete, click Next and then click Finish.
3.1.1 What getsinstalledand where?
By default, the installer installs all the necessary software, API components and documentation in
the following location: Program Files (x86)\Access-IS\Access-IS Document Reader
You can access ADRS, the Software Development Kit (SDK) and other tools from the Access-IS
Document Reader group on the Windows Start menu.
Figure 4: Access-IS Document Reader group on the Start menu
3.1.2 Sample code
If installed, you can access the sample code, from the following location:

Page 12 of 16 Copyright © Access-IS 2018
3.1.3 ADRS application, SDK and tools
Table 3: ADRS application, SDK and tools
Application
Access-IS Document Reader
Opens the ADRS application.
SDK
Access-IS ADR User Manual
Describes how to configure and use ADRS.
Access-IS API Documentation
Describes the VideoOCR API.
Access-IS Barcode API
Describes the barcode DLL, used by a document
reader to decode barcodes.
Access-IS Programmers
Guide
Describes how to use the VideoOCR API to control
the operation and data provided by a document
reader.
Access-IS RFID API
Describes the RFID DLL, which adds RFID
functionality to a document reader.
Not applicable to the ADR100.
Tools
Access-IS Installer
Information
Provides installation information and an option to
uninstall the document reader and associated files.
Access-IS System Information
Provides operating system information.
3.2 Starting the software
1. Connect the ADR100 to the host. See Connecting the ADR100 to the host (on page 5) for
details.
2. Double-click the Access-IS Document Reader shortcut on the host's desktop.
The Access-IS Document Reader opens.
3.3 Reading your first document
Use ADRS to read and display the information in a read document. The software displays the
information in an easy-to-read format so that you can quickly check the authenticity and validity of
the document.
1. Ensure that the ADR100 is connected to the host and that you have started ADRS.
The message in the status bar at the bottom of the ADRS window indicates that the ADR100 is
ready.
A message displayed in the status bar with a pink background indicates a problem. Refer to
Document reader software status messages (on page 14) for details.
2. Place the ID document that you want to read onto the glass platen with side of the document to
be read facing into the ADR100. Slide the ID document until it meets the lower and side guide.
The ADR100 captures a full-colour and ultraviolet image of the ID document, together with an
infrared image, if installed. When reading an ICAO-compliant driving licence or identity card with
an IR-ready ADR100, it decodes the MRZ and validates the data for accuracy.
The Summary tab in the Access-IS Document Reader window displays the images and other
details collected from the read ID document.
Images - Displays captured images.
Barcode Information - Displays barcode and validation information (if barcode reading is
enabled on the ADR100).
Document Information - Displays MRZ data and a face-detect image (if applicable).

Page 13 of 16 Copyright © Access-IS 2018
3. Review the information displayed on the Summary tab.
Figure 5: ADRS Summary tab. Note the version number of the software displays on the right side of the
status bar, next to the time taken to read and process the document.
The version shown is VideoOCR 3.0.0.5-0; the precise layout may differ in newer versions of the software.
To help you assess the validity of the document, ticks and crosses display next to the
Document Information section.
Age
Displays a tick if the date of birth read from the MRZ indicates that the owner of the
document is older than the age specified on the Configuration tab (default age set to 18).
Valid MRZ
Displays a green tick if the MRZ is valid.
If invalid, you can see why the MRZ is invalid by hovering the mouse over the red cross.
3.3.1 Images
The ADR100 captures images under visible and ultraviolet light and displays colour and ultraviolet
images in the Images panel. A third image captured under infrared light may display if the ADR100
is configured with the infrared option.
3.3.2 Barcode information
If barcode reading is enabled on your ADR100, the barcode type and barcode data in the read
document appears in the Barcode Information section.
3.3.3 Document information
If fitted with the IR option, the ADR100 reads the MRZ, if it is present on the document that you are
scanning. Once read, the reader decodes the information and the details appear in the Document
Information section on the Summary tab. If a colour image is captured, the software picks out the
face from the image and displays this separately.

Page 14 of 16 Copyright © Access-IS 2018
3.4 Document reader software status messages
Messages display in bottom left corner of ADRS. Use these messages to check the status and help
diagnose problems with the reader and software.
Table 4: Document reader software status messages
Message
Description
ADR100 is ready
The ADR100 is connected to the host, powered and ready to
read a document.
Reading
The ADR100 is acquiring images.
Writing Multiple Image file
The ADR100 is acquiring images and saving these to disk.
Set this mode from the software's Configuration tab.
Processing complete
The ADR100 has processed the document.
Automatic reader not started
An attempt to start the reader was made, but it failed. This
generally indicates that the automatic detection of documents
placed in the reader is not enabled (on the Configuration tab).
The setting is enabled by default.
No Document Reader
Connected
The ADR100 is disconnected from the host and software; the
camera will not work. Check USB and power connections.
Could not set Windows Handle
for windows....
Another instance of ADRS is already running. Ensure that you
close ADRS before restarting.
Initialised
The reader is initialised, but the reader has not started correctly.
Make sure the reader is powered up and switched on.
MRZ decoding failed
The ADR100 has detected an MRZ string that is not correctly
formatted. Move the mouse cursor over the MRZ summary icon
to display details of the failure.

Page 15 of 16 Copyright © Access-IS 2018
A. Specifications
Specification
Details
Dimensions (W x D x H)
106 mm x 79 mm x 86 mm
Weight
285 g (excluding cable and power supply unit)
Environmental
Operating temperature: 0ºC to 50ºC
Storage temperature: 0ºC to 60ºC
Humidity: 0 to 95% non-condensing
Body
Black ABS
Glass
4 mm toughened platen
BS EN60068-2-75 and IEC 62262:2002, rated to 6.375 J impact,
with anti-reflective coating
Communications and host
Communication: USB 2.0 high speed
Connection: USB Micro-B connector
Host (minimum): Pentium-4 3 GHz, 2 GB RAM
Supported operating systems: Windows XP and above, 32-bit or
64-bit
Power requirements
24 V DC power supply via Molex connector
Image capture
Full page: JPG, BMP, TIFF, PNG
Resolution: 600 DPI
MRZ reading (if IR option fitted)
Illumination sources: Visible/white, UV and optional IR LEDs
Standard OCR font: OCR-B
Travel and identity documents: 1 line of 30 characters, 2 lines of
36 characters, 3 lines of 30 characters
Barcode reading (optional)
Reads barcodes from mobile phones, tablets and paper
Linear: EAN/UPC, Code 2 of 5, Interleaved 2 of 5, IATA 2 of 5,
Code 39, Code 128
2D: IATA resolution 792, PDF417, Aztec, DataMatrix and QR
codes
(Full list of supported barcodes available on request)
MTBF
85,000 hours
Approvals
CE EMC Class B
•EN 55022
•EN 55024
CE Low Voltage Directive
•EN 60950-1
•IEC 62471: 2006 - Exempt Class
FCC 47CFR Part 15 Subpart B Class A
Canadian Standard ICES-003: Issue 6

Page 16 of 16 Copyright © Access-IS 2018
B. Model numbers
Model
Bezel
Visible
IR
UV
1D/2D
barcode
ADR100-A
A
ADR100-B
B
ADR100-AB
A
ADR100-BB
B
ADR100-AI
A
ADR100-BI
B
ADR100-ABI
A
ADR100-BBI
B
C. Document history
Revision
Date
Description
1.0
02/2015
First issue.
1.1
03/2015
Content revisions.
1.2
12/2015
Download link update.
2.0
09/2016
Content revisions, addition of ADRS.
2.1
09/2018
Minor formatting changes.
2.2
10/2018
Approvals section updated.
Table of contents
Other Access Interfacing Solutions Card Reader manuals
Access Interfacing Solutions
Access Interfacing Solutions BGR750 Series User manual
Access Interfacing Solutions
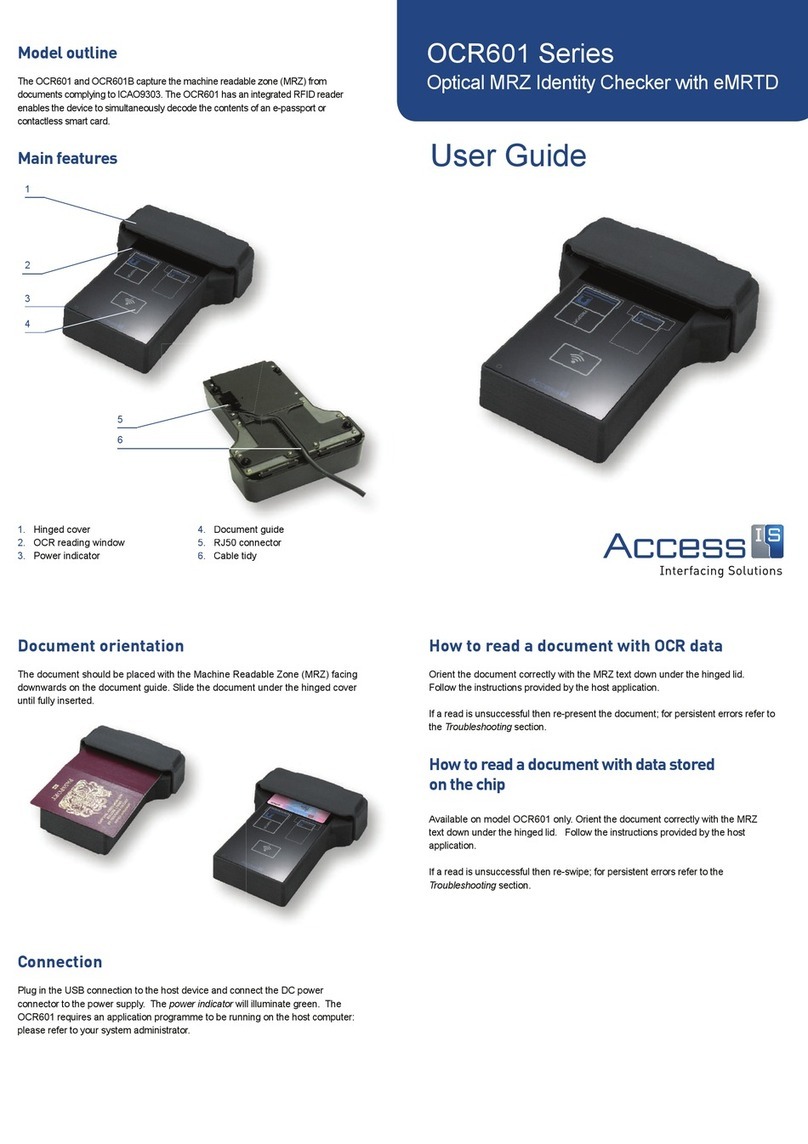
Access Interfacing Solutions OCR640 Series User manual

Access Interfacing Solutions
Access Interfacing Solutions OCR-MC7 User manual

Access Interfacing Solutions
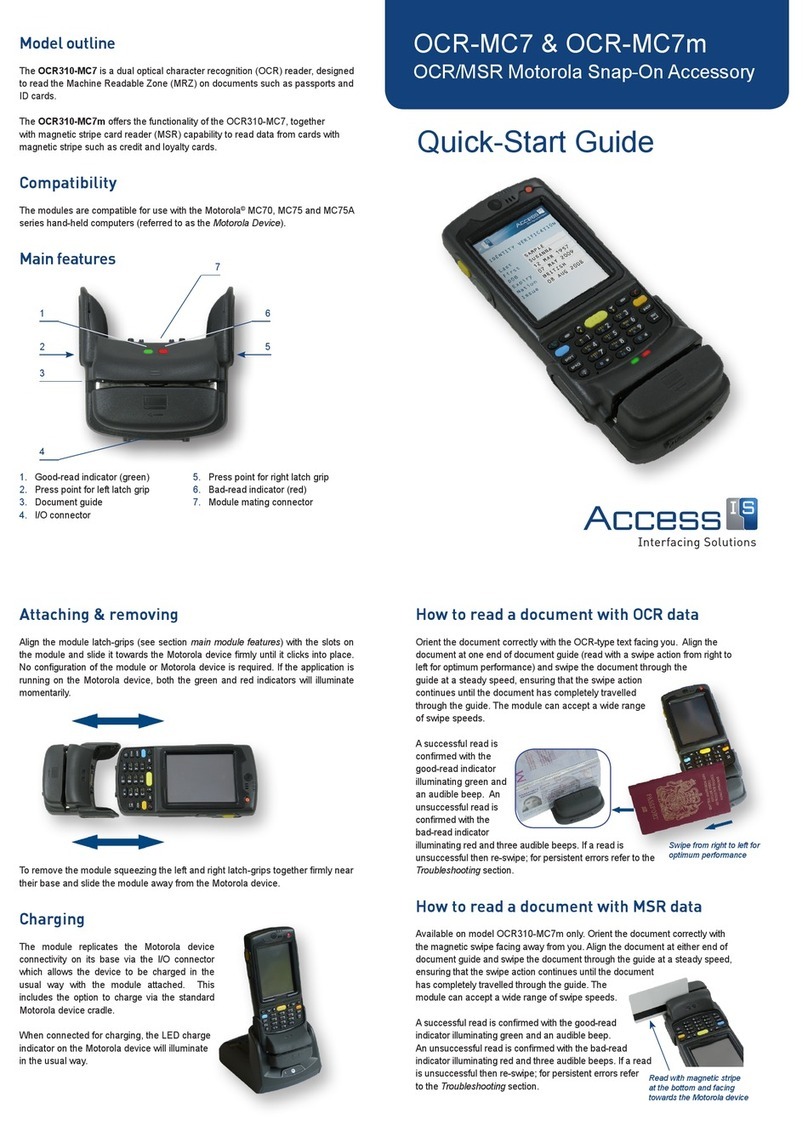
Access Interfacing Solutions OCR601 Series User manual
Popular Card Reader manuals by other brands

USA Technologies
USA Technologies ePort G9 Card Reader install guide

StarTech.com
StarTech.com FCREADHC instruction manual

Icy Box
Icy Box IB-CR201-C3 Quick installation guide

Promate
Promate proLink.OT user guide

OBID
OBID ID CPRPOS installation manual

Microdia
Microdia FlashMover 28-in-1 USB2.0 installation guide