manuals.online logo
Brands
  1. Home
  2. •
  3. Brands
  4. •
  5. Accucraft
  6. •
  7. Toy
  8. •
  9. Accucraft NG16 GARRATT User manual

Accucraft NG16 GARRATT User manual

ACCUCRAFT UK LTD
Pinewood Cottage, Brockhurst
Church Stretton, Shropshire
SY6 6QY
Tel: 01694 723799
www.accucraft.uk.com
OPERATING INSTRUCTIONS
“NG16 GARRATT”
SAFETY FIRST
All our locomotives are safe to run, and will give many hours of
pleasure, providing the following safety procedures are followed: -
1. Please read the instructions thoroughly before running for the
first time.
2. Always do a complete refill of gas, oil and water. Never refill
just the gas to prolong the run.
3. Never let the engine run out of water.
4. When refilling the gas, do not have any naked flame present,
and NO SMOKING!
5. Do not pick up the engine by the bodywork, chimney or boiler,
especially when hot.
6. Only pick up the engine by lifting from under the middle of
the central cradle and, when hot, use old gloves or a cloth.
7. Do not stand over the chimney. Ejected boiling water or steam
may cause serious injury.
8. Do not open the smoke box door while the engine is alight.
2
General Hints
As with all operating machinery, whether model or full size,
wear will occur. In the model steam locomotive much can be
done to help prolong its life and decrease the amount of time
required in the workshop for servicing.
Keep the engine as clean as possible, and the motion free from
dirt and garden debris. The valve gear, axles and crank pins
should be oiled sparingly with light oil, e.g. “3-in -1 Oil”.
Over-oiling attracts dirt and grit, which will increase wear.
Regularly check that all screws and motion bolts are firm. Do
not over-tighten, as this strips threads and shears bolts. When
filling the lubricator, always use a high temperature steam
oil; this is available from other retailers. FAILURE TO
USE THE CORRECT GRADE OF OIL CAN LEAD TO
BLOCKED STEAM PIPES, AND WILL INVALIDATE
THE GUARANTEE.
NEVER USE BOILING WATER IN THE GAS TANK
WATER BATH, only „hand hot‟ water.
When running your engine avoid excessive speed and
acceleration, both will cause premature wear in the valve gear.
Prototypically, narrow gauge locomotives ran at a speed of
between 15 and 20 M.P.H., and never exceeded 25 M.P.H.
Positions of Fillers and Drains etc.
The cab roof lifts up and hinges over to the right hand side of
the locomotive to give access to the interior of the cab.
The gas inlet valve is on its own filling turret on the gas tank,
which is situated in the water bath in the rear bunker. To
access the filler lift up the bunker cover plate. The gas control
valve is also situated in the bunker.
3
The lubricator is in the left hand side to the front of the cab,
just forward of the doorway. The filler cap has a “T” bar in it
to aid removal. The lubricator drains directly down beneath
the cab floor. The drain valve is the lever in the left hand cab
door. The closed position is with the lever vertical. To drain,
turn the lever to horizontal position. To blow down the
lubricator you must also have steam in the boiler and open the
steam regulator, ensuring that first you have placed the
locomotive in mid gear.
The boiler water filler is on top of the steam turret on the
boiler in the middle of the cab. Undo the knurled cap to fill
with water. The main steam regulator valve is the wheel valve
on the rear of the boiler-filling turret.
The direction control is the hexagon nut in the centre of the
cab floor. To put the model into forward gear put the hand
wheel tool provided with the loco, over the hexagon and turn
the wheel to the left (anti-clockwise). To put the model into
reverse gear you must turn the wheel to the right (clockwise).
Turn the wheel until the rods travel fully to the top and bottom
of the expansion links (vertical slotted rods).
Preparation for Running
Your Garratt is fitted with a water gauge; this allows the driver
to keep the model in steam continuously for longer periods of
time than the usual single fill system. This is done using a
Boiler Top-up System provided with your model. The initial
fill up with gas, oil and water is the same as for a basic run, but
then to carry on and run for longer periods requires supervision
of the boiler water level, topping up of the lubricator and
refilling of the gas. These procedures will be explained in
another section after the Running section instructions.
Always service the engine in the following order; first gas, oil
then water.
4
To fill the gas tank: invert the gas can and apply the nipple to
the gas inlet valve on the top of the tank turret. You will know
when the tank is full; gas will blow back from the inlet valve in
a strong jet. A small amount of gas and air will escape during
filling, but the difference between this and when the tank is
full is always clear. Always keep the gas can vertical when
filling the gas tank.
Filling the lubricator:as you will read in the instructions for
the end of the run, the lubricator should be empty of oil and
water with the valve left in the open position. Now close the
valve and remove the lubricator filler cap. Fill up the lubricator
with steam oil to about ¼ of an inch below the top. Leave the
filler cap off for the present, so that any trapped air can escape.
It can be refitted after you have filled up the boiler.
To fill the boiler:remove the filler cap. Fill up the boiler to
about ⅔ to ¾ the way up the water gauge –ideally use filtered
rainwater or distilled water using the large syringe provided.
Replace the boiler filler cap, check that the lubricator does not
need topping up, and then replace its filler cap also. Filler caps
should be firm finger tight. They are sealed with a trapped „O‟
ring and, therefore should not be over-tightened.
Lighting Up
As the gas tank is remote from the heat of the boiler, the gas
will not vaporise easily in cold conditions, i.e. below 20
degrees centigrade (68 degrees Fahrenheit). To help this
problem the gas tank is placed in a water bath. When you have
filled the tank with gas add HAND HOT ONLY water to the
water bath to about ½ an inch up the gas tank. NEVER USE
BOILING WATER. Do not do this before filling the tank
as you may have difficulty in filling the tank.
5
Open the smoke box door; just pull it open by the door handle.
Light your lighter/match etc. and gently open the gas control
valve until a gentle hiss is heard in the burner. Apply your
light into the smokebox and the flame should „pop‟ down the
fire tube and ignite the burner inside the fire tube.
Alternatively you can leave the smoke box door shut and light
the engine via the chimney.
If the gas valve is opened too much the flame will not pop
back; it will either fail to ignite, will roar in flame out of the
smokebox, or there will be a ball of flame around the front of
the engine, which will then blow the whole fire out (after
giving the driver a fright)!
When the fire sound has stabilised, after about 30 seconds the
gas can be turned up until a healthy roar is heard. The smoke
box door may be shut after about two minutes. Now leave the
locomotive to raise steam.
Running
When the engine has raised about 60 to 70 psi, you are ready
to start running. The Garratt is fitted with cylinder drain valves
to aid the removal of condensed water from the cylinders, until
the engine has warmed through. Looking under the cylinders
you will see a long rod with a lever at one end. These are the
drain valve control rods, the closed position is with the lever in
the vertical position and open is with it in the horizontal
position. Before commencing your first run of the day, it is
advisable to open all the cylinder drain valves, and also put a
cloth loosely over the chimney for a few minutes, as
condensed water may be ejected from the chimney. This will
help to keep your model cleaner. This is quite normal; the
motion of the engine will be jerky until all condensate has been
ejected. DO NOT stand over the chimney as ejected boiling
water/steam could cause serious scalding.
6
Turn the direction wheel in the desired direction and ensure the
engine is in full gear, and then open the main steam valve. The
engine should start to move. When starting from cold it can be
jerky, this is normal, as it has to clear the condensate from the
system. The more the main steam valve is opened, the faster
the engine will go; our advice is to start slowly and learn the
road with your engine
After a minute or so, remove the cloth and continue running.
In running it is correct practice to balance the boiler pressure
against the load being pulled and the track conditions. With a
light load and level track the pressure may need to be only 50-
60 p.s.i. therefore, turn the gas control down to keep this
pressure. When running a heavy train with steep gradients,
increase the pressure by turning up the gas.
The ideal running pressure can be learnt by experience and is
one of the pleasures of running a live steam engine. There is
no need to have the safety valve constantly blowing off (it is
what its name implies –a safety vent for excess steam
pressure). In all our designs, the gas has been programmed to
run out just before the water, thus it is important not to refill
with gas alone in order to lengthen the run by a few minutes.
When the gas runs out a complete gas, oil and water service
must be done (remember GOW, also remember to shut the gas
regulator before refilling, and DO NOT refill with gas near
any other live steam loco). When the locomotive slows as the
pressure falls at the end of a run, stop the engine. Gently open
the lubricator valve and blow out any condensed water. If you
intend to continue running, close the drain when you see oil
coming out of it and carry out a general refill. If it is the last
run of the day, leave the lubricator drain valve open and blow
the lubricator completely clean.
7
Continuous Running
To run for longer periods of time than the normal “one fill”
system you will require the Boiler Filling System supplied
with your loco.
This new boiler filling system has been specially developed for
the Accucraft NG16 Garratt. It features an all metal vertical
hand pump; the ram is fitted with an „O‟ ring to improve seal
and allow higher pressures to be handled. The filler valve is of
the „Goodall‟ type but features the special „Finescale‟ bayonet
attachment. This „push and twist‟ fitting means you no longer
have to hold the hose in the filler valve while pumping.
The pump body base is tapped M3 so it can be secured
wherever you want. We have supplied a small aluminium
water pot which has been centre punched on the correct centres
for the pump fixing holes. Should you wish to use this
container, drill out the centre pops on the underneath of the pot
to 3mm dia and using the washers provided as seals on the
inside of the tank. Bolt the pump down using the bolts
provided. You will have to shorten the bolts by about 10mm.
We have provided long bolts in case you want to screw the
pump down to a thicker base material and use a different water
source.
To use the pump first fill the water container. It may then be
necessary to prime the pump by sucking through some water.
Fit the new filler valve in place of your existing boiler filler
cap. To connect the pipe to the loco for water transfer, locate
the fitting on the hose over the boiler filling valve, ensuring the
slots on the hose fitting line up with the guide pips on the filler
valve, push down and twist clockwise to seal. Then just pump.
To disconnect after pumping just twist anti-clockwise and lift
off.
8
For the first fill, service in the normal way. Then run for about
15 minutes, now have a look at the water level. You will
probably need to pump some water into the boiler. Connect the
tube fitting onto the loco and pump water into the boiler until
the gauge glass is showing about ¾ full. Keep an eye on the
water gauge and try to run between ½ and ¾ of a glass.
After another 15 minutes running you will need to refill the
lubricator and top up the gas tank. Also check the water level
and top up if necessary. Stop the loco in a convenient location,
away from other locomotives and turn off the gas. Ensure the
fire is completely out and then top up the gas tank.
Blow around the engine so there is no residual gas about, then
re-light the fire. To refill the lubricator, first put the loco in
neutral (mid gear). Open the drain valve then gently open the
steam regulator. When the lubricator has been blown clean,
close the regulator and remove the lubricator cap. Now close
the drain valve and refill with superheat steam oil to the correct
level. Re-fit the lubricator cap. All this time the engine has had
the fire alight and will have a good head of steam, so now
carry on running.
Keep an eye on the water level at all times and try to refill the
gas tank and lubricator every 20 minutes to half an hour.
End of Run
As previously mentioned, the locomotive will slow (due to
pressure dropping), when the fire has gone out, stop at a
convenient place and open the lubricator drain valve. Blow
out all condensed water and the remaining oil. Leave the drain
valve open and allow all the remaining steam to blow out. The
locomotive should be allowed to cool. When cool, clean the
engine, check the motion and oil if necessary. The locomotive
should always be put away in a clean condition as it attracts
less dust and is always ready for the next run (or to be shown
9
to an admiring friend). Always leave the lubricator drain valve
and the boiler blow down valve open, so that the boiler will not
be strained if subject to any temperature change. It is advisable
to store the locomotive where any residual drips of oil or water
do not matter.
Blocked Gas Jets
The gas jets of your Garratt are fitted with jet filters so in
normal operation blocked jets should not be a problem
However if the gas jet becomes completely blocked with
particles of dirt within the gas, the jet will have to be removed
and cleaned. Pulling gently backwards remove the pipe and jet
holder assembly from the burner. You may find it easier to
also remove the cab roof and rear cab back
Holding the jet holder gently in a pair of pliers, unscrew the
jet. To clear, place the jet nozzle against the inverted gas can
nozzle and clear the jet with a blast of gas. Under no
circumstances use a pricker wire, this will damage the jet hole.
Replace the jet in the holder, ideally using a thread sealant
sparingly on the threads. Ensure it is tightened up firmly. Now
test CAREFULLY for gas leaks, first with a 50/50 mixture of
washing up liquid and water, and then if no bubbles are
showing, with a flame and the gas “just on”. Tighten if
required. Now replace the jet assemblies back into the burners.
10
Gauge Changing
All Garratt locomotives are supplied set to 45mm gauge, but a
“gauge change” kit is supplied with each engine. This will
allow you to run on either 32mm or 45mm gauge track. All
wheels are insulated as standard. To change the gauge, lay the
engine gently on its side, on a thick cloth, loosen all the grub
screws in the boss on the back of the wheels using the Allen
key provided. The axles are dimpled for each gauge, so you do
not have to measure for the right gauge. Slide the wheels to the
gauge required and tighten up the grub screws. These should
be checked as a routine at the start of each running session.
***************
As with all comprehensive models, we strongly recommend a
full demonstration (by our agents) before purchase, enabling
you to get the best out of your model right from the start.
HAPPY STEAMING!

Other Accucraft Toy manuals

Accucraft ACCUCRAFT 7/8 SCALE 7 x 12 INCH BAGNALL User manual

Accucraft

Accucraft ACCUCRAFT 7/8 SCALE 7 x 12 INCH BAGNALL User manual

Accucraft Dora User manual

Accucraft

Accucraft Dora User manual

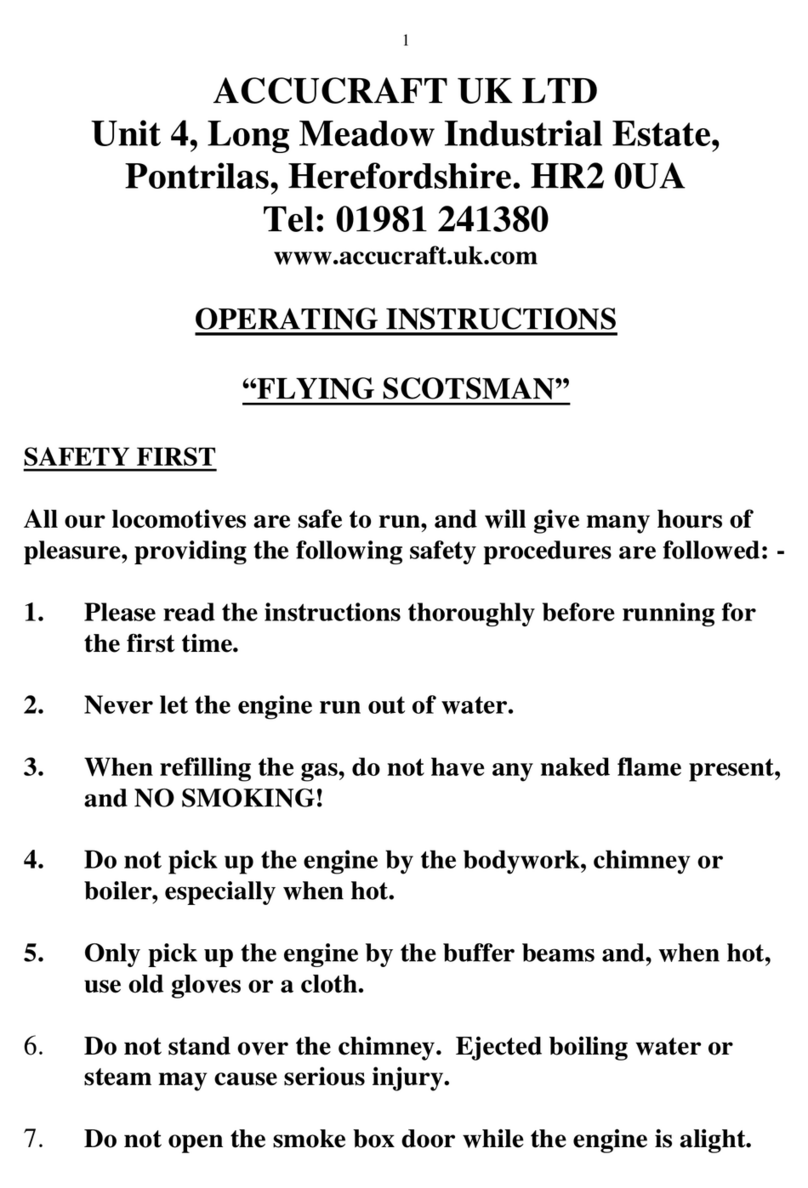
Accucraft FLYING SCOTSMAN User manual

Accucraft

Accucraft FLYING SCOTSMAN User manual

Accucraft D&RGW C-16 User manual

Accucraft

Accucraft D&RGW C-16 User manual

Accucraft D&RGW C-16 User manual

Accucraft

Accucraft D&RGW C-16 User manual

Accucraft D&RGW K-27 463 User manual

Accucraft

Accucraft D&RGW K-27 463 User manual

Accucraft DSP&P 2-8-0 User manual

Accucraft

Accucraft DSP&P 2-8-0 User manual

Accucraft KERR STUART WREN 0-4-0ST User manual

Accucraft

Accucraft KERR STUART WREN 0-4-0ST User manual

Accucraft wsl 15 User manual

Accucraft

Accucraft wsl 15 User manual

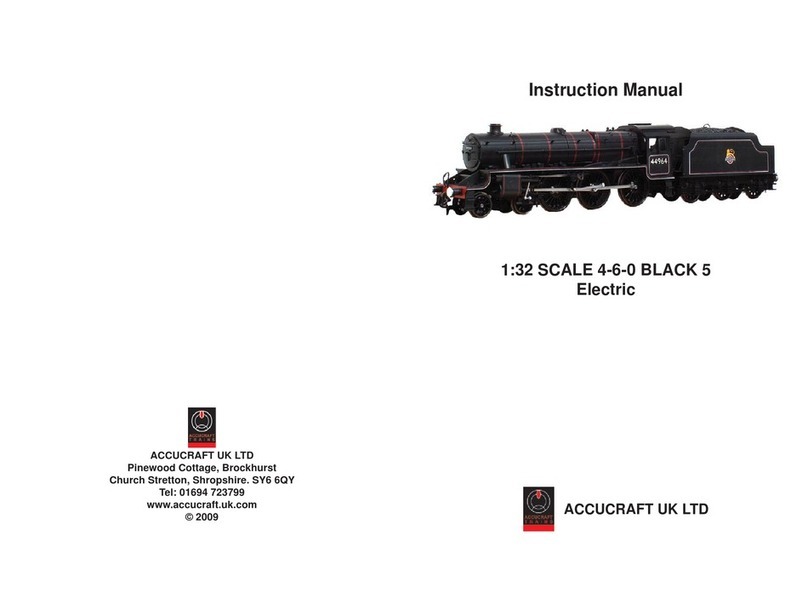
Accucraft 4-6-0 BLACK 5 User manual

Accucraft

Accucraft 4-6-0 BLACK 5 User manual

Accucraft "W&L Hunslet No. 14" MANUAL CONTROL User manual

Accucraft

Accucraft "W&L Hunslet No. 14" MANUAL CONTROL User manual

Accucraft PECKETT 0-4-0ST Assembly instructions

Accucraft

Accucraft PECKETT 0-4-0ST Assembly instructions

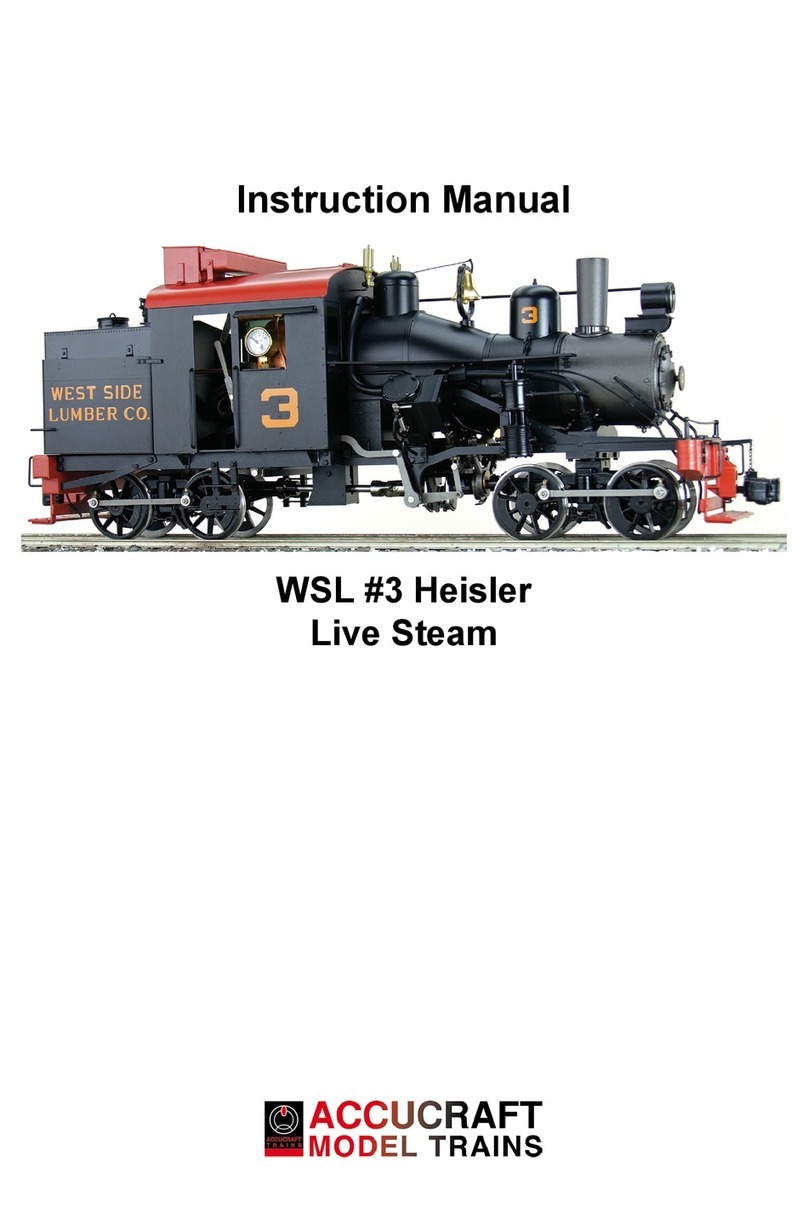
Accucraft WSL #3 heisler User manual

Accucraft

Accucraft WSL #3 heisler User manual

Accucraft D&RGW K-37 User manual

Accucraft

Accucraft D&RGW K-37 User manual

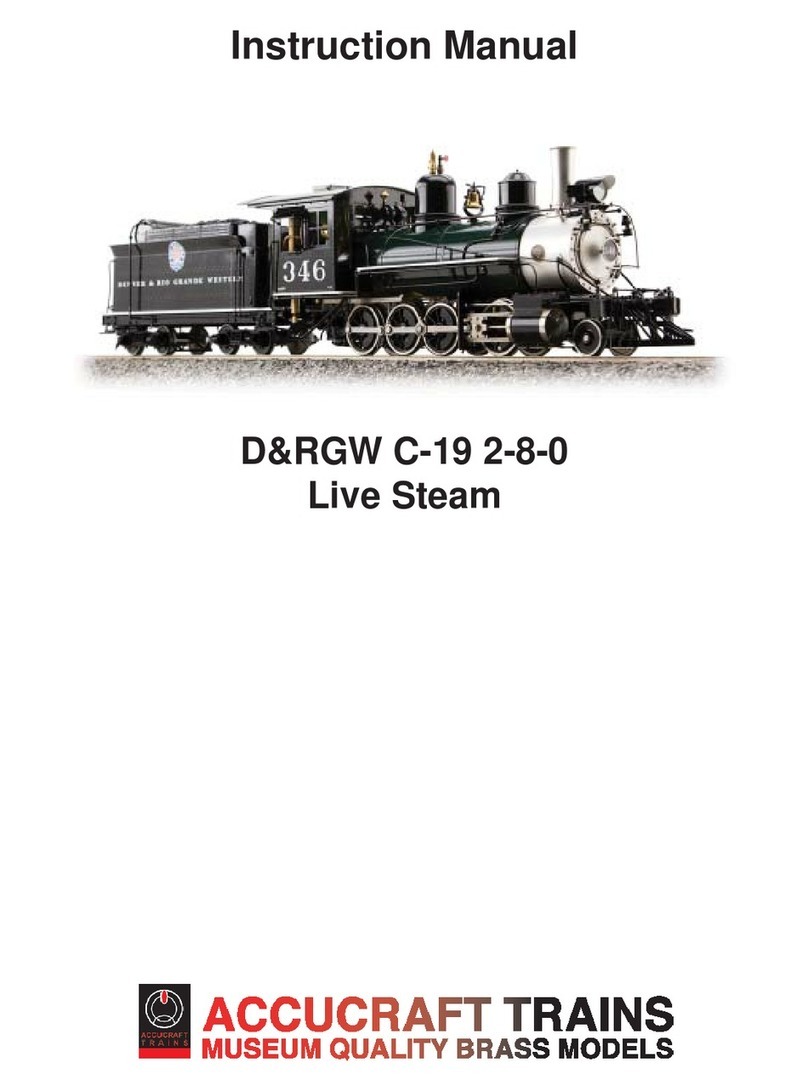
Accucraft D&RGW C-19 2-8-0 User manual

Accucraft

Accucraft D&RGW C-19 2-8-0 User manual

Accucraft SOUTHERN PACIFIC 2-6-0 M-6 ELECTRIC User manual
Accucraft

Accucraft SOUTHERN PACIFIC 2-6-0 M-6 ELECTRIC User manual

Accucraft GWR 61XX PRAIRIE User manual
Accucraft

Accucraft GWR 61XX PRAIRIE User manual

Popular Toy manuals by other brands

Fisher-Price Baby Toy user manual

Fisher-Price

Fisher-Price Baby Toy user manual

REVELL MiG-21 SPS/MF instructions

REVELL

REVELL MiG-21 SPS/MF instructions

Brandani 59038 instruction manual

Brandani

Brandani 59038 instruction manual

Educational Insights Ollie-the Talking, Teaching Owl quick start guide

Educational Insights

Educational Insights Ollie-the Talking, Teaching Owl quick start guide

VQ Models YAKOVLEV YAK-52 instruction manual

VQ Models

VQ Models YAKOVLEV YAK-52 instruction manual

Tiger Electronics Rugrats Flicker Flasher Game 09-704 instructions

Tiger Electronics

Tiger Electronics Rugrats Flicker Flasher Game 09-704 instructions

GOODRICH Extra 300 manual

GOODRICH

GOODRICH Extra 300 manual

LEGO SCOOBY-DOO 75903 Building instructions

LEGO

LEGO SCOOBY-DOO 75903 Building instructions

Dodge Challenger 2018 owner's manual

Dodge

Dodge Challenger 2018 owner's manual

NOCH 60260 manual

NOCH

NOCH 60260 manual

Trix VT 95.9 manual

Trix

Trix VT 95.9 manual

The Learning Journey Techno Gears Marble Mania Extreme GLO instruction manual

The Learning Journey

The Learning Journey Techno Gears Marble Mania Extreme GLO instruction manual

Composite-ARF Yak-55 SP instruction manual

Composite-ARF

Composite-ARF Yak-55 SP instruction manual

REVELL RMS Titanic Assembly manual

REVELL

REVELL RMS Titanic Assembly manual

Seagull Models SEA274 Assembly manual

Seagull Models

Seagull Models SEA274 Assembly manual

Eduard Bf 109E-7 exterior quick start guide

Eduard

Eduard Bf 109E-7 exterior quick start guide

The Wings Maker Flyboy 50 instruction manual

The Wings Maker

The Wings Maker Flyboy 50 instruction manual

Eduard RF-4C Phantom II quick start guide

Eduard

Eduard RF-4C Phantom II quick start guide

manuals.online logo
manuals.online logoBrands
  • About & Mission
  • Contact us
  • Privacy Policy
  • Terms and Conditions

Copyright 2025 Manuals.Online. All Rights Reserved.