manuals.online logo
Brands
  1. Home
  2. •
  3. Brands
  4. •
  5. Accucraft
  6. •
  7. Toy
  8. •
  9. Accucraft PECKETT 0-4-0ST Assembly instructions

Accucraft PECKETT 0-4-0ST Assembly instructions

1
ACCUCRAFT UK LTD
PO Box 394, Hereford
Herefordshire. HR1 9QN
Tel: 01981 241380
www.accucraft.uk.com
OPERATING INSTRUCTIONS AND OWNER LOG BOOK
PECKETT 0-4-0ST (1:19 SCALE)
SAFETY FIRST
All our locomotives are safe to run, and will give many hours of
pleasure, providing the following safety procedures are followed: -
1. Please read the instructions thoroughly before running for the
first time.
2. Always do a complete refill of gas, oil and water. Never refill just
the gas to prolong the run.
3. Never let the engine run out of water.
4. When refilling the gas, do not have any naked flame present, and
NO SMOKING!
5. Do not pick up the engine by the bodywork, chimney or boiler,
especially when hot.
6. Only pick up the engine by the buffer beams and, when hot, use
old gloves or a cloth.
7. Do not stand over the chimney. Ejected boiling water or steam
may cause serious injury.
8. Do not open the smoke box door while the engine is alight.
2
General Hints
As with all operating machinery, whether model or full size, wear
will occur. In the model steam locomotive much can be done to
help prolong its life and decrease the amount of time required in the
workshop for servicing.
Keep the engine as clean as possible, and the motion free from dirt
and garden debris. The valve gear, axles and crank pins should be
oiled sparingly with light oil, e.g. “3-in-1 Oil”. Over-oiling attracts
dirt and grit, which will increase wear.
Regularly check that all screws and motion bolts are firm. Do not
over-tighten, as this strips threads and shears bolts. When filling
the lubricator, always use a high temperature steam oil (460
grade is recommended); this is available from other retailers.
FAILURE TO USE THE CORRECT GRADE OF OIL CAN
LEAD TO BLOCKED STEAM PIPES AND WILL
INVALIDATE THE GUARANTEE.
When running your engine avoid excessive speed and acceleration,
both will cause premature wear in the valve gear. Prototypically,
narrow gauge locomotives ran at a speed of between 10 and 20
M.P.H., and rarely exceeded 25 M.P.H.
Positions of Fillers and Drains etc.
The cab roof is hinged and swings open to one side, giving access
to the cab controls and various filling points.
The gas inlet valve is on top of the gas tank, to the right of the boiler
–you will need a gas adapter to fill this. The gas control valve is the
knob attached to the gas outlet manifold on the gas tank.
The lubricator is on the left-hand side of the cab. Always leave an
air space to allow steam to condense. Condensed water will need to
be released via the drain valve under the footplate.
3
The boiler water filler is on the manifold on top of the firebox in the
cab. The Goodall valve will allow the boiler to be topped up while
in steam. The main steam regulator valve is the handle on the rear of
this manifold.
The boiler water blowdown is under the nearside of the footplate –
The boiler is fitted with a water gauge and this can be used to
determine the level when filling the boiler. Always leave space for
expansion and steam space.
The direction control is the lever inside the offside of the cab. To
operate push gently inwards and move to the desired direction. The
control is “gated” and will therefore hold itself in the full forward or
reverse position.
The safety valve can be accessed by unbolting the dome.
Preparation for Running
The Peckett is fitted with a Goodall valve, this allows the driver to
keep the model in steam for longer periods of time. We have only
supplied the valve as many customers now possess a pump bottle.
Should you need a pump bottle you should be able to purchase one
from your local dealer.
Always service the engine in the following order; first gas, oil then
water.
To fill the gas tank: invert the gas can and apply the nipple to the
gas inlet valve on the top of the tank turret. It is advisable to support
the loco under the gas tank whilst filling, to prevent the engine
tipping backwards. You will know when the tank is full; gas will
blow back from the inlet valve in a strong jet. A small amount of
gas and air will escape during filling, but the difference between this
and when the tank is full is always clear. Always keep the gas can
vertical when filling the gas tank. We recommend that Butane gas is
used whenever possible, but the gas tank is manufactured to accept
the extra pressures generated by Butane/Propane mix gases, and the
burner system will also perform using this gas.
4
Filling the lubricator:as you will read in the instructions for the
end of the run, the lubricator should be left empty of oil and water.
Fill up the lubricator with steam oil to about ¼ of an inch below the
top. Leave the filler cap off for the present, so that any trapped air
can escape. It can be refitted after you have filled up the boiler.
To fill the boiler:remove the filler cap and fill the boiler to about ¾
full leaving room for expansion and a steam space, ideally use
filtered rainwater or distilled water using the large syringe provided.
Replace the boiler filler cap, check that the lubricator does not need
topping up, and then replace its filler cap also. Filler caps should be
firm finger tight. They are sealed with a trapped ‘O’ ring and,
therefore should not be over-tightened.
Lighting Up
Open the smoke box door, it is fitted with a magnetic catch and
should be easy to open. Light your lighter/match etc. and gently
open the gas control valve until a gentle hiss is heard in the burner.
Apply your light into the smoke box and the flame should ‘pop’
down the fire tube and ignite the burner inside the fire tube.
If the gas valve is opened too much the flame will not pop back; it
will either fail to ignite, will roar in flame out of the smoke box, or
there will be a ball of flame around the front of the engine, which
will then blow the whole fire out (after giving the driver a fright)!
When the fire sound has stabilised, after about 30 seconds the gas
can be turned up gently. Do not turn the gas up high as the flame
could damage the paint on the smoke box door. The smoke box door
may be shut after about two minutes. Now leave the locomotive to
raise steam.
As the pressure starts to rise this will be registered on the pressure
gauge - let the locomotive raise at least 50 p.s.i.
5
Running
When the engine has raised about 50 psi, you are ready to start
running. It is advisable to run the engine in reverse first; it clears the
condensed water from the cylinders best this way. Before
commencing your first run of the day, it is advisable to put a cloth
loosely over the chimney for a few minutes, as condensed water will
be ejected from the chimney. This is quite normal; the motion of the
engine will be jerky until all condensation has been ejected.
DO NOT stand over the chimney as ejected boiling water/steam
could cause serious scalding.
Place the direction lever into the reverse position, and then open the
main steam valve. The engine should start to move off in the reverse
direction. When starting from cold it will be jerky, this is normal, as
it has to clear the condensate from the system. The more the main
steam valve is opened, the faster the engine will go; our advice is to
start slowly and learn the road with your engine.
After a minute or so, remove the cloth and continue running. In
running it is correct practice to balance the boiler pressure against
the load being pulled and the track conditions. With a light load and
level track the pressure may need to be only 25-30 p.s.i. therefore,
turn the gas control down to keep this pressure. When running a
heavy train with steep gradients, increase the pressure by turning up
the gas.
The ideal running pressure can be learnt by experience and is one of
the pleasures of running a live steam engine. There is no need to
have the safety valve constantly blowing off (it is what its name
implies –a safety vent for excess steam pressure). In all our
designs, the aim is for the gas to run out just before the water but
running conditions may affect this (although, fitted with a Goodall
valve, the boiler can be topped up during a run), thus it is important
not to refill with gas alone in order to lengthen the run by a few
minutes. When the gas runs out a complete gas, oil and water
service must be done (remember GOW, also remember to shut the
gas regulator before refilling, and DO NOT refill with gas near any
6
other live steam loco). When the locomotive slows as the pressure
falls at the end of a run, stop the engine. If it is the last run of the
day, make sure you suck out any remaining condensate.
End of Run
As previously mentioned, the locomotive will slow (due to pressure
dropping) when the fire has gone out. Open the lubricator drain and
allow any water and remaining oil to drain. The locomotive should
be allowed to cool. When cool, clean the engine, check the motion
and oil if necessary. The locomotive should always be put away in a
clean condition as it attracts less dust and is always ready for the
next run (or to be shown to an admiring friend). Always leave the
boiler filler valve open so that the boiler will not be strained if
subject to any temperature change. It is advisable to store the
locomotive where any residual drips of oil or water do not matter.
Blocked Gas Jets
If the gas jet becomes blocked with particles of dirt within the gas,
the jet will have to be removed and cleaned. With a spanner or pliers
carefully undo the pipe union on the gas control valve. The
locomotive has been provided with working cab-back doors and
these will facilitate burner removal –make sure they are unlatched
before attempting to open them! Slide back the pipe and jet holder
assembly from the burner.
Holding the jet holder gently in a vice, unscrew the jet. To clear,
place the jet nozzle against the inverted gas can nozzle and clear the
jet with a blast of gas. Under no circumstances use a pricker wire,
this will damage the jet hole. Replace the jet in the holder, ideally
using a thread sealant sparingly on the threads. Ensure it is tightened
up firmly. Replace the assembly into the burner and re-connect the
pipe to the control valve. Ensure this is done up tightly, test
CAREFULLY for gas leaks, first with a 50/50 mixture of washing
up liquid and water, and then if no bubbles are showing, with a
flame and the gas “just on”. Tighten if required.
As with all comprehensive models, we strongly recommend a full
demonstration (by our agents) before purchase, enabling you to get
the best out of your model right from the start - HAPPY STEAMING!
7
A Bit of History
Peckett & Sons of Bristol had long been renowned for producing
industrial tank engines, many of them small saddle tanks, and the
‘Cranmore’ type had its origins in an 0-4-0 saddle tank version of
the special 7x10” cylinder design, Works No.1030 of 1904
Gamecock which would be later be referred to as a ‘Cranmore
Class’. The order was placed by the Mendip Granite & Ashphalte
Co. for its 2’ gauge line connecting the quarry to Cranmore Station
on the GWR and after its career there it was scrapped, although it is
not known when.
Small numbers of this type continued to be built, mainly for export
and one (Works No. 1711 of 1926) was bought by the Metropolitan
Gas Co., Melbourne, Australia, named Sir John Grice in 1928.
Withdrawn in 1941 it was sold in 1962, joining the Whistle Stop
Amusement Park, Frankston in 1965. The 2’ 6” gauge locomotive
later moved to the Puffing Billy Railway in 1974 as a static exhibit
but restoration started in 1978 and it was returned to service in 1981
painted light green with yellow lining.
8
HINTS ON GAS FIRING CONTROL
CONTROLLING THE GAS FIRING OF YOUR LOCO MUT BE DONE
WITH CARE AND ATTENTION. TURNING THE FIRE UP TOO
MUCH CAN CAUSE GREAT DAMAGE TO YOUR MODEL SUCH AS
BURNING OFF THE PAINT, MELTING THE INSULATION OFF THE
WHEELS, AND CARBONIZING THE STEAM OIL IN THE
SUPERHEATER WHICH BLOCKS IT. NONE OF THE ABOVE
DAMAGE WILL BE COVERED BY WARRANTY AS IT IS
ATRIBUTED TO OPERATOR ERROR.
AT ACCUCRAFT WE GIVE YOU THE ABILITY TO RAISE A GOOD
HEAD OF STEAM BUT IT IS UP TO THE OPERATOR TO
CONTROL THE GAS FLOW SO THE FIRE DOES NOT ROAR OUT
OF CONTROL AND BURN IN THE SMOKE BOX. IT IS VERY MUCH
LIKE THE ACCELERATOR OF YOUR CAR, HOW YOU USE IT IS
UP TO THE USER, DRIVE SENSIBLY AND YOU WILL NOT HAVE
AN ACCIDENT; PUT YOUR FOOT DOWN AND YOU WILL
PROBABLY END UP IN THE HEDGE. HARDLY THE CAR OR THE
MANUFACTUER’S FAULT!
NEVER LEAVE THE LOCO UNATTENDED WHEN RAISING
PRESSURE, AS THE HEAT INCREASES THE PRESSURE IN THE
GAS TANK ALSO RISES AND YOU WILL HAVE TO TURN THE
GAS DOWN. IF THE GAS CONTROL VALVE SPINDLE IS A BIT
STICKY IT COULD NEED LUBRICATION WITH STEAM OIL.
WHEN YOU UNSCREW THE NEEDLE VALVE TO OIL IT ALWAYS
DO IT WHEN THE GAS TANK IS EMPTY.
KEEP LOCOMOTIVE ORIGINAL PACKAGING
WE WISH TO ADVISE YOU THAT IT IS IMPERATIVE THAT ALL
ORIGINAL LOCOMOTIVE PACKAGING, BOTH OUTER AND
INNER BOXES AND ANY OTHER TYPES SUCH AS SHAPED
POLYSTYRENE, SHOULD BE RETAINED. SHOULD YOU NEED TO
RETURN YOUR MODEL FOR ANY REASON, EITHER FOR
SERVICE OR WARRANTY WORK, IT MUST BE SECURELY
PACKED IN ITS ORIGINAL PACKAGING SO AS TO PREVENT
DAMAGE IN TRANSIT. IF THE MODEL IS PACKED IN ANY
OTHER WAY WE CANNOT BE HELD LIABLE FOR ANY DAMAGE
CAUSED BY IMPROPER PACKING. ALL ITEMS COVERED BY
OUR TWO-YEAR WARRANTY WILL BE COVERED BUT ANY
PARTS AND LABOUR ATTRIBUTED TO RECTIFYING DAMAGE
CAUSED BY IMPROPER PACKING WILL BE CHARGED FOR.
9
GUARANTEE
Accucraft UK Ltd will remedy any defect or malfunction occurring with this product during a two-year
guarantee period from date of purchase. This guarantee does not extend to malfunctions or defects caused by
damage or unreasonable use, including the failure to provide the correct types of lubrication and water or by
not controlling the gas correctly. The guarantee registration card should be returned to us.
If a claim is to be made within the two-year guarantee period, in the first instance, return both the product to
your dealer. In the event of your problem not being able to be fixed by your dealer, they will contact us for
advice. If necessary we will arrange for the product to be returned to our service department for repair.
This guarantee is quoted in addition to all legal rights of the purchaser under the Sale of Goods Act and shall
expire two years from the date of purchase. Under no circumstances shall Accucraft UK Ltd be responsible
for any consequential damages arising in regard to any Accucraft UK Ltd product.
__________________________________________________________________________
CARE OF YOUR LOCOMOTIVE
•Proper lubrication is most important but must not be overdone.
•Care should be taken when removing the loco from its packaging, as any levering action using
projecting parts (e.g. buffers) may result in damage.
•Check with your dealer that these locomotives wheel standards are compatible with your track
system. Ensure that your track is in good condition and well maintained.
•Keep the engine free of dust and dirt. Debris such as earth and gravel in the motion will lead to
premature wear and failure.
•Always use steam oil in the lubricator, never ordinary household oil.
•Never light the burner without water in the boiler.
•Always control the gas correctly and do not have the fire too high so it goes into the smoke box and
damages materials, paint, or wheel insulation.
__________________________________________________________________________
SAFETY
•Always use this product in a well-ventilated area. Never get directly above the chimney, boiling
water can sometimes be ejected from it.
•When in steam, and for some time afterwards the engine will be very hot. HANDLE WITH CARE.
•This model has many small parts and should be handled with care. It is not suitable for children
under the age of 14 years old.
__________________________________________________________________________
ACCUCRAFT UK LTD, PO BOX 394, HEREFORD, HEREFORDSHIRE. HR1 9QN.
LOCOMOTIVE LOG BOOK
Loco Serial No: ……......................... Boiler Serial No: ………………
Gas Tank Serial No: …………………………..
First Registered Owner: …………………………………………………
Date Purchased: ………………………………………………………….
Second Registered Owner: ………………………………………………
Date Purchased: ………………………………………………………….
10
Cab Operational Controls:
A: Water filler (Goodall valve). F: Water gauge.
B: Steam regulator. G: Reverse lever.
C: Lubricator. H: Burner jet.
D: Gas Filler valve. I: Pressure gauge.
E: Gas Control valve.
Accessories Illustrated.
A. Protective gloves
B. Boiler filling syringe
C. Small syringe and tubes for
lubricator draining
D. Hex nut spinners for 2mm and
3mm hex bolts
E. Allen keys and spare nuts and
bolt

Other Accucraft Toy manuals

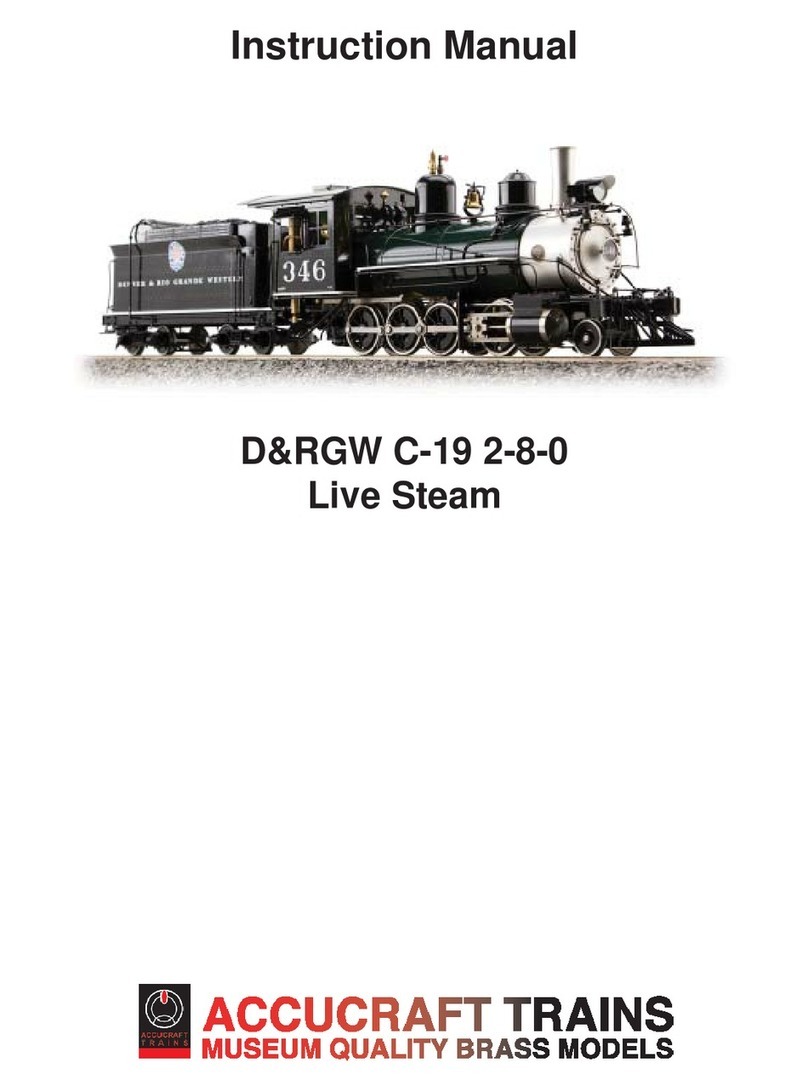
Accucraft D&RGW C-19 2-8-0 User manual

Accucraft

Accucraft D&RGW C-19 2-8-0 User manual

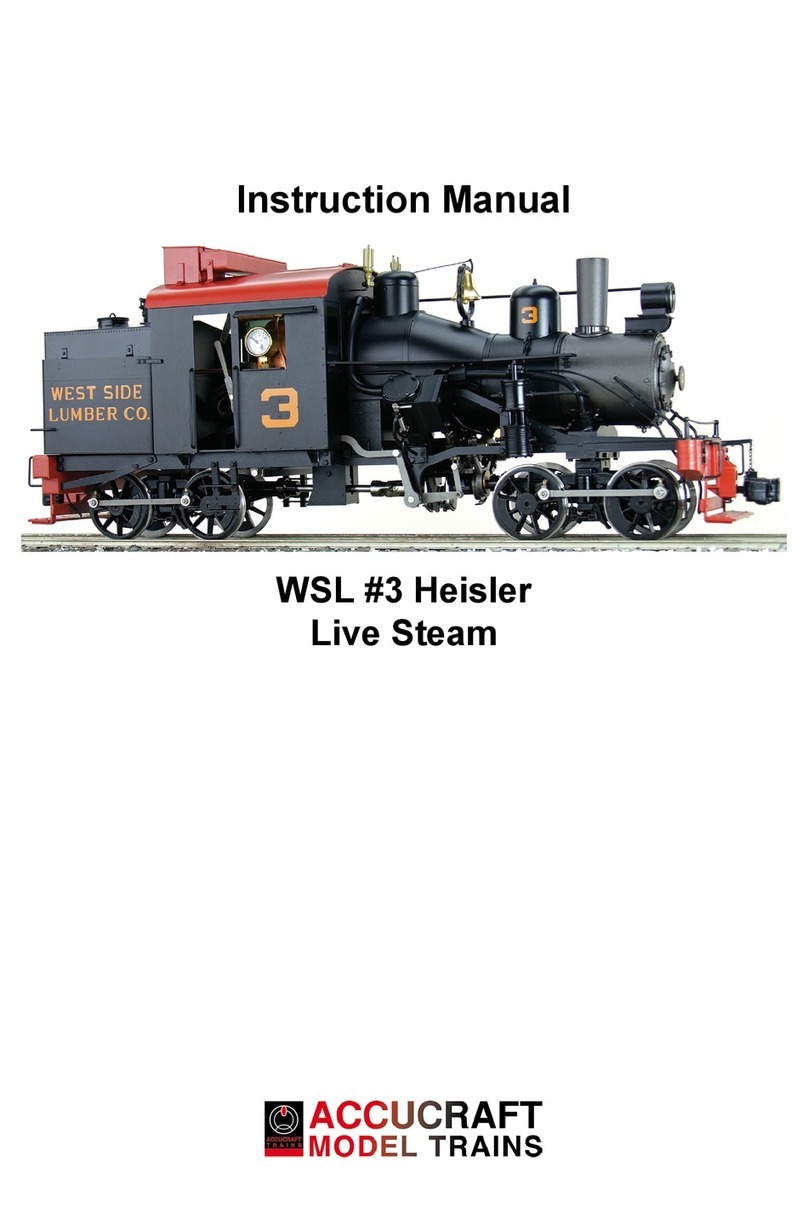
Accucraft WSL #3 heisler User manual

Accucraft

Accucraft WSL #3 heisler User manual

Accucraft SOUTHERN PACIFIC 2-6-0 M-6 ELECTRIC User manual

Accucraft

Accucraft SOUTHERN PACIFIC 2-6-0 M-6 ELECTRIC User manual

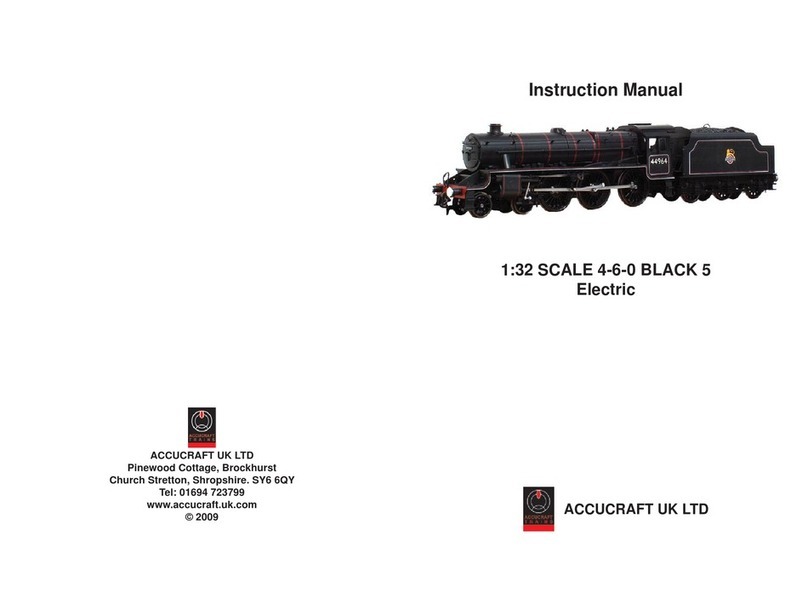
Accucraft 4-6-0 BLACK 5 User manual

Accucraft

Accucraft 4-6-0 BLACK 5 User manual

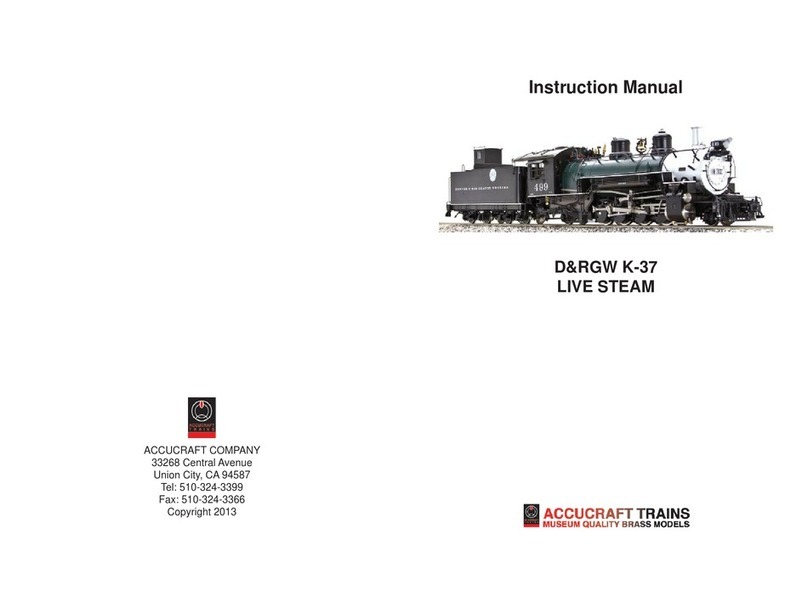
Accucraft D&RGW K-37 User manual

Accucraft

Accucraft D&RGW K-37 User manual

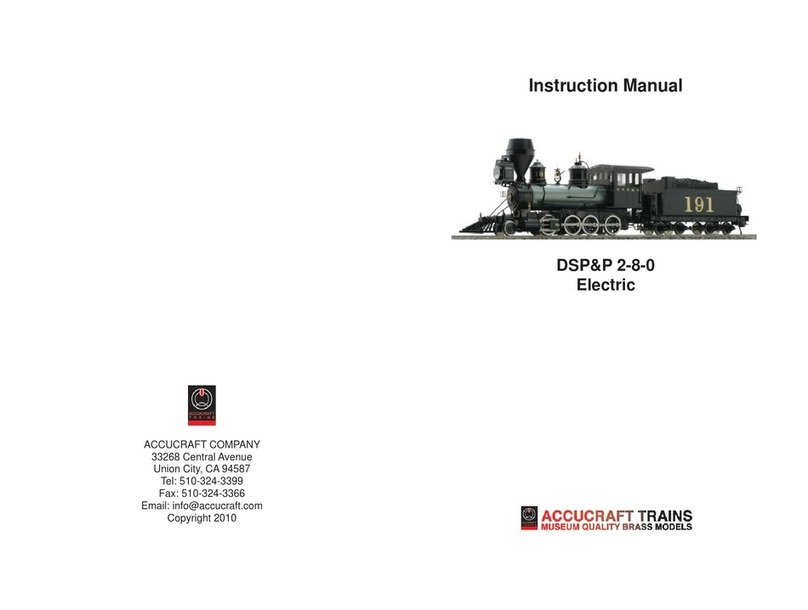
Accucraft DSP&P 2-8-0 User manual

Accucraft

Accucraft DSP&P 2-8-0 User manual

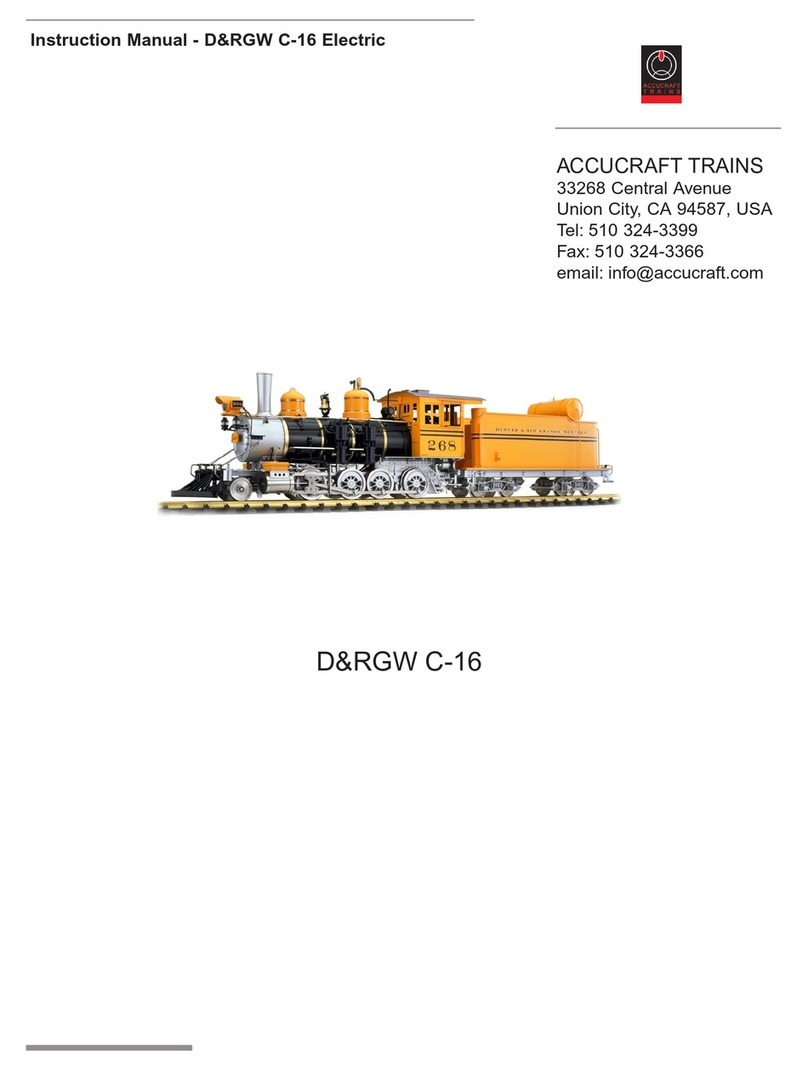
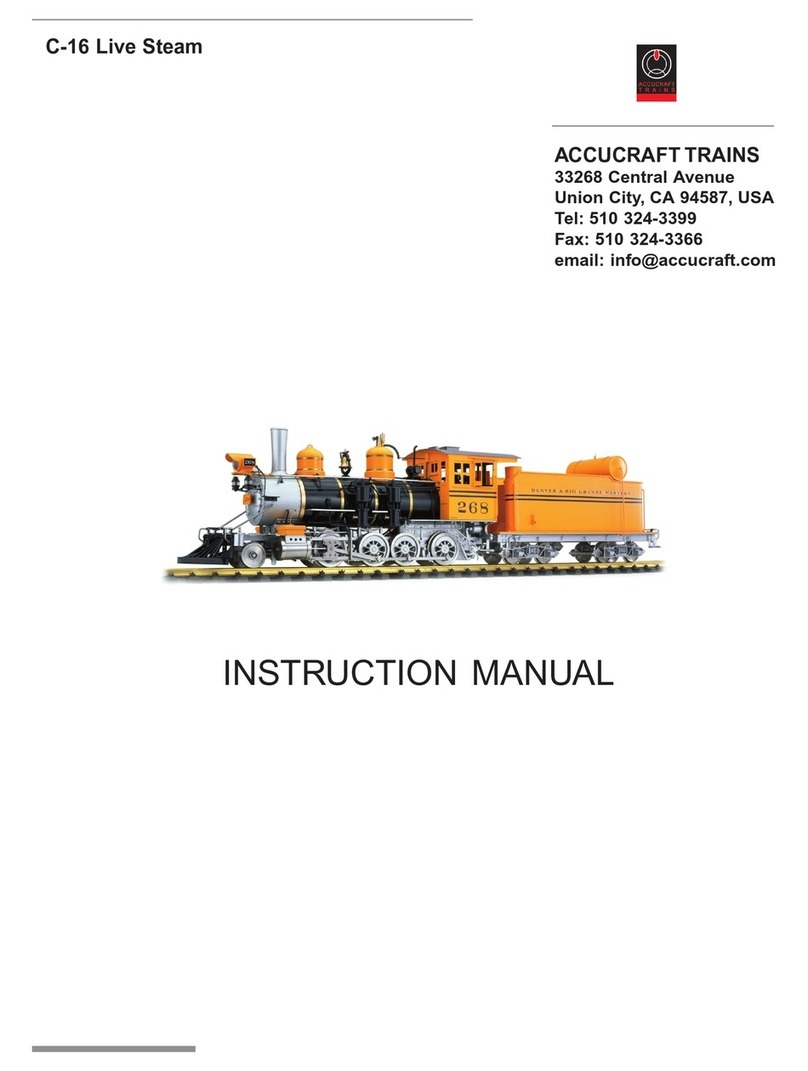
Accucraft D&RGW C-16 User manual

Accucraft

Accucraft D&RGW C-16 User manual

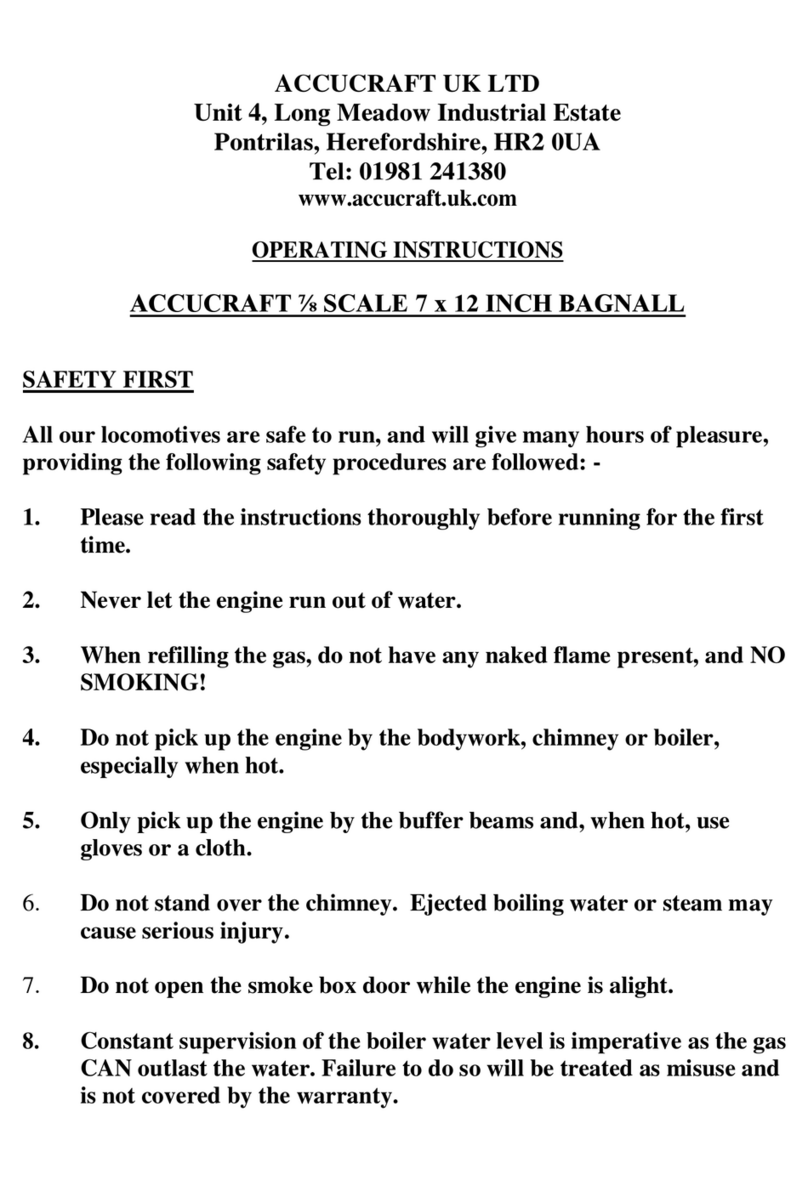
Accucraft ACCUCRAFT 7/8 SCALE 7 x 12 INCH BAGNALL User manual

Accucraft

Accucraft ACCUCRAFT 7/8 SCALE 7 x 12 INCH BAGNALL User manual

Accucraft "W&L Hunslet No. 14" MANUAL CONTROL User manual

Accucraft

Accucraft "W&L Hunslet No. 14" MANUAL CONTROL User manual

Accucraft KERR STUART WREN 0-4-0ST User manual

Accucraft

Accucraft KERR STUART WREN 0-4-0ST User manual

Accucraft D&RGW C-16 User manual

Accucraft

Accucraft D&RGW C-16 User manual

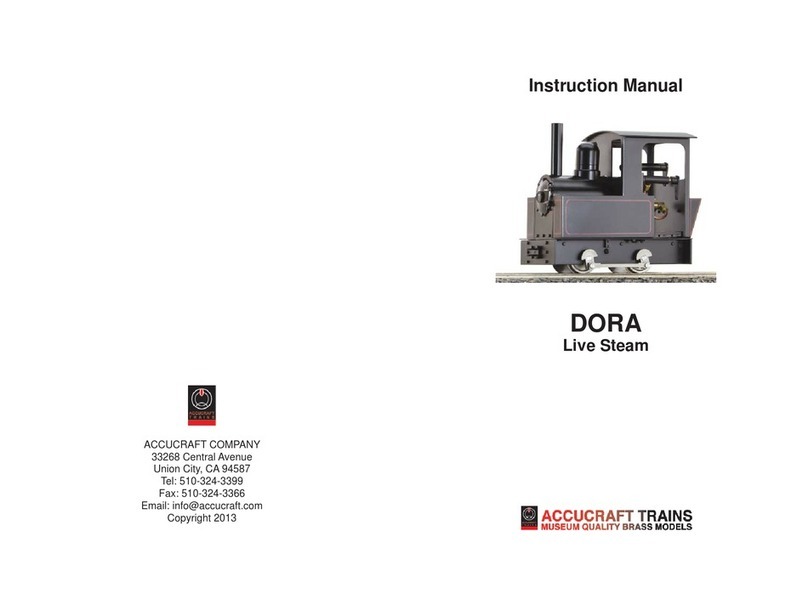
Accucraft Dora User manual

Accucraft

Accucraft Dora User manual

Accucraft NG16 GARRATT User manual

Accucraft

Accucraft NG16 GARRATT User manual

Accucraft FLYING SCOTSMAN User manual

Accucraft

Accucraft FLYING SCOTSMAN User manual

Accucraft D&RGW K-27 463 User manual

Accucraft

Accucraft D&RGW K-27 463 User manual

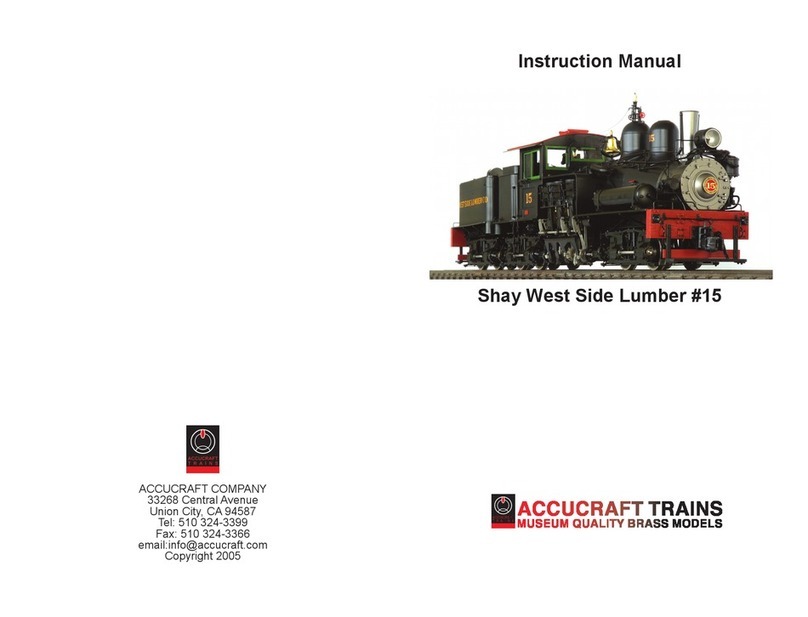
Accucraft wsl 15 User manual

Accucraft

Accucraft wsl 15 User manual

Accucraft GWR 61XX PRAIRIE User manual

Accucraft

Accucraft GWR 61XX PRAIRIE User manual

Popular Toy manuals by other brands

LEXIBOOK DVDP1SP Specifications

LEXIBOOK

LEXIBOOK DVDP1SP Specifications

LaTrax 75054 owner's manual

LaTrax

LaTrax 75054 owner's manual

MEGABLEU EVIL EYE manual

MEGABLEU

MEGABLEU EVIL EYE manual

M.T.H. tinplate traditions operating instructions

M.T.H.

M.T.H. tinplate traditions operating instructions

Pro Boat Blackjack 26 instruction manual

Pro Boat

Pro Boat Blackjack 26 instruction manual

Brubaker Models WildKard Assembly and operation instructions

Brubaker Models

Brubaker Models WildKard Assembly and operation instructions

REVELL SKY ARROW user manual

REVELL

REVELL SKY ARROW user manual

Artec Sensor Controlled Robot Assembly instructions

Artec

Artec Sensor Controlled Robot Assembly instructions

WOODLAND SCENICS ROTO WHEEL CLEANER TT4561 quick start guide

WOODLAND SCENICS

WOODLAND SCENICS ROTO WHEEL CLEANER TT4561 quick start guide

Techno Gears Marble Mania Extreme 4.0 instruction manual

Techno Gears

Techno Gears Marble Mania Extreme 4.0 instruction manual

Eduard KV-1 1942 manual

Eduard

Eduard KV-1 1942 manual

Radiosistemi rr8 instruction manual

Radiosistemi

Radiosistemi rr8 instruction manual

Bresser Junior 8859470 operating instructions

Bresser Junior

Bresser Junior 8859470 operating instructions

Radica Games Password Journal 75015 Specification sheet

Radica Games

Radica Games Password Journal 75015 Specification sheet

Align Trex 700 Electric conversion instruction manual

Align

Align Trex 700 Electric conversion instruction manual

Eduard 49 439 manual

Eduard

Eduard 49 439 manual

Eduard BRASSIN 632002 F-4B/J/N/S seat 1/32 Assembly manual

Eduard

Eduard BRASSIN 632002 F-4B/J/N/S seat 1/32 Assembly manual

AquaCraft Reef racer 2 Assembly and operation manual

AquaCraft

AquaCraft Reef racer 2 Assembly and operation manual

manuals.online logo
manuals.online logoBrands
  • About & Mission
  • Contact us
  • Privacy Policy
  • Terms and Conditions

Copyright 2025 Manuals.Online. All Rights Reserved.