manuals.online logo
Brands
  1. Home
  2. •
  3. Brands
  4. •
  5. Accucraft
  6. •
  7. Toy
  8. •
  9. Accucraft WSL #3 heisler User manual

Accucraft WSL #3 heisler User manual

Instruction Manual
WSL #3 Heisler
Live Steam
Heisler Live Steam
Prototype Information
Heisler No. 3, a three-feet, was built in 1900. Listed as builder’s No. 1041, it carried
160lbs. boiler pressure, weighed 74,000lbs., and has 14,000lbs. tractive effort. In 1947,
this engine was converted to standard gauge and served as the mill switcher for many
years. The only change required to make the conversion was the substitution of longer
axles. #3 now has been tted with narrow gauge wheels, again, and is in operation on
the Roaring Camp & Big Trees R.R., a tourist pike at Felton, California.
1
Heisler Live Steam
Preparing the engine
A steam-locomotive engineer goes
through a lighting-up ritual every time
the engine is to be run. It is good to
follow the same routine each time so
that nothing is overlooked.
1. Oil all external moving parts of the
engine, including wheel bearings, with
a high grade, lightweight machine oil
like 3-in-1. Be sure to oil all parts of the
drive train. A little oil is all that’s neces-
sary.
2. Place the engine on track.
3. The adjustable lubricator located
in the cab ensures the cylinders and
valves are properly lubricated inside.
As the steam passes through it, a
small amount will condense into
water. This water will sink to the bot-
tom of the lubricator, forcing a similar
quantity of oil into the steam line and
thus to the cylinders.
Remove the lubricator cap and draw
out any water from previous run with
a syringe. Use only proper steam
cylinder oil. Fill the lubricator, but
leave a small air space between the
oil and the cap.
4. Unscrew the ller plug and ll the
boiler to the top with water then pull
out 30ml with large syringe. Use only
distilled water in your engine’s boiler.
Tap water contains minerals that will
leach out and ultimately affect the per-
formance of the engine.
2
Pressure gauge
Reversing lever
Filler plug
Throttle
Gas ller valve
Hand water pumpLubricatorWater glass
Heisler Live Steam
5. Finally, add fuel. Your Heisler burns
butane gas. The gas tank is located in
the rear bunker beneath the rear deck.
Remove the rear coal tank by pulling
up. Butane gas can be purchased at
the grocery store or at a tobacconist’s
as cigarette-lighter rells. These come
with a nipple suitable for the ller valve
on the Heisler’s gas tank. (Butane can
also be purchased in larger containers
at camping-supply stores, but these
cans will require a special adapter for
lling the engine’s tank.) Simply press
the nozzle of the butane canister hard
onto the ller valve atop the tank,
making sure that the control valve is
closed. You will hear the gas transfer-
ring and will see a little gas bleeding
out of the valve. When the tank is full,
the gas will begin to splutter and much
more gas will escape the valve. When
the gas tank is full you are ready to re
up the engine. Add 1” to 2” of water to
the rear tank. This will keep the tank
warm and the gas pressure up!
Firing up
Make sure the throttle is closed. The
engine’s burner resides at the back
of the ue inside the boiler. Open the
hinged smokebox door at the front of
the engine and you’ll be able to see
the ue. To light up, strike a match
and hold it at the open smokebox door
while simultaneously opening the gas
valve in the tender very slowly until the
gas ignites. You should hear the gas
coming into the burner. Opening the
valve too wide or too fast may blow
out the ame or cause the re to burn
in the smokebox.
The re should ash back into the
back of the ue with a quiet “pop”. If
it wants to burn in the smokebox or
in the forward part of the ue, slowly
close the gas valve until it ashes
back to the burner. Don’t let the re
burn in the smokebox - your engine
will not run as it should and may be
damaged. The re should burn un-
der the burner in a crescent-shaped
ame, which should be clearly visible
through the smokebox door. The ame
should be bright blue and should burn
steadily. If it sputters or looks yellow
or green, adjust the gas valve accord-
ingly. The object is to run the burner at
the lowest setting possible to operate
the engine, thereby increasing the ef-
ciency of the engine and the duration
of the run. You’ll get the hang of this
with practice.
After another four or ve minutes,
pressure on the pressure gauge
should read about 20psi (pounds per
square inch) or so. The safety valve
is set at 60psi. When the pressure on
the gauge reaches 40psi, the engine
can be run.
3
Heisler Live Steam
Running
Open cylinder cocks on locomotive
Open the cab roof for access to the
controls. Move the reversing lever at
the right side of the cab to the forward
position. With the engine on the track,
and without a train, open the throttle.
Because the cylinders are cold, the
hot steam entering them will condense
into water and be exhausted through
the stack and cylinder cocks. The en-
gine may need to be pushed a little to
overcome the steam condensing into
water in the cold cylinders. After a few
moments, it should take off on its own,
moving away smoothly. Then close
the cylinder cocks.
Once the engine is running smoothly,
a train can be coupled on and the run
can proceed. Since all of the locomo-
tive’s functions are controlled from the
cab, it can be driven like a full-size
engine, meaning that you’ll have to
stay with the engine through the run if
you want to change its speed or direc-
tion. If you have a suitable track, the
engine can be left to run on its own
at a steady speed. Keep your eye on
the water glass. When the water level
drops, add water by pumping the hand
pumper.
Shutting down
After a day’s operation in the garden
you’ll probably nd that your engine
has a coating of oil all over it. This is
steam-cylinder oil that has been ex-
hausted from the stack. A simple wipe
down with a dry cloth is all that’s nec-
essary to restore the engine to pristine
condition. This is best done while the
engine is still hot. Wipe any grit and
excess oil from the wheels and run-
ning gear.
The boiler can be drained of water, or
not, as you will. Leaving water in the
boiler will not harm it. The lubricator
can also be drained and relled with
steam oil in preparation for the next
run.
Cold-Weather Running
The weather can dramatically affect
the performance of your locomotive.
Cold and wind can decrease efciency
to a disappointing level. Butane gas
becomes liquid at 32°F and will not
work. As it approaches 32°F, its pres-
sure (and effectiveness) diminishes.
The compartment in the rear tank in
4
Heisler Live Steam
which the gas tank resides can be
lled with warm water in cooler weath-
er. This will warm the gas in the tank
and keep its pressure up, which will
cause the engine to operate in a much
more lively manner, much as it does
in warm weather. If the water in the
tank cools, just replace it with warmer
water. Empty the tender at the end of
the day’s run. Note: the temperature
of the fuel-supply-can must always be
higher than that of the engine’s gas
tank. If you have warmed the engine’s
gas tank and the supply can is cooler,
gas will not transfer. Never put boiling
hot water in the tender around the fuel
tank.
Notes on Radio Control
Although the Heisler was designed
as a manually controlled locomotive,
there is no reason why radio control
(R/C) cannot be tted, with some inge-
nuity. A two channel radio is all that’s
necessary, one for the throttle and one
for the reversing lever. The gas valve
should always be controlled manu-
ally. The reversing lever will have to
be modied so that it does not lock in
position, but it must still have stops at
either end of its throw for proper posi-
tioning of the reversing valve.
5
Heisler Live Steam
Safety
For your safety, there are certain rules
that should be observed, as follows:
1. The safety valve is under the steam
dome (the dome nearest the cab). It
has been set at the factory to release
at 60 pounds per square inch of pres-
sure. Never tamper with the safety
valve.
2. The ring system has been de-
signed to use butane gas only. Never
use any other gas (including propane
or butane/propane mix), as the storage
pressures can reach unsafe levels.
3. Always refuel the engine away from
other working live-steam locomotives.
The fuel lling system allows a small
amount of the gas to bleed off as the
fuel tank is being lled. A passing en-
gine can ignite this bleed-off gas, caus-
ing a potentially hazardous situation.
4. When lighting up, light your match
rst, then turn on the gas.
5. A steam engine gets hot. Be care-
ful. The following parts are packaged
separately
- M3 hex head screws
- 3 mm hex head screw driver
- 5 ml syringe – steam oil
- 50 ml syringe - water
Technical Specications
Live Steam
Scale/Gauge: 1:20.3, 45 mm Gauge
Length: 19 in.
Width: 5.75 in.
Height: 7.5 in.
Minimum Radius: 48 ins. 0.76 M
*Be sure to leave at least 3” clearance
(measured from the inner rail) to allow
for overhang.
6
Heisler Live Steam
Please read following directions be-
fore unpacking your locomotive.
1. Lift the wooden case from the card-
board box.
2. Unbolt bottom board from case.
3. Place taped locomotive on a at
surface. Carefully cut the tape along
the wood board side surface. Be sure
to cut both sides of the wood board.
Slowly lift the tape from the locomo-
tive. Be very careful with small parts.
Tape cannot be re-used to re-pack the
model. Use new packing tape if nec-
essary.
Caution!
This model is an accurate replica of
the original locomotive. It has sharp
and moving parts. The locomotive
drive rods are stainless steel with
sharp edges. AT ANY TIME, OPERA-
TORS MUST NOT COME IN CON-
TACT WITH THE MODEL WHILE
IT IS POWERED. UNDER NO CIR-
CUMSTANCES SHALL ACCUCRAFT
TRAINS BE RESPONSIBLE FOR ANY
INCIDENTAL OR CONSEQUENTIAL
DAMAGES ARISING IN REGARD TO
ANY ACCUCRAFT PRODUCT.
Accucraft Trains locomotives are ne
scale brass models with small parts.
To provide maximum protection from
shipping damage, we carefully pack
the models in metal cases. We ship
via UPS with insurance coverage to its
full value. Please contact UPS if pack-
age is damaged.
Each locomotive is packed under UPS
guideline for shipping. We don not
warrant any damage resulted from re-
packaging by any party other than Ac-
cucraft Trains.
7
ACCUCRAFT COMPANY
33268 Central Avenue
Union City, CA 94587
Tel: 510-324-3399
[email protected]
Copyright 2016

Other Accucraft Toy manuals

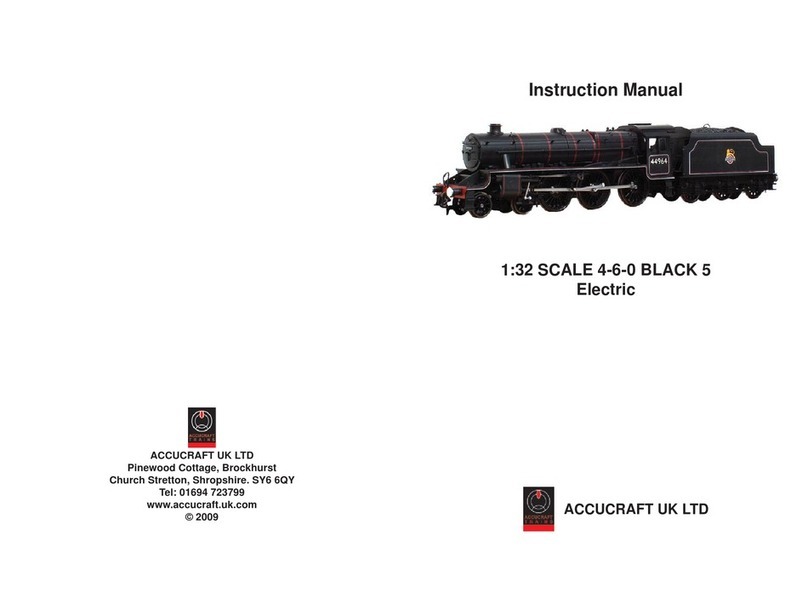
Accucraft GWR 61XX PRAIRIE User manual

Accucraft

Accucraft GWR 61XX PRAIRIE User manual

Accucraft D&RGW C-19 2-8-0 User manual

Accucraft

Accucraft D&RGW C-19 2-8-0 User manual

Accucraft "W&L Hunslet No. 14" MANUAL CONTROL User manual

Accucraft

Accucraft "W&L Hunslet No. 14" MANUAL CONTROL User manual

Accucraft SOUTHERN PACIFIC 2-6-0 M-6 ELECTRIC User manual

Accucraft

Accucraft SOUTHERN PACIFIC 2-6-0 M-6 ELECTRIC User manual

Accucraft DSP&P 2-8-0 User manual

Accucraft

Accucraft DSP&P 2-8-0 User manual

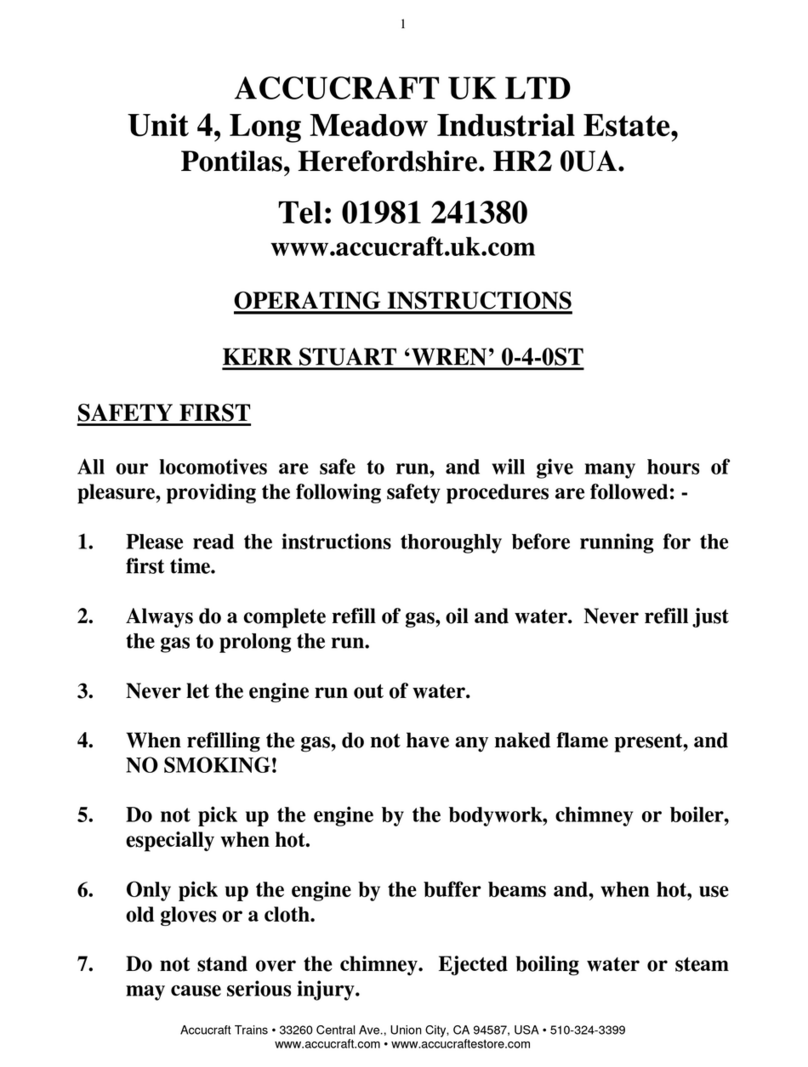
Accucraft KERR STUART WREN 0-4-0ST User manual

Accucraft

Accucraft KERR STUART WREN 0-4-0ST User manual

Accucraft 4-6-0 BLACK 5 User manual

Accucraft

Accucraft 4-6-0 BLACK 5 User manual
Accucraft NG16 GARRATT User manual

Accucraft

Accucraft NG16 GARRATT User manual
Accucraft FLYING SCOTSMAN User manual

Accucraft

Accucraft FLYING SCOTSMAN User manual

Accucraft PECKETT 0-4-0ST Assembly instructions

Accucraft

Accucraft PECKETT 0-4-0ST Assembly instructions

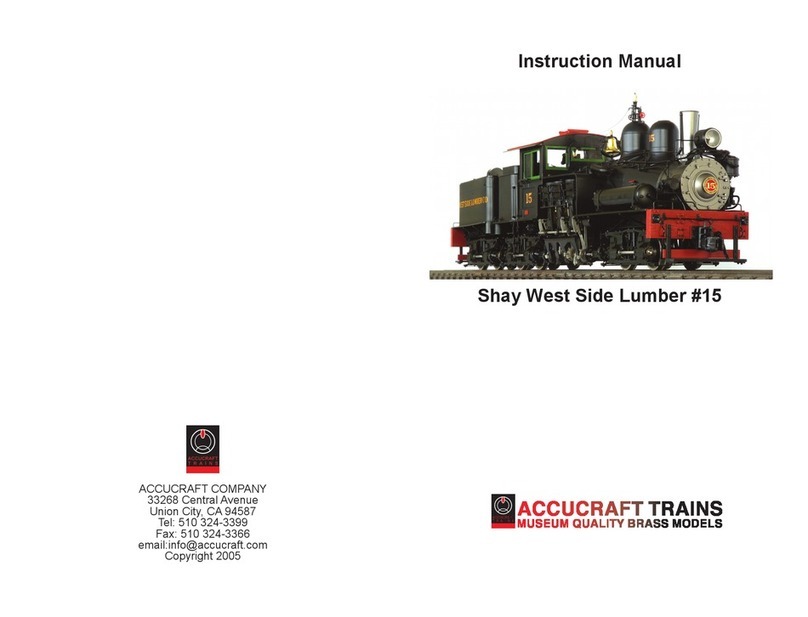
Accucraft wsl 15 User manual

Accucraft

Accucraft wsl 15 User manual
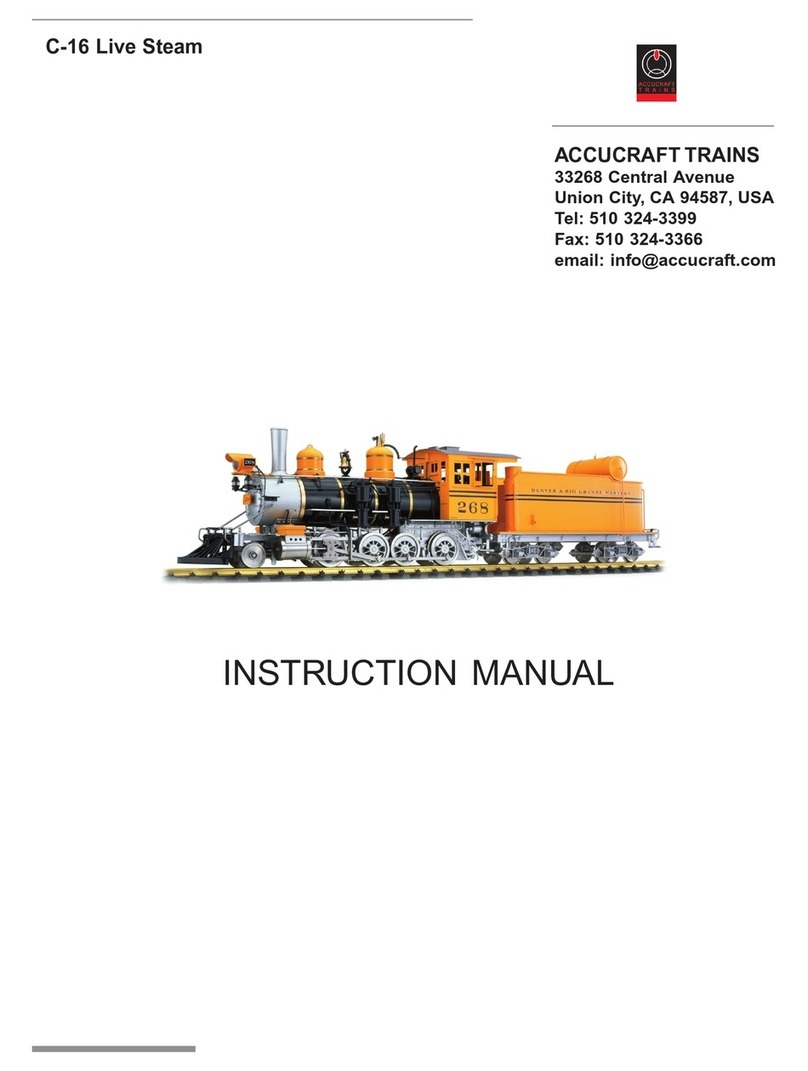
Accucraft D&RGW C-16 User manual

Accucraft

Accucraft D&RGW C-16 User manual
Accucraft Dora User manual

Accucraft

Accucraft Dora User manual

Accucraft D&RGW K-37 User manual

Accucraft

Accucraft D&RGW K-37 User manual

Accucraft D&RGW C-16 User manual

Accucraft

Accucraft D&RGW C-16 User manual

Accucraft D&RGW K-27 463 User manual

Accucraft

Accucraft D&RGW K-27 463 User manual

Accucraft ACCUCRAFT 7/8 SCALE 7 x 12 INCH BAGNALL User manual
Accucraft

Accucraft ACCUCRAFT 7/8 SCALE 7 x 12 INCH BAGNALL User manual

Popular Toy manuals by other brands

V-tech Walk & Woof Puppy instruction manual

V-tech

V-tech Walk & Woof Puppy instruction manual

Hobby King Katana EPP-30E instruction manual

Hobby King

Hobby King Katana EPP-30E instruction manual

V-tech Fire Command Rescue Center user manual

V-tech

V-tech Fire Command Rescue Center user manual

V-tech Go! Go! Cory Carson Freddie's Firehouse Parents' guide

V-tech

V-tech Go! Go! Cory Carson Freddie's Firehouse Parents' guide

V-tech Hammer Fun Learning Truck user manual

V-tech

V-tech Hammer Fun Learning Truck user manual

Air Hogs Batwing Instruction guide

Air Hogs

Air Hogs Batwing Instruction guide

Step 2 All Around Easel for Two 8268 quick start guide

Step 2

Step 2 All Around Easel for Two 8268 quick start guide

V-tech Number Bug user manual

V-tech

V-tech Number Bug user manual

V-tech Tiny Touch Phone user manual

V-tech

V-tech Tiny Touch Phone user manual

Ubi Soft TMNT manual

Ubi Soft

Ubi Soft TMNT manual

LaserPegs OSPREY TILTROTOR manual

LaserPegs

LaserPegs OSPREY TILTROTOR manual

V-tech Treat Time Marshall user manual

V-tech

V-tech Treat Time Marshall user manual

V-tech Wiggle & Jiggle Fishing Fun Parents' guide

V-tech

V-tech Wiggle & Jiggle Fishing Fun Parents' guide

Hobby King Electrolyte Assembly manual

Hobby King

Hobby King Electrolyte Assembly manual

V-tech Tote & Go Laptop Pink user manual

V-tech

V-tech Tote & Go Laptop Pink user manual

Step 2 Wild Whirlpool Water Table 8401 manual

Step 2

Step 2 Wild Whirlpool Water Table 8401 manual

V-tech Ultimate Alphabet Activity Cube Parents' guide

V-tech

V-tech Ultimate Alphabet Activity Cube Parents' guide

V-tech Popping Surprise Seal Parents' guide

V-tech

V-tech Popping Surprise Seal Parents' guide

manuals.online logo
manuals.online logoBrands
  • About & Mission
  • Contact us
  • Privacy Policy
  • Terms and Conditions

Copyright 2025 Manuals.Online. All Rights Reserved.