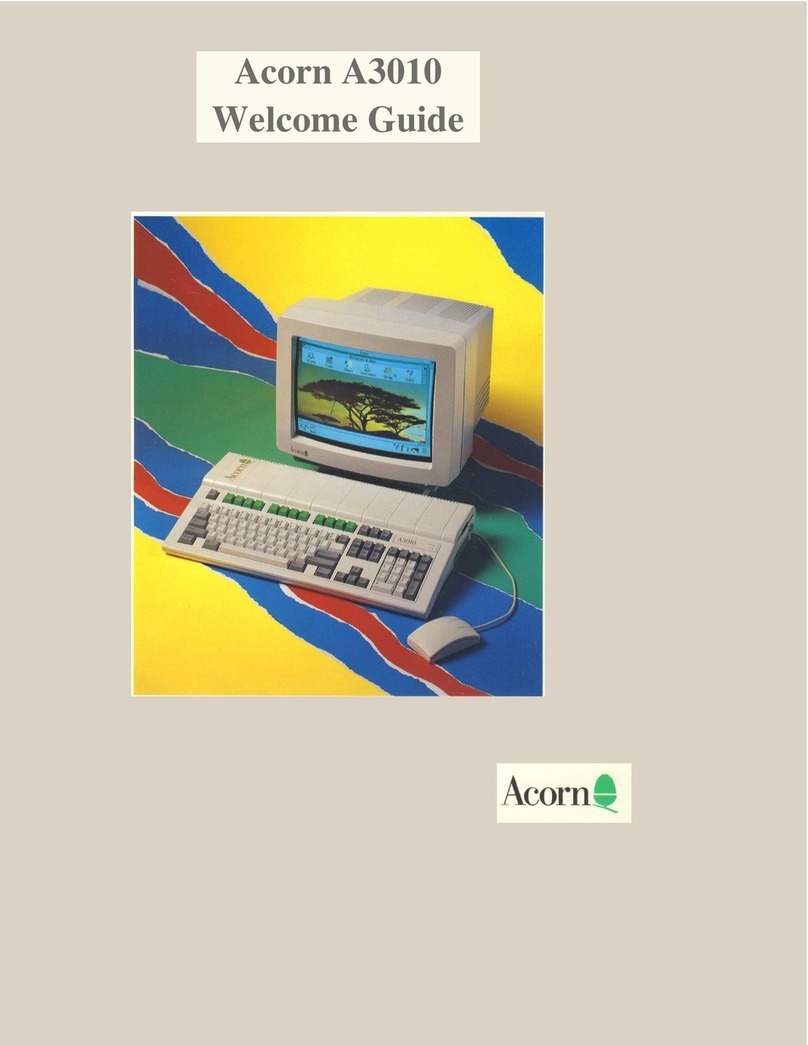
Acorn A5000 Operating and safety instructions

Acorn A5000
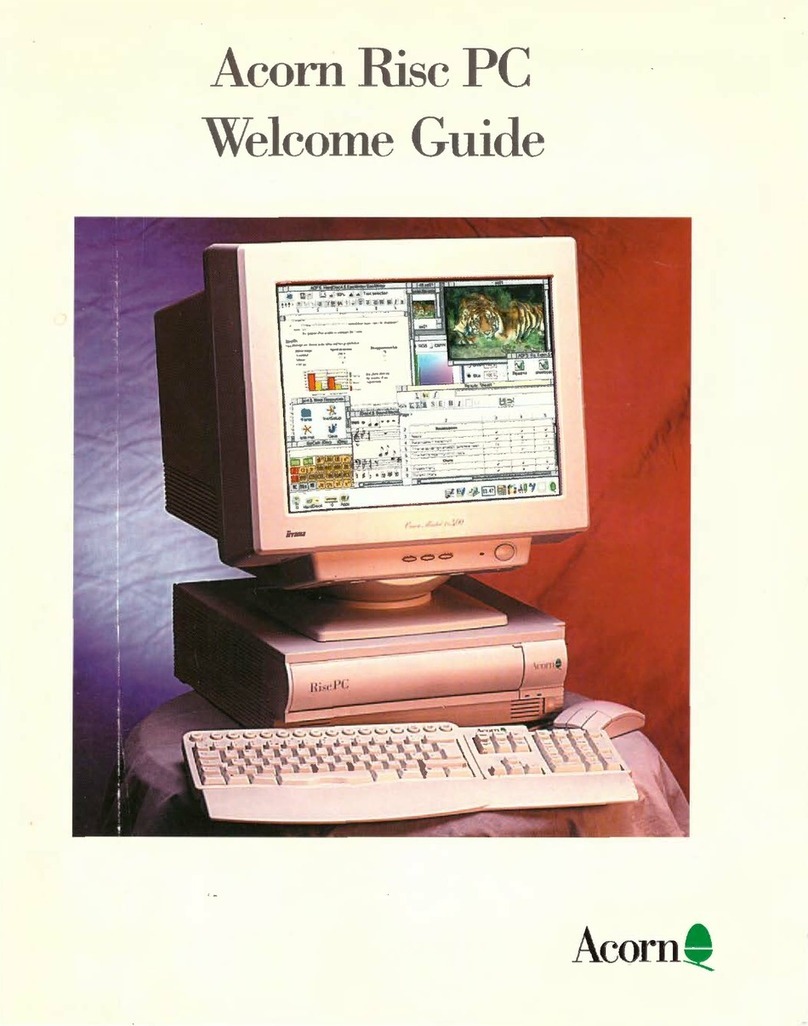
Welcome Guide


Acorn A5000
Welcome Guide


Welcome to the Acorn A5000 computer!
I am confident that this powerful and innovative machine will provide you with
useful and productive service throughout its working life.
You are joining a family now several million strong, who recognise the benefits offered
by our Acorn products. Should you ever feel dissatisfied with any aspect of our product
or service, please contact your supplier, who has full support from Acorn itself. Please
also pass on any suggestions as to how we might improve our service to you — it is
with the help of such feedback that we have been able to develop your new Acorn
computer.
To help us provide you with the best service, please complete and return the enclosed
Owner Registration Form. This enables us to keep our valued and growing family of
users informed about new developments. You are not of course obliged to answer all the
questions, should you prefer to leave any of them blank.
The first part of this guide introduces the computer to you; it explains how to
connect it together and how to start using it.
It doesn't matter if you've never used a computer before, the system is easy to use, and
you need learn only a few simple techniques to get going. You can pick up the details as
you go along.
The
Hardware reference section
gives you some advice about looking after your
computer, along with more detailed information, which you may need to refer to when
you want to add things like printers.
Once you have set everything up and mastered the basic techniques described in this
guide, the RISC OS 3 User Guide and the RISC OS 3 Applications Guide also supplied
will help you to get the best out of your computer and answer many other questions you
may have about how the computer works.
Managing Director
Acorn Computers Limited
iii

Copyright © 1991, 1992 Acorn Computers Limited. All rights reserved.
Published by Acorn Computers Technical Publications Department.
No part of this publication may be reproduced or transmitted, in any form or by any means, electronic,
mechanical, photocopying, recording or otherwise, or stored in any retrieval system of any nature, without the
written permission of the copyright holder and the publisher, application for which shall be made to the
publisher.
This product is not intended for use as a critical component in life support devices or any system in
which failure could be expected to result in personal injury.
The product described in this manual and products for use with it are subject to continuous development and
improvement. All information of a technical nature and particulars of the product and its use (including the
information and particulars in this manual) are given by Acorn Computers Limited in good faith. However,
Acorn Computers Limited cannot accept any liability for any loss or damage arising from the use of any
information or particulars in this manual, or any incorrect use of the products. All maintenance and service on
the product must be carried out by Acorn Computers' authorised dealers or Approved Service Centres. Acorn
Computers Limited can accept no liability whatsoever for any loss or damage caused by service, maintenance
or repair by unauthorised personnel.
If you have any comments on this manual, please complete the form at the back of the manual, and send it
to the address given there.
Acorn supplies its products through an international distribution network. Your supplier is available to help
resolve any queries you may have.
Within this publication, the term 'BBC' is used as an abbreviation for 'British Broadcasting Corporation'.
ACORN, ARCHIMEDES, the ACORN logo and ECONET are trademarks of Acorn Computers Limited
Apple is a trademark of Apple Computer Inc.
Atari is a trademark of Atari Corporation
Centronics is a trademark of Centronics Data Computer Corporation
Citizen is a trademark of Citizen Watch Co. Ltd. Japan
Eizo is a trademark of Eizo Corporation
Epson is a trademark of Epson Corporation
Ethernet is a trademark of the Xerox Corporation
LaserWriter is a trademark of Apple Computer Inc.
Multisync is a trademark of NEC Limited
NEC is a trademark of NEC Limited
Panasonic is a trademark of Matsushita Electric Industrial Co. Ltd
Philips is a trademark of Philips Electronics Ltd
PostScript is a trademark of Adobe Systems Inc.
Taxan is a trademark of Kaga Electronics Co. Ltd
All other trademarks are acknowledged.
Note: Various third party monitors and other peripheral equipment are depicted or described in this Guide.
The illustration or description of these or any other third party equipment does not imply any
recommendation or endorsement by Acorn Computers Limited, and users must satisfy themselves as to the
suitability of any peripheral equipment (including monitors) on advice from the equipment supplier.
Published by Acorn Computers Limited
ISBN 1 85250 125 0
Part number 0492,250
Issue 1, April 1992
iv
Guidelines for safe operation
The equipment described in this guide is designed and manufactured to comply with international safety
standards EN60950 (BS7002) and is intended for use only as a desktop computer. It must not be
used for
other purposes. It is most important that unpacking and operation is carried out in accordance
with the
instructions given in this guide. In the interests of continued safe and reliable operation, observe the following
guidelines:
•
Keep the machine at a room temperature of +5°C to +35°C (+41° to +95° Fahrenheit) and a relative
humidity of 10% to 80% (non-condensing). As a rough guide, if you feel much too hot, cold or humid,
the conditions are probably too extreme for the computer as well.
• Avoid sudden extremes in temperature, exposure to direct sunlight, heat sources (such as an
electric fan heater) or rain.
•
Make sure that the equipment is standing on a suitable rigid horizontal flat surface, allowing
enough space for air to circulate when it is in use.
•
Ensure that any wires and cables are routed sensibly so that they cannot be snagged or tripped
over. Don't tug or twist any wires or cables, or use them to hang or lift any of the units.
•
Make sure you have read and understood any installation instructions supplied with upgrade kits
before attempting to fit them. If you have any doubts, contact your supplier.
•
Keep the original packaging in case you need to transport the computer, and avoid bumping,
jarring or dropping it in transit.
• Keep the plastic bags contained in the packaging away from children.
• If you're going to move the computer, make sure you park the hard disc first (if fitted). See Switching
off the computer on page 61.
• If you re-pack your computer for any reason, be sure to put any leads back in their protective plastic
bags (to stop any reaction between the leads and the polystyrene packing material if they are left in
direct contact over a long period of time).
• Switch off and unplug the computer from the power outlet on the wall if you are not going to use it for
any length of time (a couple of days, for example).
• Switch off and unplug the equipment and any accessories before opening the unit (to install an
upgrade, for example).
• The main computer unit should be operated with the cover secured, to ensure the correct airflow
through the unit. However, it can safely be switched on with the cover removed, as long as it is not
left
unattended, and provided that care is taken not to short circuit any connections or to allow
any
fingers or objects in the area of the fan or disc drives when these are running. Be especially careful
with jewellery.
• DON'T attempt to open any display or monitor unit, whether supplied with the equipment or not.
• DON'T spill liquids on the equipment. If liquid does spill, turn the equipment off immediately and take
it to your supplier for assessment.
• DON'T obstruct or poke objects through the ventilation openings in the computer casing or the
power supply, or cover them with anything.
• DON'T exceed the maximum power consumption of 8 watts from each expansion card slot.
• DON'T balance any objects, or stand equipment weighing more than 25kg (55lbs) on top of this
equipment.
v

Warning: this equipment must be earthed
If the plug supplied is not suitable for the power supply in your country, please consult your supplier.
UK information
As the colours of the cores in the AC power lead of this equipment may not correspond to the coloured
markings identifying the terminals in your plug, proceed as follows:
• The core which is coloured green and yellow must be connected to the terminal in the plug which is
coloured green and yellow, or is marked by the letter E or by the earth symbol
• The core which is coloured blue must be connected to the terminal that is coloured black or
marked with the letter N.
• The core which is coloured brown must be connected to the terminal which is coloured red or
marked with the letter L.
The mains lead supplied is already fitted with a moulded plug incorporating a 5A fuse. If it does not fit your
socket-outlet, the plug should be removed from the mains lead and safely disposed of. The flexible cord
insulation should then be stripped back as appropriate. A suitable alternative plug should then be fitted. If the
replacement plug is intended to take a fuse, then a 5A fuse must be used.
If you need to replace the fuse in the mains plug supplied, then you must use a 5A fuse ASTA-approved to
BS1362.
Never use mains plugs with the fuse carrier omitted. In the event of the loss of the fuse carrier, either replace
with a carrier of the same type and manufacturer or replace the moulded plug with another mains plug, wired
as detailed above.
vi

Guarantee (valid in UK only)
This equipment is guaranteed by Acorn Computers Limited ("ACORN") against mechanical and
electrical defects subject to the conditions set out below.
Note
Items which by their nature or design only have a restricted life are not guaranteed beyond such life.
Period of validity
This guarantee shall be valid for a period of twelve (12) months from the date of purchase.
Other conditions
IThis guarantee is personal to the original purchaser, is not transferable and shall not be valid
unless the equipment was purchased from ACORN or from an approved ACORN supplier.
2 This guarantee will be invalidated if the equipment is misused or damaged or is modified in any way
without the written consent of ACORN or if any original component or accessory has been replaced by
any component or accessory of a type not recommended or approved by ACORN, or if operated other
than in accordance with the
Welcome Guide
and RISC OS 3 User Guide.
3 Any claims made under this guarantee must whenever possible be made through the supplier from
whom the equipment was originally purchased. If this is not possible a claim may be made to any other
approved ACORN supplier appointed by ACORN to service the equipment (a list of whom can be
supplied on application). This guarantee together with proof of the date of purchase must be produced
when any claim is made. Any costs of carriage to and from the supplier must be paid by the purchaser.
4 If ACORN agrees with the supplier that the equipment should be forwarded to ACORN for repair then
ACORN will arrange for collection and return of the equipment at no charge. In all other cases the
supplier will be responsible for effecting any necessary repairs in accordance with ACORN's service
policy. Any repairs under this guarantee will be carried out at no cost to the original purchaser.
5 If any equipment returned is found to comply with its original specification ACORN reserves the
right to charge a reasonable fee for testing the equipment and for return carriage.
6 The liability of ACORN under this guarantee shall be limited to the cost of repair or complete
replacement (at ACORN's discretion) of equipment which proves to be defective.
7 ACORN does not accept liability for any loss or damage during transit to or from the supplier or
ACORN, but every effort will be made to investigate claims of loss or damage if these arise.
THIS GUARANTEE DOES NOT AFFECT OR PREJUDICE THE PURCHASER'S STATUTORY RIGHTS.
Guarantee procedure
To claim under this guarantee, proof of date of purchase is required. This is provided by your copy of the
invoice from the supplier from whom the equipment was originally purchased. Keep the invoice safe and
produce it to support any claim you may make under this guarantee.
You may find it useful to make a note in the box below of the serial number, date of purchase and
details of any upgrades you fit, and quote them in any correspondence.
vii

Contents
Part 1 - Getting started
The chapters
in
this part contain all the information you need to get started
on
your computer. The odd-numbered pages in this
part are marked with a
grey box on the top
righthand side.
Unpacking 1
Describes what you should find when you open the box containing your
computer.
Setting up the computer 3
Explains how to connect everything together.
Switching on 7
Tells you how to turn the computer on and describes the display on the screen.
The RISC OS desktop 11
Introduces the features of the RISC OS desktop.
Using the mouse 13
Describes what the mouse does, and how to use it.
Windows 17
Explains the special features of the screen display.
Menus 25
Explains how menus work within the RISC OS desktop.
Discs and disc drives 29
Tells you about floppy disc drives and hard disc drives.
Using the keyboard 37
Introduces the keyboard and some of its features.
Using applications 43
Tells you how to start running applications.
Files and directories 47
Introduces the desktop filing system.
Printing 55
Gets you started using a printer.
Switching off the computer 61
Tells you how to switch off your computer after you've finished using it.
If things go wrong 63
Offers solutions to some common problems you might encounter.
viiI

Contents
Part 2 - Hardware reference section
This part contains technical reference information and more detailed
installation
instructions, along with some advice on looking after your
computer. The odd-numbered
pages in this part also have a grey block on the
righthand edge, but lower down than
those in Part 1.
Appendix A: Maintaining your computer 67
Tells you how to look after your computer.
Appendix B: Monitor connections 69
Lists some commonly-used monitors, and describes how to connect
them to your computer.
Appendix C: Attaching peripheral devices 77
Explains how to connect other devices to your computer, such as serial
and parallel printers and modems.
Appendix D: Hardware components and connectors 81
Identifies the main hardware features of the computer, including the sockets
on the back.
Glossary 87
Defines computer jargon used in this guide. Terms explained in the Glossary
are printed
in italics the first time they appear in the guide.
Index 93
ix

x

Unpacking
T
his chapter tells you about unpacking your computer, and
gives some hints on where to set it up.
Unpacking Unpack your computer on a flat surface — either on the floor, or on a large table where
there's plenty of room for the carton as well as for the computer. Take everything out
of the carton, making sure you don't break the packaging material, as you may need
this later.
Warning: the packaging contains plastic bags which can be dangerous to young
children. Please keep them out of their reach.
Checklist
Check that you have received all the items shown below. If you don't have all of these
items, or if any of them appears damaged, notify your supplier immediately.

Choosing where to set up your computer
The monitor, if supplied with your model of computer, is in a separate box.
If you have bought any
peripheral
equipment to attach to your computer, such as a
printer,
check that your supplier has provided the correct cables (see
Appendix
C:
Attaching peripheral devices if you're not sure).
Complete the Owner Registration Form and post it back to Acorn (purchasers outside
the UK should send it to their local supplier or national distributor). This will enable us
to inform you of new products and upgrades to your computer as they become
available.
Put all the packing back into the carton and put it away somewhere safe. If you ever
want to transport your computer, it is best to use the box, even if you only take it a short
distance in a car. If you ever have to take it back to your supplier, too, you must pack it
back into the original carton.
Choosing where to set up your computer
Bear the following points in mind when deciding exactly where to place your
computer:
• You'll need a firm, flat surface with enough space at one side to move the mouse
around, and space at the other side for manuals and papers you may be working
on.
• You'll need space nearby for any peripheral equipment (such as a printer).
• You'll need at least one easily-accessible power point within 1.5 metres of the
computer, plus extra power points for any peripherals you want to connect to the
computer.
• Don't place the computer where it will be exposed to direct sunlight, or any other
source of heat, such as a radiator.
• Sunlight or reflections from a window will make it difficult to see things on the
screen properly, so position your computer so that you can see the screen
comfortably.
• Make sure the keyboard is at a comfortable height and position for you to
avoid repetitive strain injuries if you're going to type for long periods.
2

Setting up the computer
This chapter describes how to connect the components of the computer together
and set it up ready for use. Before you start connecting it up, please read the
Guidelines for safe operation in the front of this guide.
Connect mouse to keyboard
Take the
mouse
and the keyboard out of their
plastic bags. The mouse has a straight cable with
a plug on the end of it. This goes into the socket at
the back of the keyboard.
The plug has an arrow moulded into it; this should
be uppermost when you push it in. The plug won't
go in any other way, so don't try to force it.
Connect keyboard to computer
Insert the plug on the end of the keyboard cable
into the socket on the rear of the computer unit.
Make sure the arrow on the plug is uppermost.
Don't try to force the plug.
Place the keyboard in front of the computer.

Connect monitor
Connect monitor
You'll usually have two cables with each monitor:
• a signal cable (allows the computer and the monitor to 'talk' to each other)
• a power cable.
Connect monitor signal cable to computer
Put the monitor on top of the computer (unless you
are using a monitor which weighs 25kg or more, in
which case it will have to go alongside the
computer unit, or on a strong shelf above it).
The monitor signal cable is usually permanently
attached to the monitor. If it isn't, push the socket
end into the back of the monitor.
Push the plug end of the monitor cable into the
socket on the back of the computer marked
VIDEO.
Note: If you have trouble, check in
Appendix
B:
Monitor connections – you might need an adaptor
cable for your particular monitor.
Connect monitor to power supply (but don't switch on yet)
The power cable for your monitor will have a
socket on one end (like the type you connect to a
kettle). Plug this into the power connector on the
back of the monitor.
The other end of the monitor's power cable may
have a standard power plug. If so, plug it into the
power outlet on the wall.
However, if your monitor has an IEC-type power
cable (with a plug on the end) plug this into the
power outlet (marked IA 220-240V) on the back
of the computer. (Not all types of monitor may be
connected to this power outlet. If in doubt, check
with your supplier.)
Note: The power outlet on the back of the
computer is ONLY suitable for monitors.
4

Setting up the computer
Connect other peripherals to computer
Connect any other peripherals you have (such as a
printer or a modem) before you switch on the
power. Most printers use the PARALLEL
PRINTER port on the rear of the computer.
Appendix
C: Attaching peripheral devices gives
you some advice.
Connect other peripherals to power supply
(but don't switch on yet)
Connect the power cables for any other
peripherals to power outlets on the wall.
Connect computer to power supply
Finally, plug the connector on the computer
power cable (the one that looks like the type you
plug into a kettle) into the socket marked 2A
220-240V on the back of the computer unit. Plug
the other end into the power supply outlet on the
wall.
Don't switch on the power supply yet: follow
the instructions in the next chapter.

6

Switching on
This chapter tells you how to power up your computer for
the first time, and describes what you see on the screen when you do.
Equipment check
First check that you have connected all parts of the computer together properly, as
described in the previous chapter.
Before switching on the mains supply
Check that the monitor, printer and computer ON/OFF switches are set to OFF. The
monitor and printer have separate switches. Their manuals will explain where they are.
The ON/OFF switch for the computer is on the front:
ON/OFF switch
ON: switch pushed in
OFF: switch flush with front panel
Switching on 1 Switch on the mains supply for the computer (at the power outlet on the wall) and
that for the monitor (if its power cable is not plugged into the back of the computer)
and printer (if you have one).
2 Switch on the monitor and printer.
The manual for your monitor will explain how to turn it on and, if necessary, adjust
the brightness control. (If your monitor is plugged into the back of the computer, it
won't come on until you switch on the computer). The manual for your printer will
explain how to turn that on, too.
7

Switching on
3 Switch the computer on, by pressing the ON/OFF switch on the front (the green
LED on the lefthand side of the computer will light up).
Depending on your monitor (and whether it has warmed up yet) you might see the
screen change colour while the computer performs some
self-tests.
The LED on the
floppy disc drive will also flash once when the drive is being checked. Next, you
will see an introductory screen:
After a few seconds, you should have a picture on your screen, looking
something like this:
If the display does not look similar to that shown above (or if the floppy drive light
flashes more than once) see If things go wrong on page 63.
8
Table of contents
Other Acorn Desktop manuals

Acorn
Acorn Archimedes 500 Series Product manual

Acorn
Acorn Risc PC Operating and safety instructions

Acorn
Acorn A4 Product manual

Acorn
Acorn Archimedes 400/1 Series User manual

Acorn
Acorn Archimedes 305 User manual

Acorn
Acorn Risc PC Product manual

Acorn
Acorn Archimedes 540 User manual

Acorn
Acorn Archimedes Operating and safety instructions

Acorn
Acorn A3010 Operating and safety instructions

Acorn
Acorn Archimedes 300 series User manual