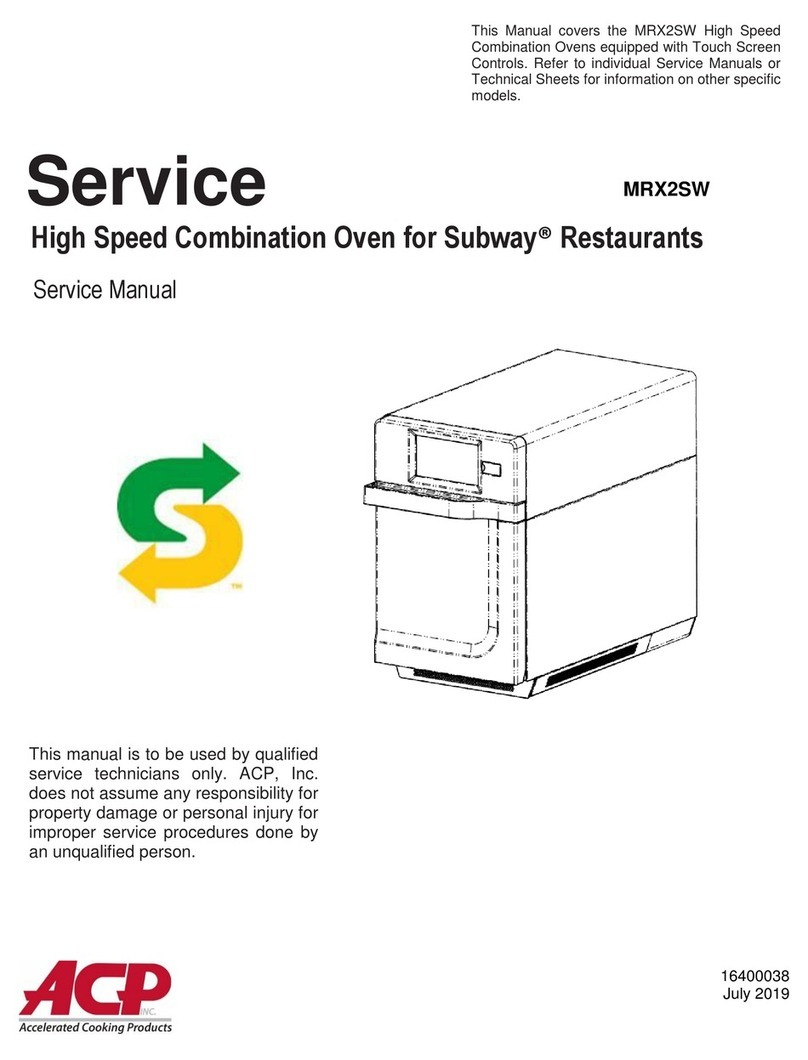
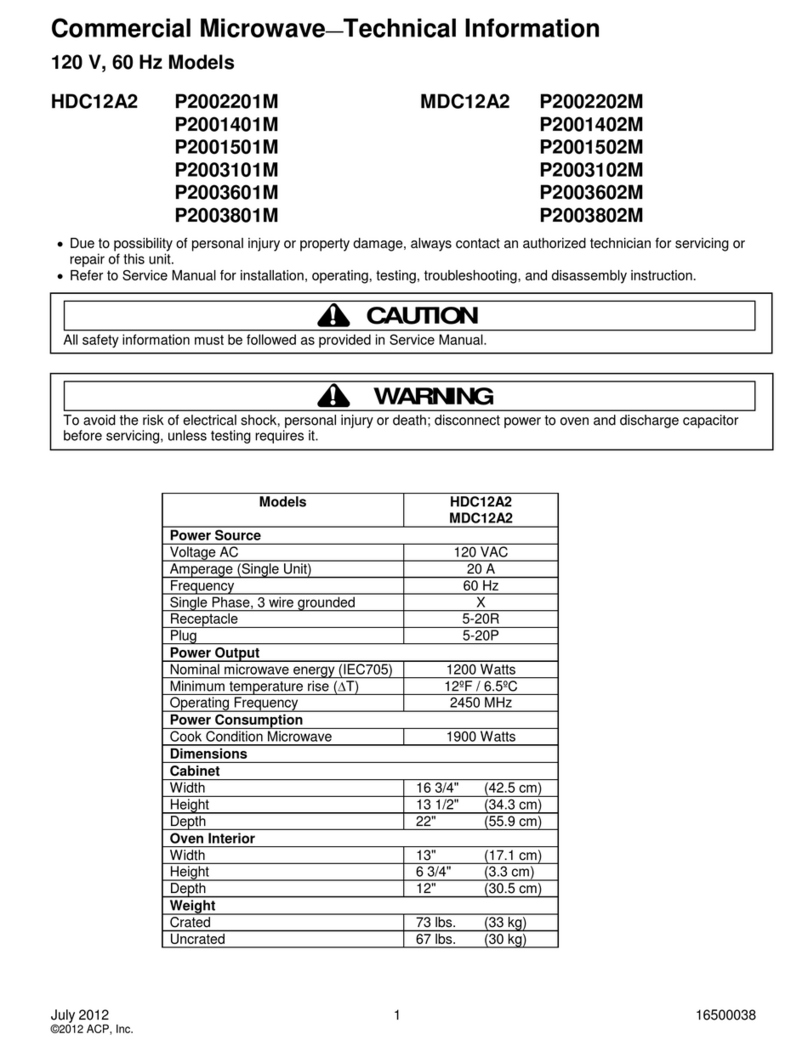
ACP AXP20 User manual
Other ACP Commercial Food Equipment manuals
Popular Commercial Food Equipment manuals by other brands

Blue Seal
Blue Seal EF30 Installation & operation manual

Tecfrigo
Tecfrigo Snelle 400 GS installation instructions

Follett
Follett PFT Series Operation and maintenance manual

MEFE
MEFE CAT 206 PTR User manual and maintenance

Premier
Premier 900cl Product manua

Diamond
Diamond AL1TB/H2-R2 Installation, Operating and Maintenance Instruction

Salva
Salva IVERPAN FC-18 User instructions

Hussmann
Hussmann Rear Roll-in Dairy Installation & operation manual

Cornelius
Cornelius IDC PRO 255 Service manual

Moduline
Moduline HSH E Series Service manual

MINERVA OMEGA
MINERVA OMEGA DERBY 270 operating instructions

Cambro
Cambro IBSD37 Setup guide and user manual


