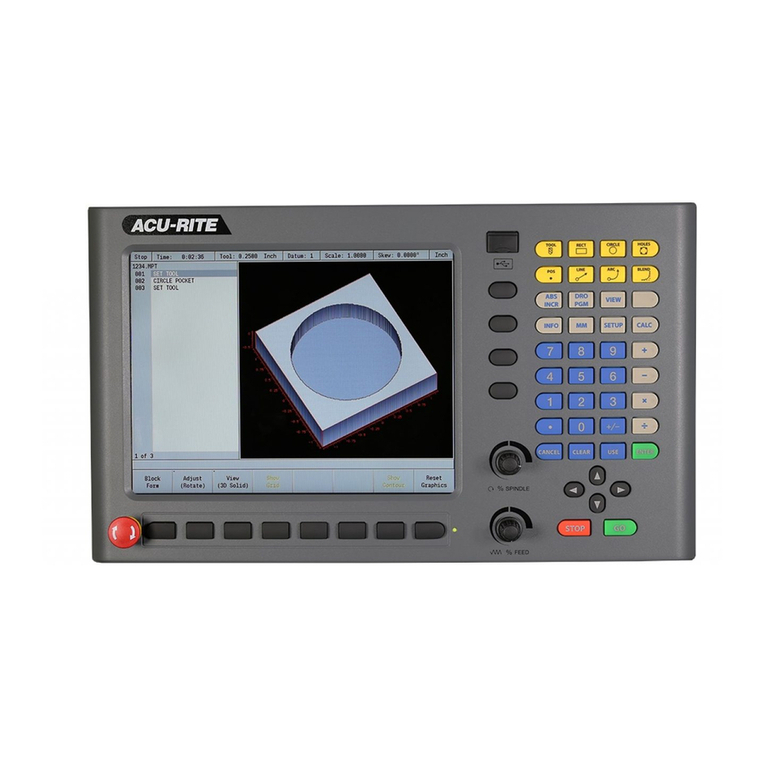
ACU-RITE MILLPWR G2 Technical manual

July 9, 2018
MILLPWRG2 2 & 3 Axis
Release of Version R7
For Use with Consoles (ID#1113777-NN) ONLY
These release notes include enhancements/changes for both R6SP4 and R7.
Please read below for the list of enhancements.
NOTE: HEIDENHAIN Corporation recommends making a backup image of the control with the
USB Recovery Drive before updating the control software. Please refer to the manual included
with the USB drive for the backup procedure. Reference compatibility chart below.
Prior to updating to R7 you must have R6 loaded, if you have a previous version of
software, confirm that R5 SP1 is installed and that you have resized the hard drive
partitions. Due to the enhanced features since release 5, repartitioning the console's
hard drive is required. USB Recovery Drive ID# 680480-04 includes an option for
resizing the control’s hard drive partitions. This can only be performed on consoles
ID#1113777-NN that are running software release 4 service pack 4 (R4 SP4) or R5.
Please insure the console is updated to one of these releases prior to restructuring the
drive and installing release 7 (R7).
R5 cannot be installed unless you have R4SP4 installed first. If you have previous
version of software such as R1, R2, or R3 SPx (release 1, release 2, or release 3 with
any service pack) download and install R4 SP4 then proceed to update to R5.
Recovery Drive Kit ID# 1127022-01 can be purchased from your local ACU-RITE
distributor.
If a special PLC for AMI functions was created for your MILLPWR system. The PLC for R7 may
need to be modified in the same manner. Any OEM/User customizations to the PLC will need to
be reintegrated into the new PLC project.
All users can verify your software version from the DRO screen by pressing SETUP. If one of
your soft keys is labeled More Commands, you have release 1 (R1) software. If one of your soft
keys is labeled Install Setup, press this key. Enter the password 8891 and press Enter. The
installed software version will be displayed at the bottom left of your screen.
If any issues are encountered, please contact your service representative for assistance.
You can download the software release update free of charge from our web site at www.acu-
rite.com. If you wish to purchase the software and operation manual from ACU-RITE, contact
your authorized dealer to place an order.
Installing the software onto your MILLPWRG2 system:
Use a blank USB memory stick (1 GB or larger) to update the software. Do not use any memory
stick with a smaller storage capacity. The software installation files are required for updating the
software. When a USB memory device in placed in a USB port prior to boot up with the update

files setup.zip, and setup.ini located within a folder named “install”, at boot up your G2 control
will detect the upgrade software files and proceed to install.
Procedure for downloading the update files and placing them on a USB drive.
Download the update from http://www.acu-rite.com/software-updates.html found under the
Controls Tab.
Unzip the downloaded archive insuring the target is the root level of your USB drive.
Insure the files setup.zip and setup.ini are transferred to a folder at the root level of your
USB drive named install, //MY USB DRIVE/install/
Procedure for updating the software
Shut down the control software using the normal method of pressing the Shutdown soft
key and then confirming the shutdown by pressing Yes.
Wait for the screen message which indicates that it is safe to switch off power, or restart.
Insert the USB memory device containing the folder named “install” on the USB memory
device.
Press ENTER to restart the system.
The software update will now be done automatically, taking approximately 10 - 20
minutes.
! A confirmation box will appear. If necessary, use the LEFT or RIGHT ARROW keys to select
Yes and then press ENTER.
When the update is complete, it will prompt you to remove the USB drive and restart. At this
time, remove the USB drive and press ENTER to restart. If the USB memory stick used for
installation is not removed, then the prompt to install the software will continue to appear on
subsequent power cycles.
! After installation and upon restart, you may receive a message prompt to confirm a firmware
update, accept the changes and RUN UPDATE.
-(Note: This particular NC startup screen can take several minutes to display. Please be
patient. Do not shutdown control and reboot.)
After the system has restarted, it will start up normally to the control software.
-Confirm that your count directions are correct. (These values should not change when
upgrading software.)
- If special machine functions were active, Press the SETUP hard key, then the “Install
Setup” soft key, enter passcode 8891, press ENTER
- In the “Installation” dialogue, arrow down to the last option “Machine Functions” and
press ENTER

- Configure the dialog to match your machine Note:(only required if special machine
function options are installed like demo, AMI, guards, etc.)
- Press the USE hard key, then press the “Save Changes” soft key
- After a moment, you will get a reboot prompt
- Acknowledge the reboot and you are all done at the next startup.
MILLPWRG2 Recovery Drive Compatibility
Due to hardware differences the original MILLPWRG2 console and the current console
require different software upgrade paths.
Consoles can easily be identified by the color of the front bezel. The current design has
a darker grey color than the original design.
The current G2 console will proceed to release 7 (R7) and all its service packs.
The original G2 console will remain with release 4 (R4) and all of its service
packs.
Console ID#
and Software
Revision Recovery Drive
ID# 1114023-01
Recovery Drive
Kit ID# 1201909-
01
USB ID#
680480-03
Recovery Drive
Kit ID# 1127022-
01
USB ID#
680480-04
745604-NN Yes Yes No
R1 Yes Yes No
R2 Yes Yes No
R3 Yes Yes No
R4 Yes Yes No
R4 SP8 Yes Yes No
1113777-NN No Yes Yes
R1 No Yes Yes
R2 No Yes Yes
R3 No Yes Yes
R4 No Yes Yes
R4 SP4 No Yes Yes
R5 No No Yes
Post R5 No No Yes

Console ID # 745604-NN Console ID # 1113777-NN
G2 consoles (ID#745604-NN)
These consoles cannot be upgraded to R7 or service packs within R7. and
will continue to receive service packs under the R4 release. Please do not
attempt to install release 5 (R5) R6 or R7 onto these consoles.
System drive restructuring on this original design consoles will cause the console
to become un-operational and require in house service to correct the issue. Do
not restructure the drive on these consoles.
Not all software enhancements will be included in future R4 releases. We
will continue to support console ID# 745604-NN with service packs through the
R4 released software that will mainly include minor enhancements or fixes.
USB Recovery Drive Kit 1201909-01 includes a compatible USB Recovery Drive
ID# 680480-03 for original G2 consoles (ID#745604-NN) and should be ordered
when replacing a recovery drive for these consoles. This drive does not include
the repartitioning option, so the unit cannot be repartitioning accidentally.
G2 consoles (ID#1113777-NN)
R7 and its associated service packs R7SPX cannot be installed unless you have
R5SP1 installed first. If you have previous version of software such as R1, R2, or R3
SPx (release 1, release 2, or release 3 with any service pack) download and install R4
SP4 prior to updating to R5.
Due to the enhanced features of release 5, it has become necessary to repartition the
console's hard drive. USB Recovery Drive ID# 680480-04 is now included in Recovery
Drive Kit ID# 1127022-01 which supports all G2 consoles and all software versions to
date or planned for the near future. This new recovery drive includes an option for
resizing the control’s hard drive partitions. This must only be performed on current
consoles (ID#1113777-NN) that are running software release 4 service pack 4 (R4 SP4).
Please insure the console is updated to this release prior to restructuring the drive and
installing release 5 (R5). Hard drive repartitioning is required on these consoles prior to
the upgrade to release 5 (R5).

These enhancements/changes were made:
During a program run, the user will be prompted to enter the Tool diameter if it is not defined in
the Tool Step.
Spindle prompts are now combined and filtered according to the configuration setting in Machine
Functions for AMI Type. Disabled and Standard will give all spindle prompts, Spindle: Direction
Control will only give speed prompts, and Spindle: Full Control will give no prompts. The previous
setting of “Spindle Control” will be equated to “Spindle: Direction Control” during the R7 update.
This setting should be set to match the system’s spindle operating capabilities after installation, or
after updating to R7. Additionally, the user is prompted to turn the spindle off when required.
MPT program files are now checked prior to loading, to ensure the file is valid and in the expected
format.
In the Block Form dialog, user-defined dimensions can now be temporarily disabled without losing
the user values.
Consoles with IDs 1113777-2<n> no longer require a custom PLC to be installed. The special
behavior while guards are open is now built-in.
The base NcKernel platform was updated to Milestone 12 Service Pack 2. With this come a few
enhancements; - Program Functions: new filesystem tree look, drive structure is now “USER:\
user\ ” for the “user folder in the user drive”. - Analog Wizard: Adjust Offset step is now available
to fine-tune the servo DAC voltage offset (balance) prior to adjusting max feedrate / gain. -
Advanced Configuration: Check Axis Config feature now available to analyze axes config data
and suggest improvements or corrections. - Network Shares: SMB v2 share mounting is now
supported (must add “vers=2.1” in mount options “-o” field).
Added a new field in Install Setup -> Machine Functions for the lubrication pulse “Duration”. Also
added the “Lube/Oil” output to the Diagnostics monitoring section.
The Linear Engraving step now supports defining a Center Point location for the text.
A new program step named Datum is now available, which allows switching to a different datum
number during a program run (similar to G53 in a Gcode program). Any datum number previously
setup in the Datum Form can be used.
A new program step named Profile is now available, which allows the user to mill a predefined
shape profile. Available shapes are Rectangle, Circle, Slot, and Radial Slot.
When executing a Set Tool step, and choosing to set the Z datum, this change to the datum is
now applied when the datum form is closed.
If an error occurs in a program, the cursor highlight in the Program List View now jumps to the
line with the error, in order to better indicate the error location.
Switching from PGM to DRO is now possible while a Step Form is open for editing.
The helix step requires a tool diameter greater than 0. Check for tool diameter > 0 before running
a helix step and display an error message if necessary.
Corrected a problem with the Custom Pocket cycle sometimes missing an Island.
Fixed an issue where a contour was not properly repeated when the tool diameter is different.
Corrected some issues with the feature to automatically switch the DRO to INC mode at Z-Axis
manual operation prompts.
The Scale Factor field in Job Setup is now checked for a valid range of entry. If a value greater
than “100” or less than “0.1” is entered, the value will automatically revert back to the safety
default of “1”. When a Scale Factor other than “1” is active in the system, the Scale status window
at the top of the screen will now highlight this with an alternate background color.
Fixed an issue where the Blend’s feed rate was not changed by Change Steps step function.
Corrected an issue in which when setting the Datum, sometimes an error 220-0020 could be
displayed.
Corrected an issue in which the W-Axis coupling settings would be lost when upgrading to R6-
SP3.
Corrected a couple of graphics issues, in which Pan settings would be applied in reverse (horiz
vs. vert), and in which Reset Graphics was resetting too many parameters.
Corrected an issue where the Near Zero Warning Bar would not always be visible in INC mode of
the DRO as it should have been.
Corrected an issue with the Set RPM feature; if a spindle gear change was required, upon
pressing GO to complete the gear change, the system would incorrectly try to start running the
loaded program instead of just completing the RPM change, resulting in an unexpected ‘Paused’
state.
If any issues are encountered, please contact your service representative for assistance or
Other manuals for MILLPWR G2
5
This manual suits for next models
2
Table of contents
Other ACU-RITE Music Mixer manuals

ACU-RITE
ACU-RITE MILL PWR G2 Technical manual

ACU-RITE
ACU-RITE MILL PWR G2 Technical manual

ACU-RITE
ACU-RITE Mill PWR G2 Technical manual

ACU-RITE
ACU-RITE MILL PWR G2 Technical manual

ACU-RITE
ACU-RITE MILL PWR G2 Technical manual

ACU-RITE
ACU-RITE MILL PWR G2 Technical manual

ACU-RITE
ACU-RITE MILLPWR G2 Technical manual

ACU-RITE
ACU-RITE MILL PWR G2 Technical manual

ACU-RITE
ACU-RITE MILL PWR G2 Technical manual

ACU-RITE
ACU-RITE MILLPWR G2 Technical manual