7
Press ✱93 to display the "ZONE PROG?" prompt. Enter “0”(N0) to each prompt until the
“EXPERT MODE?”prompt appears.
EXPERT MODE?
1 = YES 0 = NO 1. Press 1to enter Expert mode.
SET TO CONFIRM?
0 = NO 1 = YES 0
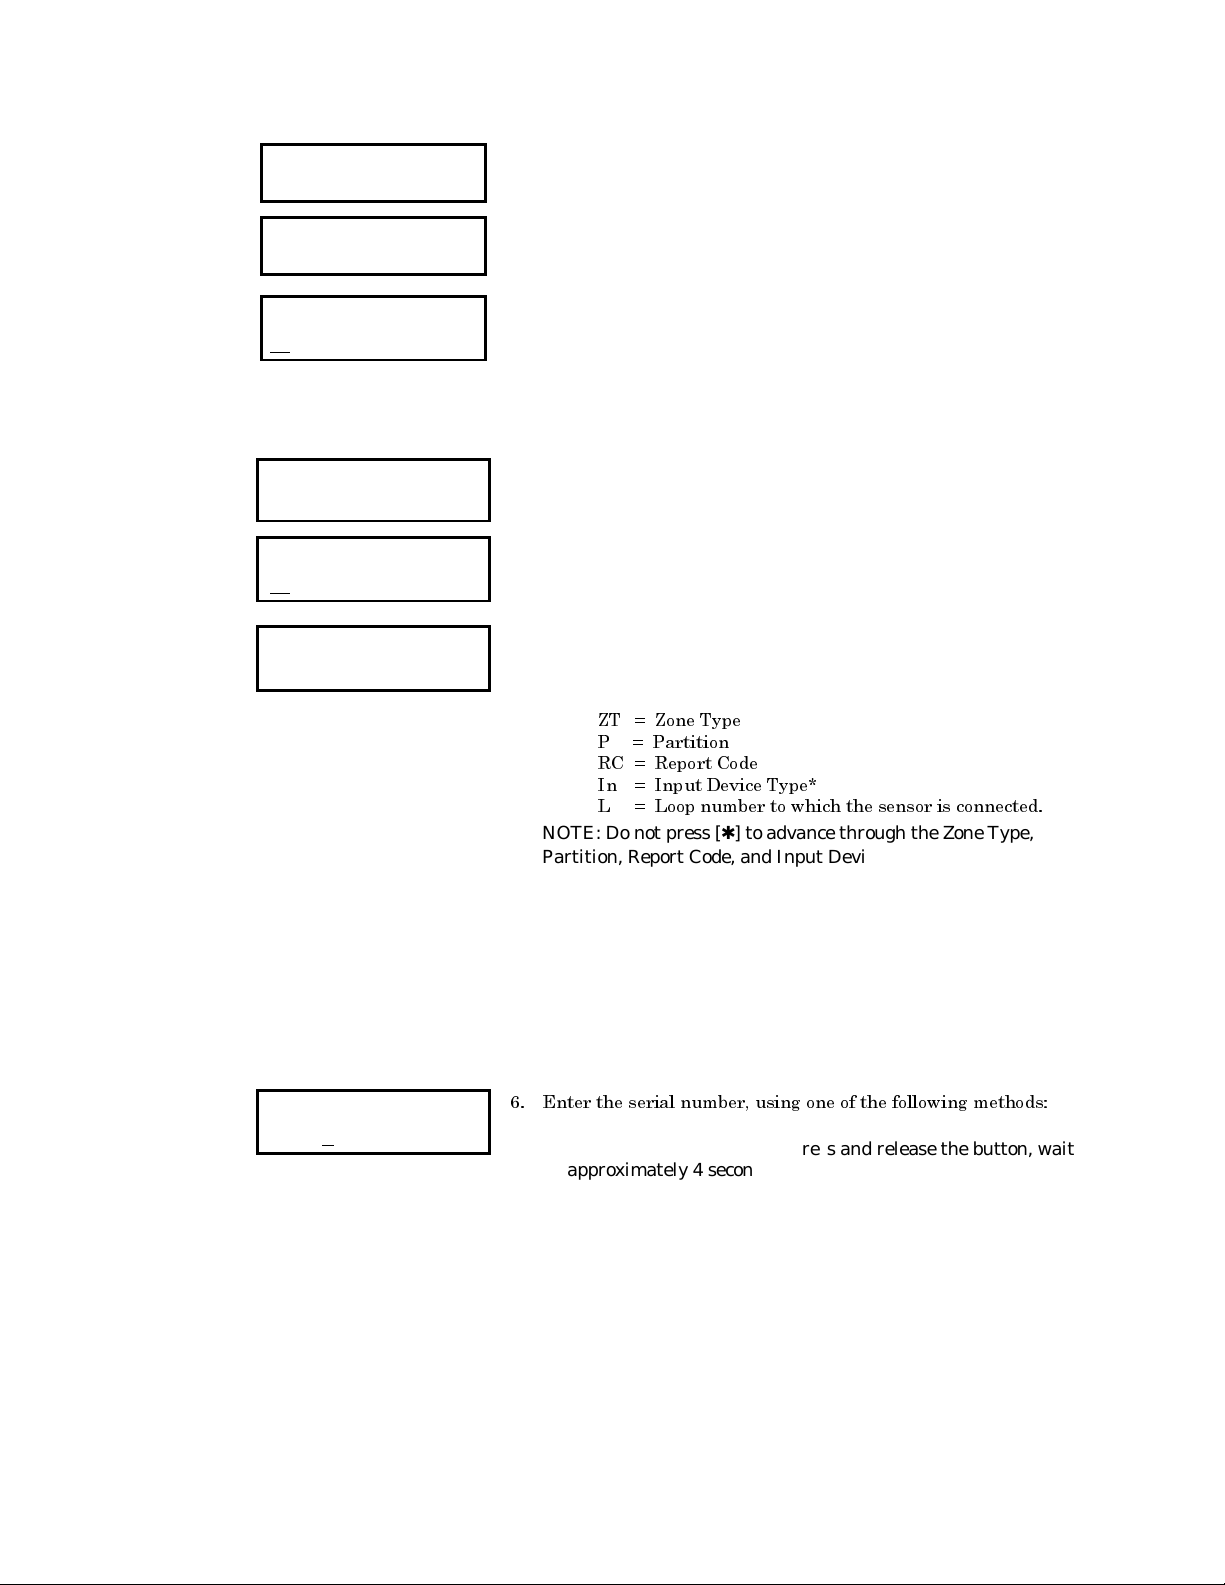
Zn ZT P RC In L
01 03 1 10 HW
-
Zn ZT P RC In L
1_
-
-
-
-
-
2. This prompt will appear upon entering Expert Mode.
If “Yes,”Confirmation prompts are displayed after the device’s
Serial and Loop numbers have been entered.
3. A summary screen will appear, showing zone “1”s current
programming or default values.
If you want to use a Template to enter a wireless key, press the [D]
key and go to the instructions on a following page under the title
“Entering Wireless Keys.”When the [D] key is pressed, a special
prompt will be displayed which offers a series of default templates
for wireless keys.
Otherwise, enter the first digit of the zone number to be
programmed, as shown at left.
Zn ZT P RC In L
10 03 1 10 RF
-
Zn ZT P RC In L
10 03 1 10 RF
-
*If HW (hardwired) is entered
for Input Device Type (In), the
next screen will be similar to
the above, except that HW will
be displayed under “In.”If RF,
BR, or UR is entered, a prompt
for serial and loop number will
be displayed, as below.
10 INPUT S/N L
A XXX-XXXX
-
4. Enter the second digit of the desired zone number (in the
example on the left, zone 10 has been entered). The display will
show that zone’s current programming. Press [✱] to continue.
5. Enter all zone information except for Loop number. If desired, you
can press the “C”key to copy the zone information on this screen
from last enrolled zone, including Loop number (assuming you
have previously enrolled at least one zone).
=7 =RQH 7\SH
3 3DUWLWLRQ
5& 5HSRUW &RGH
,Q ,QSXW 'HYLFH 7\SH
/ /RRS QXPEHU WR ZKLFK WKH VHQVRU LV FRQQHFWHG
NOTE: Do not press [✱] to advance through the Zone Type,
Partition, Report Code, and Input Device Type fields. Press [✱] to
go to the next screen after all values are entered.
On this screen,
•Use the [A] key to move to the right.
•Use the [B] key to move to the left and to back up to the “Zn”
field.
•Use the [D] key if you wish to enter and duplicate wireless
keys. See page 9 under “Entering Wireless Keys”.
Press [✱] to accept the existing or newly- entered zone information.
(QWHU WKH VHULDO QXPEHU XVLQJ RQH RI WKH IROORZLQJ PHWKRGV
a. Transmit two open and close (or close and open) sequences. For
a button-type transmitter, press and release the button, wait
approximately 4 seconds, then press and release the button a
second time.
OR
b. Manually enter the 7-digit serial number printed on a label on the
transmitter, using the Alpha keypad. Then press the [✱] key —the
cursor will move to the “L”position. You can edit the loop number,
if necessary. When the loop number is acceptable, press [✱].
OR
c. Press key [C] to copy the last serial number enrolled (used when
programming a transmitter with several input loops).
Remember, you can use the [A] key to move to the right or the [B]
key to move to the left and to back up to the previous screen.
You can also use the (#) key to back up without saving.