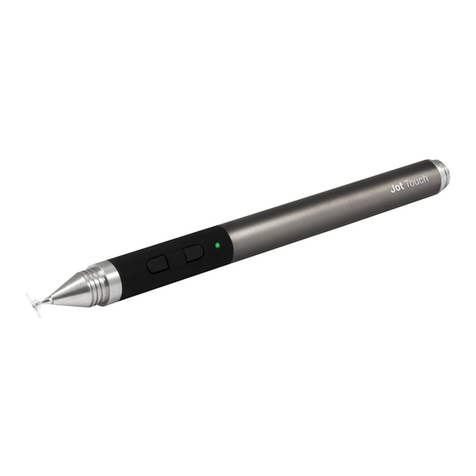
Adonit PIXEL User manual

Pixel itself- There appears to be some damage to the Pixel. The button section of the
Pixel appears to have been twisted. Twisting the button section can cause damage to
the wiring.
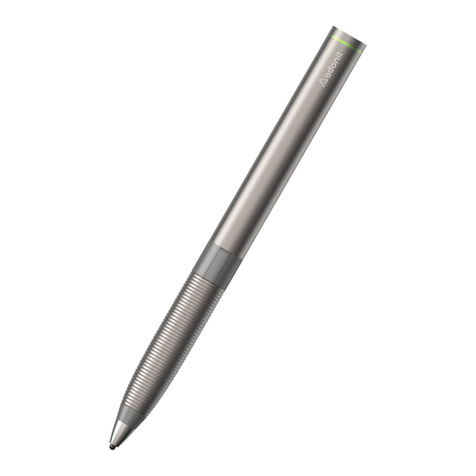
The Adonit Triangle logo is supposed to line up with the buttons, like the picture on the
left. The picture on the right shows the button section twisted all the way to the
opposite side.

Cannot pair with iPad- I'm sorry for the customer confusion, but, from what customer
described, it sounds like customer may have thought that they needed to pair Pixel
directly with the Pixel-compatible device. But actually Pixel doesn't require being listed
in your iPad's (iOS device's) Bluetooth Device list; it actually pairs with a Pixel-

compatible app and not directly with iPad (although you still need to turn on Bluetooth
in your iOS device).
*The currently available Bluetooth apps compatible with Pixel include the following:
Concepts
Notes Plus
Autodesk Sketchbook
Astropad
Medibang Paint
Zenbrush 2
Animation Desk Cloud
Tayasui Sketches
Procreate
Zoomnotes
Please see the full list(updated) on website: https://www.adonit.net/jot/pixel/
Inaccurate lines while drawing- If you're using a screen protector, please know that
glass screen protectors and protectors that also act as covers as part of a tablet case,
may decrease performance, as they tend to be thicker than matte-finish PET screen
protectors. But see if you can try Pixel on another device's screen that doesn't have a
protector on it.
Tips seems come off- Please carefully check that the metal stylus Head at the front of
the Adonit Pixel is also screwed in correctly (don't move the black plastic part) by
carefully pointing the stylus downward so the tip is pointing down. Then carefully hold
the the tip with your thumb and forefingers, and, with the other hand holding the barrel,
carefully and slowly twist the barrel counterclockwise to unscrew the tip. Remove the
stylus barrel from the tip and blow into the opening to the tip. Then slowly twist the
barrel clockwise to screw the barrel back into the tip. Give a little force at the end to
make sure the tip is on well, though please know that even after the tip is screwed in, it
will move a little back and forth, so not to worry. Also, remember that there will still be a
small natural gap between the top of the Pixel tip and the barrel after a tip is screwed
back on.
User Manual
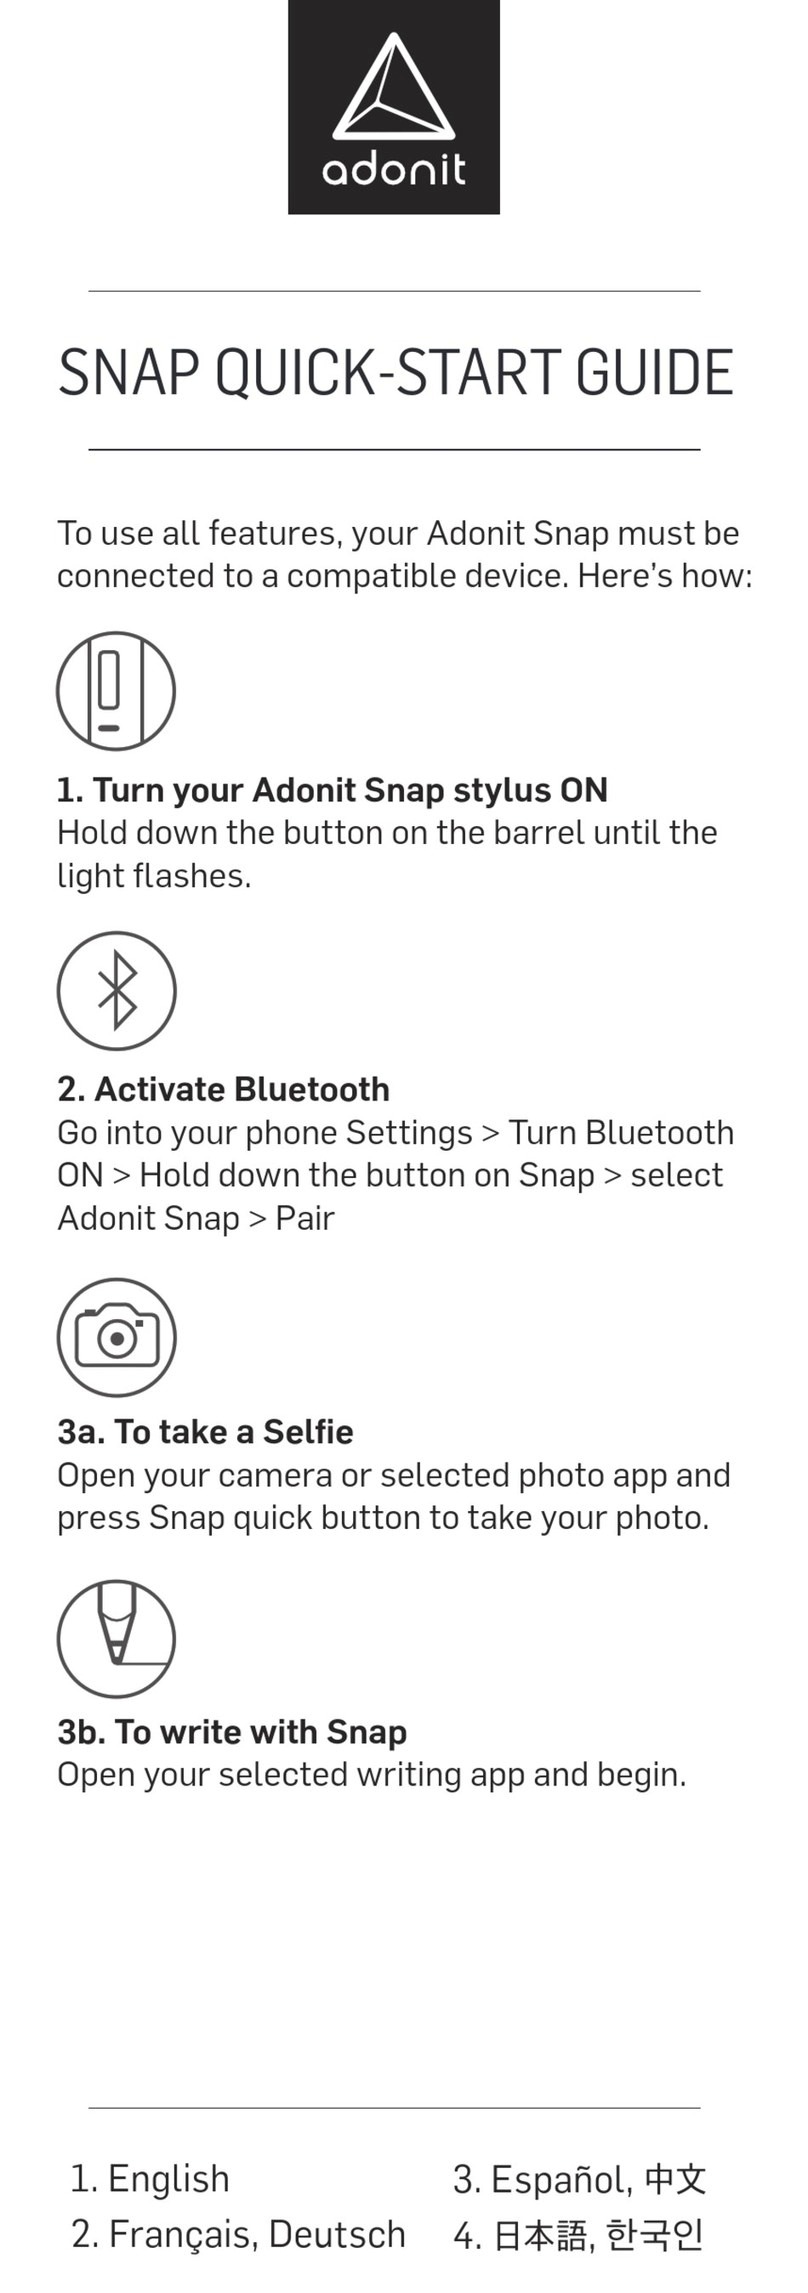
Turning Adonit Pixel on:
1) Make sure Pixel is charged well by first plugging the USB charger into a USB port. A

red pulsing light means that it is not full charged; a green light means that it is fully
charged. The red light will turn green once it is fully charged. Remove the Pixel from the
charger as it is now ready to be used!
2) To turn on Pixel, locate the bottom black button closest to the tip, and press and hold
that button for up to 5 seconds until you see the Pixel brightly light up green in three
steps. The green light will go off showing that your Pixel is now turned on! At this point,
Adonit Pixel can be us as basic stylus or can be paired with a compatible Pixel app.
Turning Adonit Pixel off:
1) To turn off Pixel, press the same bottom button for about 10-15 seconds until you see
a red light come on and then go off; Pixel is now turned off.
Charging Adonit Pixel:
1) Push the USB charger into a USB port (some chargers may feel like they have a tight
fit to make sure they don’t become loose, so some chargers may not be pushed in all
the way into the port and would not charge correctly)
2) Place the back of Pixel on to the USB charger (the light may show red at first to show
charging is needed, and then it will turn green to show it is fully charged)
3) If the green light shows, then it is fully charged and can be removed from the charger
and used.
Pairing Pixel:
1) To pair Pixel with a compatible app, first see the compatible apps on the Pixel product
web page here (some may require payment to be
downloaded): http://www.adonit.net/jot/pixel/
2) Once you have downloaded the app, then you might find a pairing video here on
Youtube (please know that the videos were made with other Adonit Bluetooth styluses
and older versions of apps, but the pairing will be the same; not all apps are compatible
with Pixel):
The Jot-Ready apps page (here: http://www.adonit.net/jot-ready-apps/) also shows
which Bluetooth stylus works with each app under the text "BLUETOOTH FEATURES" for
each app.
If you might want to get more information on whether it will be compatible and when
for other apps, we suggest you might want to contact the app developers directly, as
the developers would most likely want to hear directly from the users.
Specific steps for each app is normally described within the app, but each app is almost
the same in it's Pixel use, so, if it helps, let's take a look at the Concepts app as an
example:
To Pair in Concepts:

1) TAP Open Concepts.
2) TAP on one of the canvases or works.
3) TAP on the cog symbol in the lower left side of the screen.
4) SEE the "Connect a Stylus" list of styluses on the right side (or TAP on whatever name
is listed at the top of the list on the right side)
5) TAP "Adonit Jot Series"
6) PICK UP Pixel stylus; PRESS and HOLD the bottom black button nearest the tip until
you see a green light get brighter in three steps.
7) PLACE the Pixel tip on the red bullseye connection symbol until "Connected is shows
(you should also see a green light flash once on Pixel showing it is connected).
NOTE: if the pairing does not happen right away, try removing and placing the Pixel tip
on the red bullseye again to have it pair (it may take up to 10 seconds for it to connect,
and you there is no need to press the tip down hard to make it connect).
8) SEE that it is paired, and go to the Writing Set-up steps below:
Writing Set-up Steps:
1) TAP Open Concepts.
2) TAP on one of the canvases or works.
3) TAP on the 2nd squiggly line in the upper left side.
4) TAP on the small downward arrow in the upper left side (it should open several things
in a column; you'll see the name of the tool, like "Marker" next to that small arrow).
5) TAP the tool tip name (like Marker) to open the Tip options.
6) SLIDE the wheel and choose "Pencil" if not already chosen.
7) TAP the number next to "px" in the column of settings below the Tool tip name, and
SLIDE the triangle upward so you see a bigger width of writing display.
8) TAP the number next to the "%" under the "px", and SLIDE the arrow upward to make
the writing darker.
9) TAP any color that is NOT white near the bottom of the open column of settings.
10) WRITE with Pixel slightly increasing the pressure downward and you should see the
difference in writing as the pressure downward is varied.
Hand, Shortcut and Pressure Response Adjustment Steps:
In the same Pairing window as discussed above:
1) FIND "Button Setup
2) TAP on "B1" and an action to program the black Button nearest the tip
3) TAP on B2 and an action to program the black Button nearest the light
4) FIND "Hand Position" On the right side of the screen
5) TAP on different positions to find the one that gives the best performance for you
6) FIND "Pressure Response"

7) SLIDE either arrows to adjust how much pressure difference you want to see
8) FIND "Enable Pressure"
9) TAP on the "X" in the small box to remove pressure-sensitive writing; TAP again to
add it back in ("X" in the box means that you can use pressure-sensitivity)
Other manuals for PIXEL
2
Table of contents
Other Adonit Accessories manuals
