manuals.online logo
Brands
  1. Home
  2. •
  3. Brands
  4. •
  5. ADT
  6. •
  7. Network Hardware
  8. •
  9. ADT CellBridge Installation guide

ADT CellBridge Installation guide

ADT FAQs:
ADT CellBridge™
1. What is the ADT CellBridge and why do I need it?
Cellular technology is changing. 3G is being replaced by 4G LTE across major cellular carriers and
will eventually no longer be supported. When this occurs, your system's ability to communicate
with ADT's monitoring center will be disrupted.
The ADT CellBridge will enhance your system's cellular service from 3G to 4G LTE and keep your
system communicating. And the best part? All you have to do is plug it in!
2. How much does the ADT CellBridge cost?
The ADT CellBridge is free! There’s no extra cost for the device and your monthly service costs
won’t change.
3. How do I order an ADT CellBridge?
To determine if your system needs the CellBridge device, and to place your order, please call ADT
Customer Care at (800) 724-9097.
4. I ordered an ADT CellBridge, but it hasn’t arrived. What do I do?
Your order will be shipped directly to your secured home or business. Allow 3-5 business days for
your CellBridge to arrive. If it hasn’t arrived, please call ADT Customer Care at (800) 724-9097.
5. How do I install the ADT CellBridge device?
1. First, determine the placement of your CellBridge device. It should be within 25 feet of your
alarm box. This is the box with all of the system wiring. It may not be attached or near the
keypad you use to enter your system code.
The CellBridge should be:
•Set on a flat surface, in an elevated location approximately 3-6 feet off the ground,
such as on top of a shelf or cabinet.
•Placed with all four LED indicators and the Silence button facing upright.
•Within reach of a non-switchable electrical outlet
2. Plug your CellBridge directly into an outlet. Do not plug it into an extension cord or power
strip.
Note: Lay the CellBridge on its back on a shelf or furniture (off the floor), with the lights facing
up.
3. Once a connection is made, all LED lights will turn green.
Note: This step could take 2-5 minutes (up to 15 minutes in some cases).
ADT FAQs:
ADT CellBridge™
4. Once the lights are all green, please check your email for confirmation of a successful
connection.
If you didn’t receive the email, please call (800) 724-9097 or visit cellbridge.myadt.com to
complete the install process.
5. Once on the installation website, select the Continue button.
6. Log into your MyADT account. If you don’t have a MyADT account, you select the Access your
account using an alternative method button.
Note: To log in using an alternative method, you need to know your Verbal Security Password.
ADT FAQs:
ADT CellBridge™
7. Once logged in or connected to your account, select the location (if you have multiple) where
you’re installing the CellBridge device. Then click Continue to Next Step.
ADT FAQs:
ADT CellBridge™
8. Next, the ADT system will automatically check to see if signal from your device is received. If
ADT receives a signal, you’ll see a Success message on your screen. Click the Continue button.
Note: If you get a message telling you to put your system into test mode, then skip to question
7for further instructions.
6. What do the lights on the ADT CellBridge mean?
There are four lights located on the top of your CellBridge device. They include Power LED, 4G
LTE, 3G and Status LED.
The lights on your CellBridge device could mean a few things. Here’s a helpful table to help you
identify what your lights mean:
ADT FAQs:
ADT CellBridge™
Light Indicator
Troubleshooting Steps
If the Power LED is Blinking Yellow or Red
1. Confirm that your power cable is plugged
in.
2. Confirm that the breaker/switch for the
outlet is on.
If 4G LTE LED is Blinking Yellow
Try relocating your CellBridge device to
another suitable location with better reception.
If 4G LTE LED is Solid or Blinking Red
Try relocating your CellBridge device to
another suitable location with better reception.
If the condition exists for more than 5 minutes,
please contact Customer Care for additional
help.
If 3G LED is Blinking Yellow
Confirm that the alarm panel is powered on,
and if the condition exists for more than 5
minutes, try relocating the device closer to the
alarm panel.
If Status LED is Solid or Blinking Yellow
The back panel may not be properly
connected. Please contact Customer Care for
additional help.
If Status LED is Solid or Blinking Red
The battery may not be properly
connected. Please call Customer Care to have
a technician sent to your home.
Have questions or need more help? Call Customer Care at call (800) 724-9097.
7. It’s asking me to test my panel. How do I do that?
If ADT doesn’t receive a signal from the CellBridge device after 10 minutes, then the installation
app will display a screen asking you to put your system in Test mode. Here’s how:
1. Click the Start Test Mode button.
Note: The test mode duration will automatically default to one hour, however, the test
normally doesn’t take longer than 10 minutes. Although your siren may sound, test mode
prevents ADT from responding to the alarm during the test.
ADT FAQs:
ADT CellBridge™
2. Arm your system. Once the system is armed, press the Continue button.
3. Trigger an alarm by opening a protected door or window. Then press the I Triggered My
Alarm button in MyADT.
Note: The alarm must sound for at least 60 seconds to ensure ADT receives the signal and can
perform the test. You have 30 minutes to trigger the alarm. After that, the session will time out
and you must sign in again to perform the test.
ADT FAQs:
ADT CellBridge™
4. You’ll see a screen that shows your system is sending signal to ADT. Once it’s done, you’ll see a
Success message. Then press the End Test button in MyADT. The system will automatically
disable test mode.
Note: If your system fails the test, you’ll have a few choices. You can try putting it in test mode
again, troubleshoot it further, or call ADT Customer Care at (800) 724-9097 for assistance.

Other ADT Network Hardware manuals

ADT NVR4200 Series User manual

ADT

ADT NVR4200 Series User manual

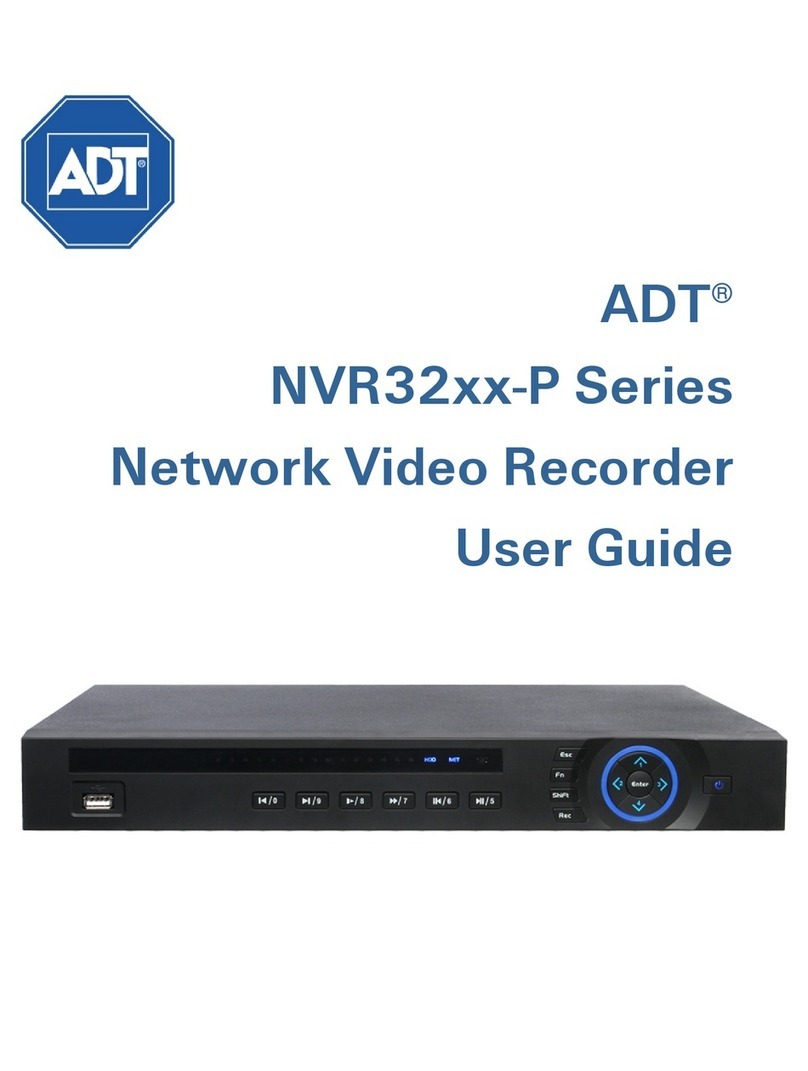
ADT NVR32xx-P Series User manual

ADT

ADT NVR32xx-P Series User manual

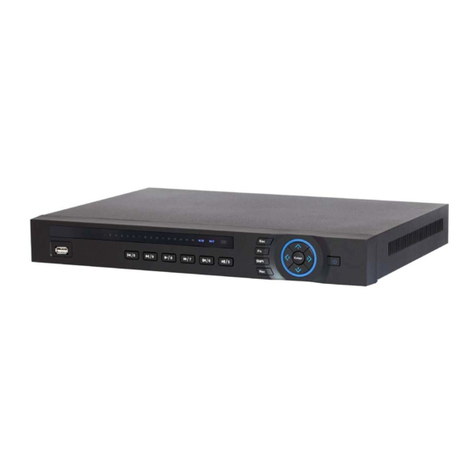
ADT NVR32**-P Series User manual

ADT

ADT NVR32**-P Series User manual

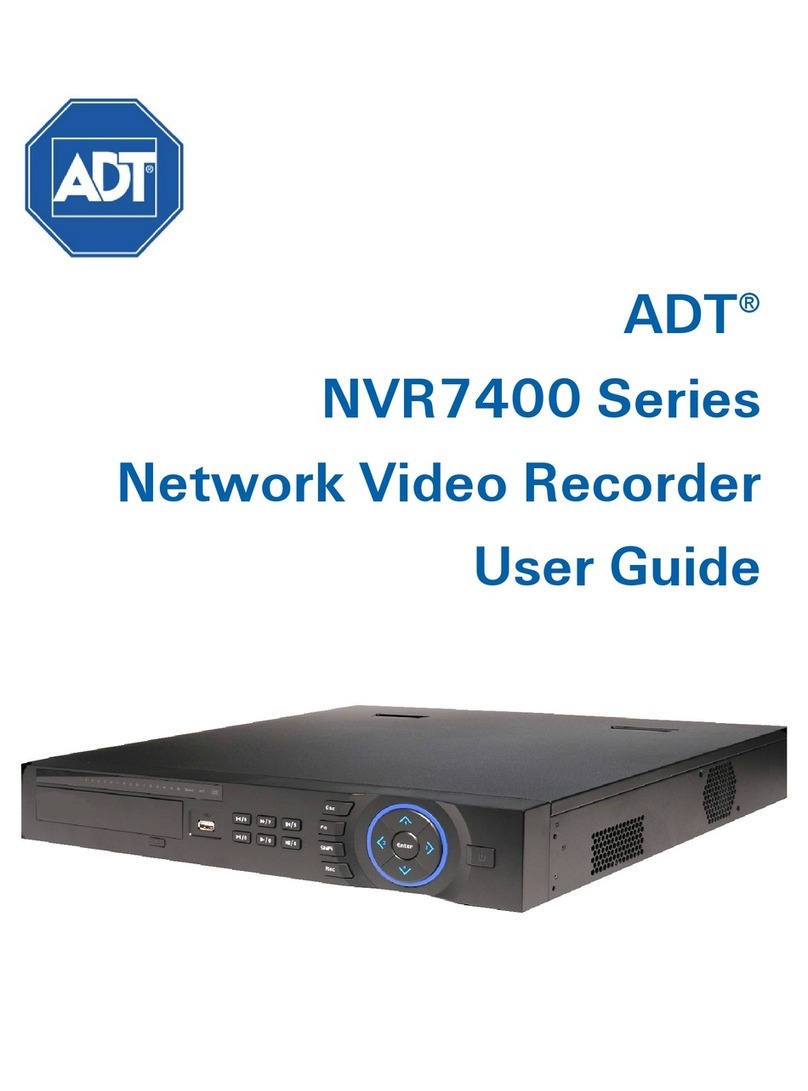
ADT NVR7400 Series User manual

ADT

ADT NVR7400 Series User manual

Popular Network Hardware manuals by other brands

ZyXEL Communications PM7516-R0 user guide

ZyXEL Communications

ZyXEL Communications PM7516-R0 user guide

LevelOne NVR-0104 user manual

LevelOne

LevelOne NVR-0104 user manual

D-Link DNS-33 user manual

D-Link

D-Link DNS-33 user manual

Advantech FWA-1320 user manual

Advantech

Advantech FWA-1320 user manual

D-Link MYDLINK DNR-322L Technical specifications

D-Link

D-Link MYDLINK DNR-322L Technical specifications

ABB M1M 10 quick start guide

ABB

ABB M1M 10 quick start guide

Avalue Technology EPC-BYT2 Quick installation guide

Avalue Technology

Avalue Technology EPC-BYT2 Quick installation guide

Amperes AX3800 instruction manual

Amperes

Amperes AX3800 instruction manual

Siemens SIMATIC TIWAY 1 user manual

Siemens

Siemens SIMATIC TIWAY 1 user manual

Network Critical SmartNA-X user manual

Network Critical

Network Critical SmartNA-X user manual

Clavister SG50 Series Getting started guide

Clavister

Clavister SG50 Series Getting started guide

Temboo KOSMOS Starter Kit Setup guide

Temboo

Temboo KOSMOS Starter Kit Setup guide

Ericsson E1 quick start guide

Ericsson

Ericsson E1 quick start guide

Altronix Trove1SH1R installation guide

Altronix

Altronix Trove1SH1R installation guide

Mooltipass Mini BLE user manual

Mooltipass

Mooltipass Mini BLE user manual

SEOWON INTECH SLC-120T420GA Quick installation guide

SEOWON INTECH

SEOWON INTECH SLC-120T420GA Quick installation guide

Alcatel-Lucent 9364 Installation and commissioning

Alcatel-Lucent

Alcatel-Lucent 9364 Installation and commissioning

McAfee WebShield e500 installation guide

McAfee

McAfee WebShield e500 installation guide

manuals.online logo
manuals.online logoBrands
  • About & Mission
  • Contact us
  • Privacy Policy
  • Terms and Conditions

Copyright 2025 Manuals.Online. All Rights Reserved.