61700962F1-13F 5
8. At the prompt, enter the username adm1n and the
password blue1socket.
Please indicate in your request that this is a GPL Source Request.
Please also identify the requested product's part number. This
offer is valid to anyone in receipt of this information.
Using the 5 GHz U-NII Band in Europe,
Australia, and New Zealand
In Europe, Australia, and New Zealand, the 5 GHz U-NII low band
(5.15 to 5.35 GHz, channels 36, 40, 44, and 48) is designated for
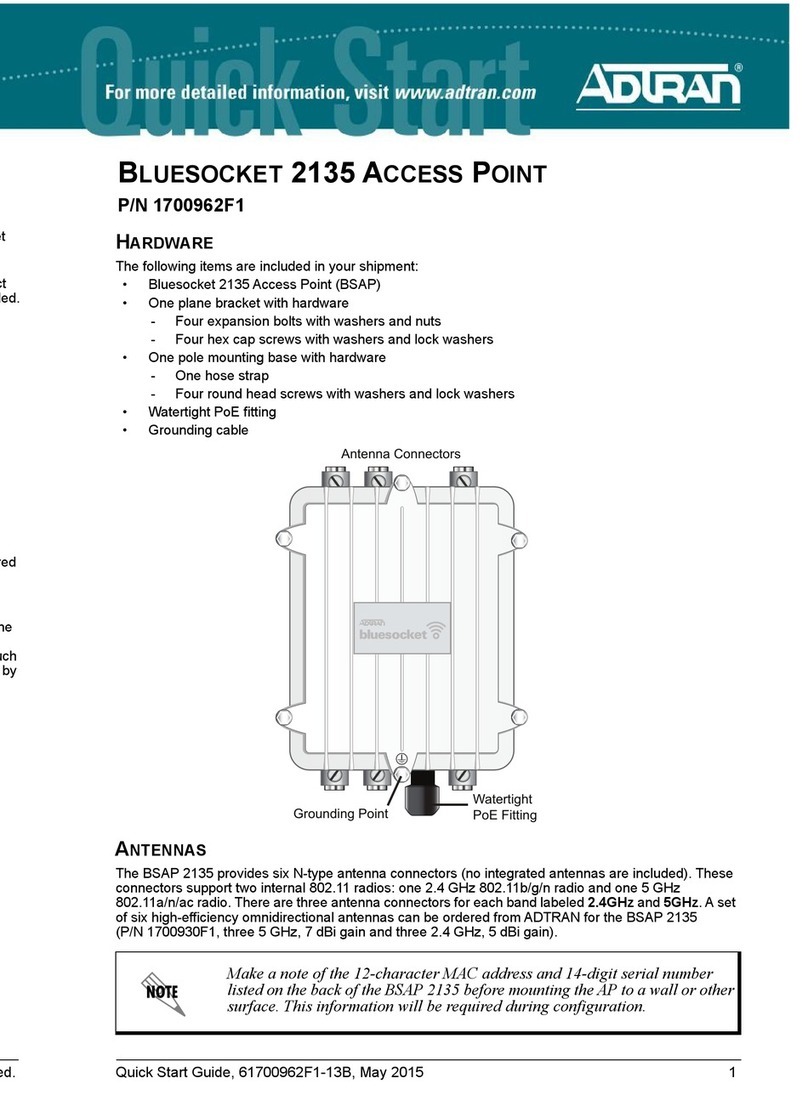
indoor use only. If the BSAP 2135 is installed indoors, for example
in a harsh environment such as a warehouse, it must be
configured for indoor use.
To enable the band/channels for indoor installation, follow these
steps in the graphical user interface (GUI):
1. Navigate to Configuration
2. Select Wireless
3. Select Access Points
Select the appropriate access point link to display the configu-
ration menu. Using the Installed drop-down list, select Indoor.
CONFIGURING THE BSAP’S IP ADDRESS
USING THE CLI
By default, DHCP is enabled on the BSAP 2135. However, if you
need to statically configure the IP address or statically configure
AP discovery for the BSAP, complete these steps:
1. Ensure that the BSAP is connected to a controlling computer
(using the provided RJ-45 Ethernet Cable).
2. Specify that the computer’s TCP/IP setting is On or Enabled
by navigating to Control Panel > Network Connections
and double-clicking the connection of your network interface
card.
3. Select Internet Protocol (TCP/IP) and select Properties.
Then specify that the TCP/IP setting is enabled.
4. Set your PC to a static IP address of 192.168.190.2 with a
subnet mask of 255.255.255.0.
5. Next, access the BSAP’s command line interface (CLI) using
an SSH client. Open an SSH connection using the unit’s
default IP address (192.168.190.1) and port 2335 connected
to the LAN1 port on the BSAP. To access the unit using
vWLAN, and for more instructions about CLI configuration,
refer to the Bluesocket vWLAN Administrator’s Guide,
available online at https://supportforums.adtran.com.
CONFIGURING THE APPLICATION
More detailed documentation for configuring the BSAP 2135 is
provided in the Bluesocket vWLAN Administrator’s Guide,
available online at https://supportforums.adtran.com.
Additional safety and regulatory guidelines are given in the
document Bluesocket Compliance Notice available online at
https://supportforums.adtran.com.
gNOTE
When running static configuration the AP will not automatically
query the other discovery methods.
3. For more information on the vWLAN and AP discovery,
please refer to the vWLAN AP Discovery configuration guide
available online at https://supportforums.adtran.com.
Connecting to the AP
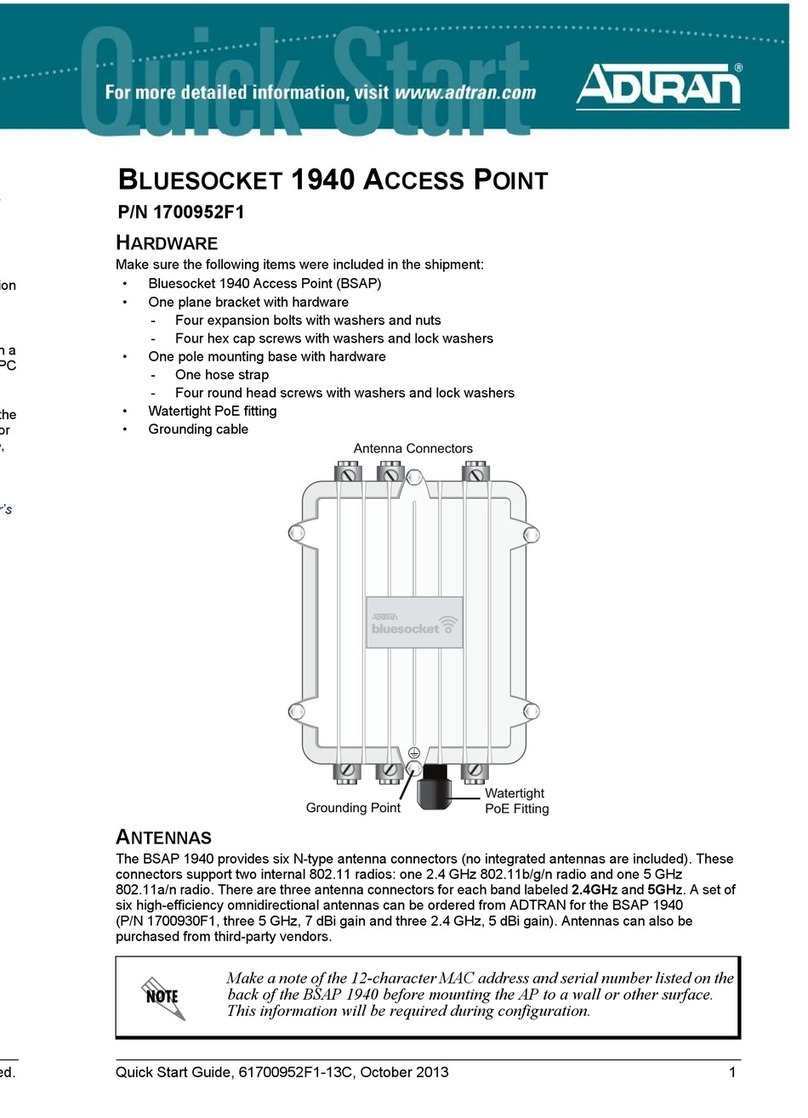
If powering the AP using a network device such as a switch,
complete the following:
1. Connect the AP Ethernet port to the appropriate switch port.
2. Obtain the IP address of the AP from the Dynamic Host
Control Protocol (DHCP) server based on the MAC address
of the AP. DHCP is enabled by default.
3. Use a Secure Shell (SSH) client to connect to the AP.
If powering the AP using a PoE injector, complete the following:
1. Connect the Ethernet port of the AP to the OUT port of the
PoE injector.
2. Connect the Ethernet port of the computer to the IN port on
the PoE injector.
3. Use a Secure Shell (SSH) client to connect to the AP.
If the AP is powered using the optional DC power adapter,
complete the following:
1. Connect the Ethernet port of the AP to the Ethernet port of
the computer.
2. Use a Secure Shell (SSH) client to connect to the AP.
CONFIGURING THE AP’S IP ADDRESS OR
STATIC DISCOVERY USING THE CLI
By default, DHCP is enabled on the AP. However, if static configu-
ration is required for the IP address or AP discovery for the AP,
users can access the AP's CLI using an SSH client.
To access the AP CLI using an SSH client, complete these steps:
1. Ensure that the AP is connected to a controlling computer
(using the provided RJ-45 Ethernet cable).
2. Specify that the computer's TCP/IP setting is On or Enabled
by navigating to Control Panel and selecting Network
Connections.
3. Double-click the connection of your network interface card
and select Internet Protocol (TCP/IP).
4. Select Properties then specify that the TCP/IP setting is
enabled.
5. Set your PC to a static IP address of 192.168.190.2 with a
subnet mask of 255.255.255.0.
6. Access the AP's command line interface (CLI) using an SSH
client.
7. Open an SSH connection using the unit's default IP address
(192.168.190.1) and port 2335 connected to the LAN1 port
on the AP.
